The fastest way to make a patio look nice is to clean it properly, pull the weeds from the joints, fix any sunken or cracked spots, then layer in some plants and lighting. You do not need to rebuild anything or spend a fortune. Most patios look rough mainly because of grime, damaged grout lines, and zero greenery around the edges. Fix those three things and the space transforms fast. Everything else, from updating your surface material to adding outdoor furniture and string lights, builds on that foundation.
How to Make a Patio Look Nice: Step by Step DIY Plan

Nolan Lennox
7 May 2026
Quick wins to make a patio look better today
Before you plan anything, do a fast visual scan and tackle the lowest-effort, highest-impact fixes first. These are the things that cost almost nothing but make an immediate difference.
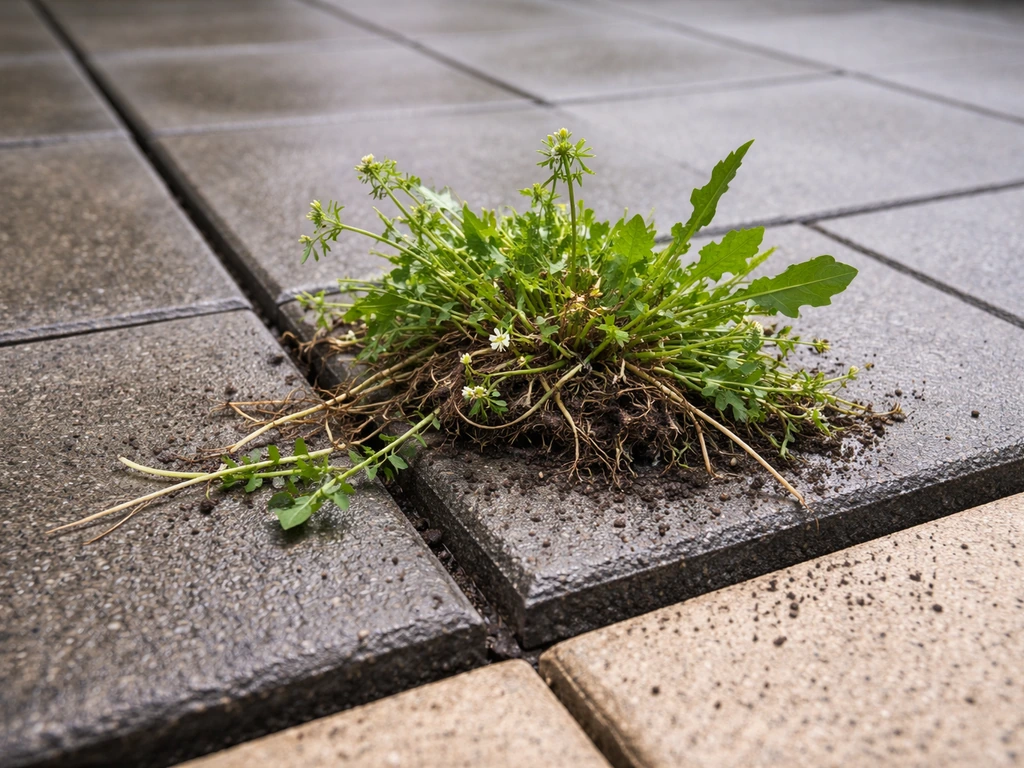
- Pull every weed from joints and edges. Nothing makes a patio look more neglected than weeds cracking through the surface.
- Sweep the whole area, including leaves and debris packed in corners.
- Move or remove anything sitting on the patio that has no purpose (old pots, forgotten tools, broken furniture).
- Wipe down any furniture and cushions.
- Add one potted plant or a simple container arrangement near the entry point of the patio.
- Shake out or replace a worn outdoor rug. Even a basic rug anchors the seating zone and makes the space feel intentional.
You can complete all of that in a couple of hours with zero budget if you already have the plants. The goal here is just momentum. Once the space is clear and clean, you will see what actually needs fixing versus what just needed attention.
Clean-up, repairs, and surface fixes for an instant upgrade
Cleaning is the single best return on effort of any patio project. A genuinely clean surface looks like a different patio entirely, and it also tells you exactly what repairs you actually need once the grime is gone.
How to actually clean a patio surface
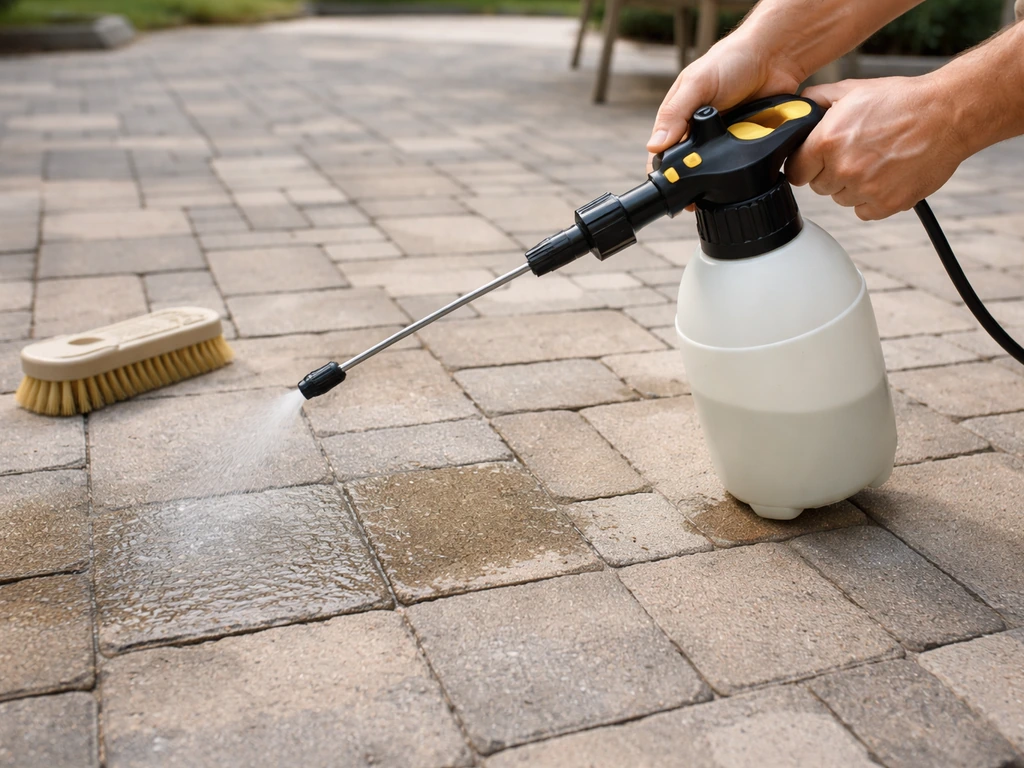
For general algae, mildew, and surface staining, a product like 30 SECONDS Outdoor Cleaner works well on concrete, pavers, masonry, and tile. The key is to apply it to a dry surface, keep it wet with the product for at least 30 seconds (up to 15 minutes for concrete and masonry), then hose it off thoroughly. The cleaning action stops when the surface dries, so do not let it sit past the active window. For heavy buildup, a second application before rinsing is fine. Always test on a small hidden area first because some surfaces, especially certain tiles or sealed stone, can dull or discolor with strong cleaners.
For deeper grime and large areas, a pressure washer with a detergent setting is faster and more effective. Let the detergent sit for several minutes without letting it dry, then rinse at high pressure. Work in the direction of your joints so you are not blasting jointing sand out of paver gaps.
Fixing damaged joints with polymeric sand
If your paver or brick joints are crumbling, weedy, or washed out, re-sanding with polymeric sand is one of the best refreshes you can do. Sweep the dry sand into the joints, fill to roughly 1/8 inch below the top of the paver surface (not flush, not heaped), then compact it and activate it with water. Stop watering once the joints stop taking in more water. Do not let the polymer wash out onto the paver faces. Then stay off it: restrict foot traffic for 24 hours after application and do not drive on it for 72 hours. Do not apply polymeric sand if temperatures are forecast to drop to 32°F or below within 48 to 72 hours of installation.
Resurfacing cracked or flaking concrete
If you have a poured concrete patio with surface cracks, spalling, or rough patches, a polymer-modified concrete resurfacer like SikaQuick Concrete Resurfacer can patch and smooth it without a full replacement. The key step most DIYers skip is moist curing after application. You want to cover the finished surface with wet burlap and polyethylene sheeting and keep it misted. Skipping that step leads to premature drying and surface cracks in the resurfacer itself.
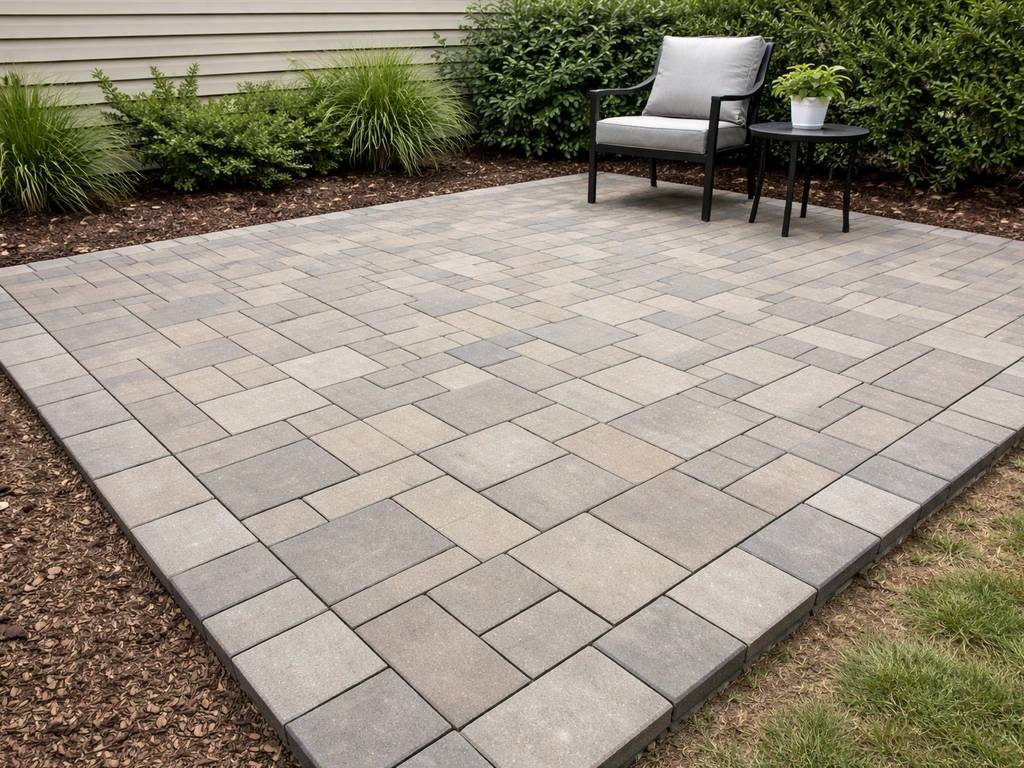
Improving layout, edges, and leveling for a cleaner look
Clean surfaces look great, but if individual pavers are rocking, sunken, or if your patio edges are ragged, the space still feels unfinished. These fixes are more physical work but are well within DIY range.
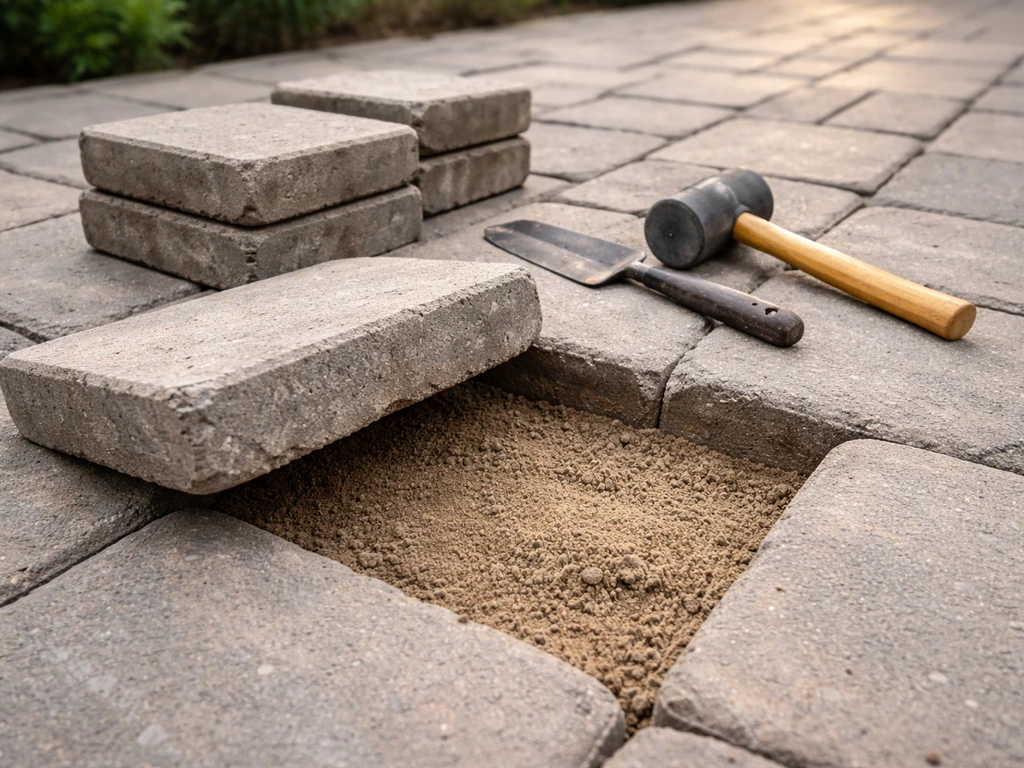
Relaying sunken or rocking pavers
A sunken paver is usually caused by the sand base shifting or eroding underneath. Pull the paver out, add bedding sand to bring it up to grade, tamp it, reset the paver, and check it with a level against its neighbors. If a paver has settled lower than the surrounding grade, add sand to the base rather than trying to shim it with jointing sand. Once all the pavers are reset, re-fill the joints with polymeric sand as described above.
Cleaning up your patio edges
Edges are where most patios fall apart visually. Grass creeping in, soil washing onto the surface, and broken border pavers all make even a clean patio look messy. Install a metal or plastic paver edging restraint if you do not already have one. If you have existing edging that has heaved or loosened, re-stake it. Then cut a clean edge along the grass line with a half-moon edger or spade and remove the overgrowth. That one move alone is dramatic. On the other side of the patio, if you have planting beds, mulch them fresh so there is a clear visual separation between the hardscape and the soft landscape.
Checking overall level and drainage
Water pooling on your patio surface is both a practical and visual problem. Patios should slope away from the house at roughly 1/8 inch per foot of run. If you see puddles after rain in the same spots every time, those are areas to target with base correction when you have the pavers up for other repairs.
Material and finish options to refresh the patio
If your patio surface itself is the problem, whether it is plain grey concrete, dated brick, or a gravel area that has spread everywhere, you have real options without starting from scratch. Here is how the main DIY-friendly surface types compare.
| Surface type | Visual appeal | DIY difficulty | Rough cost | Best for |
|---|---|---|---|---|
| Concrete resurfacer | Good: fresh, smooth look | Moderate | Low ($1–$3/sq ft in materials) | Existing concrete slabs with surface damage |
| Concrete pavers | High: clean, modern or traditional | Moderate to high | Medium ($4–$10/sq ft DIY) | New installs or full rebuilds |
| Brick | High: classic, timeless | Moderate to high | Medium–High ($5–$12/sq ft) | Traditional or cottage-style homes |
| Gravel/decomposed granite | Medium: relaxed, naturalistic | Low | Low ($1–$3/sq ft) | Informal patios, large areas, dry climates |
| Wood decking | High: warm, inviting | Moderate to high | Medium ($6–$12/sq ft) | Elevated or ground-level platforms |
| Composite decking | High: low maintenance, consistent look | Moderate to high | High ($10–$20/sq ft) | High-use areas, humid climates |
If you have a slab you want to keep, resurfacing is the best budget play. If you are wondering how to make an ugly patio pretty, resurfacing is often the quickest way to get a fresh, updated look without starting over. If you have existing pavers that are in decent shape structurally, re-sanding the joints and cleaning the surface will do more than you expect. If you are choosing a new material for a small section or a fresh build, concrete pavers hit the best balance of durability, appearance, and DIY-friendliness for most homeowners. Composite decking wins on long-term maintenance but costs more upfront.
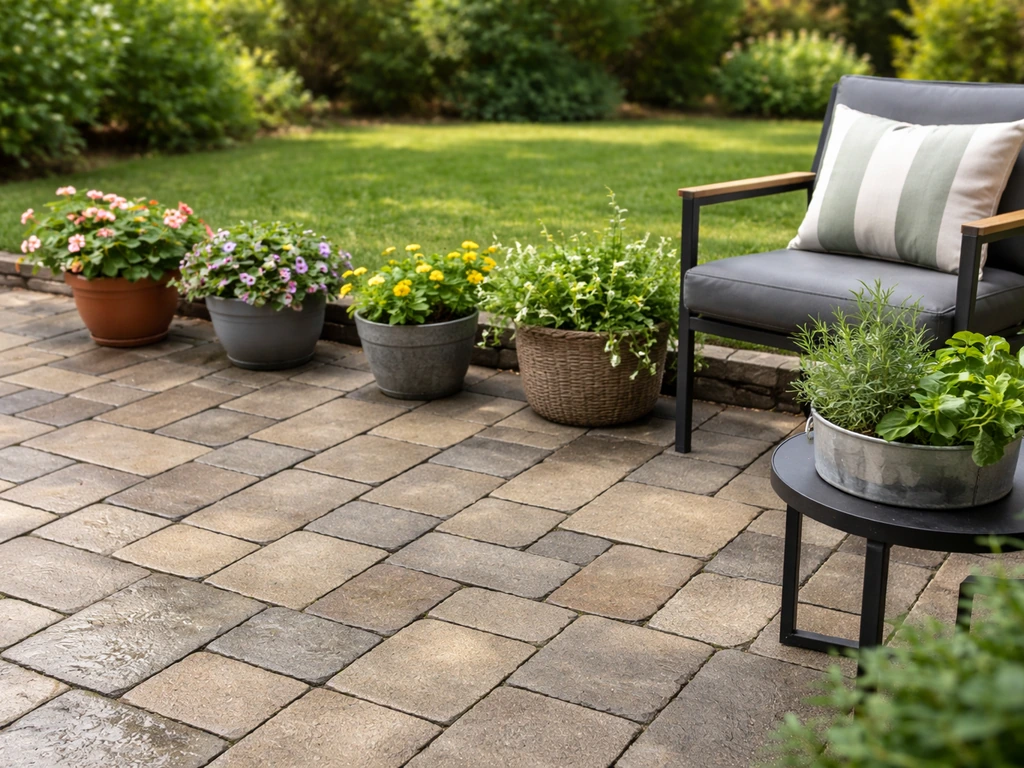
Adding a patio garden: planting, containers, and layering

This is the step that goes from "clean patio" to "patio that feels like an outdoor room." You do not need a big garden or raised beds. Strategic planting around and on the patio does most of the work.
Use containers to anchor the space
Large containers (at least 16 to 18 inches wide) placed at corners or flanking an entry create structure without any digging. Plant them with a combination of a tall thriller (ornamental grass, a small shrub, or a tall annual like canna), a mounding filler (petunias, calibrachoa, or herbs like basil), and a trailing spiller (sweet potato vine, bacopa, or creeping Jenny). This three-part formula makes even a basic pot look deliberately designed.
Build a border or bed along at least one edge
Even a 12-inch-wide planting strip along one edge of the patio softens the transition between hardscape and yard. Use a mix of heights: low edging plants at the front (creeping thyme, mondo grass, or sedum), mid-height perennials in the middle (salvia, coneflower, black-eyed Susan), and taller shrubs or grasses at the back. This layering creates depth and frames the patio as a destination rather than just a concrete pad.
Add vertical interest on walls or fences
If your patio backs up to a fence, wall, or the house, use that vertical space. Wall-mounted planters, a simple trellis with climbing plants (clematis, black-eyed Susan vine, or jasmine depending on your climate), or even a row of tall narrow containers against a fence adds a lot of visual layering with minimal floor space used.
Choose plants that work with your patio conditions
Patios can be hot and reflective. Stick with plants that handle heat and sun well if your patio is south or west facing. Lavender, rosemary, ornamental grasses, sedum, and most herbs are excellent performers. For shaded patios, hostas, ferns, astilbe, and impatiens work well in containers or border beds. Matching plants to actual conditions is what separates a thriving patio garden from one that looks rough by midsummer.
Outdoor styling and lighting that makes the space feel finished
Even a beautifully clean and well-planted patio can feel flat without the right styling and lighting. If you want ideas beyond cleaning and repairs, learning how to style a patio with furniture, rugs, and lighting will help the space feel finished patio feel like a room. This is the layer that makes a patio feel like a room you actually want to spend time in, especially at night.
Furniture arrangement and rugs
Arrange furniture to create a clear conversation zone rather than pushing everything to the edges. An outdoor rug under the seating group defines the space and adds warmth. Size matters: the rug should be large enough that at least the front legs of all chairs sit on it. For most standard 4-person seating groups, that means at least a 5x8 rug.
String lights and low-voltage lighting
String lights strung overhead (zigzagged between posts, a pergola, or the house and a few tall shepherd's hooks) are one of the most affordable ways to completely change how a patio feels after dark. Use warm white bulbs rather than cool white: they are flattering and feel cozy. For path edges and steps, solar low-voltage stake lights add both safety and ambiance and require zero wiring. If you want to step it up, a simple low-voltage landscape lighting kit with a plug-in transformer can illuminate planting beds and borders in an afternoon.
Shade and privacy features
A shade sail, canvas umbrella, or simple pergola overhead creates a sense of enclosure that bare patios lack. Privacy screens made from lattice panels, a row of tall grasses, or outdoor curtains hung from a simple rod all add that room-like feeling without major construction. These are things you can add incrementally and they make a large impact on how the space reads visually.
Finishing details
- Consistent planter colors or materials (matching terracotta, matching galvanized metal) look more curated than a random mix.
- Outdoor throw pillows in 2 to 3 coordinating colors on seating tie the palette together.
- A small side table or plant stand at different heights adds visual interest.
- A simple water feature or bird bath gives the space a focal point and brings in sound.
Budget-friendly DIY plan and what to do next
The smartest way to approach a patio refresh is to work in order of impact, not just by what is easiest. Here is the sequence that gives you the best visible return at each step, whatever your budget.
- Clean the surface thoroughly. This is free if you own a hose, and low-cost even with a cleaner and pressure washer rental. Do this first before spending anything else.
- Pull weeds and fix joints with polymeric sand. A bag of polymeric sand runs $25 to $40 and covers a significant area. This makes a paver or brick patio look almost new.
- Re-stake edging and cut a crisp edge along grass lines. Nearly free if you have a spade.
- Reset any sunken or rocking pavers. Free once you have the base sand, which you likely already have from the joint repair step.
- Add at least one container planting near the entry point. Budget $20 to $50 for a large pot and mixed plants.
- Hang string lights. A 48-foot outdoor string light set runs $20 to $40 and takes under an hour to install.
- Add an outdoor rug if you have a seating area. Entry-level outdoor rugs start around $30 to $50.
- Build a simple border bed or add edge plantings. Cost varies but even a 10-foot border can be done for under $30 with seeds or divisions from existing plants.
The total for steps 1 through 8 can be as low as $100 to $150 if you already own basic tools. You can stop at any step and the patio will look noticeably better than when you started. If you want to go further, surface resurfacing or a material upgrade is the next logical investment, and those decisions deserve their own planning session once you see what the cleaned and repaired patio actually looks like.
If your patio has bigger structural problems, ugly bones, or you want to take the design further into a full outdoor living space, some of the deeper topics around how to improve a patio's layout and design, how to cover an ugly patio, or styling choices specific to your patio type are worth exploring once you have worked through the basics here. But for most patios, the plan above will get you most of the way to a space you are proud to spend time in, and you can start it today.
FAQ
If my patio has stains, should I clean first or reseal or treat right away?
Clean first, then re-evaluate. Many stains are just algae, mildew, or organic residue that lifts with the right cleaner, and sealing over grime locks in discoloration. After rinsing, let it dry completely, then test any stain treatment or sealant on a small spot, especially on previously sealed or lightly porous pavers.
Can I use polymeric sand if my patio joints already have weeds in them?
You can, but only after you remove the weeds and any loose, washed-out joint sand. Pull weeds, scrape out weak material, then re-sand and compact so the polymeric sand has solid contact and depth. If joints are mostly voids, you may need to rebuild portions of the base, otherwise the joints can loosen again quickly.
What’s the biggest mistake people make when using a pressure washer on pavers?
Blasting jointing sand out of the gaps. Keep the wand moving, use a detergent setting when appropriate, and rinse in a controlled way, aiming between the joints more than directly into them. Re-fill and re-compact joints afterward if you see sand washing away.
How do I know whether my patio needs base correction versus just more joint sand?
If pavers are rocking, sunken, or you have water pooling in the same spot repeatedly, it often points to base erosion or an incorrect slope, not just joint loss. Joint sand mainly stabilizes the pavers laterally, it usually cannot fix a low section caused by shifting base material.
Should I edge the patio before or after I add plants and mulch?
Do edging and overgrowth removal first, then plant and mulch. That keeps soil from creeping back onto the patio while you work, and it gives you a crisp line to design around. If you mulch first, you can end up with dirt and mulch pushed into the patio edge when you re-cut the border.
How much slope is enough to prevent pooling, and how can I check it?
Aim for about 1/8 inch drop per foot away from the house. To check, use a level and measure from a reference point on the patio near the house to the far edge, or mark string lines at two heights. If you see puddles in the same locations after rain, that’s a sign you may need base correction when you lift pavers.
Are outdoor string lights safe on pavers and near plants?
Use a stable, non-damaging setup and keep connections protected. Tuck cables along edges or paths where feet won’t trip them, avoid running low-voltage or plug cords across wet planting soil, and use outdoor-rated cords and hooks meant for exterior use. If you’re adding shepherd’s hooks, place them where they won’t later interfere with planters.
What plant types are easiest if my patio gets full sun and reflects heat from a wall or house?
Choose drought-tolerant, heat-ready plants and group them by watering needs. Lavender, rosemary, ornamental grasses, sedum, and many herbs hold up well, and grouping them reduces overwatering. Even with tough plants, use larger containers for better moisture stability during hot spells.
How do I avoid a patio that looks like separate pieces instead of one outdoor room?
Treat the rug, seating placement, and planting as one composition. Make sure the outdoor rug is large enough for all front chair legs, repeat a color or plant type in two or more places, and anchor the seating with overhead light or a shade element so the patio has a clear “center” at night.
Can I do the repairs and planting in one weekend without making a mess later?
Yes, but stage it. Do the cleaning, joint work, paver resets, and edging first, then wait for polymeric sand or resurfacer to cure fully before bringing in mulch or heavy planters. After the hardscape is stable, add plants and soil, then do final touch-ups to remove any soil splashes from the patio surface.
When should I choose resurfacing versus replacing pavers or rebuilding the slab?
Choose resurfacing when the slab is sound but looks dated, stained, or rough, and the cracks are more cosmetic than structural. If you have significant movement, widespread heaving, or repeated drainage failure that forces rework, replacement or base correction may be the only durable fix. If you’re unsure, identify whether the cracking pattern suggests movement versus surface wear.
Next Article
How to Transform a Patio: DIY Plan, Materials, Steps
Plan and DIY steps to transform your patio with the right materials, base, drainage, leveling, and finish for your budge