Landscaping around a patio comes down to four things done right: grading so water runs away from the slab, a clean edge that holds its shape, weed control that actually works long-term, and plants sized and spaced for the real conditions on your site. Get those four right and the rest is just personal taste. Skip any one of them and you'll be back out there every spring fixing the same problems.
How to Landscape Around a Patio: DIY Step-by-Step Guide

Nolan Lennox
18 May 2026
Plan the patio edge layout and landscaping goals first
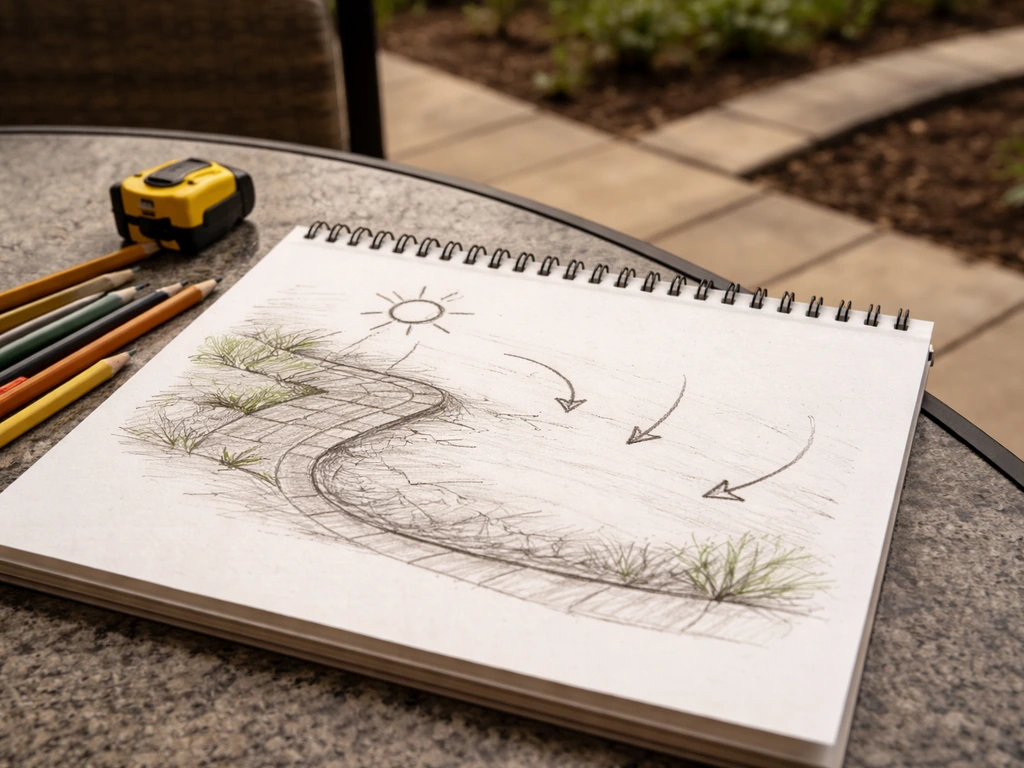
Before you buy a single plant or a bag of mulch, walk around your patio with fresh eyes and ask what each side actually needs. The back edge against the house probably needs drainage more than anything else. The sides might want privacy screening or just a clean transition to lawn. The front edge facing the yard is where you can get creative with planting beds, low borders, or a small path.
Sketch a rough outline on paper. Mark which sides get full sun, which sit in shade, and where water currently pools after a rain. Note any slopes or low spots. Think about how you actually use the patio: do you want plants that block a neighbor's sightline, or do you want an open feel? Are you willing to deadhead flowers every few weeks, or do you want to basically ignore it after year one? These answers drive every material and plant decision that follows.
Also think about the patio surface material itself. If you have concrete pavers or brick, a paver edging border or matching brick mowing strip looks intentional and cohesive. If you have a wood or composite deck adjacent to the patio, you might lean toward natural stone or dark gravel to complement the warm tones. The landscaping should feel like it belongs with the patio, not like two separate projects that happened to end up next to each other.
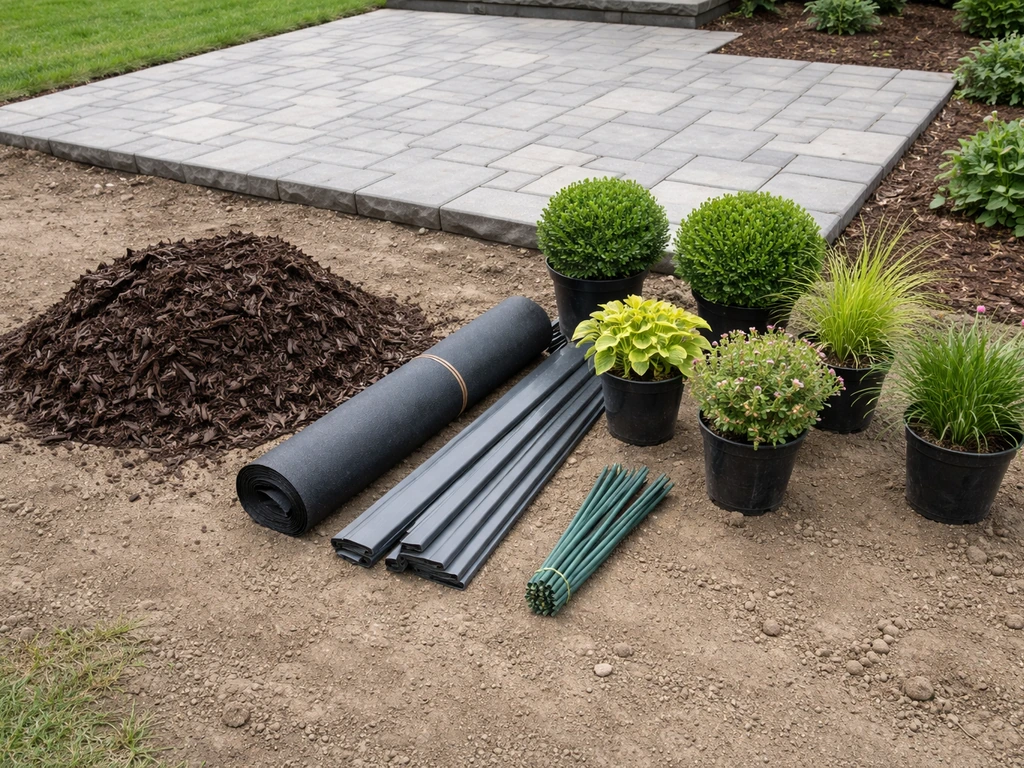
Choose materials that match your patio surface
There is no single right material for the beds around a patio, but there is definitely a wrong way to mix them. The goal is visual continuity and practical performance. Here is how the main options stack up.
| Material | Best Use | Pros | Cons | Rough Cost |
|---|---|---|---|---|
| Bark mulch | Planting beds, shaded areas | Cheap, improves soil, looks natural | Breaks down yearly, can clog fabric, floats in heavy rain | $3–$5 per bag or $25–$45/cubic yard delivered |
| Decorative gravel | Sunny beds, modern or xeriscape look | Permanent, drains fast, no decomposition | Harder to plant through, can spread into lawn | $50–$120/ton depending on type |
| River rock | Borders, drainage channels, accent areas | Durable, decorative, good for drainage swales | Heavy, more expensive, not great for planting beds | $80–$150/ton |
| Brick or paver edging | Formal borders, mowing strips | Durable, matches paver patios perfectly, clean line | Requires setting in sand or concrete, more labor | $1–$4 per brick/paver |
| Steel or aluminum edging | Curved beds, clean lawn transitions | Flexible, invisible when installed, long-lasting | Can shift if not staked well, visible if soil erodes | $1–$2 per linear foot |
| Plastic landscape edging | Budget borders | Very cheap, easy to install | Warps in heat, pops out of ground over time | $0.30–$0.80 per linear foot |
My recommendation: pair the edging material to your patio surface, then choose mulch or gravel based on how much sun the bed gets and how much maintenance you want. Bark mulch in a shaded bed with good shrubs is a classic, low-cost combo. Gravel around a concrete or modern paver patio in full sun reads clean and stays put better through heavy rain. If you have a paver patio and want a seamless look, a soldier course of matching pavers set as a mowing strip along the bed edge is worth the extra day of work.
Prepare the ground and build the patio perimeter
Grade for drainage first, everything else second
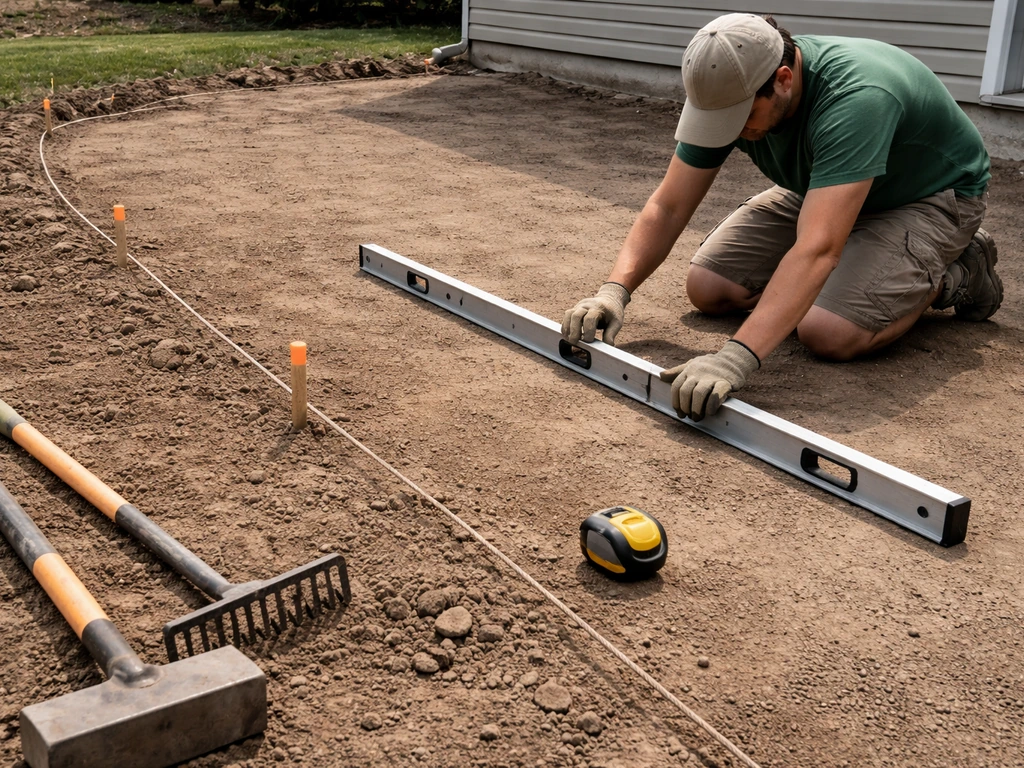
This is the step most DIYers skip, and it causes more long-term headaches than anything else. Any patio installed within about 10 feet of the house should slope away from the foundation at a minimum of 1/4 inch per foot. If your patio already exists and slopes the wrong way, the landscaping around it needs to compensate by grading the surrounding soil to carry water away before it reaches the slab edge. For drainage swales or gravel-filled trenches that channel water away from the patio, maintain at least 1 inch of drop for every 8 feet of run. That sounds subtle, but it is enough to keep water moving.
Use a long level and a tape measure to check your existing grade before you dig anything. If the soil around the patio is flat or pitches toward the house, plan on regrading that area as part of this project. It adds a few hours but saves you from dealing with a soggy patio edge and potential foundation issues for years down the road.
Define the bed edge and install edging
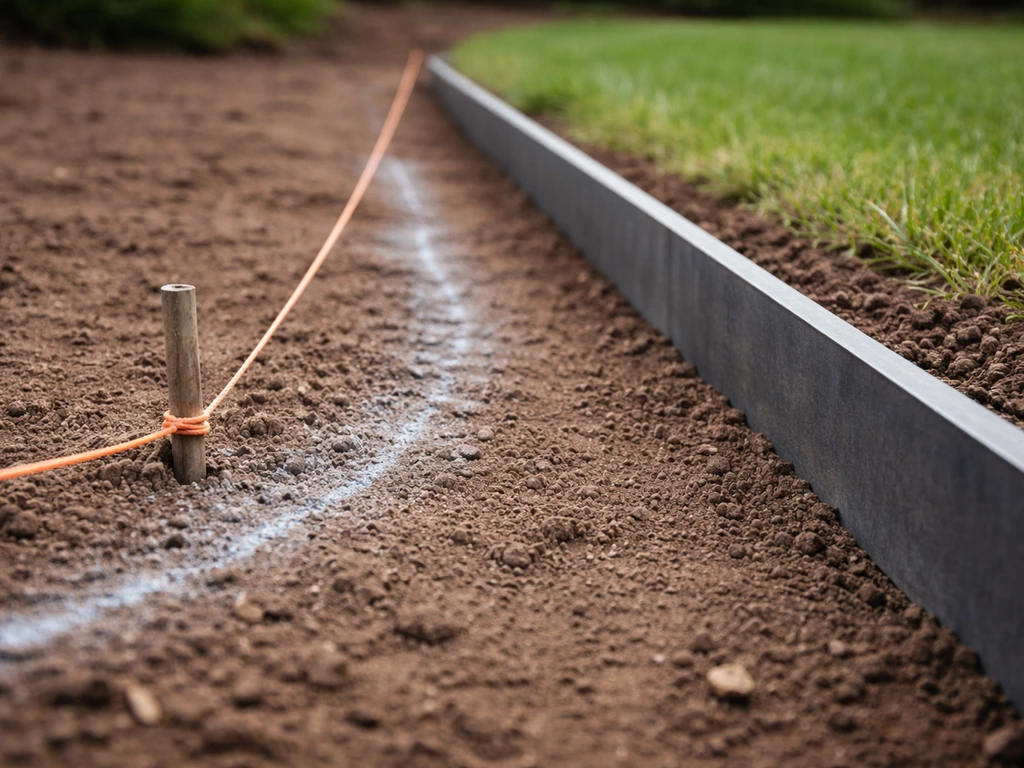
Use a garden hose or string line to lay out the shape of your beds before you cut anything. For straight edges, a chalk line snapped along a taut string gives you a consistent reference. For curves, a hose lets you adjust until the shape looks right from multiple angles. Once you like it, cut the edge with a flat spade or a rented bed edger. Go about 3 to 4 inches deep so the edging material has something solid to sit against.
Install your chosen edging material at this stage, before you lay fabric or mulch. If you are setting brick or pavers as a mowing strip, bed them in a thin layer of compacted sand at the same level as the lawn so a mower wheel can roll over them. If you are using steel or aluminum edging, drive the stakes every 18 to 24 inches so it does not bow outward when soil and mulch press against it.
Weed control: what actually works
Landscape fabric does suppress weeds by blocking sunlight, and a quality semipermeable fabric does let water through. But it has real long-term limitations. Over a few years, organic debris (leaves, decomposing mulch) builds up on top of the fabric and creates a thin layer of soil where weeds happily root above the barrier. In planting beds with lots of organic mulch, fabric can also reduce water and air flow to the soil and negatively affect soil biology over time. In planting beds with lots of organic mulch, long-term landscape fabric use can become problematic because it can reduce water and air flow to the soil and negatively affect soil biology. My honest take: use landscape fabric under gravel or river rock where you are not planting much, and skip it in active planting beds where you will be digging every season. In planting beds, a 3 to 4 inch layer of bark mulch renewed every one to two years controls weeds nearly as well without the long-term fabric problems.
Where you do use fabric, overlap seams by at least 6 inches, pin it every 12 inches, and cover it promptly with 2 to 3 inches of gravel so UV light does not degrade it. Do not let fabric edges poke up at the patio border, because that is where weeds sneak in first.
Pick plants that match what your site actually offers
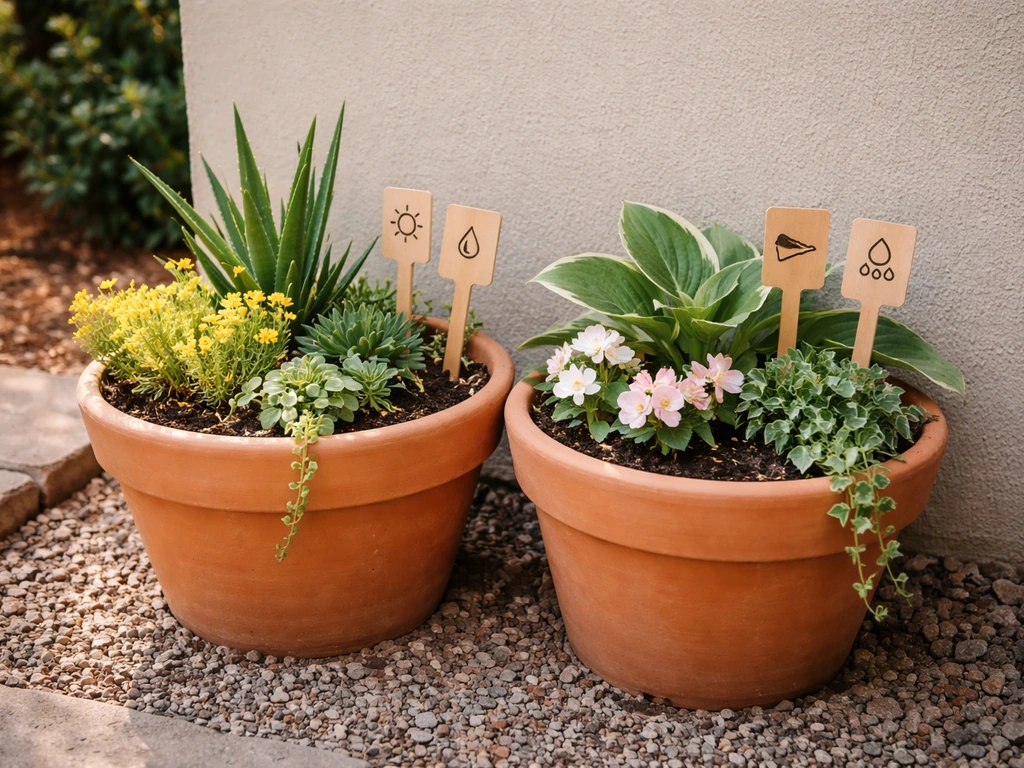
The most common planting mistake around patios is buying plants that look good at the nursery and are completely wrong for the spot. Before you shop, know these four things: how many hours of direct sun the bed gets per day, whether the soil is clay, sandy, or loamy, how much rainfall your area averages, and how much time you want to spend on maintenance. Be honest about that last one.
Match plants to sun and soil
- Full sun (6+ hours): ornamental grasses, lavender, black-eyed Susan, sedum, salvia, Russian sage, catmint
- Part sun (3–6 hours): astilbe, coral bells (heuchera), hostas on the shadier end, coneflower, daylily
- Full shade (under 3 hours): hostas, ferns, tiarella, hellebore, sweet woodruff as a groundcover
- Clay soil: choose plants tolerant of wet feet in spring, like red twig dogwood, Joe Pye weed, or switchgrass
- Sandy or fast-draining soil: lavender, sedum, ornamental grasses, and most Mediterranean herbs thrive here
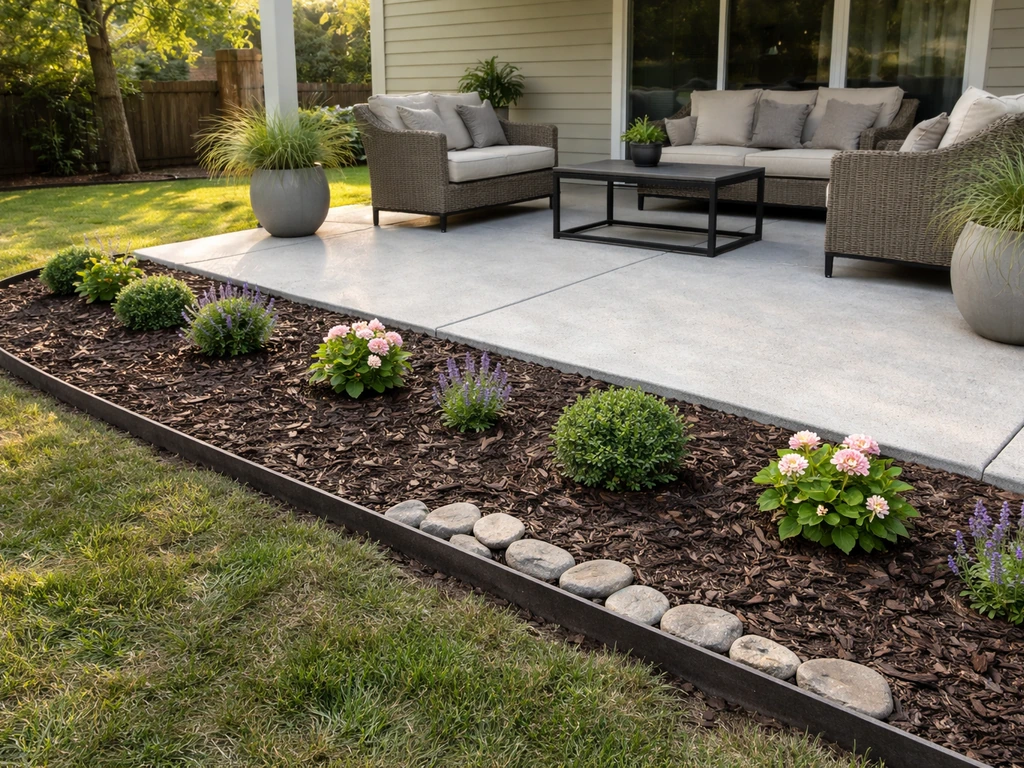
Layer beds for a finished look
A planting bed that looks finished follows a simple layering rule: tall plants at the back (or center if the bed is viewed from all sides), medium plants in the middle, and low edging plants or groundcover at the front near the patio edge. A typical narrow patio bed that is 3 to 4 feet deep might use a 3-foot ornamental grass or upright shrub at the back, a 18-inch perennial in the middle, and a creeping thyme or low sedum right at the edge. Space plants based on their mature spread, not their nursery pot size. Crowding them now means you are digging and dividing in three years.
For a low-maintenance approach, fill in between plants with a groundcover rather than leaving bare mulch. Creeping thyme, ajuga, or sedum spread to cover bare spots, reduce weeding, and look intentional. If you want to go even lower maintenance, a combination of ornamental grasses with a gravel mulch around the base requires almost nothing after the first season once plants are established.
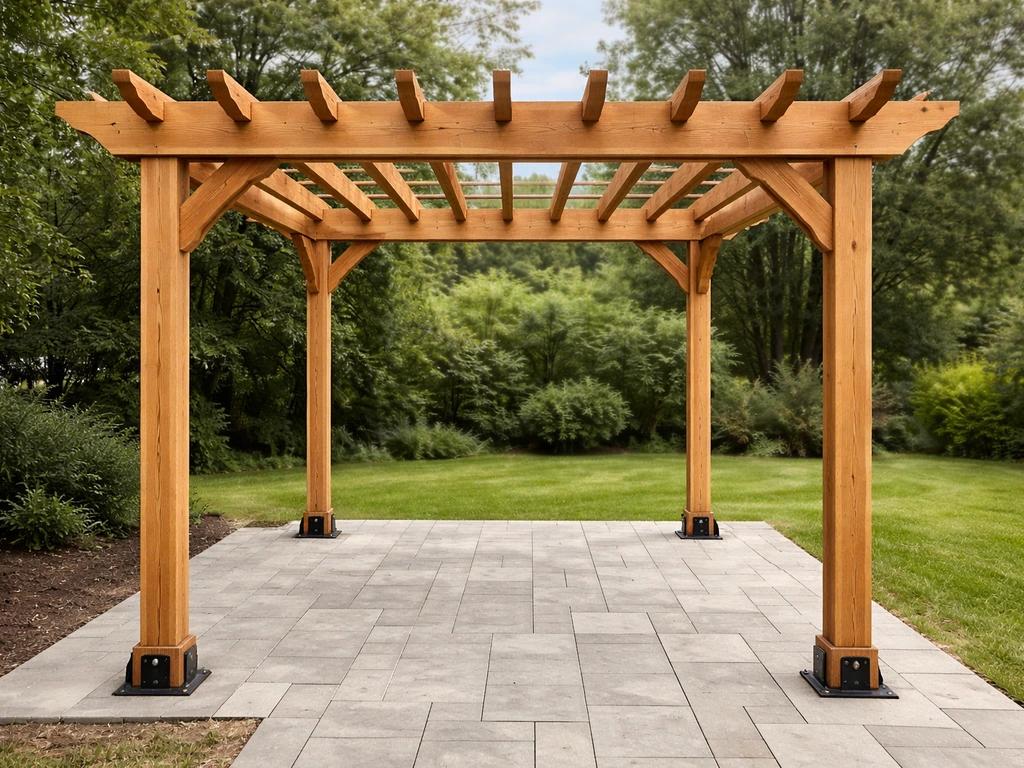
If your patio is built around or near a large tree, plant selection gets more specific because root competition and shade change the math considerably. If your patio has to work around tree roots, you will need to plan the surface and base so you do not damage the roots or create voids that can lead to shifting large tree. That situation deserves its own planning approach, and the same goes if you are working around an existing structure like an arbor over the patio, which changes sun patterns through the day. If you want to build an arbor over a patio, plan the structure for clearance, sun and shade, and how it will affect the bed layout an arbor over the patio.
Add hardscape touches that pull the whole look together
Hardscape features around a patio are optional but they make the landscaping feel finished in a way that plants alone cannot. Even one or two small additions make a real difference. Here are the most practical ones to consider.
Small paths and step transitions
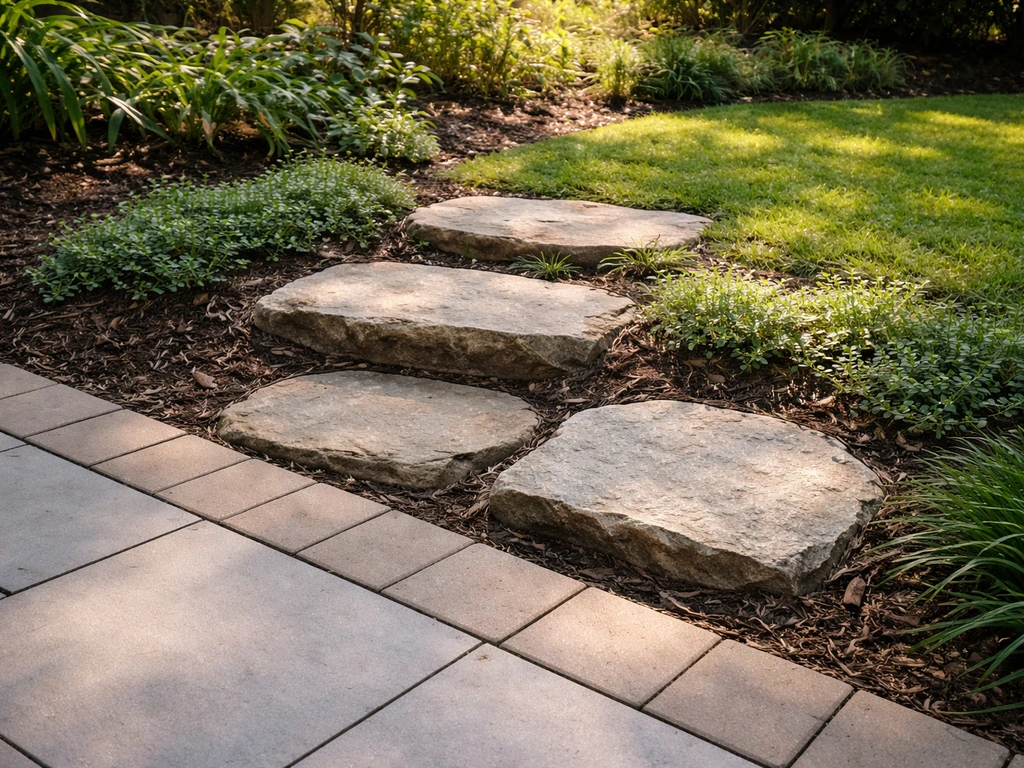
If your patio sits at a different grade than the surrounding lawn or garden, even a 4-inch drop, adding a single stepping stone or a small set of steps at the transition prevents that awkward step-off and reduces edge erosion. Use the same material as the patio if possible, or match the color family. A set of two or three flagstone steps costs very little and looks like it was always part of the design.
A simple stepping stone path leading from the patio edge into the garden or to a side yard gate adds function and helps protect the lawn from foot traffic wear. Lay stones 18 to 24 inches apart (center to center) to match a comfortable walking stride, and bury them so the top surface sits flush with or slightly above the lawn grade.
Seating borders and raised edges
A low retaining wall or raised planting border at the patio perimeter serves double duty: it defines the space and creates informal seating. A 12 to 18-inch tall wall of natural stone, concrete block, or landscape timbers works well. Keep the cap flat so people can actually sit on it. This kind of border also solves a grading problem if the yard is higher than the patio on one side.
Outdoor lighting
Low-voltage landscape lighting along the patio border is one of the highest-return upgrades you can add. Path lights staked into planting beds every 6 to 8 feet, or uplights aimed at a focal plant or feature, transform the patio at night. Most low-voltage LED kits are straightforward DIY projects with plug-in transformers and connectors that do not require any electrical experience. Install the wiring before you lay final mulch or gravel so you are not digging back through finished beds.
DIY installation: the right order to do everything
Sequence matters more than most people realize. Doing steps out of order means redoing work. Here is the workflow that makes this project go smoothly from start to finish.
- Mark out all bed edges and hardscape features with a hose or spray paint before breaking ground
- Check the grade around the patio with a level and regrading any areas that slope toward the house or the slab edge
- Install any drainage features (gravel trenches or swales) at this stage, before planting beds are shaped
- Cut and define bed edges with a spade or edger along your marked lines
- Install permanent edging material (brick, steel, or aluminum) and compact it into place
- Add any hardscape features: steps, retaining walls, path stones, and seating borders go in now while the area is clear
- Rough-grade the soil inside bed areas, removing debris, rocks, and old roots
- Run low-voltage lighting wire in conduit or direct-bury cable along planned paths through the beds
- Install landscape fabric if using it (primarily under gravel areas, not planting beds)
- Plant your largest plants first (shrubs, grasses), then medium perennials, then groundcovers at the edges
- Water all plants in thoroughly and let them settle for a day before mulching
- Spread mulch or gravel to a depth of 3 inches in planting beds, keeping it 2 to 3 inches away from plant stems
- Connect and test lighting fixtures, adjusting angles before final stake-in
- Touch up any disturbed edges and top off the patio joint sand if any bedding sand migrated during grading work
Budgeting, timing, and mistakes worth avoiding
What this project realistically costs
A basic patio landscaping project around a 200-square-foot patio, including edging, mulch, and a modest plant selection, runs somewhere in the $300 to $700 range for materials if you DIY the labor. Add gravel instead of mulch and it can push toward $500 to $900 depending on gravel type and delivery fees. Lighting kits add $80 to $250 for a basic low-voltage system. A small retaining wall or raised border from natural stone can run $200 to $600 in materials alone depending on size. The big cost variable is plants: one small shrub from a big-box store is $15 to $30, while the same plant from a specialty nursery in a larger pot might be $40 to $75. Buying smaller plants and letting them establish saves money but requires patience.
Best time of year to do this
In most parts of the country, late spring (right now, mid-May through June) is ideal for planting because soil temperatures are warm and roots establish quickly before summer heat. Fall (September through October) is the second-best window, especially for perennials and shrubs. Avoid planting in peak summer heat unless you are prepared to water daily for several weeks. Hardscape work like edging, grading, and laying gravel or pavers can happen any time the ground is not frozen.
Mistakes that come back to haunt you
- Skipping the grading step: water pooling at the patio edge leads to settled joints, heaving pavers, and eventually foundation concerns if the patio is close to the house
- Using landscape fabric in planting beds long-term: it becomes a weed trap above the fabric surface and hurts soil health over time
- Buying plants at mature size in a small bed: a shrub that says '5-foot spread' at the tag will eventually swallow your patio edge and need removal
- Mismatching edging materials: plastic edging in a formal brick patio setting looks like an afterthought and pops out within a season or two
- Leaving gaps at the patio edge: any gap between the patio slab or pavers and the bed edge becomes a weed highway and an erosion point; fill it with polymeric sand or mortar depending on patio type
- Not anchoring edge restraints properly: paver edge restraints that are not staked every 12 inches will drift outward under freeze-thaw cycles, letting bedding sand migrate out from under the pavers
- Mulching too deep: more than 4 inches of mulch smothers plant roots and creates a soggy mat that breeds disease; 3 inches is the practical maximum
- Planting too close to the patio surface: roots and rhizomes from aggressive plants will eventually undermine paver edges or crack concrete; keep vigorous spreaders at least 12 to 18 inches back from the hard edge
The good news is that none of these mistakes are unfixable, but most of them are a lot easier to get right the first time than to correct later. Take an extra hour at the planning and grading stage and you will save multiple weekends of repair work down the road. Once the edging is set, the grade is right, and the first season of plants is in the ground, this kind of landscaping takes very little ongoing work and genuinely improves with age. Mutual Materials also recommends screeding bedding sand to about 1 inch and then sweeping joint sand in to completely fill joints to help lock the pattern and prevent movement.
FAQ
How close can the landscaping bed be to the patio edge without causing drainage or weed issues?
Keep mulch or gravel beds tight to the patio, but avoid burying or trapping water at the joint. If your patio has paver joints, leave the weep gaps uncovered, and keep mulch at least 2 to 3 inches away from any expansion joint or seat where water might stagnate. If you’re creating a graded trench for drainage, feather soil and gravel out gradually so runoff moves away instead of hitting the slab edge.
What’s the best edging option if I’m using pavers or brick, and I want a clean mowing line?
A soldier course made from matching pavers is the most seamless option when your patio is already paver-based. If you want a faster build, use a mowing strip with a flat top that sits at or just slightly above lawn grade, bedded in compacted sand so it doesn’t heave when stepped on or mowed over. Match color and height, otherwise the transition looks accidental even if it’s functional.
Should I use mulch or gravel around the patio in hot, full sun?
In full sun, gravel stays cooler than you might expect but it dries fast and can feel hotter at the surface, so choose it when you want low maintenance and fewer plant failures. Mulch works well too, but only if you maintain depth (commonly 3 to 4 inches) and refresh it periodically, otherwise it can thin out and allow weeds and soil temperature swings. If you have small children or pets using the patio area, gravel can be uncomfortable compared with mulched beds.
How do I stop weeds if I want groundcover but also want to reduce maintenance?
Plant groundcover densely enough that bare soil closes quickly, then control weeds at the start, before the cover spreads. Remove existing weeds and their roots, consider sheet mulching or a single season of selective herbicide if you’re dealing with heavy perennial weeds, then install the cover and mulch (only lightly if the groundcover is slow to establish). Over time, top up mulch only where groundcover is sparse, because piling mulch against crowns can smother some species.
Is landscape fabric ever a good idea around a patio planting bed?
It can work under river rock or gravel where you’re not digging frequently, but in active planting beds it often becomes a problem over years because debris and soil build up on top. If you do use fabric, overlap seams at least 6 inches, pin it tightly, and cover it with 2 to 3 inches of decorative rock so UV breakdown is minimized. Plan on lifting fabric during major plant changes, since it can interfere with root access and soil amendments.
How can I tell whether the soil around my patio needs regrading before I start?
After a rain, watch where water pools and how long it takes to drain. Also do a simple level check at multiple points across the patio perimeter, not just one spot, because slopes can be uneven. If water collects within about a foot of the slab edge or runs toward the house, that’s a strong sign you need to reshape the surrounding grade and possibly add a swale or gravel channel to redirect flow.
What should I do differently if the patio is near a large tree?
Root competition changes both plant choice and hardscape planning. Avoid cutting or digging too close to major roots, and choose plants that tolerate root pressure and shade if needed. For the patio base, use an approach that prevents creating voids around roots that can lead to shifting; if you suspect root damage or uplift, consider professional input before adding trenches or deep edging.
How do I space plants correctly so I don’t end up crowding them later?
Space based on mature width, not what they look like in a small nursery pot. A practical method is to set your first plant positions using the labeled mature spread and then walk the spacing from the patio to see if it looks balanced at eye level. If you’re unsure, slightly wider spacing is safer, because crowded plants often become harder to weed and prune, and they may reduce airflow and increase disease.
What’s the simplest low-maintenance planting layout for a narrow patio bed?
Use the “tall-back, medium-middle, low-edge” structure, then fill gaps with a groundcover that spreads to cover bare soil quickly. For a 3 to 4 foot deep bed, you can pair one upright shrub or ornamental grass behind with a couple of medium perennials in the center, then place a low edging plant right at the patio boundary. Finish with a mulch that matches your sun conditions, or gravel only where you’re not relying on frequent top-dressing.
Can I install lighting around a patio without disturbing my finished beds?
Yes, but wire routing is the key. Plan the cable path before final mulch or gravel, and run conduit or cable in shallow trenches so you don’t have to dig again after plants are established. Use a transformer and connectors sized for your kit, then place path lights in beds while the soil is still accessible, spacing them consistently (commonly 6 to 8 feet for path lights).
What size landscaping project around a patio is worth DIY versus hiring out?
DIY is usually fine for edging, weed control, mulch or gravel, and planting. Consider hiring out or at least consulting for major drainage corrections, retaining walls above about 18 inches, work near mature tree roots, or any grading that impacts foundation runoff patterns. If you’re already unsure about slopes during a rain test, that’s often a signal to bring in a pro for a quick drainage plan.
Next Article
How to Build an Arbor Over a Patio: DIY Step-by-Step
Step-by-step guide on how to build an arbor over a patio, with anchoring, framing, materials, and weatherproof finishing