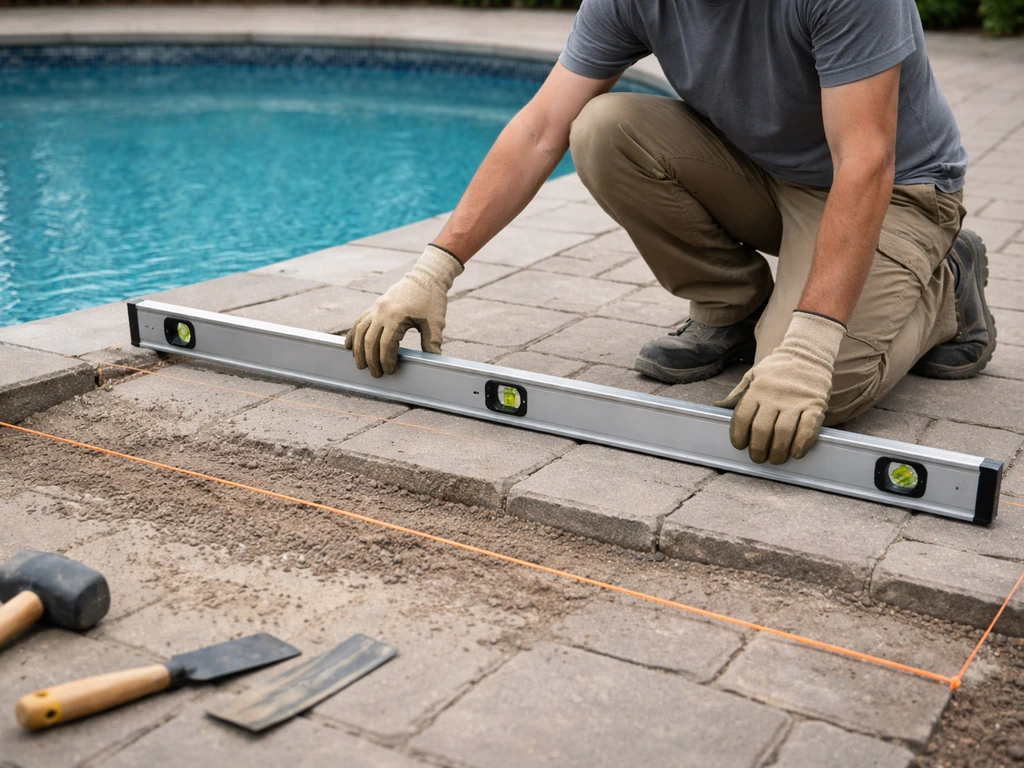
Set your laser level on a stable tripod, establish a reference height at the house, dial in a 1/4-inch-per-foot drainage slope away from the structure, and then use a grade rod with receiver to mark that slope at every stake, screed rail, and base check as you build. That's the whole workflow. The rest is just doing it carefully and not skipping the re-checks.
How to Use a Laser Level for Patio Grading and Layout

Nolan Lennox
8 Jul 2026
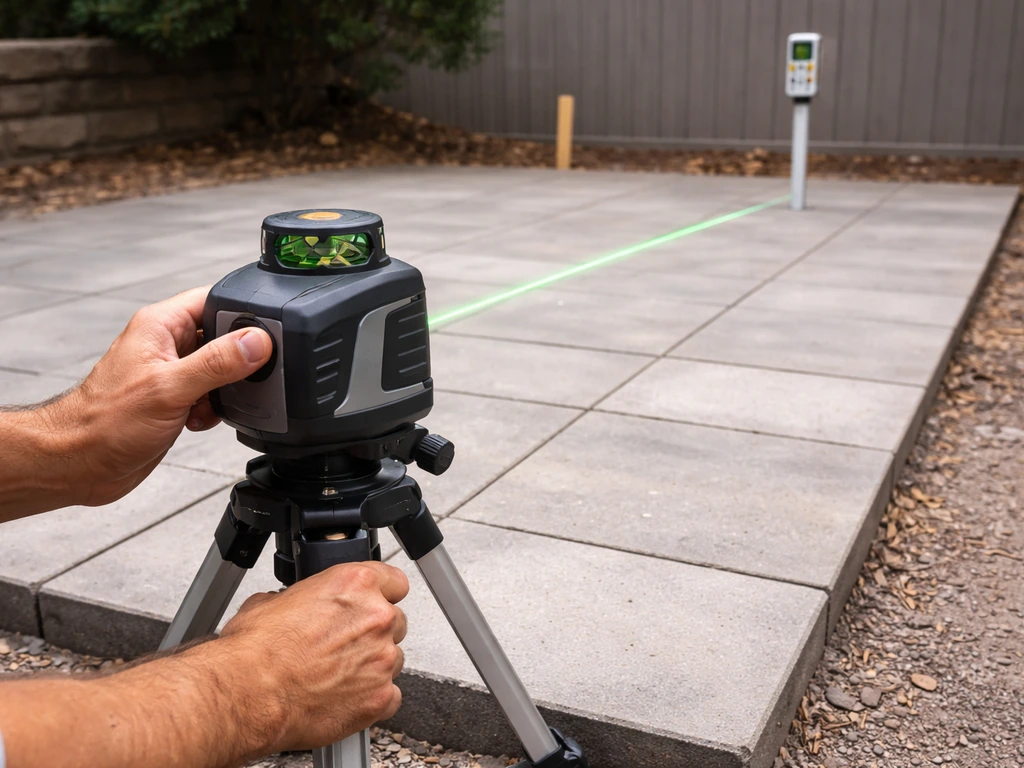
A laser level is one of those tools that seems complicated until you use it once. After that first patio build where I tried to eyeball slope with a 4-foot level and a string, I never went back. A rotary laser with a receiver takes the guesswork completely out of drainage, base depth, and finished surface height. This guide walks you through every stage, from picking the right unit to screeding your final bedding layer.
Choosing the right laser level for patio work
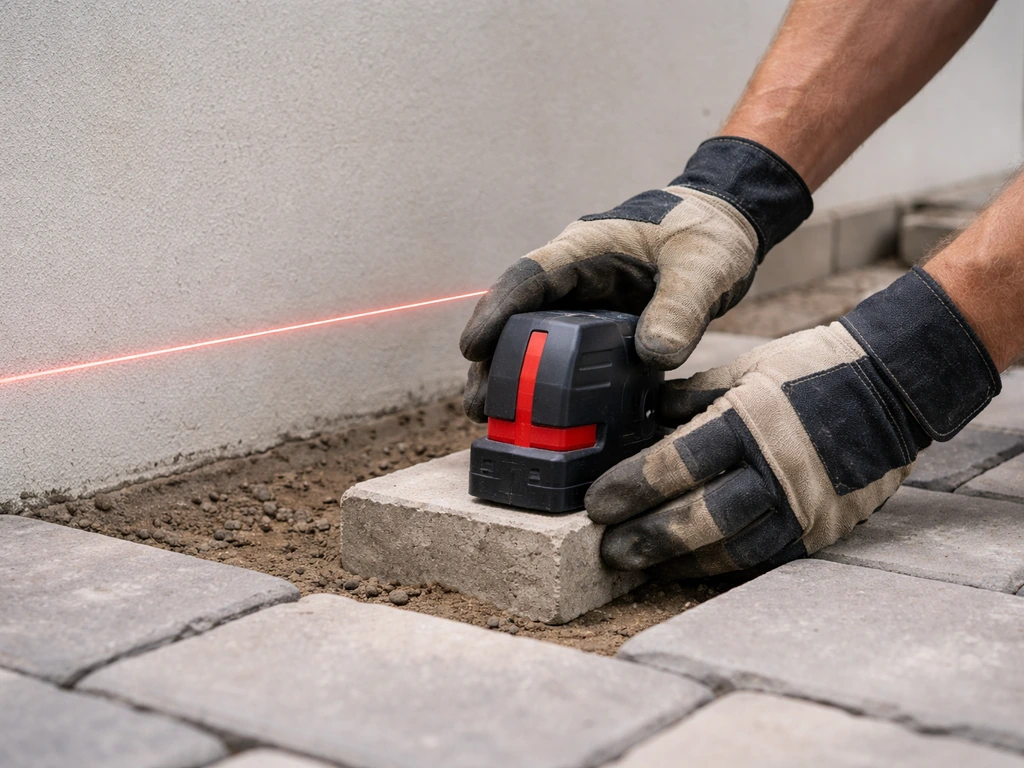
For most patio builds, you have two realistic choices: a line laser or a rotary laser. A line laser (the kind that projects a single horizontal line across a wall) works fine for small indoor projects, but outside in daylight it's nearly useless without a tinted lens or dark glasses, and its range is too limited for anything larger than a small deck surround. For a patio, you want a rotary laser.
A rotary laser spins the beam 360 degrees, creating a continuous horizontal plane across your entire work area. Paired with a handheld receiver (also called a detector), you can read the beam in full daylight at distances that far exceed any residential patio. Units like the Bosch GRL4000-80CHV have a working range up to 4,000 feet with a receiver and hold accuracy to within 1/16 inch at 100 feet horizontally. For a 20x20 patio, that precision is more than adequate. The Northwest Instrument NRL800XK is another solid option with similar specs and a built-in grade-setting function that lets you dial in slope up to 8%, which covers far more than the 2% you need for patio drainage.
If you're only doing one patio and don't want to buy, most tool rental yards carry rotary lasers with receivers for around $50-75 per day. That's almost always the right move for a one-time build. If you're planning multiple projects, a mid-range self-leveling rotary laser in the $300-500 range pays for itself quickly.
One thing worth noting: if your patio involves significant steps or a multi-level layout, a slope-capable rotary laser makes the grade transfer between levels much easier. For a straightforward single-level patio sloped away from the house, a basic self-leveling rotary with a receiver is all you need. The self-leveling range on most units is around plus or minus 5 degrees, which handles any reasonable terrain. A product listing for a rotary self-leveling laser states a self-leveling range of ±5°.
Setup basics: tripod, target surfaces, and baselines
Good setup is where accurate work starts. A shaky tripod or a poorly chosen position will undermine every measurement you take from that point forward.
Where to put the tripod
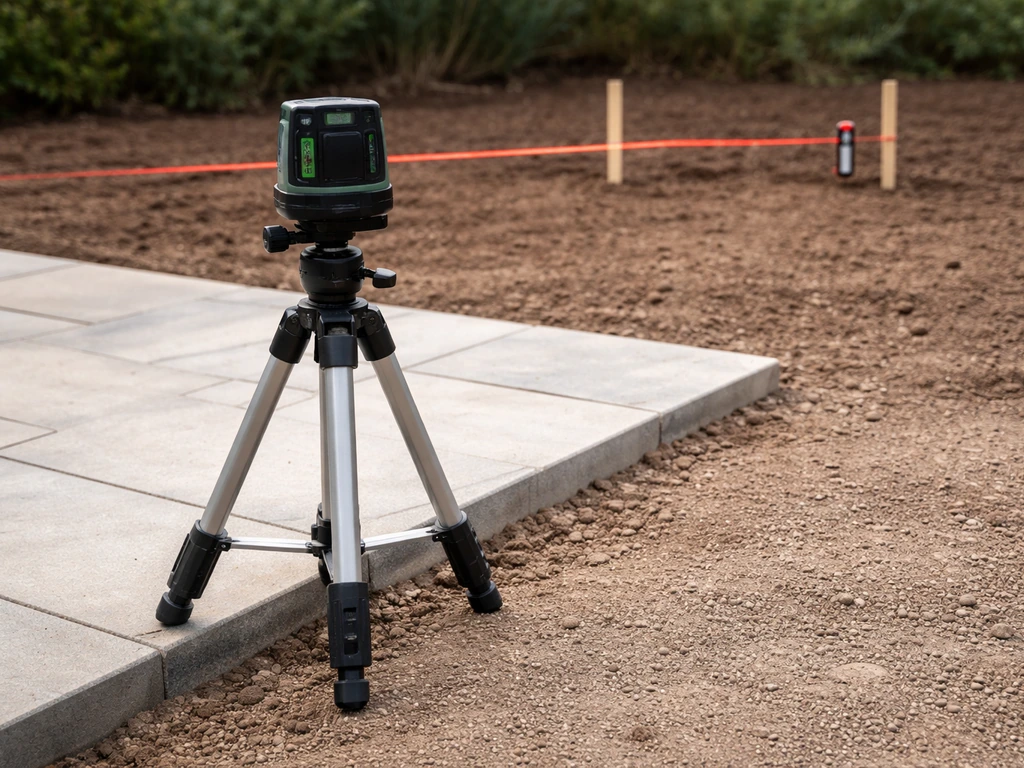
Plant the tripod on firm, stable ground just outside your patio area, not on soft soil or mulch. If the ground is soft, drive a piece of 2x4 flat into the soil and set the tripod feet on that. The tripod needs to stay in exactly that spot for your entire grade-marking sequence. Even a small shift resets your reference height and invalidates all previous marks. Keep it away from foot traffic paths and clearly mark it with flagging tape so nobody bumps it.
Height-wise, set the tripod so the laser sits roughly mid-height relative to your stakes and receivers. Too low and you'll get ground-level interference; too high and receiver readings become awkward. About 3 to 4 feet off the ground is a comfortable working height for most patio builds.
Letting it level and establishing your baseline
After you mount the laser and turn it on, wait for it to fully self-level before taking any readings. Most units signal readiness with a solid indicator light rather than a flashing one. Give it at least 30 seconds after the light stabilizes. If the unit is on a slope exceeding its self-leveling range (usually plus or minus 5 degrees), it will flash an error. Fix the tripod before you do anything else.
Your baseline is the reference height the laser is shooting from. Walk to the house wall or a known fixed point (a door threshold works well) and hold your grade rod against it. Slide the receiver up or down until it beeps on the beam center and note that rod reading. Write it on a piece of tape and stick it to the tripod leg. This number is your starting elevation, and everything else is calculated from it.
How to mark grade with a laser level (slope, drainage, and measurements)
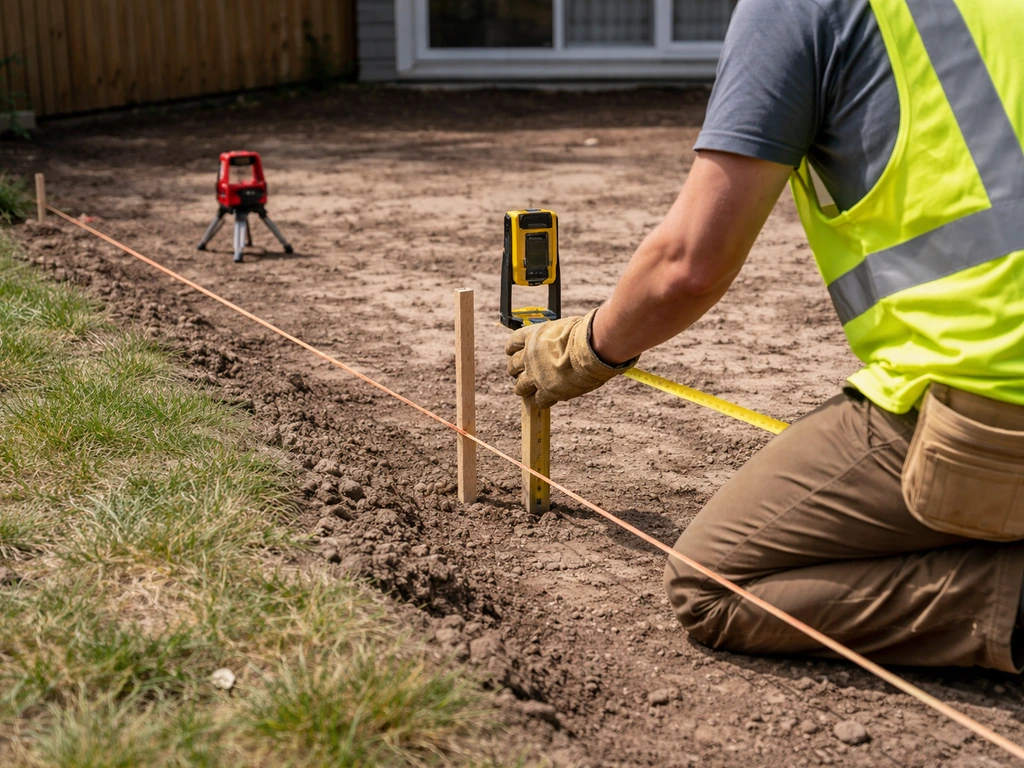
Drainage is the most important thing you'll build into a patio, and the laser is your tool for getting it right. The standard for patio drainage is 1/4 inch of drop per linear foot, running away from the house. That works out to a 2% slope. It looks almost flat to the eye but moves water reliably off the surface.
Calculating your slope numbers
The math is straightforward. Multiply the length of your patio (in feet) by 0.25 inches to get the total drop from the house edge to the outer edge. A 16-foot-deep patio needs 4 inches of total drop (16 x 0.25 = 4 inches). A 20-foot patio needs 5 inches. That's the difference in elevation between the high point (near the house) and the low point (the outer edge).
Since your laser is shooting a perfectly level plane, you use the rod readings to account for that slope. At the house, your receiver hits the beam at a certain rod reading, say 48 inches. At a stake 16 feet out, you want finished grade to be 4 inches lower, so the correct rod reading at that outer stake is 52 inches (48 + 4). The laser plane is flat; you're using the changing rod numbers to represent the sloped surface underneath it.
Setting and marking grade stakes
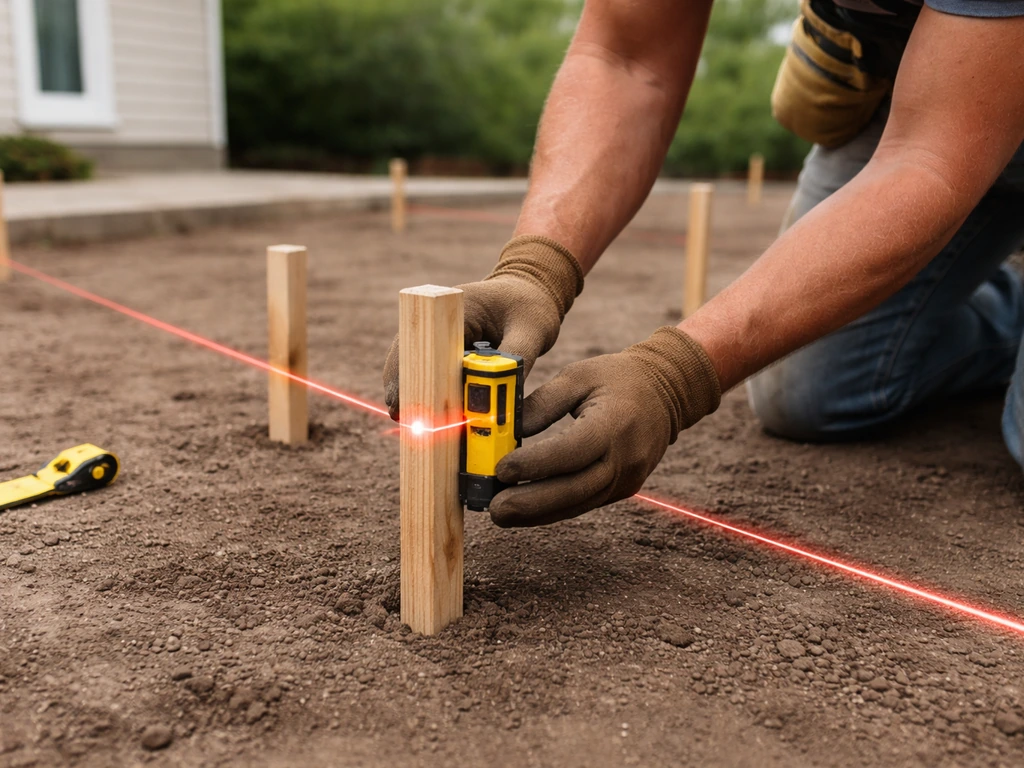
Drive wooden grade stakes every 4 to 6 feet across the patio footprint in a grid pattern. At each stake, hold the receiver on the rod, slide it until it reads center on the beam, and mark the stake at the rod's base. Then calculate what the finished grade height should be at that point using your slope numbers, measure up or down from the laser mark, and make a second mark on the stake showing target finished grade. A contractor's pencil works; colored marking flags work even better.
Periodically return to your original reference point at the house and re-check that your receiver still reads the same number as before. This confirms the tripod hasn't moved and your grade control is still solid. Do this every 20 to 30 minutes or any time someone walks near the tripod.
Transferring layout: stringline vs laser lines for edges, steps, and borders
Once you have your grade stakes marked, you need to define the perimeter and any internal lines (borders, step edges, pattern breaks). You have two options: run physical stringlines between stakes, or use the laser itself as a line reference. In practice, most DIYers use a combination of both.
Stringlines are best for perimeter edges and any straight layout lines that need to be visible while you're kneeling and placing material. Tie strings at finished-grade height between corner stakes and let them run along the patio boundary. These become your constant visual reference for edge alignment and surface height as you work.
The laser is better for checking grade across the middle of the patio where a stringline would sag or get in the way. Use the receiver on a rod to spot-check any point across the entire field, not just at the string. This is especially useful during base installation and screeding, when you're moving material around and want to verify height quickly without pulling a string.
For step transitions, whether you're adding a raised border or building a patio with a step down to a lower level, mark both the upper and lower finished grades on stakes at the transition line. The height difference between those two marks is your step riser height. Use the laser to confirm both levels are consistent across the full width of the step, not just at the corners. This is especially important if you're tying into an existing structure. If you're planning a full multi-level patio build, the grade-setting process becomes more involved, but the laser workflow is the same: establish a reference, calculate the target elevation at each level, and mark it out before you dig. After you establish the reference height, repeat the same slope and drainage checks at each tier so your upper and lower levels transition cleanly how to build a multi level patio.
Using the laser level during excavation and base installation
This is where the laser earns its keep. Excavation depth is easy to overshoot, and an uneven base causes uneven pavers, concrete cracking, and drainage problems. The laser lets you check depth constantly without stopping to measure from the surface.
Excavation depth control
Before you dig, calculate your total excavation depth. For a paver patio, that's typically 4 to 6 inches of compacted gravel base plus 1 inch of bedding sand plus the paver thickness (usually 2 to 3 inches), for a total of 7 to 10 inches below finished grade. Mark that total depth on your grade stakes below the finished-grade mark.
As you excavate, drop your grade rod into the hole periodically and read the receiver. If your finished-grade rod reading was 48 inches at the house and your total excavation depth is 8 inches, then when the receiver reads 40 inches (48 minus 8) at the bottom of the hole, you're at the right excavation depth. Dig, check, adjust. Don't try to nail it in one pass.
Base material installation
After excavation, add and compact your gravel base in 2 to 3 inch lifts. After each compacted lift, check the surface elevation with the rod and receiver. You're building up to a target: the bottom of your bedding sand layer. Keep the slope running consistently through the base. If one corner of the base is 1/2 inch too high, your pavers will reflect that unevenness on the finished surface.
Drive short hub stakes (pieces of rebar or wooden dowels work fine) into the compacted base at your calculated top-of-base elevation and use these as screed height guides for the base layer itself. The laser makes setting these hubs fast: hold the receiver at the target rod reading and push the hub down until its top aligns with the receiver's center mark.
Using it for finishing levels: pavers, brick, concrete, and boards
The final layer is where slope precision shows up directly in how your patio looks and drains. The approach varies slightly by material.
Pavers and brick
For pavers, you're screeding a 1-inch bedding sand layer to finished grade minus paver thickness. The standard method is to set two parallel screed rails (metal conduit pipe works perfectly) at the correct elevation and drag a straight 2x4 across them to level the sand. Use your laser and receiver to set each rail's height precisely before you screed. Once your grade and drainage are set, you can use the same laser workflow to level patio furniture stands so everything sits solidly and drains correctly Use your laser and receiver to set each rail's height precisely before you screed. Place the rail, hold the receiver next to it at the target rod reading, and adjust the rail up or down until the receiver hits center. Once both rails are set, screed, pull the rails, and fill the channels with sand.
After screeding, do not walk on or disturb the sand bed. Set pavers directly from the edge and work forward. After every few rows, drop your receiver to the paver surface to confirm you're tracking your slope correctly. If a section starts drifting high or low, it's usually a sand thickness issue that a rubber mallet tap or a light re-screed can fix before it gets worse.
Concrete
For a concrete pour, set your form boards at finished grade height. Use the laser to verify each form board is at the exact correct elevation, including maintaining the slope across the full length. A form that's 1/4 inch too high on one end creates a visible and functional problem. Check every 4 feet along the form. During the pour, use the laser to spot-check the screed bar height relative to forms, and do a final pass with the rod after screeding to confirm the surface is tracking the intended slope.
Wood and composite decking boards
For wood or composite patio floors attached to a ledger or sitting on post footings, use the laser to confirm joist heights are consistent and that the slope (if any) is correct before fastening. Set the beam at the target finished-surface height minus board thickness and use the receiver to set each joist crown height. This is especially important at the outer edge of the structure, where settling or footing irregularities tend to show up.
Common mistakes and troubleshooting for accurate patio grades
Most laser level errors on patio projects come down to a handful of repeating problems. Here's what to watch for and how to fix each one.
| Mistake | What goes wrong | The fix |
|---|---|---|
| Slope running toward the house | Water pools against the foundation | At setup, confirm your rod readings increase (higher number) as you move away from the house, not decrease |
| Moving the tripod mid-session | All subsequent marks are off by the shift amount | Mark tripod feet with stakes or tape, re-verify at the reference point before continuing |
| Confusing level with slope | You screed flat instead of pitched, patio holds water | Remember: the laser plane is level; the slope lives in your rod number calculations, not the beam |
| Using a red laser outdoors without a receiver | Beam invisible in sunlight, leads to guessed readings | Always use the receiver/detector outdoors; never try to eyeball a rotating beam in daylight |
| Reading the receiver at an angle | Parallax error shifts the apparent beam center | Hold the rod plumb and read the receiver straight on, not at an angle to the beam |
| Not re-checking as you add material | Base creep, compaction shift, and screed errors go unnoticed | Check with the receiver every 4 to 6 feet and after each compacted lift, not just at setup |
| Skipping the calibration check | Tool is out of spec from shipping or impact, all readings are systematically off | Do a quick two-point check before each session: read the beam at 10 feet and at 50 feet from the tripod and confirm readings are consistent |
One mistake that catches a lot of DIYers: the laser's self-leveling mechanism needs a moment to stabilize after you move or adjust the unit. If you rush and take a reading while the unit is still settling, you'll get a slightly off number. Always wait for the ready indicator before reading. Bosch manuals specifically note that a rapidly flashing indicator means the unit is still leveling. Patience here costs nothing and saves you from re-doing stakes.
Your do-this-next workflow
If you're standing in your backyard right now ready to start, here's the order of operations that works every time.
- Set up the tripod on firm ground outside the patio footprint, mount the laser, and wait for full self-leveling stabilization before touching anything else.
- Walk to the house wall and establish your baseline rod reading. Write it down and tape it to the tripod.
- Calculate your target rod readings at every stake location using the 1/4-inch-per-foot slope formula.
- Drive grade stakes in a grid every 4 to 6 feet across the whole patio area, mark laser beam height on each, then mark finished grade height based on your slope calculations.
- Stretch stringlines at finished grade between corner stakes to define the perimeter.
- Excavate to total depth (base + sand + paver/material thickness), checking bottom-of-hole elevation with the receiver as you go.
- Add and compact base gravel in 2 to 3 inch lifts, checking surface elevation after each compacted lift.
- Set screed rail heights with the laser, screed bedding sand or form boards to finished grade minus material thickness, and verify slope is tracking correctly.
- Place pavers, pour concrete, or fasten boards. Spot-check the finished surface elevation every few feet with the receiver.
- Before calling it done, do a full perimeter re-check with the receiver to confirm slope is consistent from house edge to outer edge.
The laser level doesn't make patio work effortless, but it does eliminate the two biggest sources of frustration: drainage that doesn't work and a finished surface that looks wavy. If you are planning how to level patio for pool areas specifically, the same laser-based drainage workflow and slope checks still apply drainage that doesn't work. Once you've used one on a real build, the workflow becomes second nature fast. Get the tripod solid, trust your rod numbers, and re-check often. That's all there is to it.
FAQ
Do I set the laser to finished paver height, or to the top of the base/bedding sand?
No. The slope you set is usually measured from the house outward at finished grade, but you still need to account for paver thickness and bedding sand. A quick way to avoid confusion is to mark two targets on stakes: the finished surface height, and (separately) the top of bedding sand, then always set rails and screed to the sand target, not the paver target.
How do I use a laser level when my patio has steps or multiple elevations?
Yes, but only if both sides of the step transition are tied into the same reference system. Mark the upper and lower finished-grade heights on stakes at the transition line, then use the laser receiver to confirm each side reads correctly across the full step width before you remove any excavation or install base. This prevents “one corner is right” riser errors.
Can I move the tripod after I set the initial reference height?
To keep the beam consistent, place the tripod on firm ground at the start, and never move it until you finish all stake-reading and rail-setting tasks. If you must reposition, you need a new baseline, re-read the reference point at the house, and then redo the affected stake marks, not just the ones you “notice” later.
When the receiver beeps, is it enough to mark right away or do I need to confirm the center?
For most rotary lasers and receivers, you read the beam using the receiver center mark. Don’t guess from the audible beep alone, and don’t let your receiver tilt or ride off-center on the rod. Hold the receiver steady against the rod, and when you find center, mark the stake at the rod base immediately before continuing.
What if I can see the laser line poorly in daylight, does that affect the accuracy?
Only if the unit is specifically labeled for use outdoors at that range, and even then, you should expect daylight issues. If you can’t clearly see the beam with a receiver, stop and verify receiver mode and range first, because increasing distance errors is often mistaken for a slope mistake.
How often should I re-check the reference reading while I’m laying out the patio?
You usually can reduce how often you re-check, but you should not skip entirely. A practical rule is to re-verify the house reference every 20 to 30 minutes and after anyone bumps or walks near the tripod. Also re-check if you change work areas where equipment vibrations or impacts are frequent.
If my calculations say the outer edge should be higher, how do I troubleshoot the direction of slope?
Measure from the correct side of the rod reading and keep your direction consistent. The “+4 inches” example is direction-specific, it assumes you are going from the higher house edge down to the outer edge. Before marking, confirm whether your patio drains away from the house, or toward a different point like a trench drain.
When checking excavation depth, should I compare to finished grade or to the laser’s “level” setting?
Use the receiver and rod as your depth gauge, but ensure you are reading the same reference you used for finished grade. If you calculate total excavation as a depth below finished grade, then subtract that from your finished-grade rod reading to predict what the receiver should read at the excavation bottom.
What if the patio edge must match an existing walkway, how do I incorporate that with slope?
Start with your drainage slope requirement, then confirm your layout constraints. For example, if you need a specific edge height to match a doorway or existing sidewalk, set the house reference from that fixed point, calculate the slope outward from there, and let the patio perimeter elevations follow the math.
Can I just use stringlines instead of the laser for the finished surface?
If the patio is sloped, you generally should not rely on one long stringline for finished height across the whole field, because the string can sag and mask low spots. Use stringlines for straight, visible perimeter alignment, then use the receiver for grade checks inside the string grid, especially near center where sag is hardest to detect.
Next Article
How to Level a Patio for a Pool: Step by Step DIY Guide
Step-by-step DIY on how to level a patio for a pool, fix drainage, choose materials, and prevent future settling.