Most wobbly patio furniture comes down to one of two things: something wrong with the furniture's feet, or something wrong with the surface underneath. Start by rocking the piece deliberately and watching which leg lifts off the ground. If it's one leg, the fix is usually a shim, a rubber glide, or an adjustable leveler foot and you're done in five minutes. Replacing or adding rubber or plastic furniture cups and glides can help distribute the load and reduce slipping when patio chairs wobble on pavers. If multiple pieces wobble in the same spot, the patio surface itself is the problem and you need to address the ground before you do anything else.
How to Level Patio Furniture: Stop Wobble Fast DIY Guide

Nolan Lennox
10 Jul 2026
Quick diagnosis: why your patio furniture is wobbly
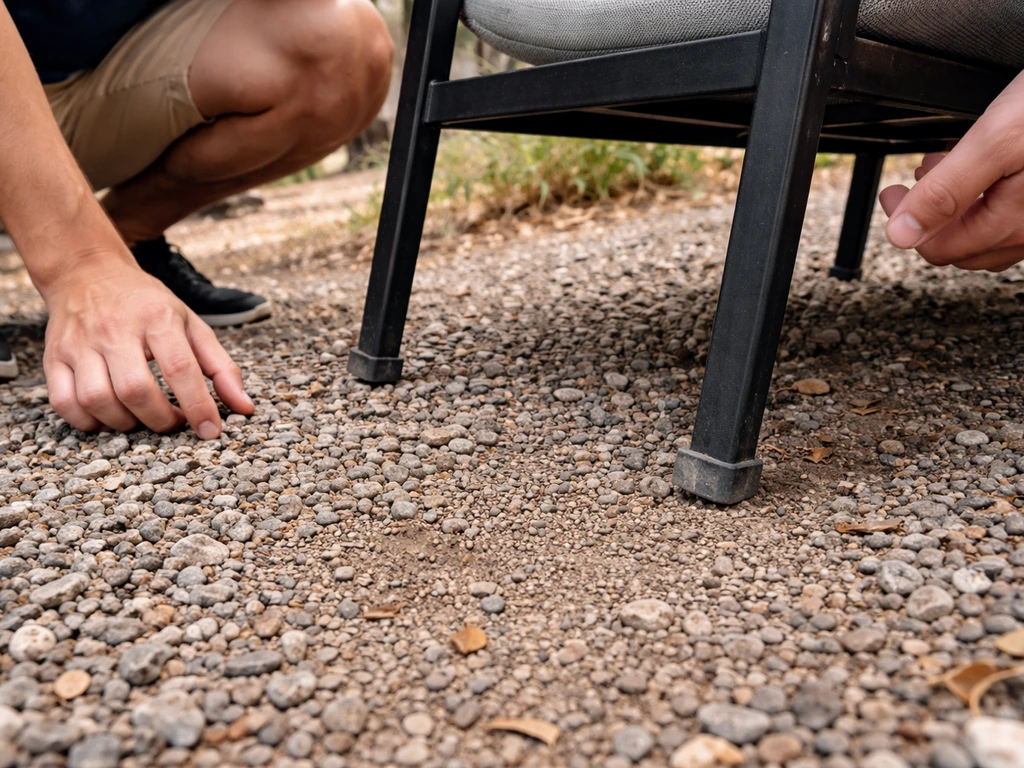
Before you buy anything or start moving sand around, spend two minutes figuring out what you're actually dealing with. Crouch down and look at the furniture feet while someone else gently rocks the piece. You're looking for the gap: which foot, and how big is it? Then check whether it's the furniture or the ground causing the gap.
- One leg is shorter or worn: the gap follows the furniture wherever you move it. The fix is on the furniture itself.
- A glide or foot cap is missing or worn down to nothing: common on older metal or resin patio chairs that get dragged across pavers repeatedly.
- The patio surface has a dip, a raised edge, or a sunken paver: move the furniture six inches in any direction and the wobble changes or disappears. The fix is on the ground.
- The entire patio tilts: all your furniture slides or rocks toward one side. This is a drainage or base-compaction issue, not something a shim will solve long-term.
- Post-storm settling: if the wobble appeared after heavy rain, the bedding sand under your pavers likely washed out or shifted. Look for a visible dip and a slight edge between pavers.
The most important split to make early is furniture problem versus surface problem. Furniture problems are quick and cheap. Surface problems range from a 20-minute paver re-seating to a weekend regrading project. Knowing which you have saves you wasting time on the wrong fix.
What 'level' actually means for chairs, tables, and loungers
Here's something worth knowing: outdoor furniture doesn't need to be perfectly level the way a kitchen counter does. What it needs is to sit stable on all legs without rocking, and for tables specifically, the surface needs to be flat enough that drinks don't slide and food doesn't roll off. A small deliberate slope in the patio for drainage (typically 1/8 to 1/4 inch per foot away from the house) is fine and normal. The furniture just needs all four feet in contact with that sloped surface.
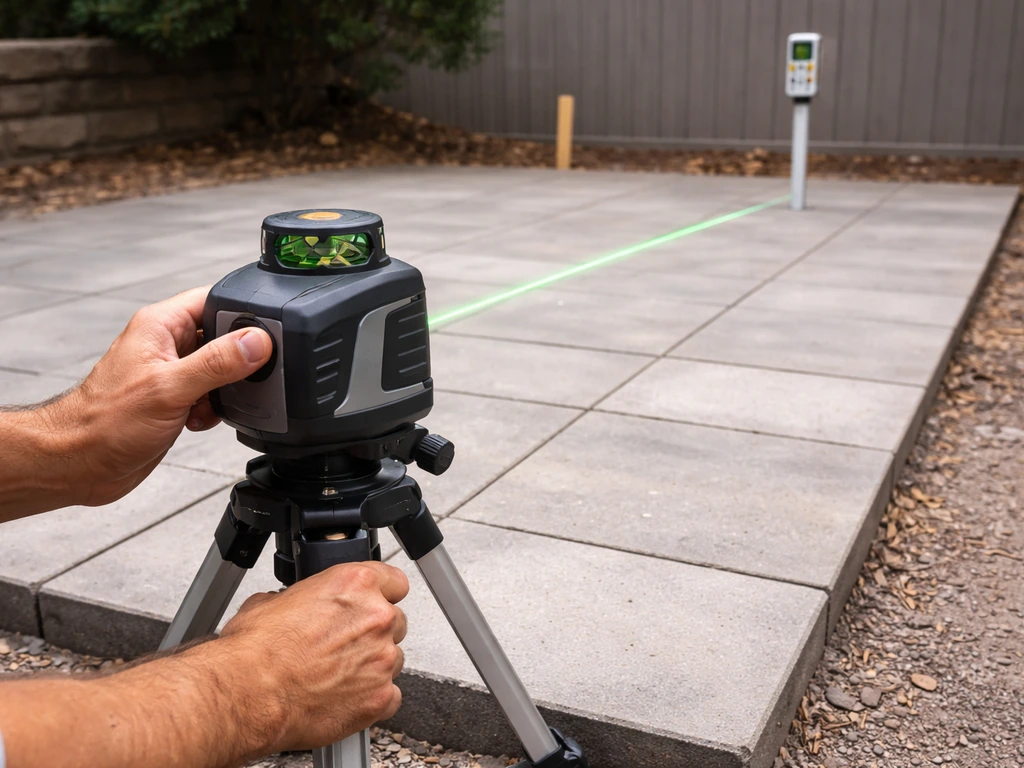
For a dining table, a bubble level laid on the tabletop is your best friend. If you want a more precise read across the patio surface before leveling furniture, a laser level for the patio can help you mark the correct slope and spot low or high areas bubble level. You want it to read level or very close, even if the patio surface under it has a slight pitch. If the table has adjustable leveling feet, you can compensate for the patio slope at the leg level. For chairs, all four legs touching the ground simultaneously is your only real target. For chaise lounges and sun loungers, a gentle slope is actually desirable, but again, no rocking. A simple 9-inch torpedo level works well for checking furniture. For the patio surface itself, a 4-foot or 6-foot straightedge or long level gives you a more accurate read across a larger area.
Simple fixes first: shims, glides, and adjustable feet
Always try the furniture-side solutions before touching the patio. They're faster, cheaper, and reversible. In my experience, at least half of all wobbly outdoor furniture problems get solved right here.
Rubber and plastic furniture glides
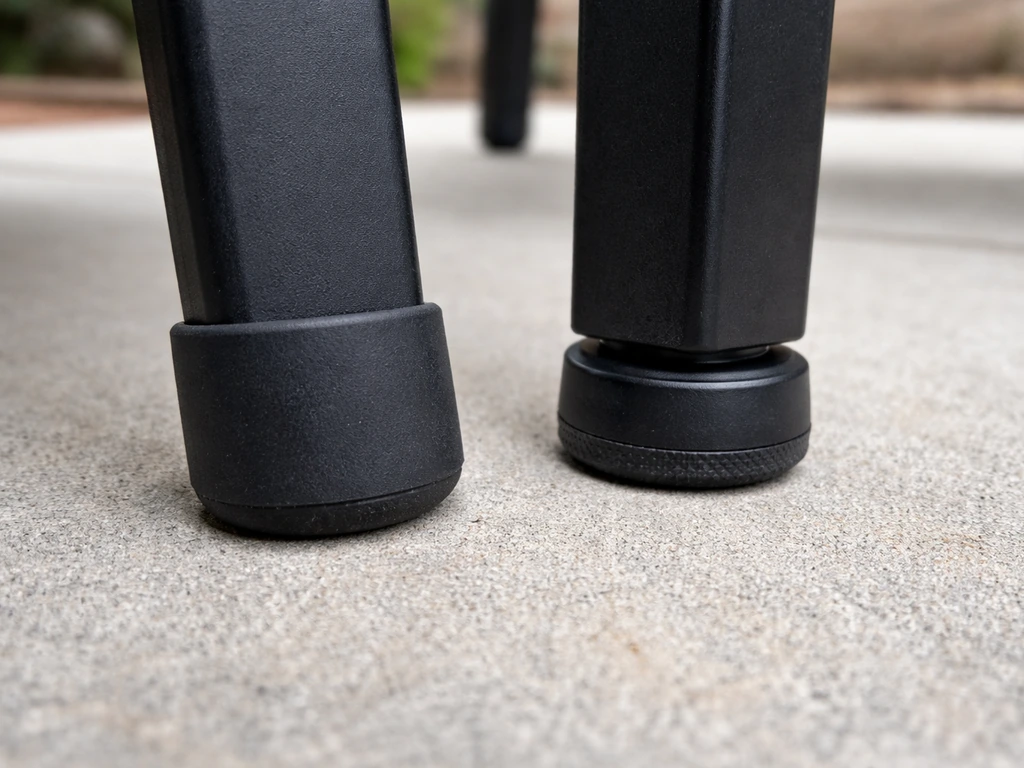
These slip over or screw onto the bottom of furniture legs and do two jobs at once: they add a bit of height compensation and they stop legs from scratching or slipping on hard surfaces like pavers and concrete. For patio chairs that get dragged around constantly, rubber cup-style glides are the best choice because they grip without marring the surface. Replace any that are cracked, compressed flat, or missing entirely before you do anything else. A pack of eight usually costs under $10 and takes five minutes to install.
Self-leveling glides
If your outdoor furniture sits on a surface with a consistent slight slope, self-leveling glides are worth the upgrade. Products like Lee Valley's self-leveling glide adjust automatically on a pivot, keeping all legs in firm contact with an uneven floor, with roughly a 1/4-inch adjustment range built in. These work especially well under heavy outdoor dining tables on patios with a drainage slope. They're more expensive than basic glides, typically $3 to $6 per glide, but they're the set-it-and-forget-it solution.
Adjustable leveling feet
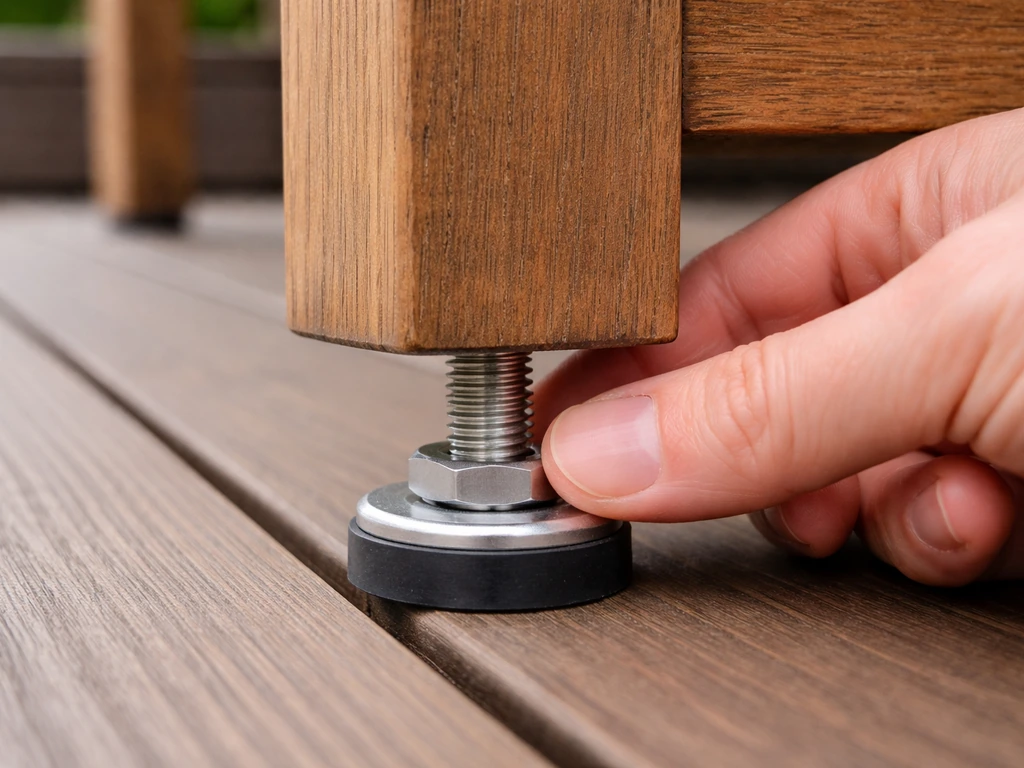
Many better-quality outdoor tables come with threaded leveling feet already built in. If yours has them and you haven't touched them, start there. Simply rotate the foot on the short leg clockwise to extend it until all four feet contact the ground. If your furniture doesn't have them, you can buy universal adjustable furniture levelers that screw into the leg base or wedge under it. The wedge-style levelers from companies like Lee Valley use a thermoplastic elastomer housing, which is essentially a tough rubber-like material that grips without scratching, and an oval footprint that distributes the load well on pavers.
Simple shims for quick fixes
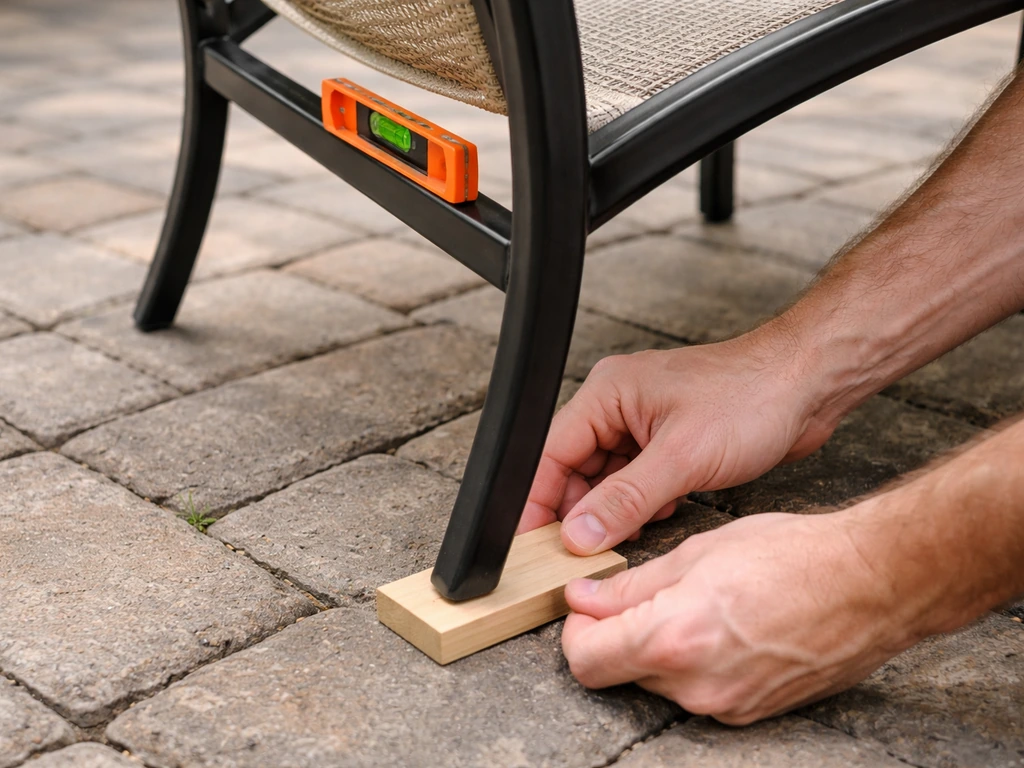
For a very minor height difference under one leg, a thin rubber pad or even a folded piece of outdoor-rated neoprene gasket material works fine as a shim. Cut it to roughly match the leg footprint so it doesn't stick out as a trip hazard. Avoid wood shims outdoors, they swell, rot, and compress unevenly over a single season. Plastic composite shims or rubber pads are the right material here.
Ground-level solutions: pavers, gravel, sand, and blocks
If the furniture fix doesn't eliminate the wobble, or if you're dealing with a sunken paver that's also a trip hazard, it's time to address the ground. The good news is that isolated paver repairs are genuinely straightforward DIY work.
Re-seating a sunken paver
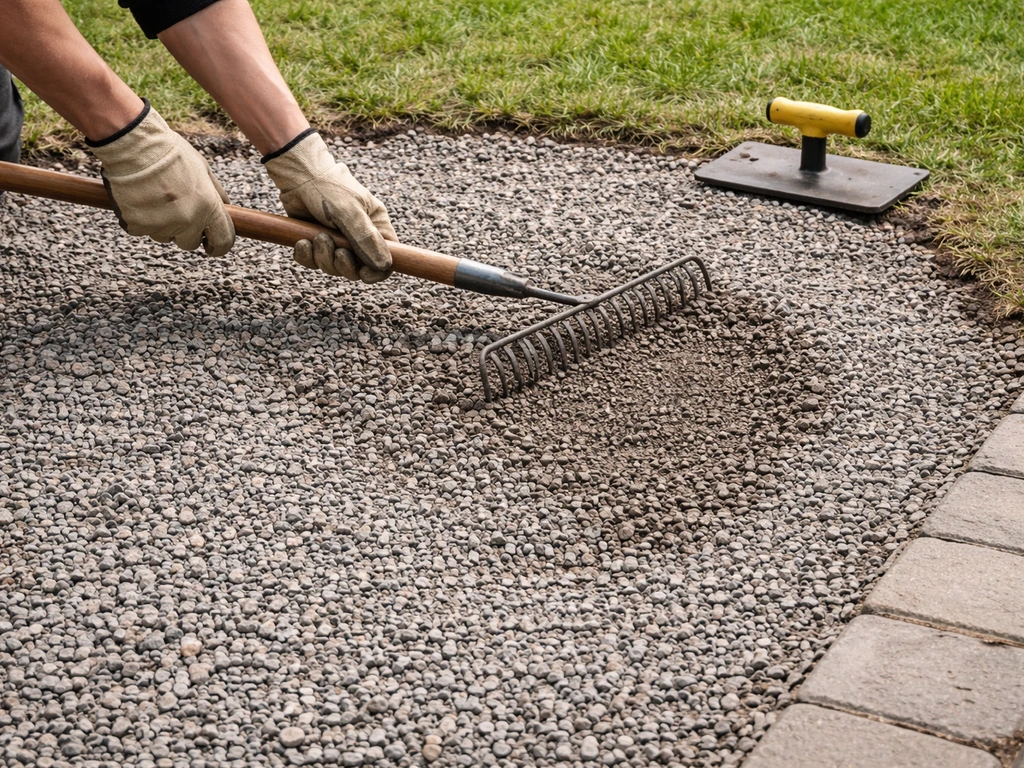
- Lift the sunken paver using two flat pry bars or a paver puller. Set it aside on the grass.
- Inspect the bedding sand underneath. If it looks thin, washed out, or has voids, that's your culprit.
- Add coarse bedding sand (not fine play sand, which compacts too easily and washes out) to build the low spot back up.
- Screed it flat using a short piece of scrap wood or a hand float, aiming for the same height as the surrounding bedding layer.
- Set the paver back in place and tap it down with a rubber mallet until it's flush with its neighbors.
- Check with a straightedge across the repair area. The paver should be level with or very slightly above adjacent pavers (it will settle a hair with use).
- Sweep polymeric sand into the joints and mist lightly with water to activate it. This helps lock the paver in place and resists future washout.
Fixing a gravel patio high or low spot
For a gravel pad, the fix is even simpler: rake the low area, add compactable gravel or crusher run to bring it up, tamp it down firmly with a hand tamper or plate compactor (rentable for about $60 a day), and rake smooth. The key is tamping. Just adding gravel and leaving it loose means it'll shift again under furniture legs. If you're seeing recurrent sinking in the same spot, that usually means the subbase compaction wasn't done right originally or there's a drainage issue pulling material away. Fixing drainage properly is a bigger project, but worth knowing about if the problem keeps coming back.
Shimming individual pavers or blocks
For minor height discrepancies between two adjacent pavers, patio-specific plastic leveling shims or tile spacers can be slid under the low paver edge after lifting it slightly. This is a temporary fix rather than a permanent one, but it's useful when you want to stabilize one paver quickly without pulling the entire section. For longer-term stability, re-bedding with properly screeded sand is always the better answer.
Fixing the patio surface for long-term stability
If you're dealing with a larger area of unevenness, or if the same paver keeps sinking after repeated repairs, you need to think about why the base is failing rather than just patching the symptom. As Angi notes, sinking in a paver patio often comes from problems with the top bedding sand layer, such as washed out, unevenly packed, or visibly thinned sand that allows point-load movement sinking often comes down to problems with the top bedding sand layer. The most common reasons a patio surface becomes chronically uneven are poor original compaction, inadequate base depth, and drainage that channels water underneath the base layer.
For a section that keeps sinking, the real fix involves pulling up the affected pavers, excavating down to the subbase, adding and properly compacting additional base material (typically 4 to 6 inches of compacted gravel or crushed stone), then re-screeding the bedding sand layer and relaying the pavers. It's a half-day to full-day project for a 6-by-8-foot section, but it's the fix that actually lasts. If the problem is widespread across your entire patio, that moves into territory covered by a larger patio rebuild, where setting proper grades and base depth from scratch is the only permanent answer. If you’re planning something more than a flat patio, like a multi level patio, the build sequence and drainage details matter even more.
Drainage is often overlooked but it's almost always part of the long-term stability equation. Water that sits under or beside a patio base will erode bedding sand, cause frost heave in cold climates, and soften the subgrade. Make sure your patio surface maintains that standard 1/8 to 1/4 inch per foot slope away from the house, and that water has somewhere to go at the low end. Regrading a patio for drainage is its own topic, as is leveling a patio for a specific purpose like pool installation, but the core principle is the same: water needs to move away, not pool. Regrading and leveling a patio for pool installation often requires setting the right slope and fixing any base or drainage issues before you lay or adjust pavers leveling a patio for a pool installation.
How to level furniture on different patio types
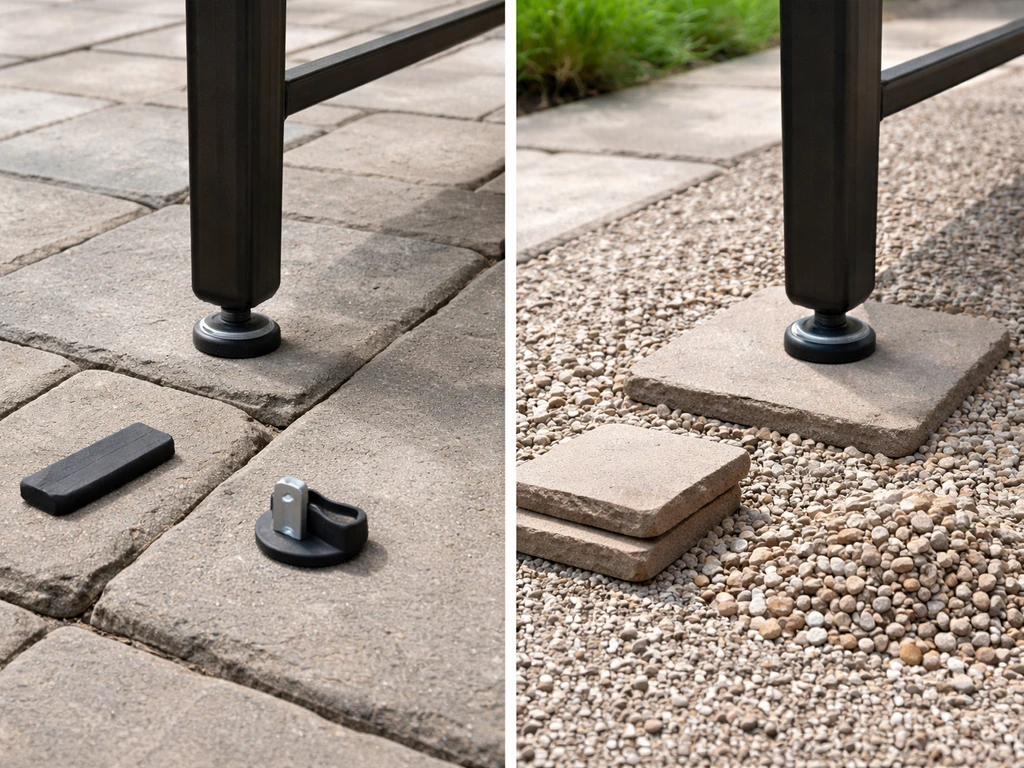
The right approach changes depending on what your patio is made of. Here's how to think about each surface type. If you are trying to set levels for a patio from scratch, start by checking the base and drainage, then adjust the furniture-side fixes or resurface as needed level furniture on different patio types.
| Patio Type | Best Furniture-Level Fix | Best Surface Fix | Watch Out For |
|---|---|---|---|
| Concrete | Adjustable leveling feet or rubber glides | Self-leveling concrete compound for dips under 1 inch | Cracking when drilling for anchors; adhesive bonding issues if surface is sealed |
| Pavers / Brick | Rubber cup glides to prevent slipping and scratching | Re-bed sunken pavers with fresh bedding sand | Polymeric sand joints crumbling; re-seating pavers too high and creating a new trip hazard |
| Natural Stone Tile | Felt or rubber furniture pads on all legs | Professional re-grouting or re-setting for any hollow tile | Cracking tiles under point loads; chipping edges when prying up tiles |
| Wood Decking | Adjustable leveling feet; rubber bumpers under heavy pieces | Shim joists from below or sister a warped board | Moisture damage to shims; screwing into rotted wood that won't hold |
| Composite Decking | Rubber glides specifically rated for composite to avoid staining | Adjust or shim deck joist hangers from below for persistent low spots | Heat expansion causing boards to bow; using abrasive furniture feet that scratch composite surface |
| Gravel / Crushed Stone | Wide-base furniture feet or patio furniture pads to spread load | Rake, add material, and tamp low spots | Legs sinking into loose gravel; light gravel migrating underfoot creating a slip hazard |
Concrete specifics
Concrete is the hardest surface to repair for minor dips because you can't just lift a section and re-bed it. For furniture wobble caused by a low spot in concrete, self-leveling concrete resurfacer (sometimes called self-leveling underlayment) works well for dips up to about an inch deep. Clean the area, apply a concrete bonding primer, then pour and spread the resurfacer. It flows into low spots on its own. For hairline cracks or very shallow inconsistencies, a concrete patching compound troweled smooth works fine. Avoid grinding high spots yourself unless you have experience, an angle grinder with a diamond cup wheel can remove material faster than expected and create a worse problem.
Wood and composite decking specifics
On a wood or composite deck, furniture wobble is usually caused by a warped or bowed board rather than the whole deck being off. If one board has cupped or crowned, shimming from below at the joist is cleaner than adding material on top. For composite specifically, be cautious about what you put under furniture legs. Some composite surfaces are prone to staining or indentation from hard rubber or metal feet in hot weather, since composite softens slightly in summer heat. Wide rubber glides rated for composite flooring are the right call, and they also prevent the furniture from sliding on what can be a slippery composite surface when wet.
Safety, durability, and when to call a pro
Traction and slip prevention
A leveled patio surface is only half the safety equation. Furniture that sits stable but slides when you pull out a chair on a smooth tile or polished concrete surface is still a hazard. Rubber furniture glides are the primary solution here, but on very smooth or wet surfaces, you might also look at anti-slip patio mats or an outdoor area rug under the dining set. These anchor furniture placement, cushion the surface, and make the whole seating area feel more intentional. Just make sure any mat or rug you use is rated for outdoor use, has a non-slip backing, and doesn't trap standing water underneath it.
Preventing recurrence
After any ground-level repair, do a check after the first heavy rain to make sure the fix held. Sand can still migrate in a storm even after a repair if joints aren't properly sealed. Re-applying polymeric sand to all paver joints after any repair work is good practice. Also inspect annually in spring, especially after a winter with significant freeze-thaw cycles, since frost heave is a real cause of paver movement in cold climates. Catching a slightly raised paver in spring before it becomes a tripping hazard or causes furniture wobble all summer is much easier than letting it go another season.
When to stop DIYing and call a professional
Most of what's described in this article is genuinely DIY-friendly. But there are situations where calling a landscape contractor or structural professional is the right move. Here's the honest checklist:
- The patio has a noticeable slope toward the house: this is a water intrusion risk and potentially a foundation concern, not a furniture-leveling problem.
- Multiple sections are sinking or heaving across a large area: a systemic base failure that usually requires a full re-base, not spot repairs.
- There's standing water on the patio surface after rain, or water pooling against the house foundation: drainage needs to be re-engineered, not just regraded.
- You see cracking concrete that's lifting, separating, or dropping in sections: this may indicate subbase erosion, root intrusion, or a structural issue.
- The patio is attached to the house and you're seeing gaps opening between the patio and the foundation: this needs a professional assessment before any other work.
- You've re-seated the same pavers more than twice in two seasons and they keep sinking: there's likely a drainage or subbase problem that keeps pulling material away and needs to be fixed at the root cause.
For everything else, trust the process: diagnose the cause first, fix the furniture feet before touching the ground, address isolated paver or gravel issues with proper bedding and compaction, and match your approach to your patio material. The wobble is almost always fixable, and in most cases, you can do it yourself in an afternoon.
FAQ
How can I tell whether the wobble is a bad leg versus a low spot in the patio (without guessing)?
Do a “two-stage” test: first rock the furniture while you watch for the lifting foot, then place a short level (or bubble level) under that lifted leg to confirm the exact height gap. If the furniture settles after you add a shim or adjust a leveling foot, the problem was the leg interface. If it still rocks with all legs touching, the patio spot likely needs re-bedding or compaction.
Should my patio furniture be perfectly level, even if the patio itself slopes for drainage?
For patios on a drainage slope, target stability rather than perfect zero level. Extend all adjustable feet until every leg has firm contact on the pitched surface, then re-check the table top for drink sliding. If the tabletop is flat enough but the legs are different heights, that is typically the correct outcome.
Can I use a shim under one leg, and what’s the safest way to do it?
Yes, if you confirm the gap is truly a minor height difference and you use outdoor-rated materials. Neoprene gasket shims or rubber pads should be cut to the leg footprint so they do not protrude. Avoid wood, and keep shims dry-set only on clean surfaces, then re-check after a heavy rain or after the first week of use.
What should I try first if the furniture-side fix doesn’t solve the wobble?
Start with the furniture-side parts (glides, leveling feet, self-leveling glides) and replace anything cracked, missing, or visibly flattened. If multiple chairs on the same set of spots wobble, or the wobble keeps returning in the same paver locations after you adjust glides, prioritize fixing the patio base (re-bed with compacted gravel and correct sand, and consider drainage).
Are rubber glides enough for chairs that get moved often, or do I need something else?
Cup-style rubber glides can work, but they wear faster if you routinely drag chairs or if the glide footprint is too small. For high-movement chairs, use rubber cup or wide-grip glides sized for the leg diameter, and replace glides as soon as they become smooth or compressed flat because worn glides can reintroduce rocking.
Will polymeric sand fix wobbling if the paver seems stable but the joints look messy?
Polymeric sand is meant to stay in joints between pavers, not as a support under a leg. After repairs, re-apply polymeric sand to joints where you disturbed them, then verify the pavers are not rocking on their own. If the joint sand is eroded but the paver base is sound, it can fix movement. If the paver is sinking, joint sand will not solve the underlying base failure.
What does it mean if the same paver keeps sinking after repairs?
If only one paver lifts or dips repeatedly, it often points to localized subbase compaction or water flow concentrating under that section. Remove the pavers, excavate down to the subbase, add properly compacted base material, then re-screed bedding sand. If it’s widespread across the patio, repeated localized repairs can be a symptom of inadequate overall base depth or drainage grade.
I fixed wobble, but the chairs still slide. What should I do next?
Try a quick “pull test” with a chair: place the chair on the leveled patio, grip the frame, then slide it slightly. If it moves unexpectedly, you likely need grip at the floor interface (rubber glides) or an anti-slip outdoor mat rated for outdoor use. If the surface is wet, mats and rugs can still help, but make sure they have non-slip backing and do not trap standing water underneath.
How do I adjust threaded leveling feet correctly on a dining table?
If your table has threaded leveling feet, extend or retract each foot to bring all legs into firm contact, starting with the highest leg first so you do not overextend the others. After adjustment, check the tabletop with a bubble level, but do not chase a dead-flat tabletop if the whole point is stability on a drainage slope.
What are the most common signs the patio problem is getting worse over time?
Watch for hairline or growing gaps around pavers after freeze-thaw season. If a paver rocks when you press at corners, avoid just adding sand because frost heave can indicate base/subbase movement. Plan for an annual inspection in spring, and address raised or rocking pavers early to prevent trip hazards and furniture instability.
Next Article
How to Use a Laser Level for Patio Grading and Layout
Step-by-step DIY guide to use a laser level for patio grading, slope setup, layout marks, and accurate paver or concrete