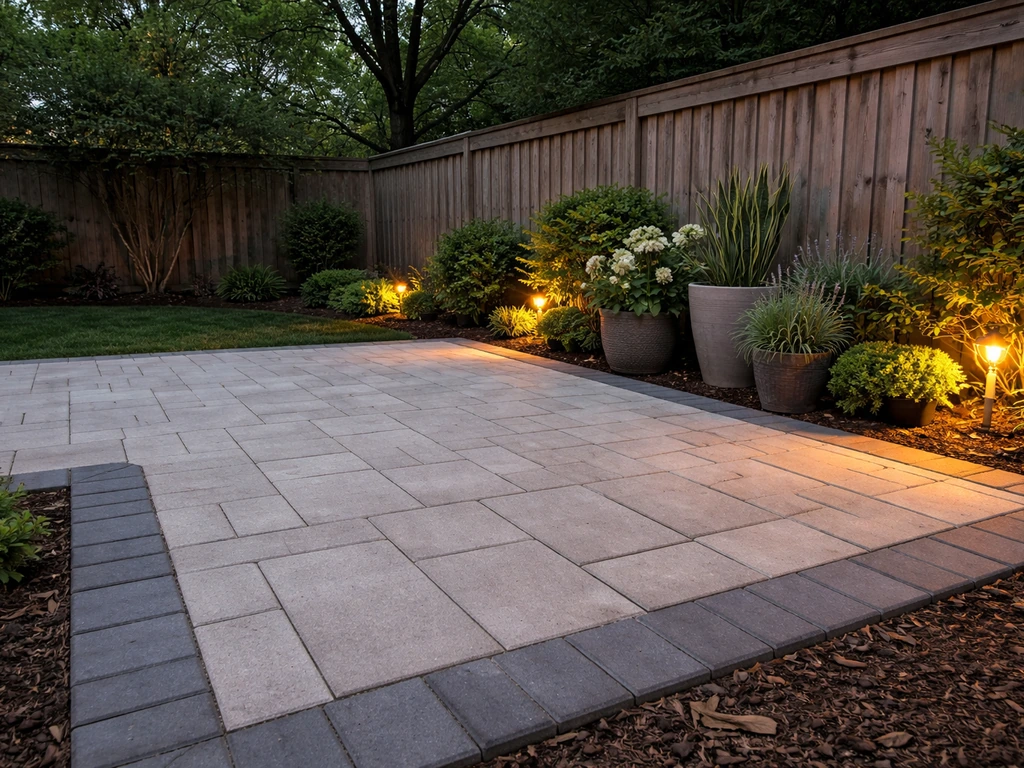
The fastest way to spruce up a patio is to work in the right order: fix what's broken first, upgrade the surface second, then layer in comfort and style. Skip that sequence and you'll be pulling up new outdoor rugs to reset sunken pavers six months later. Start with a 20-minute walkthrough of your space, make a short list of what actually needs fixing versus what just needs freshening up, and you'll have a clear game plan that fits your budget and your weekend.
How to Spruce Up a Patio: DIY Upgrades and Checklist

Nolan Lennox
9 Jul 2026
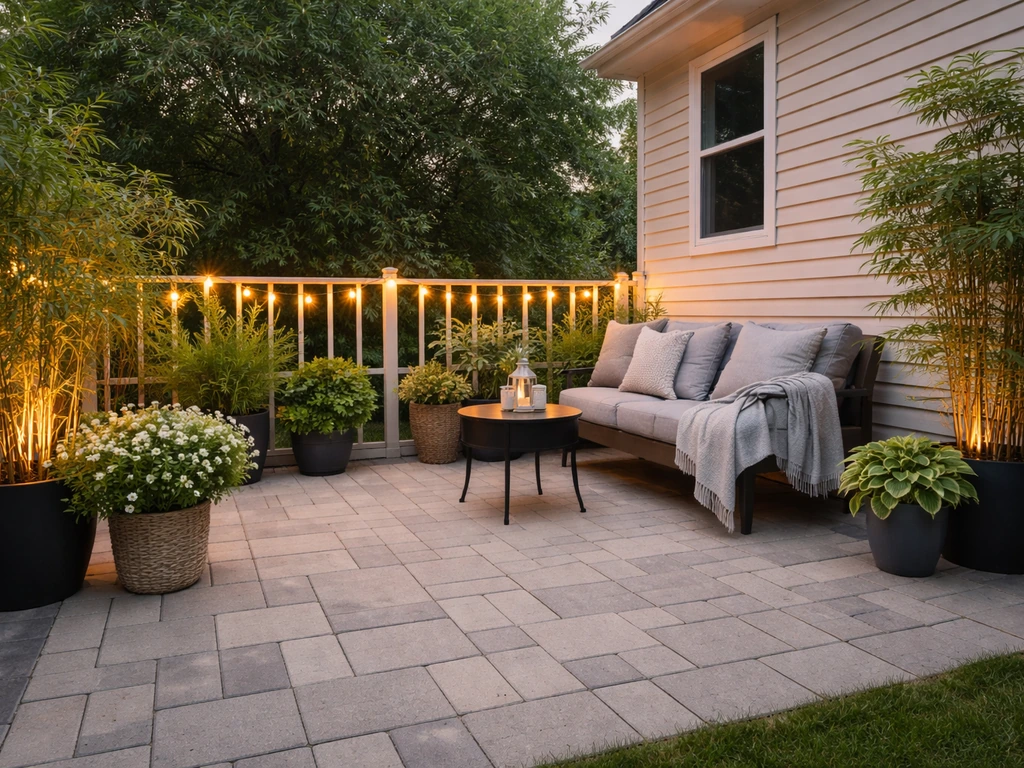
Step 1: Walk your patio before you spend a dollar
Before you buy anything, spend a few minutes doing a real assessment. You're looking for two categories of problems: things that need to be fixed (structural or drainage issues) and things that just need to be updated (cosmetic wear and style). Mixing them up is the most common DIY mistake I see.
Walk the surface and pay attention to these specific things. Press down on pavers or concrete sections with your foot. Any rocking or hollow sounds mean the base underneath has shifted or washed out. That needs a proper fix, not a patch. Look for areas where water clearly pools after rain, especially near the house foundation. blank" rel="noopener noreferrer">Good drainage means the surface should slope away from the house at roughly 1/8 to 1/4 inch per foot. If water is running toward the foundation or sitting in low spots, that's a root-cause problem that surface upgrades will not solve. If you find drainage problems, this walkthrough on how to fix up your patio can help you choose the right repair instead of just updating the look.
Also check for white chalky deposits on concrete or masonry. That's efflorescence, which is essentially soluble salts migrating to the surface as moisture moves through the material. It's mainly cosmetic, but active efflorescence (meaning it keeps coming back) signals that water is still moving through the slab, which means your drainage or grading situation needs attention before you seal anything. Spalling, which looks like surface flaking or pitting, is another moisture-related condition worth noting. If it's isolated and stable, you can treat it. If it's widespread and getting worse, you're looking at a larger repair conversation.
Also look at the edges. Are edge restraints intact or missing? Are pavers shifting in a consistent pattern along one side? Consistent shifting usually points to base settlement or drainage failure underneath, not just a few loose stones. Resetting those pavers without addressing the base will put you right back where you started.
Once you've done your walkthrough, split your list into two columns: Fix First and Refresh/Update. Everything in the Fix First column gets done before any cosmetic work. This alone will save you from wasting money.
Quick assessment checklist
- Does water drain away from the house, or does it pool on the patio surface?
- Any rocking, sunken, or hollow-sounding pavers or concrete sections?
- Cracks: are they isolated hairline cracks or wide, spreading fractures?
- Efflorescence or spalling: does it look stable and historical, or active and growing?
- Are edge restraints in place and holding?
- Weeds in joints: minor nuisance or seriously undermining the surface?
- Is the overall surface just dirty and dull, or is there real structural wear?
Clean it first, fix it second
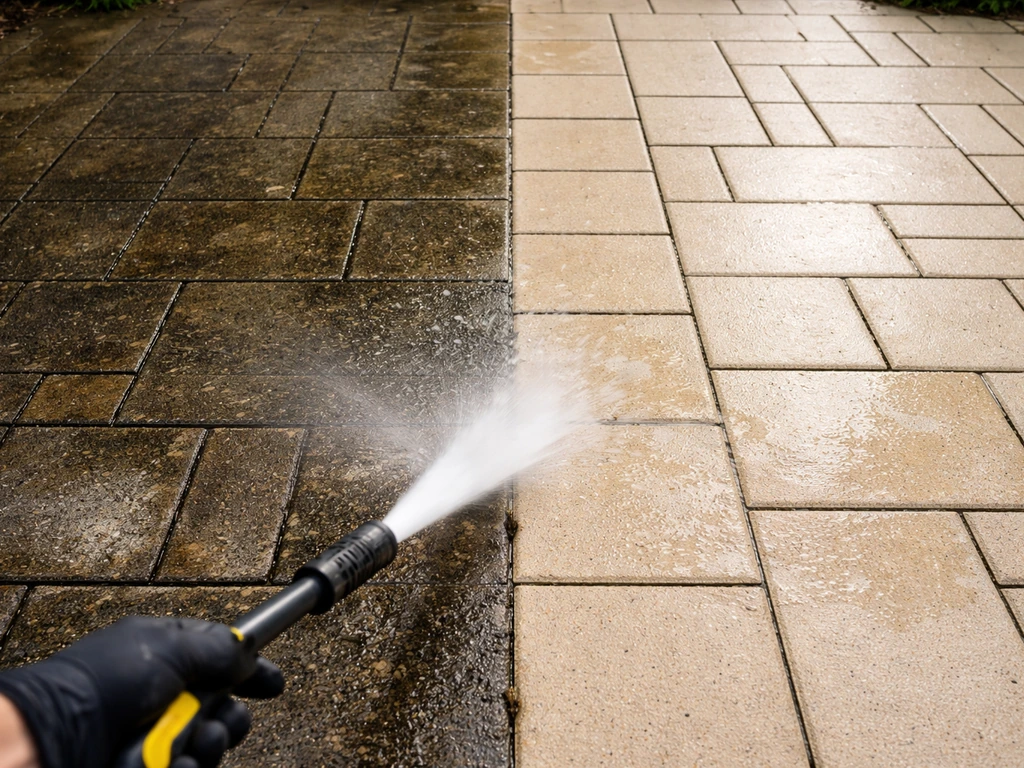
You would be surprised how much a thorough cleaning transforms a patio before you've replaced or added a single thing. I've seen patios that looked like they needed new pavers completely turn around after a good pressure wash. It's always the first step.
Deep cleaning that actually makes a difference
Rent or borrow a pressure washer if you don't own one. Use a surface cleaner attachment for concrete (it prevents streaking) and a lower-pressure fan tip for pavers and brick so you don't blow out the joint sand. Work in sections, rinse thoroughly, and let the surface dry completely before doing any repairs or applying any sealer or stain. For stubborn mold, algae, or efflorescence, a diluted muriatic acid solution or a commercial masonry cleaner applied before pressure washing does a much better job than water alone. Always wear eye protection and gloves with acid-based cleaners.
For wood or composite decking used as a patio surface, use a deck cleaner appropriate for the material. Composite generally just needs soap and water or a composite-specific cleaner. Older wood benefits from a deck brightener after washing to open the grain before any stain or sealer goes on.
Basic repairs worth doing yourself
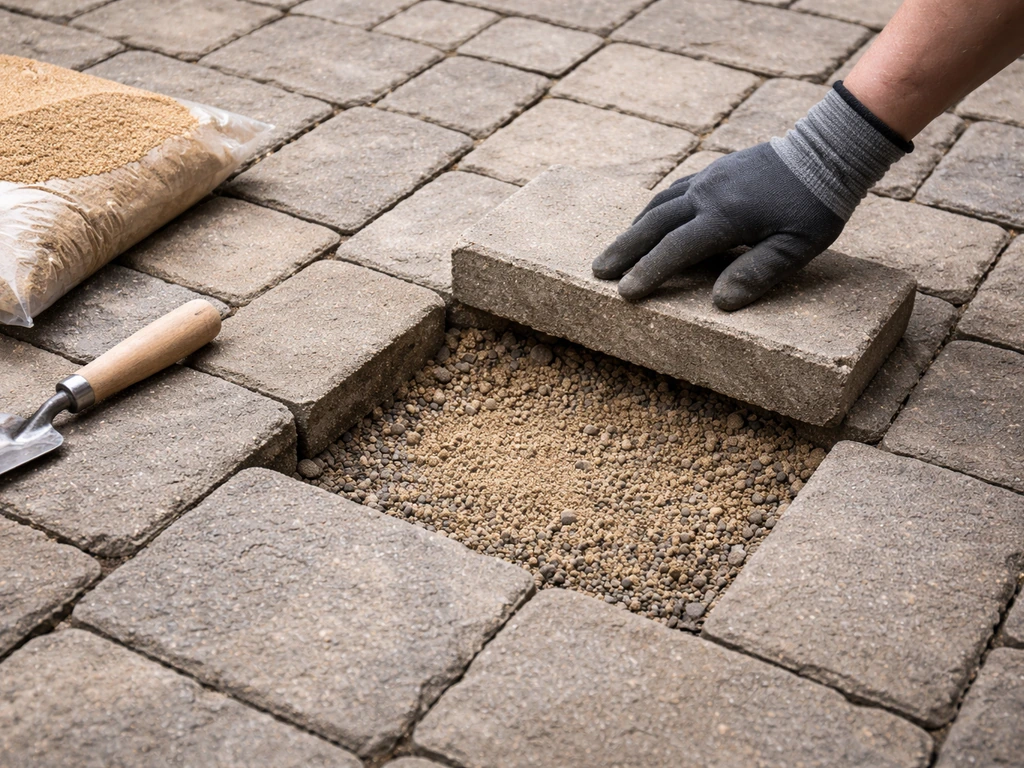
Small dips and uneven sections in a paver patio are often fixable without touching the rest of the surface. Pull the affected pavers, add or remove base material to bring it level, compact it, reset the pavers, and re-sand the joints. If the issue is isolated to a small area and not part of a larger pattern of shifting, this is a solid weekend repair. A hand tamper, some polymeric sand, and a bag or two of compactable gravel base is all you need for a repair like this.
For concrete cracks, the approach depends on width. Hairline cracks (under 1/4 inch) can be filled with a flexible concrete crack filler and then sealed over. Wider cracks need a polyurethane or epoxy patching compound to fill and bond properly. Don't just seal over a wide crack without filling it, the sealer will bridge the gap but will crack again with the first freeze-thaw cycle.
Weeds in paver joints need to be dealt with at the root, not just cut off at the surface. Pull them out, treat the joints with a patio weed killer or a diluted bleach solution, let it dry, and then refill the joints with polymeric sand. Polymeric sand, when properly activated with water and compacted, hardens into a firm joint that resists weed regrowth and ant intrusion much better than regular sand.
If drainage is genuinely the problem, this is the time to address it. That might mean regrading a low spot with additional base material, adding a simple channel drain along one edge, or extending a downspout to redirect roof runoff away from the patio area entirely. These aren't glamorous fixes, but they're the difference between repairs that last and repairs you redo every spring.
Surface upgrades that change the whole look
Once the surface is clean, repaired, and draining properly, surface upgrades deliver the biggest visible return for your effort. If you want to cover an existing patio, start by assessing the surface and drainage so the new finish will adhere and last surface upgrades. The right choice depends on what your patio is made of.
Concrete: seal, stain, or paint
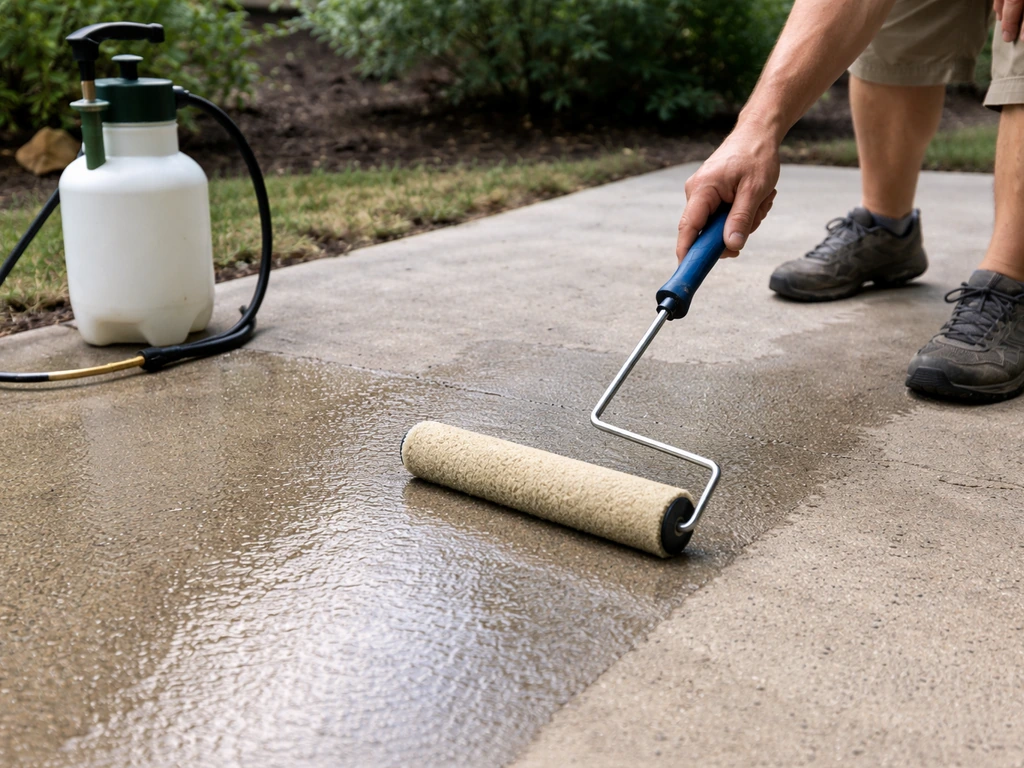
Bare concrete that's in decent structural shape can look dramatically better with the right finish. A penetrating concrete sealer is the most practical option for most people: it protects against moisture and staining, reduces the chance of efflorescence returning, and gives the surface a clean, slightly enhanced appearance without changing the color. For a bigger transformation, concrete stain (acid-based for a mottled, natural look or water-based for more even color) soaks into the surface rather than sitting on top, so it won't peel. Concrete paint or solid-color deck coating sits on top and can peel over time, but it offers the most dramatic color change and is the easiest to apply. Just know that once you paint concrete, maintenance means repainting when it wears.
| Finish Type | Appearance | Durability | DIY Ease | Best For |
|---|---|---|---|---|
| Penetrating sealer | Natural, slight sheen | High (5-10 years) | Easy | Protection without color change |
| Acid stain | Mottled, earthy tones | Very high (permanent) | Moderate | Natural, aged stone look |
| Water-based stain | Even color, many options | High (3-5 years) | Easy | Bold or consistent color |
| Concrete paint/coating | Solid color, big change | Moderate (2-4 years) | Easy | Budget refresh, max color impact |
Pavers and brick: re-sand, reset, seal
After cleaning and repairing any sunken or shifted stones, re-sanding all the joints with polymeric sand is one of the highest-impact low-cost upgrades you can do to a paver patio. It tightens up the surface, discourages weeds, and makes the whole thing look freshly installed. After that, a paver sealer can bring out the color and give the surface a wet-look or natural-look finish depending on the product. Wet-look sealer is more dramatic; natural-look is subtle but still protective. Reapply every 2 to 3 years depending on traffic and climate.
Gravel patios: refresh and define
Gravel patios tend to migrate over time and thin out in high-traffic areas. Topping off with a fresh 1 to 2 inch layer of matching gravel and adding or reinstalling solid edge restraints (metal, plastic, or concrete edging) to contain the surface is a quick, cheap refresh. If you are looking for cheap ways to make patio look better, fresh gravel plus intact edge restraints is one of the fastest, lowest-cost upgrades you can do cheap refresh. If weeds are the issue, lay landscape fabric under the new gravel layer before topping off. Stepping stones added through a gravel patio also define pathways and cut down on the tracked-in gravel problem.
Wood and composite: clean, repair, refinish
For wood decks used as patios, replace any soft, splintered, or cracked boards before refinishing. Sand the surface lightly after cleaning, then apply a penetrating wood stain/sealer rated for exterior use. Most quality deck stains need reapplication every 2 to 3 years for pressure-treated lumber. Composite surfaces generally don't need staining, but faded composite can be refreshed with a composite deck cleaner and a UV-protective composite restorer product, which can bring back some of the original color without full replacement.
Add comfort and make it actually usable
A clean, sealed surface is a great start, but comfort and function are what make you actually spend time out there. This is where layout matters more than people expect. Think about how you use the space, or want to use it, before you buy furniture.
Seating and layout
Define zones if your patio has the space for it. A dining zone with a table and chairs works best with clearance of at least 3 feet on all sides so people can move. A lounging zone with low seating or a sectional feels better pulled slightly away from the dining zone rather than jammed against it. If your patio is small, modular furniture that can be rearranged or stacked is much more versatile than large fixed sets. Outdoor rugs are one of the best investments for a small patio: they visually define a zone, add warmth underfoot, and make cheap furniture look intentional. Look for polypropylene rugs rated for outdoor use since they handle moisture and UV without degrading quickly.
Shade
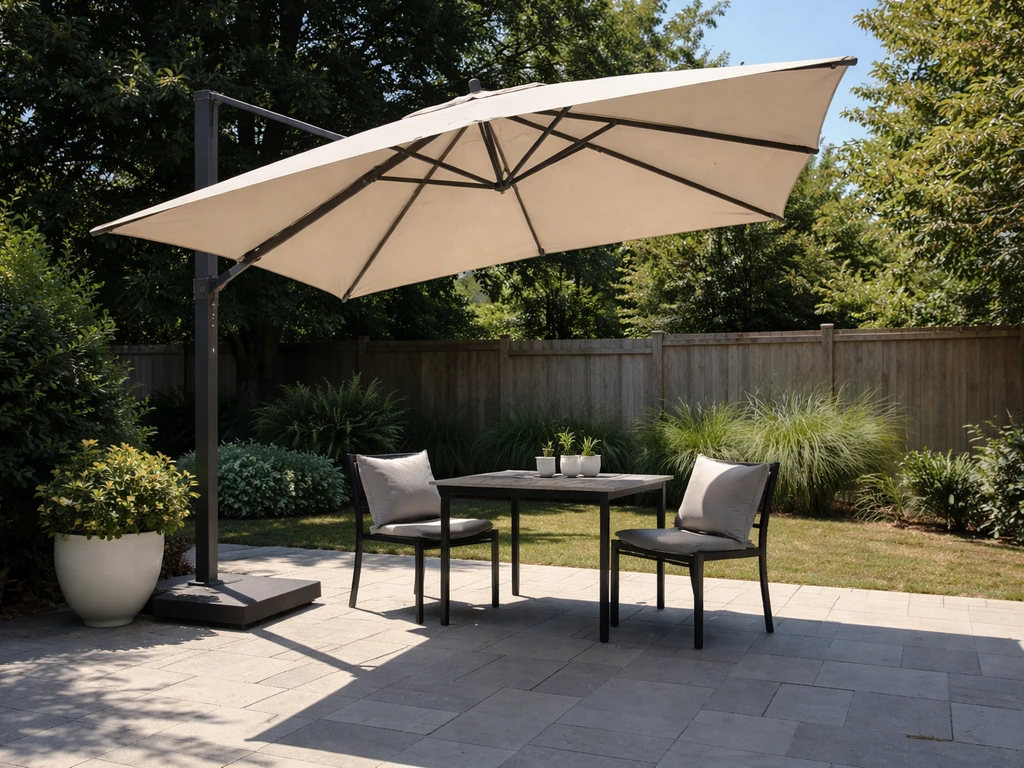
A patio without shade is often one that doesn't get used during peak summer hours. A freestanding cantilever umbrella (the kind with an offset pole) is the most flexible DIY option since it doesn't require any drilling or permanent attachment. A shade sail stretched between fence posts or a wall anchor and a freestanding post is a step up in coverage and a great weekend project. For a more permanent solution, a pergola with shade cloth, lattice, or a retractable canopy adds structure and function. Most pergola kits today are designed for DIY assembly with basic tools and bolt-together hardware.
Heat and year-round use
If you want to extend patio season into fall, a portable propane fire pit or a freestanding electric infrared heater can be set up without any permanent installation. Fire pits double as a gathering focal point in the evening. Just make sure any fire pit sits on a non-combustible surface and follows local clearance guidelines, typically at least 10 feet from any structure.
Style upgrades that pull the whole thing together
Once the functional stuff is handled, the details make a big difference in how the space actually feels. This is also where you have the most creative flexibility without spending a lot.
Planters and greenery
Planters are one of the highest-impact style additions you can make to a patio. A pair of large planters flanking the entry to your patio creates an instant sense of definition. Tall planters with ornamental grasses or columnar shrubs add vertical interest and can serve double duty as a soft privacy screen. For a budget-friendly approach, large plastic or fiberglass planters look much better than they used to and hold up well outdoors. Group them in odd numbers and vary the heights for a more natural, designed look.
Lighting
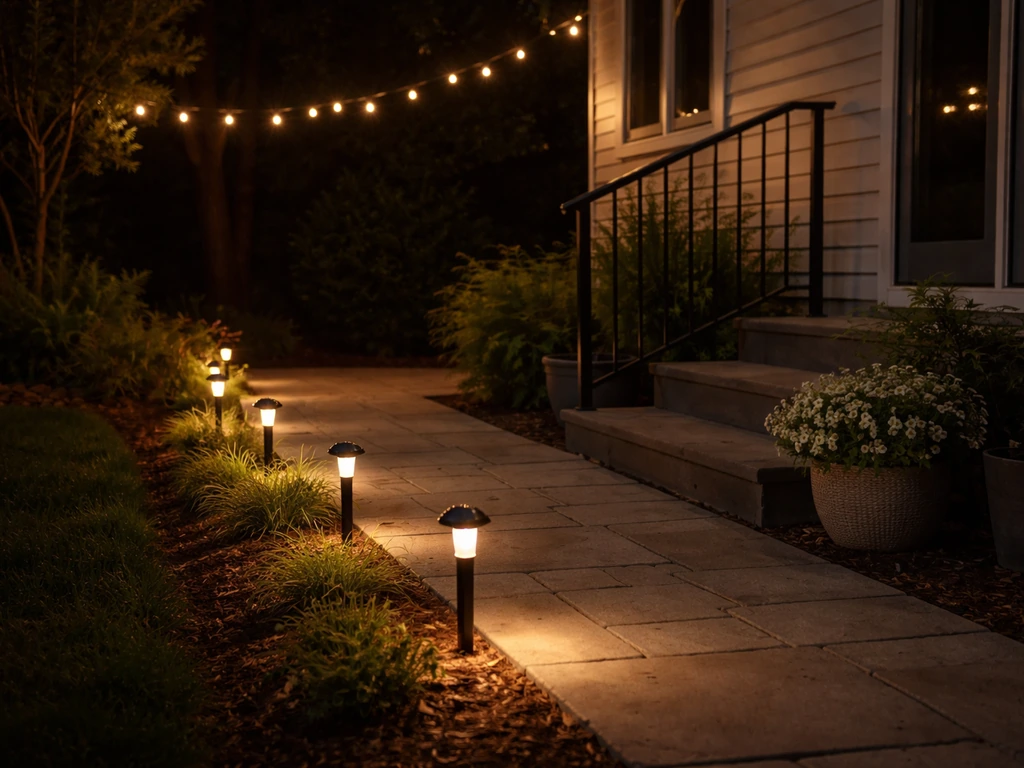
Lighting transforms how a patio feels at night and is often the most underinvested area of a patio refresh. Solar stake lights along a path or patio edge are zero-installation and have gotten much better in quality over the last few years. String lights hung from a pergola, fence, or a simple shepherd's hook are still one of the best-looking and most affordable options for ambient patio lighting. For more functional lighting over a seating or dining area, low-voltage LED landscape lights run off a simple plug-in transformer and can be aimed exactly where you need them. If your patio has an adjacent wall or fence post, a simple plug-in outdoor sconce is an easy upgrade that looks built-in.
Privacy
Privacy screens don't have to mean a full fence project. A freestanding lattice panel with climbing plants, a row of tall planters with bamboo or arborvitae, or a fabric privacy screen on a simple frame can all create a sense of enclosure without permanent construction. These options are also renter-friendly and moveable, which matters if your layout changes. For a more finished look without major cost, cedar or bamboo roll fencing attached to an existing fence adds height and privacy quickly and costs much less than full fence replacement.
Small decor details that actually matter
A consistent color palette for your furniture, cushions, and accessories makes even a basic patio look pulled together. Pick two or three colors and stick with them. Outdoor throw pillows, a weather-resistant side table, and one or two decorative elements like a lantern or ceramic garden stool go a long way. The goal isn't to overfill the space but to make it feel finished and intentional.
Budget, tools, and the right order to do everything
Getting the sequence right is just as important as knowing what to do. Here's a realistic order of operations for a full patio spruce-up, along with what you'll need and rough costs for planning purposes.
Order of operations
- Fix drainage and grading issues (regrade low spots, extend downspouts, add channel drains if needed)
- Address base problems: reset sunken or rocking pavers, compact and level affected areas
- Deep clean the entire surface (pressure wash, treat efflorescence or stains)
- Complete all surface repairs (fill cracks, replace damaged pavers or boards, re-sand joints)
- Apply surface finish (sealer, stain, paint, or polymeric sand depending on material)
- Let surface cure fully per product instructions before placing furniture or rugs
- Set up furniture and define zones with rugs and layout
- Add shade structure (umbrella, sail shade, or pergola)
- Install lighting
- Add planters, privacy elements, and decor last
Realistic budget ranges
| Project | DIY Cost Range | Notes |
|---|---|---|
| Deep clean (pressure washer rental + cleaner) | $40-$80 | One-time rental usually covers the whole day |
| Polymeric sand re-sand (per 100 sq ft) | $25-$50 | One 50 lb bag covers roughly 30-50 sq ft |
| Concrete sealer (per 200 sq ft) | $30-$60 | Penetrating sealers last 5-10 years |
| Concrete stain (per 200 sq ft) | $40-$80 | Acid stain is more durable but needs neutralizing step |
| Paver reset (small area, DIY) | $20-$60 | Crushed stone, sand, tamper rental |
| Shade sail + hardware | $80-$250 | Depends on size and post installation needs |
| String lights (40-50 ft) | $20-$60 | Solar or plug-in options both work well |
| Large planters (pair) | $40-$150 | Plastic/fiberglass vs. ceramic or cast stone |
| Outdoor rug (8x10) | $50-$150 | Polypropylene holds up best outdoors |
| Freestanding fire pit | $80-$250 | Propane or wood burning; check local rules |
Tools and materials checklist
- Pressure washer (rent if needed) and surface cleaner attachment
- Stiff bristle brush and garden hose for pre-rinse and post-rinse
- Safety glasses, gloves, and rubber boots for cleaning chemicals
- Masonry crack filler or polyurethane patching compound for concrete
- Polymeric joint sand and a plate compactor or hand tamper
- Crushed stone base material and a level for paver resets
- Concrete sealer, stain, or paint and a roller with extension handle
- Paint tray, brushes for edges, and a pump sprayer (optional but useful for sealers)
- Landscape fabric and gravel top-dressing for gravel patios
- Drill, anchors, and hardware for shade structures or lighting
- Tape measure and chalk line for furniture layout and edging alignment
How to set a realistic budget
If you're working with a tight budget, prioritize in this order: clean and repair first (highest return per dollar), surface finish second, one functional upgrade like shade or seating third, and style details last. A basic but complete patio spruce-up covering cleaning, sealing, re-sanding, and a simple furniture refresh can realistically be done for $200 to $500 on a medium-sized patio if you already own basic tools. Adding shade, lighting, and planters can push that to $600 to $1,200 depending on what you choose. A full surface transformation with stain plus new furniture and a pergola kit can run $1,500 to $3,000 or more, still well below what any contractor would charge for similar results.
If your patio needs more than cosmetic work, such as a full re-leveling, replacing cracked concrete sections, or serious drainage regrading, those repairs are worth doing right even if it pushes the budget. Skipping the fixes and going straight to decor is the most common (and costly) mistake in a patio refresh. Do the boring stuff first, and the fun upgrades will actually stick.
FAQ
How long should I wait after pressure washing before sealing or staining my patio?
Most outdoor sealers and stains need the patio fully dry and free of active moisture. As a rule of thumb, wait at least 24 to 48 hours after cleaning, then do a quick test by taping a 2 ft by 2 ft plastic sheet to the surface (edges taped down) for 4 to 6 hours. If you see condensation or a darkened area under the plastic, hold off until the surface is truly dry.
What should I do if white efflorescence keeps coming back after I clean my patio?
If you see white powder returning after cleaning, don't jump straight to a decorative topcoat. Persistent efflorescence usually means water movement is still happening through the material, so sealing without fixing grading or drainage can trap salts and make the problem recur. Focus on stopping runoff and improving the slope, then consider a sealer only after the deposits stop appearing.
How do I know whether a paver patio issue is just cosmetic or needs base repair?
Never “patch and seal” over a problem that’s moving. If pavers are rocking, or you see consistent shifting along an edge or in a line after rain, the issue is typically base failure or drainage underneath. In those cases, remove the affected section, rebuild and compact the base correctly, then re-sand joints and finish with sealer only after everything is stable.
What’s the biggest mistake when using polymeric sand in paver joints?
For pavers and brick, use polymeric sand only if the surface is properly cleaned and dry, and the joints are clear of weeds and debris. After activation, avoid rinsing or watering the patio for at least 24 to 48 hours. Overwatering or blowing off excess sand too early can leave joints weak, which leads to weeds and gaps returning.
Can I apply a patio sealer over previous stain or paint?
Yes, but match the product to the surface and verify compatibility. Some sealers can’t be applied over certain stains or coatings, and applying the wrong one can cause peeling, hazing, or uneven darkening. Before doing the whole patio, test in an inconspicuous area and confirm the manufacturer allows the specific stain or repair material you used.
My concrete has cracks. How do I choose between crack filler, patching compound, and epoxy?
Concrete crack width matters, but also consider crack movement. If a crack is actively widening, has vertical displacement, or runs through to multiple areas, a rigid filler can fail quickly. For those situations, prioritize identifying movement and addressing drainage or base issues before choosing epoxy or flexible sealants.
Is it okay to cover a patio with an outdoor rug after sealing?
If you want to lay outdoor carpet or rugs long-term, first check that the surface is compatible. Many patios should not be sealed over active moisture issues, and covered areas can trap humidity. Use outdoor rugs rated for UV and mildew resistance, keep them dry when possible, and consider lifting and cleaning seasonally to prevent underlying buildup.
Can I re-level just one small section of a paver patio, or do I need to do more?
It depends on what you are fixing. For a small, stable paver area, you might safely loosen and reset without disturbing the whole patio, but only if the surrounding joints and edges are not part of a broader shifting pattern. If the shifting shows up along one side repeatedly or after rain, assume the base or drainage problem extends beyond the visible dip.
How can I quickly tell if my patio drainage is bad enough to require regrading?
Yes, and the patio slope guideline is key. If water pools near your house or flows toward the foundation, a simple cosmetic refresh is unlikely to last. Use a simple test by marking water lines after a rain, then measure slope over a few feet. If it’s not sloping away, fix drainage or regrade before adding finishes that rely on a stable, dry substrate.
What base materials should I use when resetting sunken pavers?
Mixing sand and gravel types can cause recurring sink or weed problems. Use a properly compactable gravel base for rebuilding pavers and avoid topping with loose decorative gravel that won’t lock. For polymeric joints, confirm you have the right joint depth and that the final sand layer is not washed out during compaction.
Next Article
How to Make a Patio Pretty: DIY Steps That Last
DIY patio makeover steps for lasting beauty: layout, pavers, drainage, leveling, plants, lighting, and easy budget upgra