You can build a pea gravel patio in a weekend with basic tools, a rented plate compactor, and a solid layered system underneath. The key is getting the ground prep right before a single stone goes in: dig out 4 to 6 inches, compact the subgrade, lay a crushed stone base, pin down landscape fabric, then pour and rake your pea gravel to a 2-inch depth. Done in that order, your patio stays put, drains well, and looks great for years.
Pea Gravel Patio How To Build a DIY Patio Step by Step

Nolan Lennox
17 May 2026
Planning and Layout
Start by deciding on size and shape before you buy a single bag of gravel. Sketch it out on paper first. For a functional seating area, most people go with at least 10x10 feet, though 12x16 is more comfortable if you want a table and chairs. Irregular or curved shapes look great with pea gravel and are easy to pull off with flexible plastic edging.
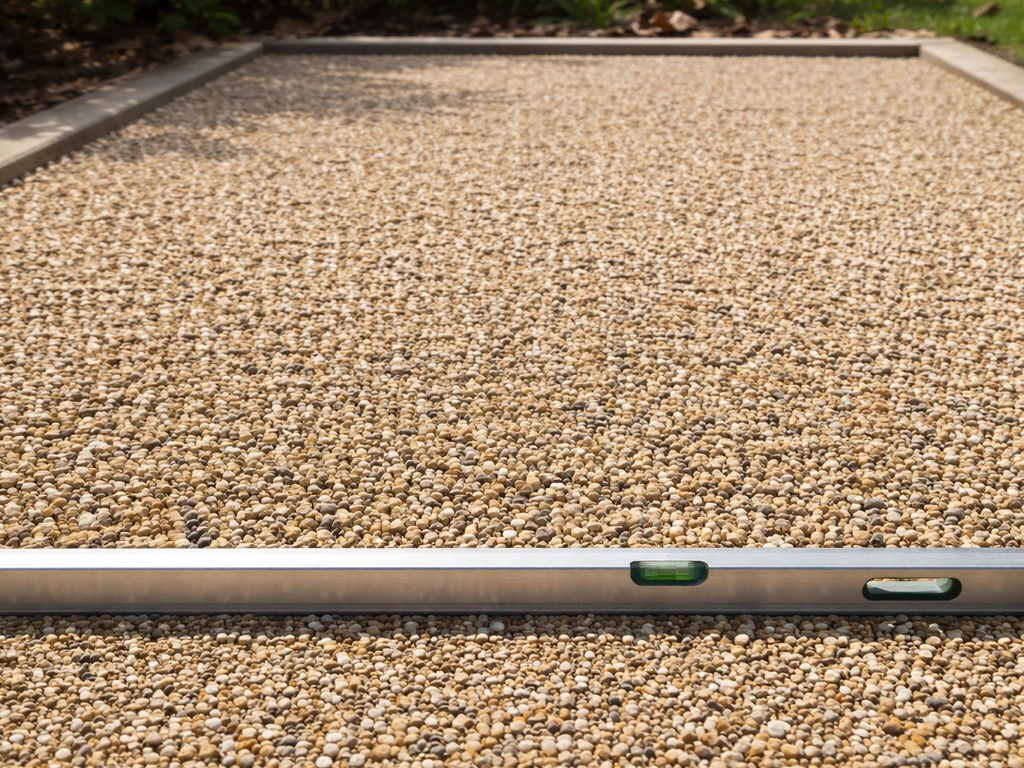
Location matters a lot. Avoid low spots in your yard where water collects after rain. You want a site that can be graded so water flows away from your house at a rate of 1/8 to 1/4 inch of drop per foot of run. That's roughly a 1 to 2 percent slope, and it's what separates a patio that drains cleanly from one that becomes a puddle after every storm. Mark the drop on your stakes so you can check it during grading.
Use landscaping spray paint or stakes and string to mark the footprint. Square up corners with the 3-4-5 triangle method if you're going rectangular: measure 3 feet along one edge, 4 feet along the adjacent edge, and the diagonal should be exactly 5 feet if the corner is square. Walk the outline, eyeball it from a distance, and adjust before you dig anything.
Site Prep and Base Layers
This is where most DIY pea gravel patios succeed or fail. A pretty surface on a bad base will shift, sink, and grow weeds within a season. Don't skip steps here.
Excavation and grading
Dig out the entire area to a depth of about 4 to 6 inches below your finished grade. If you're on clay soil, push toward the 6-inch mark because clay holds water and makes a poor natural base. Remove all sod, roots, and organic debris. Organic material breaks down and causes settling. Once cleared, rake the subgrade smooth and check your slope with a level and a tape measure to confirm that 1/8-to-1/4-inch-per-foot drop away from the house.
Compaction
Rent a plate compactor for the day (usually around $60 to $100) and make two to three passes over the native soil. This step is non-negotiable. Loose subgrade is the number one cause of uneven, sunken gravel patios. If the soil is dry and crumbly, lightly wet it before compacting so it binds better. On clay, you may need to add a 2-inch layer of coarse sand or crusher run to improve drainage before compacting.
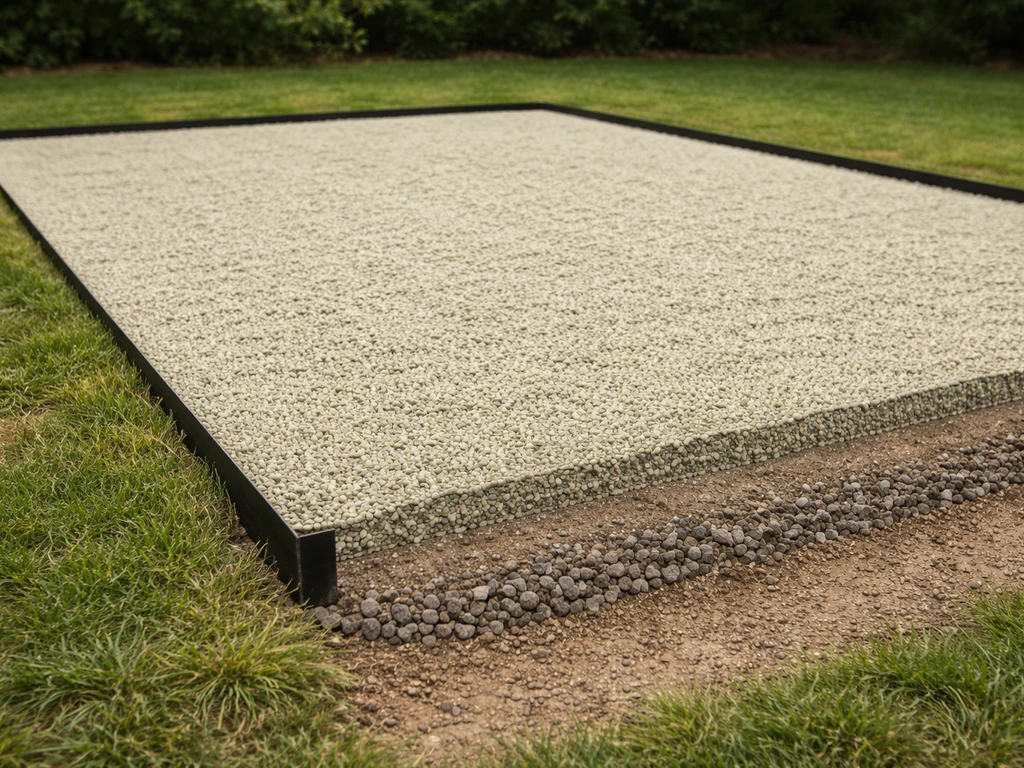
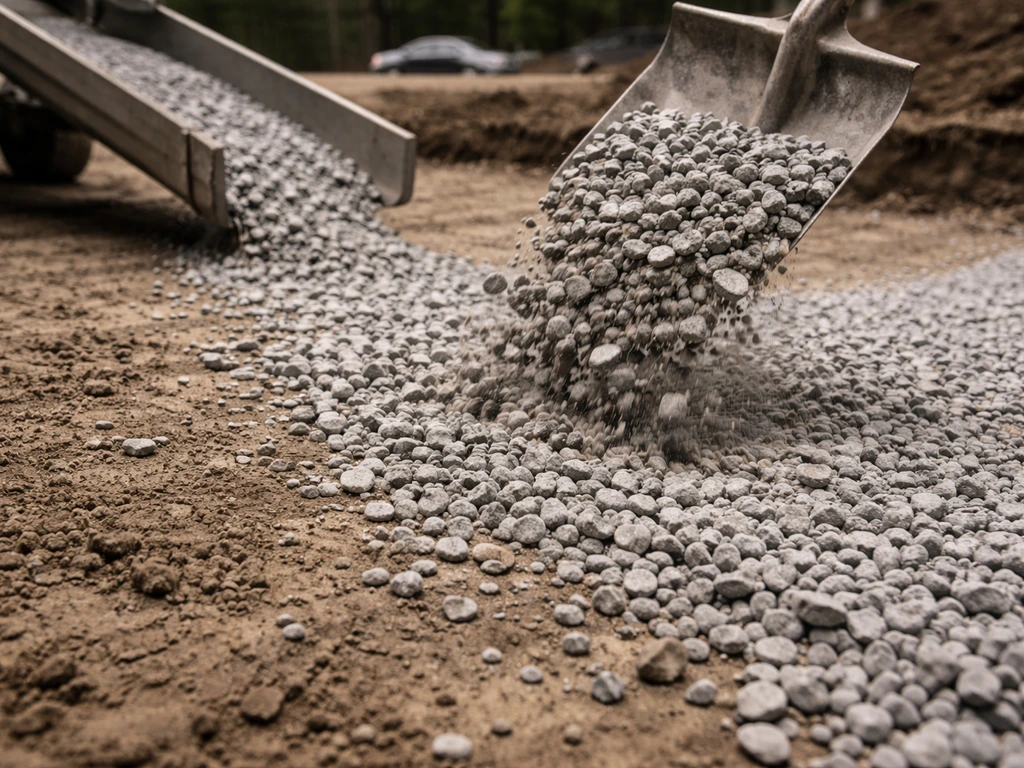
Crushed stone base
Pour in 3/4-inch crushed stone (sometimes called crusher run or Class II base) to fill the excavation to about 4 inches deep after compaction. Angular crushed stone locks together under compaction in a way that rounded gravel never does. Spread it in 2-inch lifts and compact each lift separately. This gives you a firm, stable platform. Pea gravel alone over bare soil is not a base; it's just decoration that will sink.
Weed Control: Landscape Fabric Done Right
Lay landscape fabric directly over the compacted crushed stone base, not under it. For specific guidance on base and edge restraint details for hardscape systems, consult ICPI technical bulletins and recommendations compacted crushed stone base. Putting fabric under the base layer is a common mistake. The base needs to bond with the subgrade, and fabric disrupts that. Once your base is compacted and level, that's when the fabric goes down.
Use a woven geotextile fabric rather than the thin, papery stuff sold in economy rolls. Woven fabric is permeable enough to let water drain through but dense enough to block weed seeds. Lay panels so they overlap by at least 12 inches at every seam. On a slope, shingle the panels so upper pieces overlap lower ones, directing water downhill rather than into the seams. Pin the fabric every 18 to 24 inches with 6-inch landscape staples, especially at seams and edges, so it stays flat when you pour gravel on top.
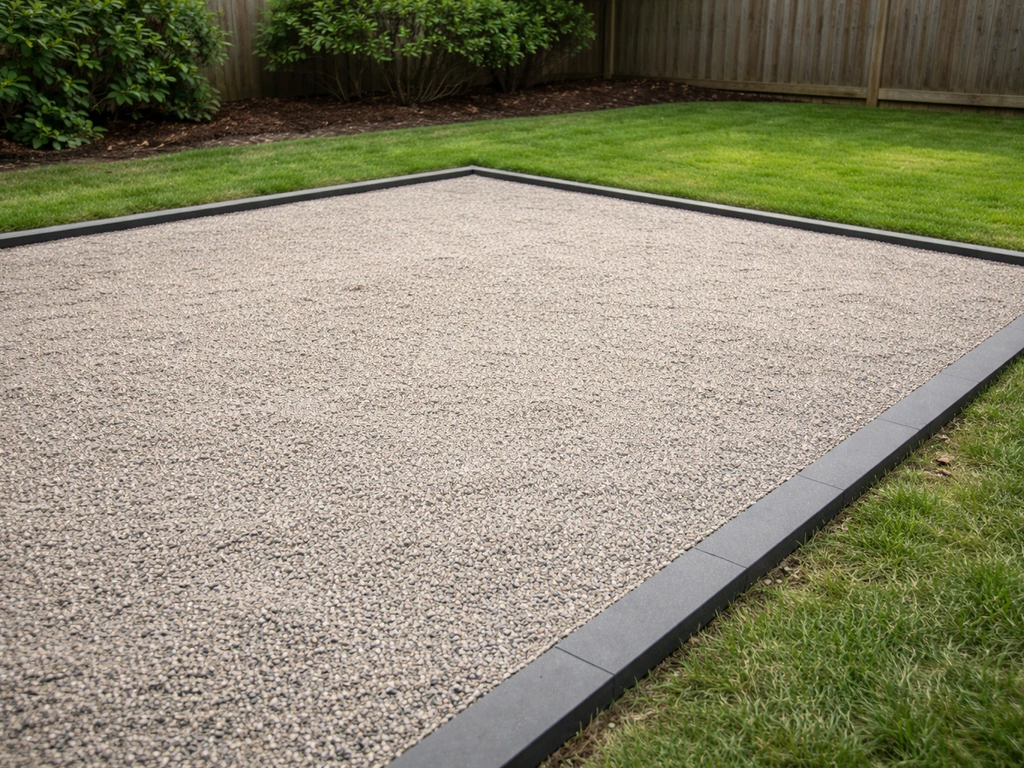
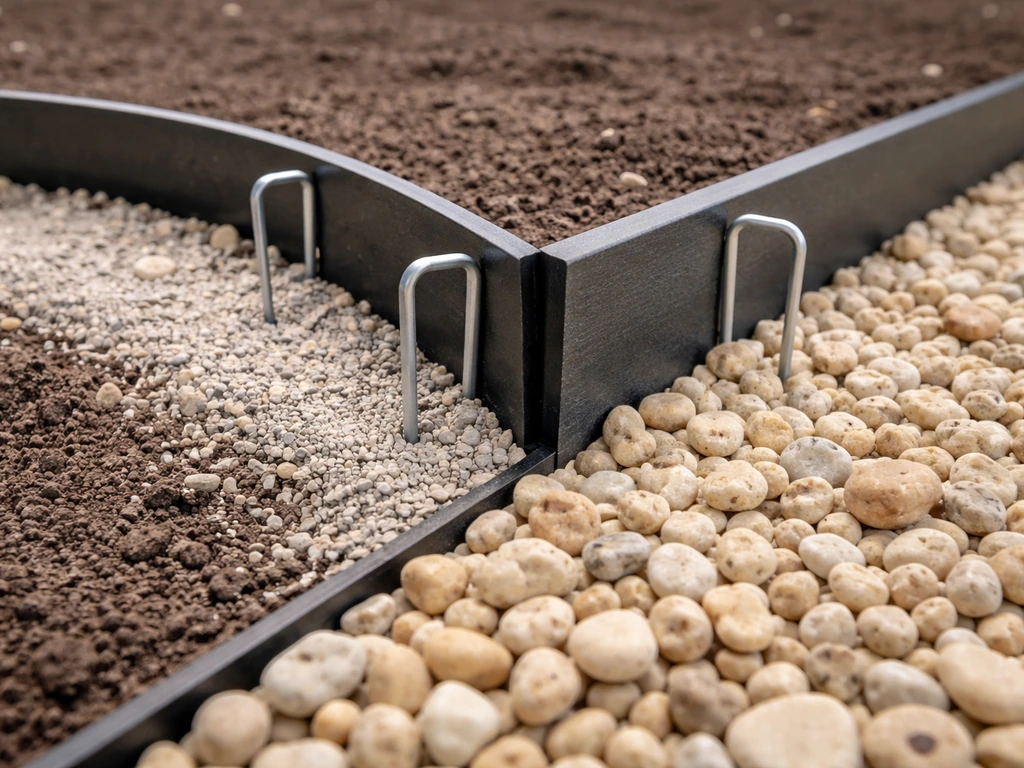
Edging Options to Keep Pea Gravel in Place
Pea gravel is round and small. Without a solid border, it will migrate outward within a few weeks of use. Edging is not optional; it's what defines your patio's shape and keeps it from slowly dissolving into your yard.
| Edging Type | Cost (approx.) | Durability | Best For | Notes |
|---|---|---|---|---|
| Flexible plastic/steel edging | $0.50–$1.50/ft | Good (steel lasts longer) | Curved or freeform shapes | Anchor with 6-inch spikes every 12 inches |
| Landscape timbers / sleepers | $2–$5/ft | Moderate (wood rots) | Rustic or natural looks | Drill and stake into ground; treat for rot |
| Concrete or brick pavers | $4–$10/ft | Excellent | Formal or structured edges | Set in a shallow mortar or sand bed |
| Natural stone border | $5–$15/ft | Excellent | Blending with garden beds | Labor-intensive to set level |
| Metal landscape edging (pro grade) | $1.50–$3/ft | Excellent | Clean modern lines | Harder to bend for curves |
For most DIY patios, steel landscape edging or a row of paver bricks gives the best mix of durability and ease. Whatever you choose, install it before the fabric and gravel go in so you can pin the fabric right up to the inside edge of the border. Anchor edging with spikes at least 6 inches deep so frost and foot traffic can't push it out.
Materials List and Tool Checklist
Here's what you'll need for a typical 10x12-foot patio (120 square feet). Scale quantities proportionally for larger areas.
Materials
- Pea gravel: about 1.5 to 2 tons for a 2-inch depth over 120 sq ft (order a little extra)
- Crushed stone / 3/4-inch minus base aggregate: about 1.5 to 2 tons for a 4-inch compacted base
- Woven landscape fabric: at least 150 sq ft plus overlap (one roll usually covers it)
- Landscape staples / pins: 50 to 100 count
- Edging material: perimeter of your patio plus 10% for overlaps/corners
- Edging spikes or stakes: enough for every 12 inches of edging
- Connector pieces for edging if using modular plastic sections
Tools
- Plate compactor (rent for the day)
- Flat spade or sod cutter for excavation
- Garden rake and a stiff-tine landscape rake
- Wheelbarrow
- Rubber mallet (for setting edging and tamping)
- Tape measure, string line, and stakes
- 4-foot level or long carpenter's level
- Utility knife (for cutting fabric)
- Work gloves and safety glasses
Step-by-Step Installation
- Mark the patio footprint with stakes and string. Confirm square corners and check your planned slope with a level.
- Excavate the entire area to 4 to 6 inches below finished grade. Remove all sod, roots, and organic debris.
- Grade the subgrade to your target slope (1/8 to 1/4 inch drop per foot, away from the house). Rake smooth.
- Compact the native soil with two to three plate compactor passes. Lightly wet dry soil first.
- Install your edging around the full perimeter. Use a rubber mallet to drive spikes or stakes at least 6 inches deep. Connect any modular pieces per the manufacturer's overlap instructions.
- Pour crushed stone base in 2-inch lifts, raking each layer level before compacting. Target 4 inches of compacted depth. Make two compactor passes per lift.
- Lay landscape fabric over the compacted base. Shingle panels so higher pieces overlap lower ones with at least 12 inches of overlap at every seam. Pin with landscape staples every 18 to 24 inches, especially at seams and along edging.
- Pour pea gravel into the bordered area, starting at one end and working toward the other. Use a garden rake to spread it evenly to about a 2-inch depth.
- Rake repeatedly to level the surface, checking with your level as you go. Redistribute gravel from high spots to low ones.
- Do a final walk-through to check for thin spots, especially near edges, and top up as needed.
Finishing Details That Actually Matter
Getting a walkable surface
Two inches of pea gravel is the sweet spot for walkability. Go thinner and the fabric shows through. Go thicker and the surface feels unstable underfoot, like walking through a ball pit. Furniture also sinks and wobbles more with excess depth. For seating areas, some people place flat stepping stones or concrete pavers as furniture pads so chairs and tables have a solid base. That's a smart finishing touch if you plan to use the space a lot.
Confirming drainage
After your first rain, go outside and watch where water flows. Pea gravel drains quickly through the surface, but if the base was graded incorrectly you'll see water pooling at the edges or near the house. Fix grading issues early by pulling gravel back, regrading the base, recompacting, and replacing the material. It's a pain, but far easier to fix now than after a year of compaction.
Aesthetics and finishing touches
Pea gravel has a clean, natural look that goes well with raised planting beds, wooden furniture, and string lights. A few flat fieldstones or pavers set into the gravel surface create natural pathways across the patio without any extra excavation. Edge the bed border with a thin mulch strip or ground cover plants to soften the transition from gravel to lawn. If you want a more structured look, consider a soldier-course brick edge as a visible perimeter treatment on top of your edging.
Maintenance and Weed Control After Installation
Even good landscape fabric isn't perfect forever. Wind-blown soil accumulates on top of the gravel over time, and weed seeds germinate in that surface layer rather than pushing up from below. Plan to do a quick hand-weeding pass every few weeks during the growing season. Weeds that are shallow-rooted in that surface debris come out easily and haven't established deep roots.
Top up the gravel every one to two years. Pea gravel doesn't disappear, but it does migrate and compact, leaving thin spots near high-traffic areas or edges. A light topdress of fresh gravel (usually half a ton for a standard patio) refreshes the look and fills in low spots. Rake it in evenly with a garden rake.
For persistent weeds, a pre-emergent herbicide applied in early spring can dramatically cut down on new seedlings in the gravel. Check product labels to confirm it's safe for use near your plants and lawn edges. Avoid post-emergent herbicides that leave brown dead weeds sitting in the gravel; pull them by hand instead.
Common Problems and How to Fix Them
Gravel migrating and spreading
This is almost always an edging failure. Check whether your edging stakes have been pushed out or if the edging itself has lifted. Re-drive loose stakes deeper and add additional spikes. If sections of edging have shifted outward, you may need to pull and reset them with fresh spikes. Once edging is solid, rake gravel back to the center and redistribute.
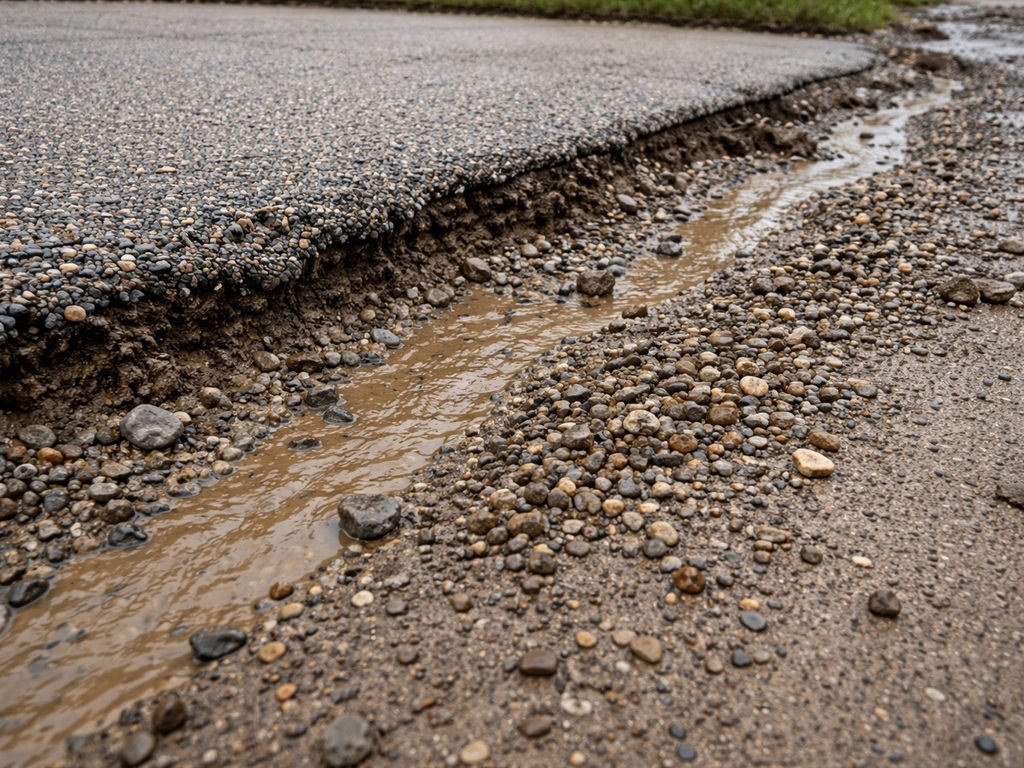
Washout after heavy rain
If gravel is washing toward one area after storms, you have a drainage grade problem. The slope is directing water flow across the surface rather than away from it. Fix this by pulling gravel back from the affected area, regrading the base with a rake and additional crushed stone where needed, recompacting, and restoring the fabric and gravel. Also check that no downspout is discharging water directly onto the patio, which will cause washout regardless of grade.
Uneven or sunken surface
Low spots usually mean the base wasn't compacted enough in that area, or organic material was left in place and has since decomposed. To fix, pull back the gravel and fabric, excavate the problem area, remove any remaining organics, add fresh crushed stone, and compact thoroughly before putting the fabric and gravel back. Spot fixes like this take a few hours but save you from redoing the whole patio later.
Weeds breaking through
If weeds are pushing up through the gravel from below, the fabric has likely torn or a seam has separated. Pull back gravel in that area, inspect the fabric, and patch any tears with same-grade fabric and a 12-inch overlap around the damaged section, pinned securely. If the original fabric was thin or non-woven economy grade, it may be worth replacing the section entirely with a proper woven geotextile.
Pea gravel is one of the most beginner-friendly patio materials out there, and it pairs naturally with other loose-aggregate approaches. If you want a firmer, more structural surface, the layering principles here share a lot of DNA with how to build a gravel patio or a rock patio, where the base work is essentially identical. The difference is mostly in what goes on top. Get the ground prep right, respect the edging, and a pea gravel patio holds up beautifully for years with very little effort. Once you’ve got the base and drainage set, follow the steps for building a sand patio by leveling sand in thin layers and compacting each lift how to make a sand patio. A flat rock patio follows the same foundation and slope principles, just with different surface stones pea gravel patio holds up beautifully for years. If you want to nail the process from start to finish, follow a clear how to build pebble patio workflow that covers layout, excavation, base prep, and finishing details. If you follow these steps, you will know how to rock a pea gravel patio that stays level, drains well, and looks great how to rock patio.
FAQ
How do I choose the right pea gravel size and color for a patio surface?
Look for pea gravel that’s consistently round and small enough to rake smooth, typically in the “pea gravel” range (often about 3/8 inch). For darker, more uniform color, buy from one batch and keep bag lot numbers the same so the surface doesn’t look mottled.
Can I build a pea gravel patio directly on top of grass or bare soil?
You should avoid it. Grass roots and organic matter break down and cause sinking, and bare soil shifts under load. The durable approach is removing sod and building the compacted crushed stone base first, then adding fabric and gravel.
Do I really need landscape fabric, or can I skip it to save time?
You can skip it only in very low-weed situations and with very aggressive edging, but most patios benefit from a permeable woven geotextile. It reduces weed establishment in the gravel surface debris layer, and it also helps keep the base and top layers from mixing over time.
What’s the best way to handle a slope or uneven yard section under a pea gravel patio?
Grade the base so the patio surface has the designed drop away from the house, don’t try to “follow the yard” as-is. If the slope is significant, consider building part of the patio in stepped levels with proper borders, then re-check that every section still drains outward.
Should I use crushed stone under pea gravel, or is gravel base enough?
Crushed stone (crusher run/class II base) is the stable choice because its angular particles lock together under compaction. Rounded gravel lacks that interlock, so it can shift, leaving thin spots and uneven walking areas.
How do I confirm my slope is correct before I add fabric and gravel?
Before adding fabric, use a level and tape measure to verify the drop rate across the full patio length. Mark the target height on stakes, then re-check at both ends and at midpoints so you catch dips before the base is covered.
Will a plate compactor damage the base or fabric?
Plate compaction is meant for the crushed stone base, not for the fabric or pea gravel. Once fabric is down, avoid compacting over it with the machine, and instead spread gravel by hand or with a rake to minimize disturbance.
How thick should the pea gravel layer be if I want it to feel firm for chairs and foot traffic?
Aim for about 2 inches of pea gravel as a general target. Thinner layers tend to show the fabric, and thicker layers can feel unstable and increase chair wobble and sinking where weight repeats.
What’s the easiest way to calculate how much pea gravel I’ll need?
Use area times depth. For example, a 10 by 12 foot patio is 120 sq ft, at 2 inches deep that’s 20 cubic feet of material. Convert to weight based on your supplier’s specs, since bag and bulk weights vary by stone density.
How should I maintain the patio if it develops potholes or ruts in specific spots?
Spot-fix by pulling back only the affected section, removing any decomposed organics or loose base material, adding fresh crushed stone, compacting, replacing the fabric patch (overlapping at least 12 inches), then re-topdressing with pea gravel and raking flush.
Why do weeds keep showing up even with fabric underneath?
Common causes are non-woven or thin fabric, seams that don’t overlap enough, tears, or wind-driven soil collecting on the gravel surface. A periodic hand-weeding pass during the growing season usually works best because many seedlings are rooted shallow in that top debris layer.
How do I prevent pea gravel from migrating out of the patio area?
Make edging a priority and anchor it deeply. Install edging before fabric and gravel so you can pin the fabric right to the inside face, then use spikes pushed at least 6 inches deep (more if your soil shifts or freezes heavily) to resist frost and foot traffic.
What should I do if rainwater runs onto the patio from a downspout?
Redirect the downspout away from the patio or onto a proper discharge area. Even with correct grading, concentrated flow can wash out base material, leading to erosion, gravel displacement, and repeated low-spot formation.
Can I put pavers or stepping stones into the pea gravel patio surface?
Yes, and it’s a smart way to create stable footing for heavy furniture legs. Set the pavers or stones on a firm mini-base (compact crushed stone and, if needed, a small fabric patch), so they don’t settle and create rocking points.
How often should I top up pea gravel, and how do I know the timing?
Plan to top up about every 1 to 2 years, but use inspection as your trigger. If you notice thin areas, uneven raking, or the surface compacted below the surrounding height, add fresh pea gravel, rake evenly, and keep the edges crisp.
Is it safe to use herbicides on or near a pea gravel patio?
If you use weed control, pre-emergent herbicide applied early in spring can reduce new seedlings. Avoid relying on post-emergents in the gravel since you can end up with brown, dead weeds that still leave plant debris behind, and always follow label guidance around lawn and nearby plants.
Next Article
How to Build a Gravel Patio Step by Step
Step-by-step DIY guide to build a gravel patio: planning, sub-base prep, weed control, edging, and compacting.