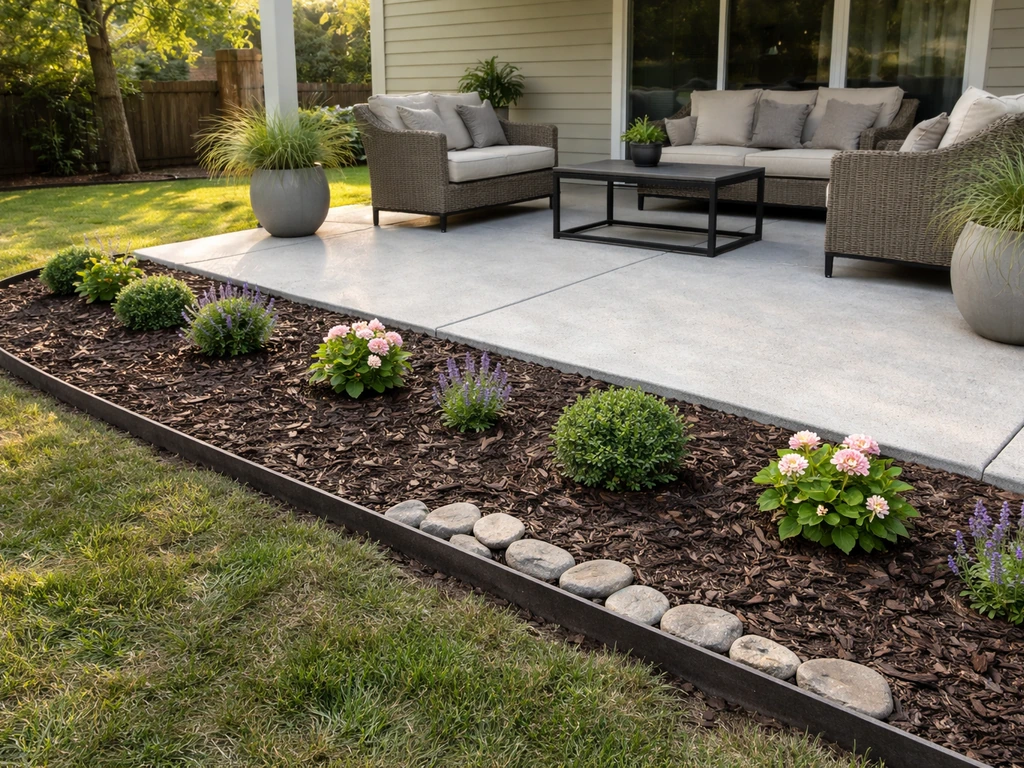
Yes, you can build a patio over tree roots, but you need to do it in a way that doesn't compact, smother, or sever those roots. The safest approaches are a raised or floating patio on a permeable gravel base, flexible pavers with open joints, or an elevated deck structure that bridges over the root zone entirely. If you’re wondering how to build a patio around a large tree specifically, start by planning for the root zone and choosing a permeable or elevated surface. Pouring a solid concrete slab directly over active roots is the one move you almost always want to avoid. Get the design right from the start and you can have a great patio that coexists with your tree for decades.
How to Build a Patio Over Tree Roots Safely

Nolan Lennox
27 May 2026
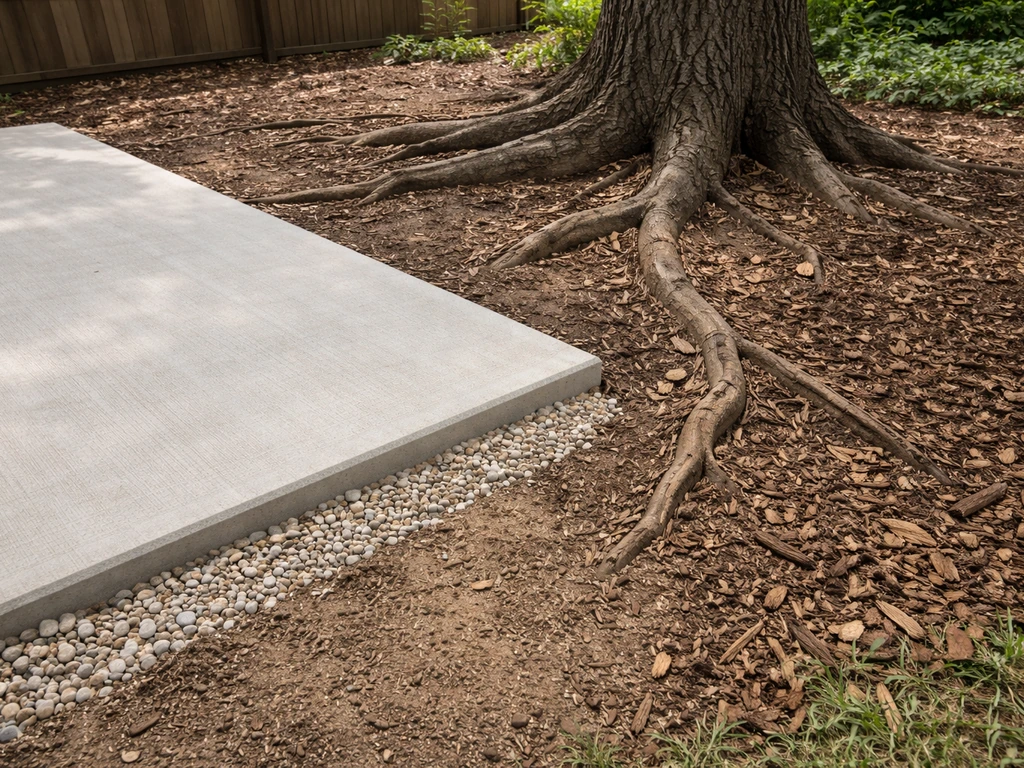
Check local rules and tree protection before you build
Before you buy a single paver or dig a single hole, find out whether your tree is protected. This step trips up a lot of DIYers who start building and then discover mid-project that they've violated a local ordinance. In the UK, if your tree is covered by a Tree Preservation Order (TPO) or sits in a conservation area, you need consent from your local planning authority before doing any work near it. Councils like Elmbridge Borough Council require you to apply before you even start. In the US, rules vary by city and state, but cities like Portland, Oregon, have detailed tree construction codes that explicitly prohibit impervious surfaces, excavation, fill, and trenching within a defined Root Protection Zone. Some municipalities require a permit for any hardscaping within the dripline of a heritage or protected tree.
Even if your tree isn't legally protected, it's worth a quick call to your local planning or building department to ask whether a permit is required for the patio itself. Many areas require permits for patios above a certain square footage or for any work involving drainage changes. Getting caught without a permit is a headache nobody needs, and it can affect your home's resale value.
- Search your local council or city website for 'Tree Preservation Order' or 'tree protection ordinance' before you start.
- In the US, look up your city's 'Root Protection Zone' rules, which often prohibit fill, compaction, and impervious surfaces within a radius tied to trunk diameter.
- Check whether your patio square footage or type (concrete vs. permeable) triggers a building permit requirement.
- If the tree is large, old, or near a property line, consider getting a quick consultation from a certified arborist before you break ground. In many areas, a written arborist report can satisfy permitting requirements.
Assess the tree roots and site conditions
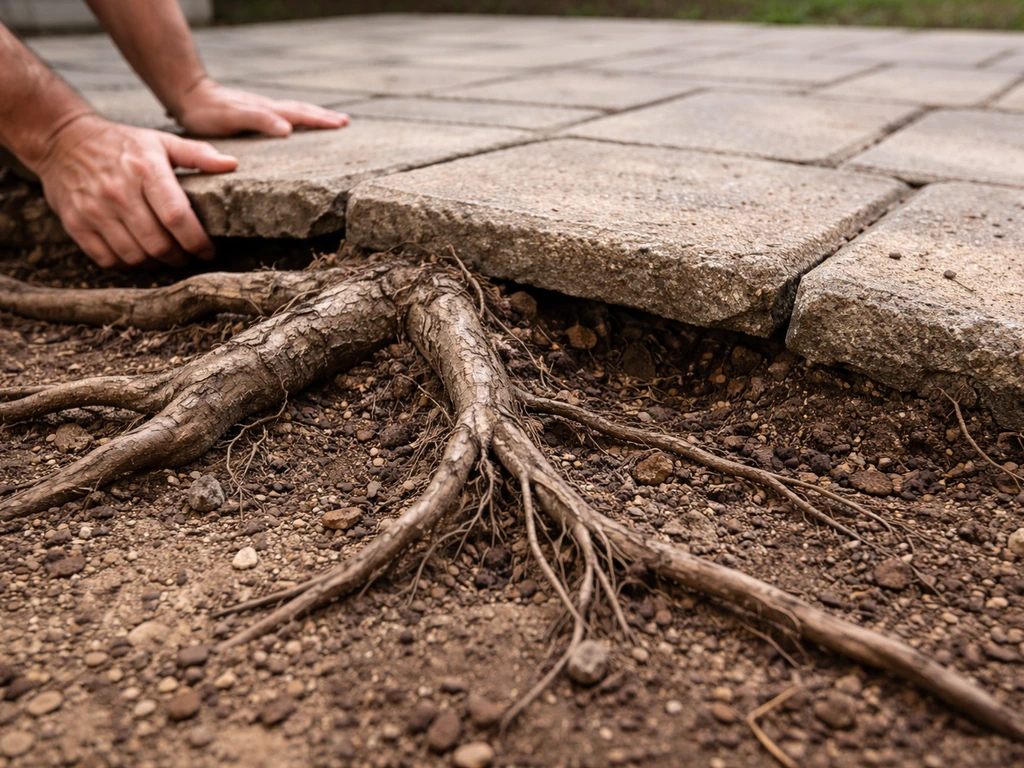
The next step is understanding what you're actually dealing with underground. A lot of people assume tree roots go straight down and deep, but that's usually not the case. About 80 percent of a tree's roots are in the top three feet of soil, and the fine absorptive roots that the tree depends on most are concentrated in the top six to twelve inches. That means even a shallow patio base can interfere with what the tree needs to survive.
Walk the area and look for surface clues: roots already breaking the surface, raised soil humps, or areas where the ground feels hard and compacted. Note the dripline of the tree (the outer edge of the canopy overhead), because most of the active feeder roots extend out to roughly that radius. Any work within the dripline deserves caution. The three main ways construction kills trees are soil compaction, grade changes that smother roots, and root severance, and a patio build can trigger all three if you're not careful.
If you're dealing with a large, valuable, or protected tree and you genuinely can't tell where major roots run, it's worth calling an arborist who uses an Air Spade. This tool uses compressed air to excavate soil around roots without damaging them, giving you a clear picture of root depth, direction, and structural soundness. It's not cheap, but it can save you from making a decision that kills a 40-year-old tree and costs a fortune to remove. For smaller trees or low-stakes situations, a careful hand trowel excavation along one or two lines can tell you a lot.
Red flags that mean stop and get professional advice
- The tree is protected by a TPO, sits in a conservation area, or is flagged as a heritage/significant tree by your municipality.
- Major structural roots (thicker than about 2 inches) run directly through your planned patio footprint.
- The tree already shows signs of stress: sparse canopy, early leaf drop, dead branches, or fungal growth at the base.
- You'd need to cut through roots or add more than 2–3 inches of fill soil directly over the root zone.
- The site has poor natural drainage and water already pools near the base of the tree.
Design strategies to avoid root damage: raise, bridge, or reroute
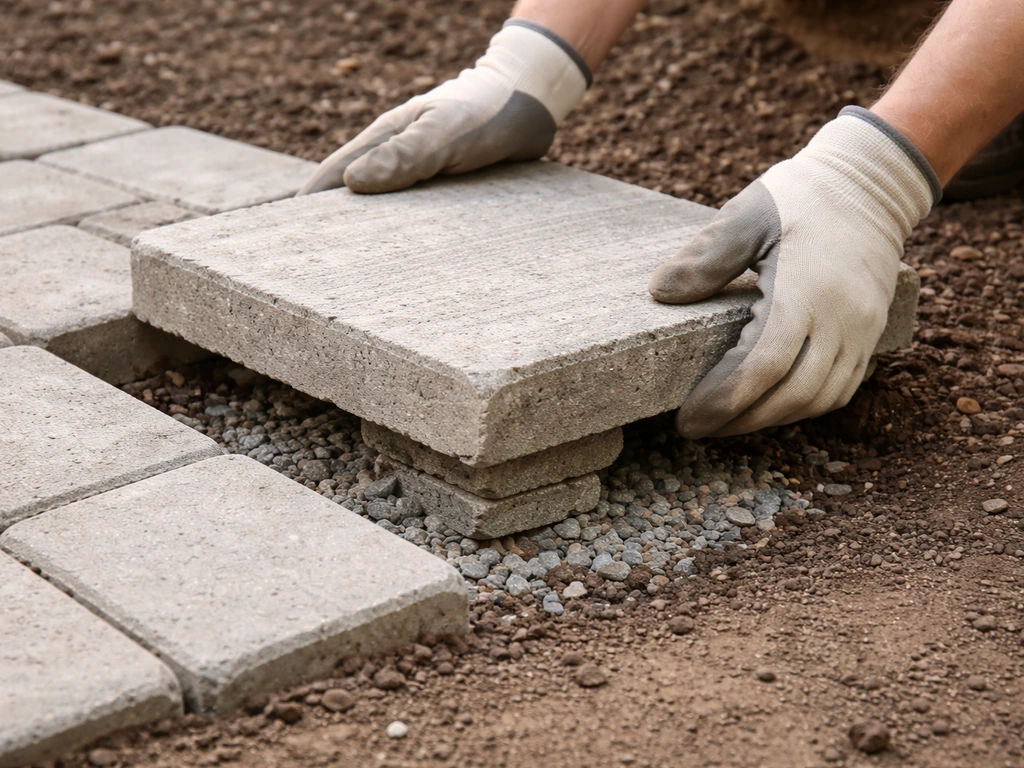
Once you know what's underground, you can pick a design approach that works with the roots instead of against them. There are three main strategies, and the right one depends on the size of your root problem and how formal you want the finished patio to look.
The floating paver approach
This is the most DIY-friendly option and works well when roots are near the surface but not massively raised. Instead of digging down and compacting a deep sub-base, you lay a minimal base of coarse, permeable gravel (typically 2–4 inches) directly on the existing grade without compacting it heavily, then set pavers or brick on top. The open joints between pavers allow water and oxygen to reach the roots below. The key rule here is to avoid adding more than about 2–3 inches of fill material over the existing soil surface, because deeper fill starts smothering those fine roots in the top layer. This isn't a forever-rigid surface, but for a casual backyard patio it works beautifully, and individual pavers can be reset if roots push them up later.
The elevated deck or raised platform
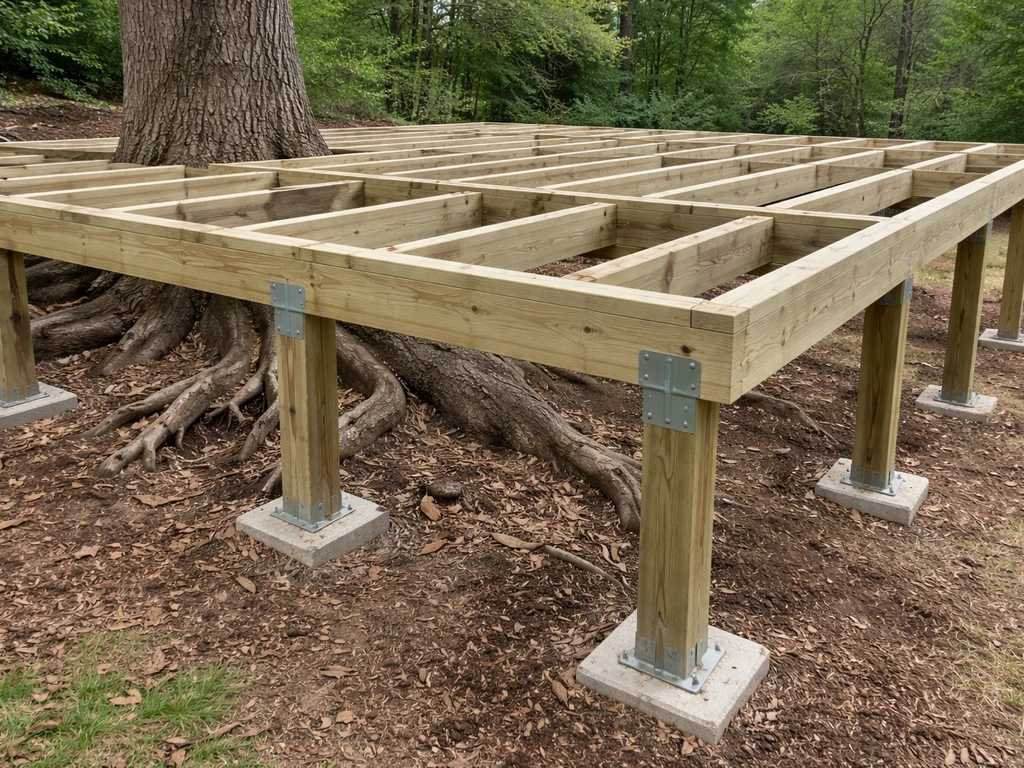
When surface roots are significant, or when you want a more permanent and level surface, building an elevated wood or composite deck structure is often the smartest call. Posts can be positioned to avoid major roots, the framing spans over the root zone, and the open structure underneath still allows light, water, and air to reach the soil. If you're building around a tree trunk, frame out a generous opening around it to allow for trunk growth over time. This is a more complex build than a paver patio, but it completely sidesteps the compaction and smothering problems. It's also worth noting that this approach connects naturally to thinking about how you'd landscape around the patio once it's built.
Rerouting the patio footprint
Sometimes the simplest fix is moving the patio. If your planned footprint puts most of the surface area within the tree's dripline, ask yourself whether a slightly shifted or curved layout would keep the majority of the patio outside the root zone. Even relocating 3–4 feet can make a meaningful difference. Irregular or curved patio shapes can actually work to your advantage here, wrapping around the tree's natural root spread rather than fighting it.
Drainage planning is non-negotiable
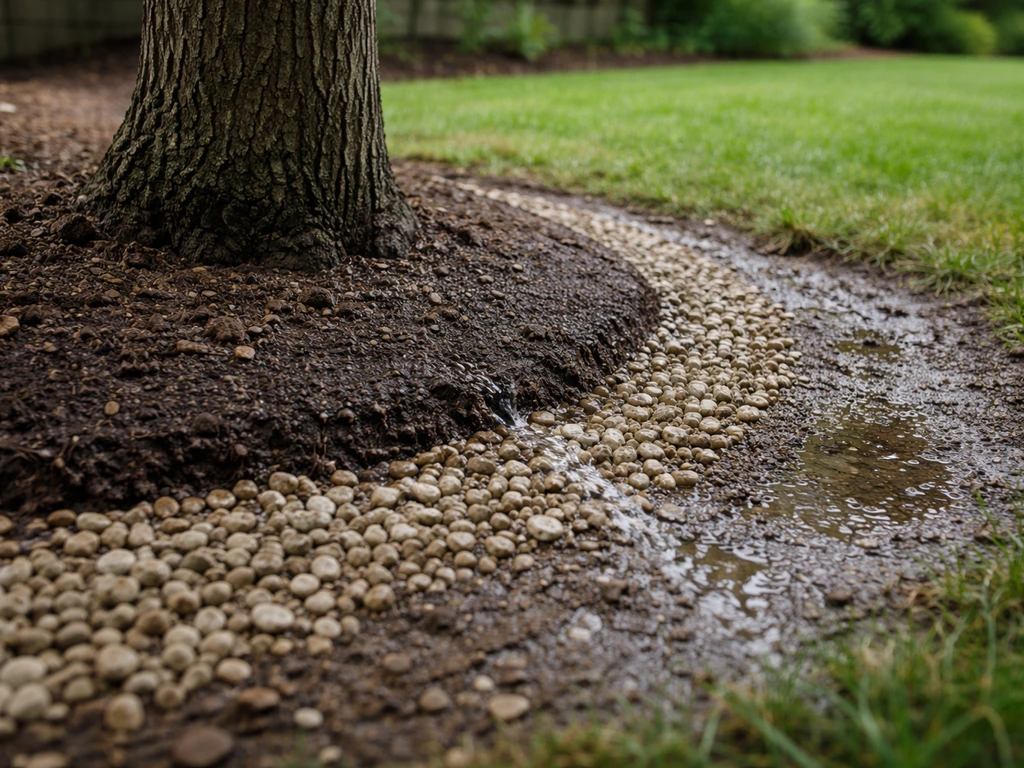
No matter which design approach you choose, make sure water can move away from the root zone. A patio that pools water against a tree trunk creates anaerobic (oxygen-depleted) soil conditions that damage roots and can eventually kill the tree. Oregon State University Extension notes that permeable pavement systems must avoid conditions that pool water or cause clogging, since that can undermine the system’s ability to protect the underlying soil and roots pools water against a tree trunk. Build a slight slope away from the trunk (a 1-inch drop per 8 feet is a common minimum), use permeable base materials, and avoid creating a bowl shape with your patio edge that traps runoff near the base of the tree. If your yard already has drainage problems, solve those before you build the patio.
Choose patio materials and build-up layers that work over roots
Material choice matters more here than in a typical patio build. The goal is permeability, flexibility, and minimal excavation. Here's how the common patio options stack up when roots are in the picture.
| Material | Root-Friendliness | DIY Difficulty | Longevity Over Roots | Notes |
|---|---|---|---|---|
| Concrete pavers / brick on gravel | Good | Moderate | Good (resettable) | Best all-around DIY choice; open joints allow water/air exchange; individual units can be reset if roots shift them |
| Poured concrete slab | Poor | High | Poor (cracks, heaves) | Rigid surface cracks when roots move; seals off oxygen/water to roots; hard to repair without full demo |
| Permeable / porous pavers | Excellent | Moderate-High | Very good | Maximizes water infiltration; ideal within or near root zone; requires proper open-graded base |
| Gravel / decomposed granite | Excellent | Low | Moderate | Most root-friendly surface; no compaction; easy to top up; less formal look |
| Elevated wood/composite deck | Excellent | High | Very good | Bridges over roots entirely; posts can be sited to avoid roots; best for major root problems |
| Flagstone on sand/gravel | Good | Moderate | Good (resettable) | Similar to pavers; irregular shapes make it easier to route around surface roots |
For a standard DIY floating paver patio over roots, the recommended build-up from bottom to top is: existing soil (undisturbed or very lightly raked), a layer of landscape fabric (optional, but helps with weed suppression without sealing off the soil), 2–4 inches of coarse crushed stone or clean angular gravel (do not compact aggressively), a 1-inch bedding layer of coarse sand or fine stone dust, and then your pavers or brick. Keep the total added depth under 3 inches where possible. Never use fine-grained fill soil or topsoil as part of this build-up directly over roots, as it compacts easily and restricts oxygen exchange.
One extra tool worth knowing about: root barriers. These are vertical panels installed at the edge of a patio to redirect roots downward and away from the surface. They work best when installed at the perimeter of the patio before you lay anything, and the top of the barrier should sit slightly above the finished soil grade so roots can't grow over it. They're not a magic solution, but they can buy you years before root pressure becomes an issue under your pavers.
Step-by-step DIY construction approach for common patio types
Option A: Floating paver or brick patio on gravel base
- Mark out your patio area and note the location of any visible surface roots. Adjust the boundary if needed to keep at least 18–24 inches of clearance from major roots if possible.
- Skim off existing grass or vegetation with a flat spade, removing only the minimal depth needed to get a relatively flat surface. Aim for no more than 2–3 inches of removal. Do not use a mechanical excavator or rototiller in the root zone.
- If you're installing root barriers, do it now: dig a narrow trench at the patio perimeter to the barrier manufacturer's recommended depth (usually 12–18 inches), insert the barrier panels so the top edge sits just above grade, and backfill.
- Lay landscape fabric over the prepared area if desired. Cut around any exposed roots rather than burying them under the fabric.
- Add 2–4 inches of coarse crushed stone (3/4-inch clean angular gravel works well). Spread it by hand or with a rake, not a plate compactor. Light hand tamping is fine, but aggressive compaction defeats the purpose.
- Add a 1-inch bedding layer of coarse sand or stone dust and screed it level using a straightedge.
- Lay your pavers or brick starting from a straight reference edge, leaving at least 1/4-inch joints between units. Work around any surface roots rather than cutting them.
- Fill joints with polymeric sand, coarse sand, or fine gravel (depending on how permeable you want the surface to remain). Coarse sand or fine gravel in the joints maximizes drainage.
- Check the surface slope with a level. Adjust any pavers that aren't draining away from the tree trunk.
- Edge the patio with plastic or metal paver edging to keep the units from spreading over time.
Option B: Simple elevated deck over a major root zone
- Design your deck frame so post locations fall outside or between major root runs. If you used an Air Spade or hand-dug test holes, mark root locations with flags before you lay out post positions.
- For each post, dig a small footing hole (or use a screw-in ground anchor if local codes allow and soil permits). Go just deep enough for a stable footing, but try to locate holes to miss major lateral roots. If you hit a large root, shift the post location rather than cutting through it.
- Set posts and build the framing to span over the root zone. Use standard deck joist sizing (2x8 or 2x10 at 16-inch spacing is typical for spans up to 8–10 feet) so you're not adding intermediate posts in the middle of the root area.
- If the tree trunk is inside your deck footprint, frame a generously sized opening (at least 6 inches of clearance around the current trunk diameter, more if the tree is young and fast-growing) to allow for trunk expansion over the years.
- Lay composite or pressure-treated deck boards with standard spacing (typically 1/8 to 1/4 inch between boards) to allow airflow and light to reach the ground below.
- Avoid closing off the underside of the deck with skirting that would block airflow completely to the root zone.
Option C: Gravel or decomposed granite patio (simplest root-friendly build)
- Mark the area and remove vegetation with a flat spade, minimizing depth of disturbance.
- Install edging (metal, timber, or brick border) at the perimeter to define the space and contain the gravel.
- Lay landscape fabric to suppress weeds while still allowing drainage.
- Spread 2–3 inches of compactable decomposed granite or pea gravel and rake level. For DG, use a hand tamper to lightly compact; for pea gravel, just rake smooth.
- Top with a finer finish layer if desired, such as a thin dressing of decorative stone.
Long-term maintenance: drainage, inspection, and what to do if roots push up
Even a well-built patio over tree roots will need some attention over the years. Roots grow, seasons change, and drainage patterns shift. The good news is that if you built with flexible materials like pavers, maintenance is manageable without a full tear-out.
Annual inspection routine
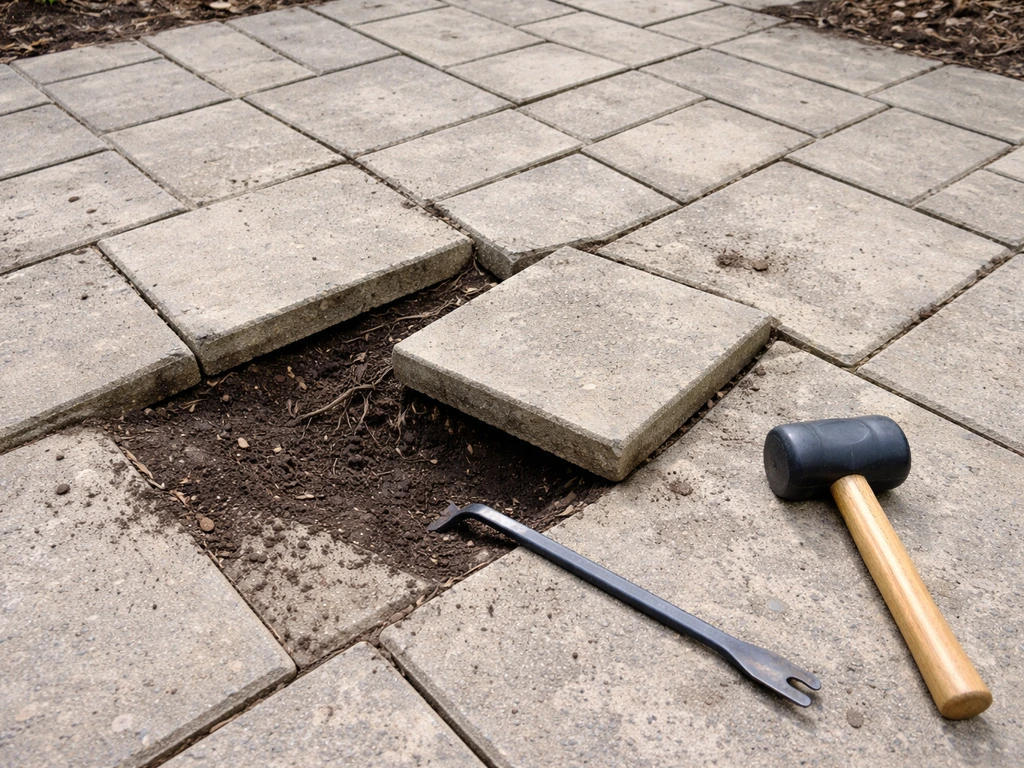
- Every spring, walk the patio and check for raised, tilted, or rocking pavers. Catching root movement early means resetting one or two pavers, not a dozen.
- Check that drainage is still moving water away from the tree trunk. A simple way: watch the patio during a rainstorm and note where water pools.
- Look at the tree itself each season. Thinning canopy, dieback in upper branches, or fungal growth at the base can be early signs that the tree's roots are struggling, sometimes due to compaction or smothering that developed gradually after the patio was built.
- Clear leaf litter and debris from paver joints, because packed organic matter in the joints reduces permeability and can encourage root growth upward into the joint itself.
Resetting pavers pushed up by roots
When roots push up pavers, the fix is straightforward but requires some patience. Pull up the affected pavers and the bedding material below them. You'll likely find a root that has grown upward or laterally into your base layer. Here's the thing about root pruning at this stage: if the root is smaller than about 2 inches in diameter, a clean cut with a pruning saw or reciprocating saw is usually fine for the tree. If the root is larger than that, or if it's a primary structural root running close to the trunk, consult an arborist before cutting. Texas A&M Forest Service recommends that if significant root pruning is anticipated, it should ideally happen four to six months before major construction activity to give the tree time to recover. If you're doing maintenance pruning at an existing patio, the same caution applies. After dealing with the root, re-bed the area with fresh coarse sand, relay the pavers, and check the slope again.
When the problem keeps coming back
If you find yourself resetting the same area every year, you have a few options. First, consider installing a root barrier at that edge of the patio if you haven't already. Second, evaluate whether the design itself is the issue. A very wide patio that covers most of the root zone may be creating soil stress that causes the tree to produce more surface roots as it seeks oxygen. Reducing the patio footprint, switching to a more permeable surface, or transitioning part of the space to an elevated deck structure can relieve that pressure. If a tree is producing aggressive surface roots that keep disrupting your patio no matter what you do, that's often a sign the tree is stressed or was the wrong species for that location in the first place, and an arborist consultation is genuinely worth the cost at that point.
One more thing worth thinking about long-term: as your patio and tree both age, the relationship between them changes. A tree that was manageable when you built the patio might have a trunk 30 percent wider in fifteen years. If you've built a deck around it, check that the framing opening is still giving the trunk adequate room. The same forward-thinking applies to how you plant around the patio edges, since new shrubs and perennials near the patio can add root competition or help manage drainage depending on how you choose them. Choosing the right plants and placement can further protect the root zone and improve drainage near your patio plant around the patio edges.
FAQ
Can I use weed barrier fabric under pavers when building over tree roots?
In most root-friendly patio builds, you can keep some weed control by using landscape fabric, but you generally should not use it in a way that creates a sealed or highly restrictive layer. The usual intent is to reduce weeds while still allowing water to percolate into the soil below, and to avoid thick fill or heavy compaction that would limit oxygen exchange.
What should I do if my patio base keeps settling after construction over roots?
If roots are near the surface, “leveling” by digging out and adding gravel can help, as long as you keep the added depth small and avoid packing it hard. Repeated settling often means the base is too deep, too compacted, or trapping water, so recheck slope, reduce added fill thickness, and consider a floating build with flexible pavers.
Is pressure washing a patio over tree roots a bad idea?
Yes, a hot-water pressure washer can worsen root issues indirectly by eroding bedding sand and increasing pore clogging or runoff around the trunk. For maintenance, use gentler cleaning, re-sand joints as needed, and keep runoff from being directed toward the root zone, especially after cleaning.
What if I cannot move the tree, can I still adjust the patio layout without a major redesign?
In many cases, you can relocate the patio footprint or reshape it to reduce how much of the dripline is covered, even if you cannot change the tree’s position. Small shifts of a few feet and curved layouts often reduce conflict, but confirm the change will still meet drainage and access needs before committing.
Can I install irrigation near a patio built over tree roots?
You can, but it must be done carefully because irrigation changes soil moisture and can either stress roots or increase surface rooting. Use slow, targeted watering (for example, drip irrigation) and ensure the system does not create a constantly wet zone against the trunk or patio edge.
Does raising the patio automatically protect the roots, or can raising still harm them?
Sometimes, but it depends on what you mean by “raise.” A raised patio with permeable base can be root-friendly, while a thick “make it level” lift using fill soil can smother fine roots. If you raise the elevation, aim to keep added depth minimal, maintain permeability, and preserve slope away from the trunk.
Do permits still apply when I’m only doing maintenance or repairs on an existing root-zone patio?
If the disturbed area is within the tree’s dripline and includes any excavation or trenching, that is often where permits or protected-tree rules become relevant. Even if you already built a floating patio, later repairs can trigger additional requirements, so check local rules before doing significant root-zone work.
Why does the same area keep pushing up every season, even after I re-bed pavers?
If you see lifting in the same spot repeatedly, it often means the roots are growing into that exact pocket, the base is capturing moisture, or the patio footprint is covering too much of the active root zone. The practical sequence is re-level with minimal additional depth, verify slope and drainage, and consider adding a root barrier at the affected perimeter if you have access.
Is it safe to cut roots when fixing a lifted paver patio?
It depends on the root size and function, but the key risk is removing a primary or structural root close to the trunk without planning. Use the “smaller than about 2 inches” approach only as a rough guideline, and for thicker or structurally important roots, consult an arborist, especially if the tree is protected or valuable.
Can I add outdoor lighting, speakers, or wiring around a tree-root patio without harming the tree?
If you want to add lighting or a heat source, avoid running conduits or trenching through the root zone. Surface-mounted, cable-managed options that do not require excavation are typically safer, and any wiring should not require drilling that places loads or moisture directly at the trunk base.
Can I pour concrete near the tree roots, or should I avoid concrete entirely?
A true concrete slab is usually the most problematic because it is rigid and typically increases compaction and impervious cover. If you must have concrete nearby, consider limiting it to paths that bridge over the root zone with expansion gaps, or keep concrete out of the active root area and maintain permeability where roots run.
Next Article
How to Landscape Around a Patio: DIY Step-by-Step Guide
DIY step-by-step for landscaping around a patio: grading, edging, weed control, plant spacing, and fixes for drainage an