You can make almost any patio dog friendly with a handful of targeted upgrades: add grip to slippery surfaces, close off escape routes and hazards, set up shade and fresh water, swap out toxic plants for safe ones, and spend a few days helping your dog learn the space. None of this requires rebuilding from scratch. Most of it is weekend-level DIY work, and a lot of it costs less than you'd expect.
How to Make a Patio Dog Friendly DIY Guide

Nolan Lennox
28 Jun 2026
Start by assessing your patio and your dog's actual needs
Before you buy a single thing, spend 10 minutes walking your patio with your dog in mind. If you are still deciding where to put a patio, aim for a space that can be shaded, accessed safely, and kept away from escape routes and hazards. What you need to change depends heavily on two things: what your patio is currently made of and what your specific dog is like. A 12-week-old Labrador puppy has completely different needs from a 9-year-old arthritic Greyhound, and a smooth concrete slab presents different risks than a gravel or composite deck.
Ask yourself these questions as you walk around:
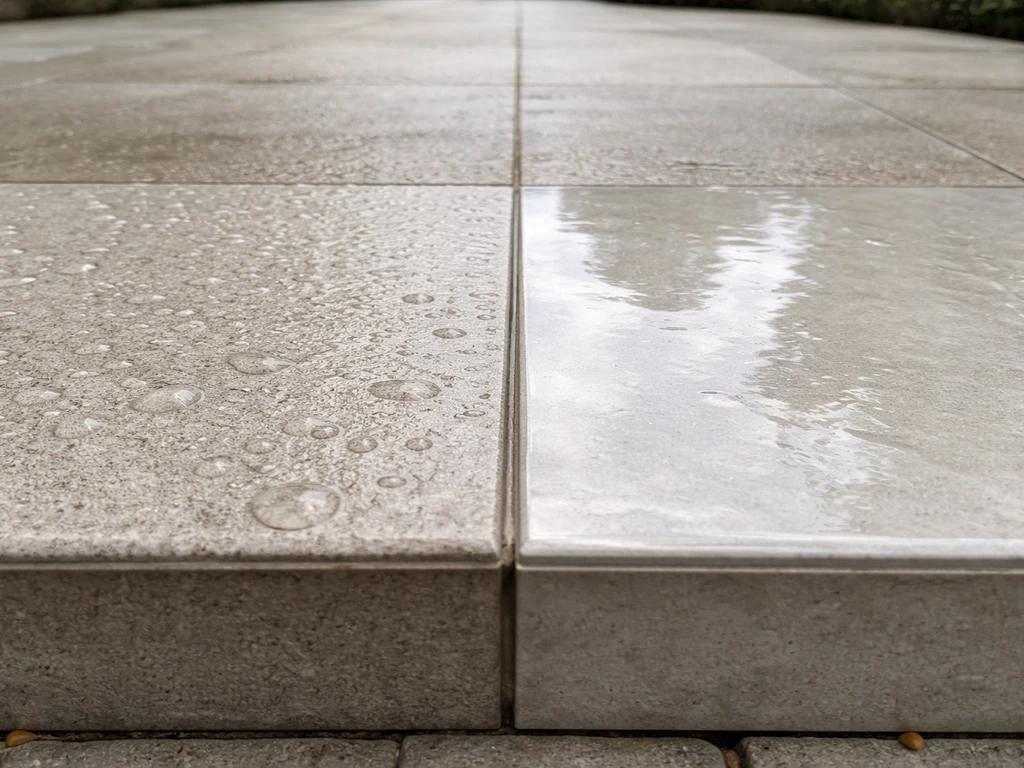
- Does the surface get slippery when wet? Smooth concrete, polished porcelain, and painted wood are the worst offenders.
- Are there gaps, raised edges, or uneven joints where a small dog could catch a paw or a senior dog could trip?
- Can your dog get off the patio and into traffic, a pool, a road, or a neighbor's yard?
- Is there natural shade for at least part of the day, or is it full sun from 10am to 6pm?
- Are there plants, mulches, or fertilizers within reach that could be toxic or make your dog sick?
- Is there a reliable water source, or will you be filling a bowl and forgetting about it?
Dog size and age matter more than most people factor in. Large, energetic breeds will test every gate latch and push every boundary you set. Senior dogs and puppies both struggle with slippery surfaces but for different reasons: seniors lose rear-end coordination, while puppies haven't built muscle control yet. Flat-faced breeds (Bulldogs, Pugs, French Bulldogs) overheat dramatically faster than other dogs and need shade and cool air as a non-negotiable, not a nice-to-have. Anxious or reactive dogs need clear visual barriers so the patio doesn't become a trigger zone. Write down what applies to your dog specifically, because that list is your upgrade priority list.
Safe, non-slip surfaces and traction upgrades
Surface traction is probably the most underrated patio safety issue for dogs. I've seen dogs tear a ligament slipping on wet concrete, and senior dogs especially will start refusing to use a patio if they've slid a couple of times and lost confidence. The fix depends on what you're working with.
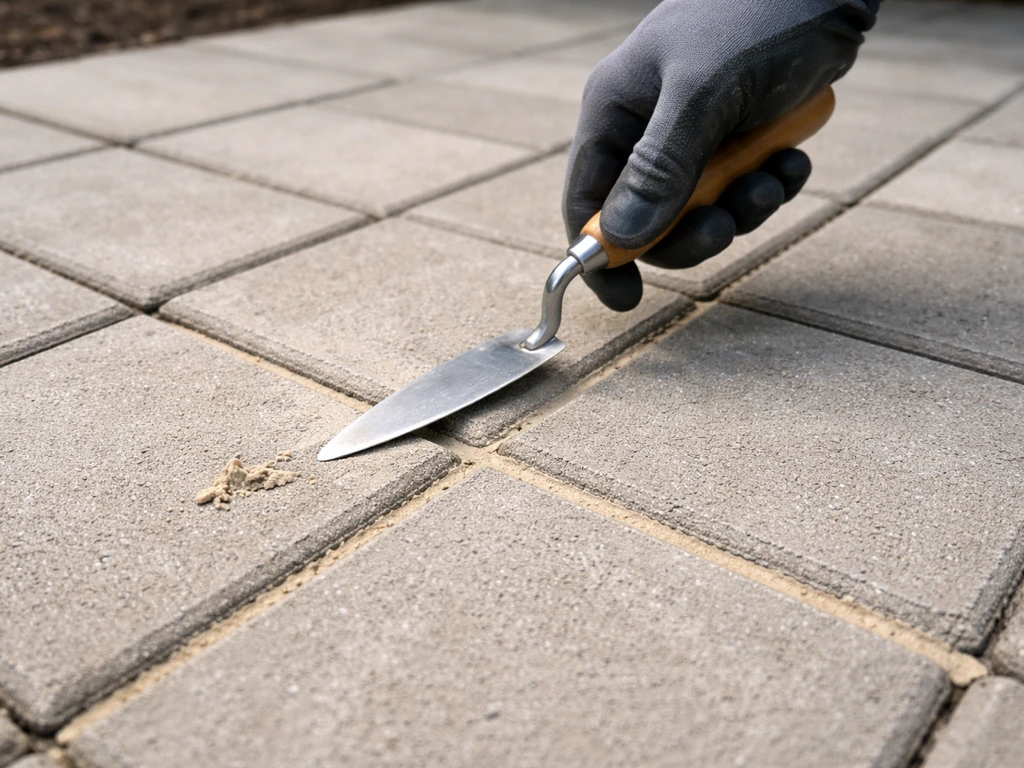
Concrete and stone patios
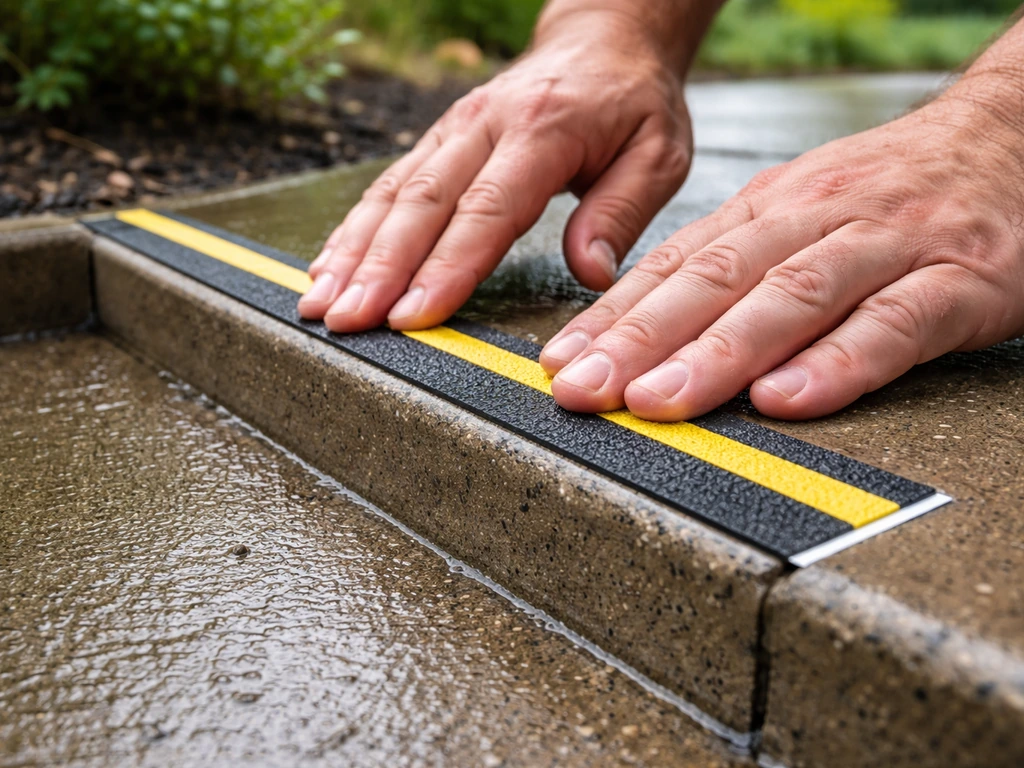
For existing smooth concrete or stone, the most durable fix is an anti-slip concrete coating or aggregate sealer. These are products you roll or brush on that embed fine grit (usually aluminum oxide or silica sand) into a resin base. They hold up well through seasons, don't affect drainage much, and cost roughly $30 to $80 for enough to cover a standard 200-square-foot patio. For a quicker and cheaper short-term option, you can broadcast clean, dry silica sand over a freshly applied concrete sealer before it cures. It's less refined but genuinely effective. Anti-slip adhesive strips (like the ones used on stair treads) work well in specific high-traffic zones, like the step off a door or a ramp.
Tile and porcelain surfaces
Smooth glazed tile is the slipperiest surface a dog can encounter outdoors. You have a few options: anti-slip coating products designed for tile (check the label for outdoor and poolside use), outdoor rubber or EVA foam interlocking tiles laid over the top, or replacing the worst zones with textured tile when you're doing maintenance anyway. Outdoor rubber tiles are my go-to recommendation here because they add cushioning, warmth in cooler weather, and can be cut to fit odd shapes. They typically run $1 to $3 per square foot.
Wood and composite decking
Composite decking with a brushed or embossed finish usually has decent grip, but older smooth wood decking gets treacherous when wet. Anti-slip deck strips designed for marine use are the toughest option here and can be nailed or glued down between boards. For painted wood surfaces, mix fine grit into your deck paint before applying the next coat. If you're due for a re-stain anyway, many deck stain products now come with anti-slip additive options.
Gravel and loose surfaces
Pea gravel and crushed stone patios are generally forgiving for dogs, but pay attention to stone size and sharpness. Pea gravel (3/8 inch, rounded) is comfortable on paws. Angular crusher run or large sharp aggregate can be painful, especially for older dogs or dogs with sensitive paws. If you have pavers set in gravel, make sure the joints are tight enough that paws don't get caught. Also, gravel has a way of getting tracked indoors, so adding a rubber mat or coarse doormat at the entry point to your house goes a long way. A big part of patio comfort is learning how to point a patio for beginners so water drains where you want it, not toward doorways or walkways.
Pet-proof fencing, gates, and containment
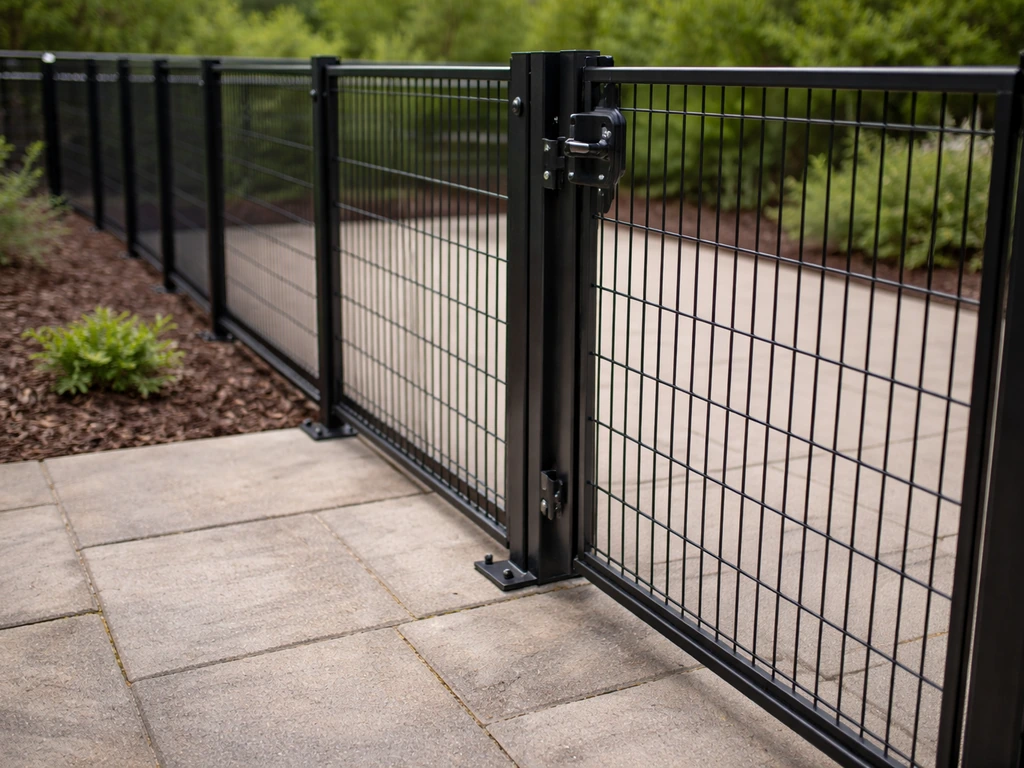
Containment is where you need to think like your dog, not like a homeowner. Dogs are escape artists by instinct, and a patio that opens directly to a road, a pool, or a neighbor's unfenced yard needs physical barriers, not just supervision. If you’re wondering how to point patio boundaries for your dog, start by blocking direct access to roads, pools, and neighboring yards. The specific setup depends on your patio layout.
Freestanding and panel fencing
For patios that don't already have perimeter fencing, freestanding modular fence panels are the most flexible DIY option. Metal powder-coated garden fence panels, bamboo roll fencing, or pressure-treated wood picket sections can all be connected and repositioned without permanent installation. If you have a larger or more athletic dog, go for at least 4 feet in height. For climbers or jumpers (Huskies, some Terriers, athletic herding breeds), 5 to 6 feet is more realistic. Make sure whatever you use has no horizontal rails on the outside face that function as a ladder.
Gates and latches
A standard gate latch is not enough for most dogs. Use a two-step or spring-loaded latch, or add a carabiner clip through the latch as a backup. The gate should swing inward toward the patio so a dog pushing against it can't accidentally open it. If you have guests or kids who forget to close gates, a spring-loaded self-closing hinge is worth the $15 to $25 it costs. Check the gap at the bottom of any gate: small breeds and puppies can squeeze through surprisingly tight spaces. A 4-inch gap is enough for many small dogs to escape.
Blocking access to hazards
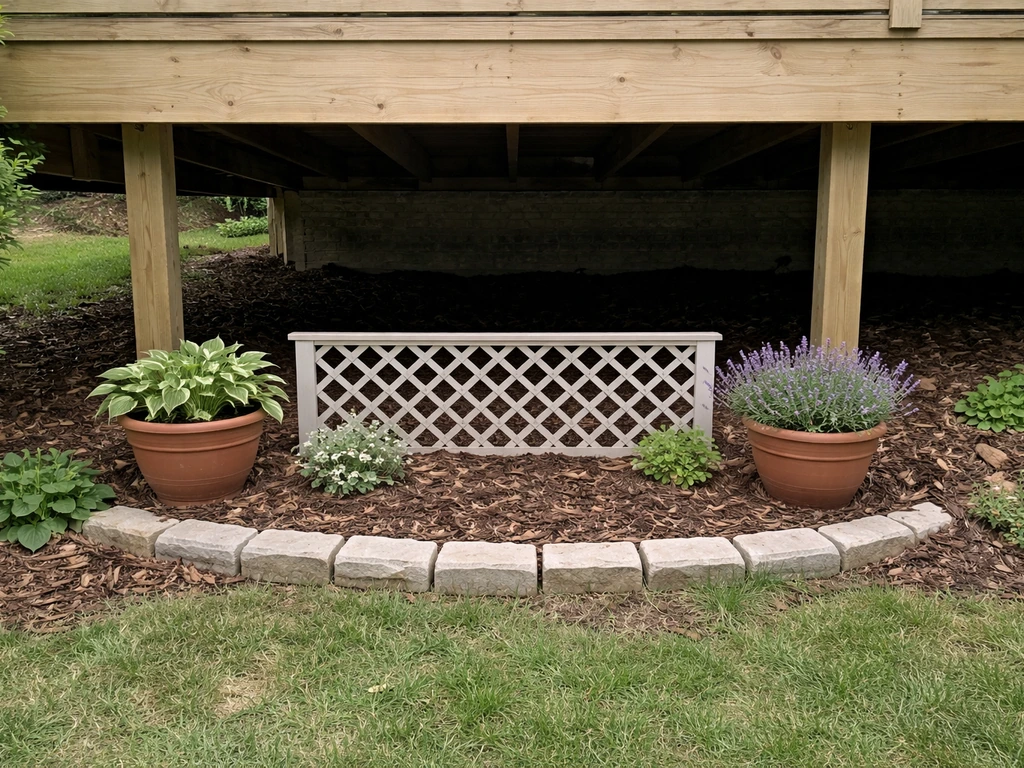
Think beyond perimeter escape. Use garden edging, low lattice barriers, or planters to block access to under-deck crawl spaces where dogs can get stuck or chew wiring. If you have a raised deck or patio, close off the gap underneath with lattice panels or hardware cloth stapled to the frame. Pools on or adjacent to the patio need a separate fence with a self-latching gate. Even a dog that can swim should never have unsupervised pool access from the patio.
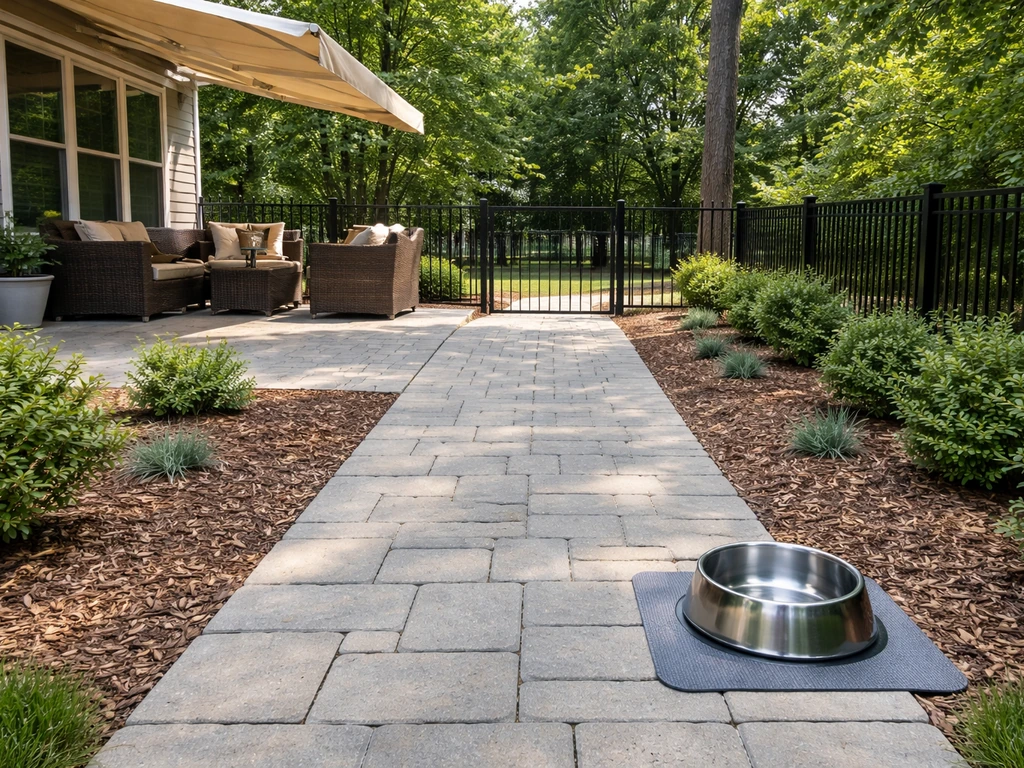
Shade, water, and weather protection
This is genuinely life-or-death territory in summer. Dogs overheat faster than most owners realize, and heatstroke can set in within as little as 30 minutes if a dog is stuck in full sun without water or a way to cool down. Early signs to watch for are heavy panting, seeking shade on their own, whining, drooling more than usual, and refusing to play. If you see those signs, blank" rel="noopener noreferrer">get the dog inside to cool air with access to water immediately. blank" rel="noopener noreferrer">Do not use ice or ice water to cool an overheating dog as it can constrict blood vessels and actually slow the cooling process. Use cool (not cold) water, wet a towel and lay it over the dog's stomach and armpits, and get to an emergency vet if severe signs appear. Build the patio setup so you never get to that point.
Shade solutions that actually work
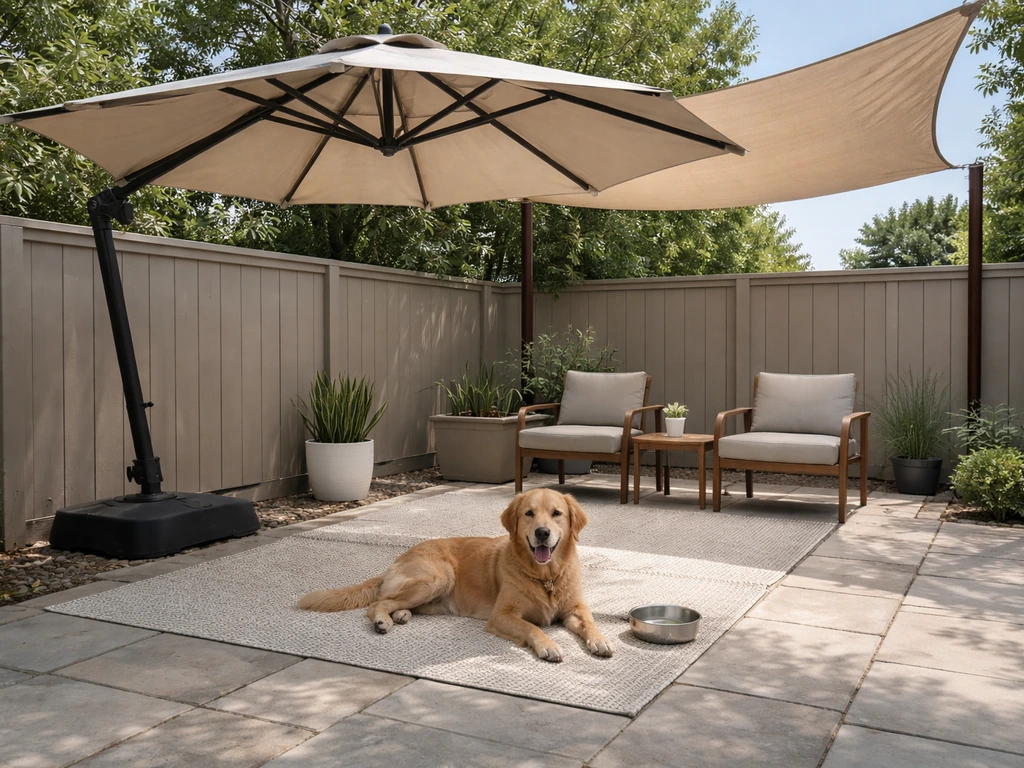
A freestanding cantilever umbrella or a shade sail strung between anchor posts are both solid DIY shade options that don't require a permanent structure. Shade sails are particularly good for covering large irregular areas and cost $30 to $150 depending on size, with DIY installation typically just requiring two or three anchor posts or attachment points to an existing fence or wall. If you want something more permanent, a pergola with 40 to 60 percent shade cloth woven through the slats is one of the most practical setups because it also gives you a framework for a fan mount or a misting line. Whatever you choose, make sure it creates shade during the hottest part of the day where you're located: typically from 11am to 4pm.
Water setup
A bowl you fill once and forget is not enough on a warm day. The most reliable setup is a dog water fountain connected to your outdoor spigot via a simple hose and float valve, which keeps a bowl constantly topped up without electricity. These run $20 to $50 and take about 30 minutes to connect. If you want a lower-tech option, use a large stainless steel or ceramic bowl (not dark-colored plastic, which heats the water) placed in shade. Check and refill it every 2 to 3 hours on hot days. A splash pad or small kiddie pool placed on the patio is also a legitimate cooling upgrade for water-loving breeds in summer.
Surface temperature
Concrete, stone, and dark composite can get hot enough to burn paw pads in direct summer sun. The standard test is to press the back of your hand to the surface for 7 seconds: if you can't hold it there, it's too hot for paws. Outdoor rubber tiles, a shade sail, or a light-colored concrete sealer can all bring temperatures down meaningfully. Lighter surface colors reflect more heat than dark ones, which is worth keeping in mind if you're choosing materials for a new section.
Dog-friendly landscaping and planting near the patio
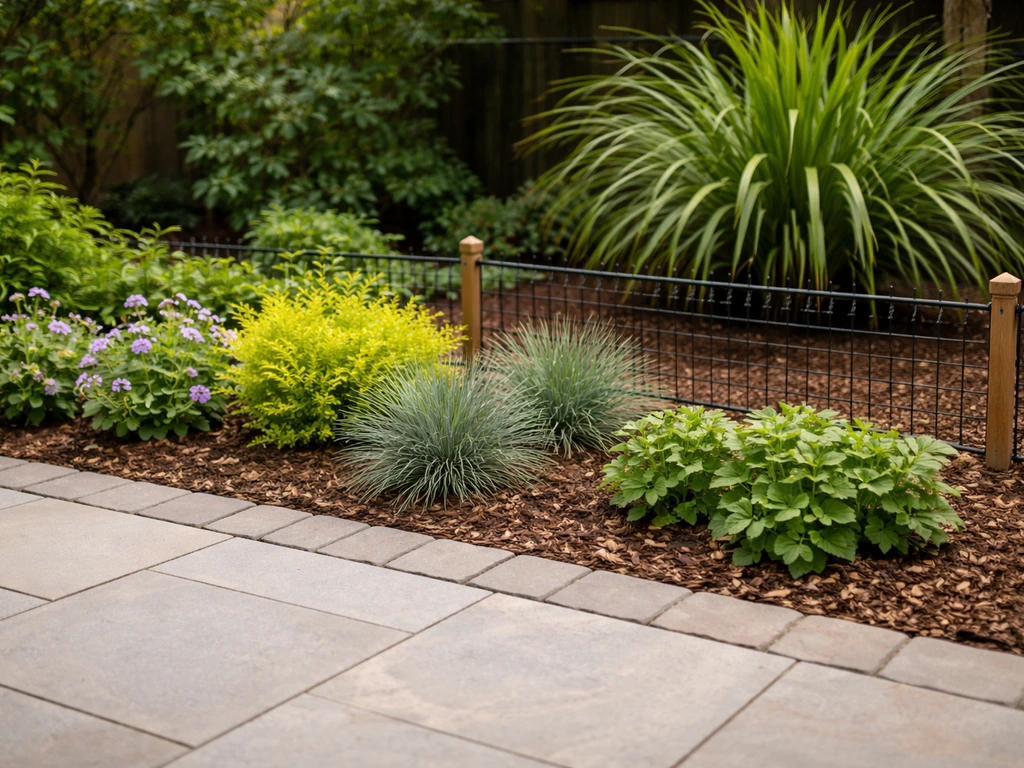
Plants around the patio perimeter are often an afterthought, but they're one of the real hazard zones for dogs. Choosing the best method for pointing patio plants starts with understanding your patio surface and your dog’s digging and chewing habits patio perimeter. A surprising number of common garden plants are toxic to dogs, including some that are very popular in patio plantings.
Plants to avoid near the patio
- Sago Palm: highly toxic, causes liver failure even in small amounts
- Oleander: extremely toxic to dogs and children
- Azalea and Rhododendron: toxic, causes vomiting and cardiac issues
- Foxglove: toxic, affects the heart
- Lantana: toxic, especially the berries
- Yew: highly toxic, fast-acting
- Lily of the Valley: cardiac toxin
- Tomato plants (leaves and unripe fruit): mildly to moderately toxic
Safe and practical plant alternatives
Good dog-safe options for patio borders and containers include rosemary, basil, sunflowers, marigolds (not pot marigold/Calendula), snapdragons, petunias, and ornamental grasses. Most ornamental grasses are safe and also effective as soft visual barriers that dogs respect as boundaries. If you want a low hedge, Camellia and most ferns are non-toxic. Always double-check any specific variety on the ASPCA toxic plant list before planting near where your dog spends time.
Digging, mud, and paw tracking
If your dog digs at the patio edge where it meets a garden bed, lay a buried chicken-wire apron about 12 inches down at the border. Dogs usually give up after hitting the wire a couple of times. Raised planter boxes along the patio perimeter also physically block access to dig zones while looking intentional. For muddy paws, a coarse synthetic doormat at the patio exit point catches a lot of the mess. Adding a small gravel or stepping-stone path from the patio to the lawn gives dogs a cleaner transition point than stepping directly from patio to soft soil.
Mulch and ground cover choices
Cocoa mulch is toxic to dogs and should be kept away from any patio area. Cedar and pine bark mulch are safer, though some dogs chew it. River rock and pea gravel are both safe and wash clean easily. If you use fertilizers or pesticides near the patio border, choose pet-safe products and keep your dog off treated areas until completely dry, usually 24 to 48 hours depending on the product.
Training, routine, and getting your dog comfortable on day one
Even a perfectly set-up patio can take a bit of time for a dog to feel confident using, especially if there are new surfaces, gate hardware, or furniture that's unfamiliar. The good news is that most dogs adapt quickly with a little guidance. For more practical tips for pointing patio upgrades and setup, you can follow a step-by-step plan.
The first introduction
Bring your dog out on a leash the first few times and walk them around the whole patio area. Let them sniff everything at their own pace. If there's a new surface they're hesitant about, place treats on it and let them approach voluntarily. Don't push or drag them onto something they're uncertain about. Most dogs will work through the hesitation within a few sessions if you keep it positive. For senior dogs or dogs that have slipped on surfaces before, put their favorite bed or mat on the patio from day one so they have a guaranteed traction spot to return to.
Setting rules and zones
Decide early which areas of the patio are off-limits (around the grill, near potted plants you want to protect, close to the gate latch) and be consistent from the start. Use a simple verbal cue like "off" or "leave it" paired with redirection to a designated dog mat or bed spot. Rewarding your dog for settling in their spot builds the habit faster than correcting every unwanted behavior. A dog bed, a chew, or a puzzle toy placed in the shade zone gives them a job to do on the patio, which is especially useful for high-energy dogs that would otherwise be testing your fence.
Building a daily patio routine
Dogs thrive on routine. Morning and evening patio time (when it's cooler and lower-risk for heat in summer) builds a pattern your dog learns quickly. Consistent exits and entries through the same gate reinforce gate manners. Pairing patio time with something the dog loves, whether that's a specific toy, a training session, or just your company, builds a strong positive association with the space. Within a week or two of consistent use, most dogs settle into patio time naturally and without much management from you.
A quick upgrade priority list to get started today
- Check and fix surface traction: anti-slip coating, rubber tiles, or grip strips on the highest-risk zones
- Audit your containment: test every gate latch, measure gaps at the bottom, add backup latches where needed
- Set up shade and water: at minimum a shade sail and a large stainless bowl in a shaded spot
- Remove or fence off any toxic plants in reach of your dog
- Add a coarse doormat at the patio-to-house transition to catch paws
- Introduce your dog to the space on leash, reward the good stuff, establish their go-to spot
None of this needs to happen all at once. Tackle the safety-critical items first (traction, containment, heat protection), then work through the rest as time and budget allow. Most of these upgrades are things you'll do once and forget about, and they make a real difference to how much you and your dog actually use the space together.
FAQ
How can I tell if my patio surface is too slippery for my dog before we try it?
Do a simple wet test. Lightly wet the exact area where your dog would walk, then try a few steps yourself wearing socks. If you slide or your feet skid, assume your dog will have traction loss too. For senior dogs, do this test after a rain or on humid days, since many surfaces become significantly more slippery when they hold moisture.
What’s the safest temporary setup if I can’t do DIY surface upgrades right away?
Use targeted “safe zones” while you plan the permanent fix. Place a dog mat or outdoor traction mat over only the highest-risk areas (step downs, entry to the patio, ramp transitions) and restrict access to the rest with barriers or a short leash. This prevents slip practice, which is important because once a dog loses confidence after a slip, they often refuse the patio even after the surface is fixed.
Can I make a patio dog friendly without adding a fence or barriers?
Sometimes, but only if your layout naturally prevents unsupervised access to hazards. If there is any chance of reaching a road, pool, open stairs, or an unfenced neighbor yard, you should plan on physical containment. “Supervision-only” usually fails during busy moments like deliveries, door openings, or kids rushing in and out.
What gate latch type works best for small dogs and puppies?
In addition to a stronger latch, focus on the gap and the swing direction. Even with a secure latch, a small dog can escape through the bottom gap or by nudging an outward-swinging gate. Measure the clearance under the gate and aim for the smallest gap possible, since puppies can squeeze where an adult dog cannot.
Are there patio furniture risks I should address for chewing or climbing?
Yes. Any items that allow climbing can defeat “height” containment, especially for jumpers. Move or anchor stackable chairs, planters, and side tables away from fences and gates, and avoid leaving low objects next to the barrier that create a stepping path. Also, use chew-resistant matting in front of legs and edges if your dog targets furniture for grip or chewing.
How do I choose shade if my patio only gets partial cover?
Target shade where your dog will rest, not just where the sun is strongest. Place shade over the water station, the usual bedding area, and the most commonly used travel route. If you use a shade sail or umbrella, confirm it stays shaded during your local peak sun window, since many setups provide shade mainly in the morning or late afternoon.
My dog drinks a lot on hot days. Do I need more than one water source?
Often, yes. If your patio has multiple zones (rest area, play area, route to the door), set up at least two access points so your dog is not forced to cross hot or slippery sections just to hydrate. If you use a fountain or connected bowl system, check that the hose connection and float valve are secure enough that an eager drinker cannot tip the setup.
What should I do if my dog refuses the patio after I make changes?
Avoid forcing them onto new surfaces, and instead use a “mat first” approach. Put their favorite bed or traction mat on day one, then add gradual exposure by spending short sessions there and rewarding approach. If refusal is paired with slipping history, focus on building a reliable foothold in the same spot daily, because dogs relearn confidence through repetition.
Is it safe to use a splash pad or kiddie pool for cooling all day?
Use it as a controlled, temporary cooling option, not as unrestricted access to standing water. Empty or refresh it regularly to prevent muddy paws and stagnant water issues. Also, treat the pool edge like a hazard boundary, since many dogs will try to enter repeatedly even when they should be resting in shade.
Which patio plants are safest for dogs, and are “non-toxic” labels enough?
Stick to dog-safe options and verify by specific variety, not just the common name. Some commonly sold plants have cultivars with different safety profiles, and “generally safe” can still cause stomach upset if chewed in large amounts. Keep edible-looking plants further from reach if your dog is a heavy chewer, and separate high-interest plants from the main rest zone.
How should I protect wiring or under-deck spaces on a raised patio?
Close access with a physical barrier that cannot be pushed aside or chewed through. Use hardware cloth or lattice fastened securely to the frame, and ensure there are no gaps where a dog can get their head or paws stuck. Also check for tempting chew targets like cable runs and ensure any outdoor extensions are routed away from dog-accessible areas.
What are the most common mistakes people make when trying to “make it dog friendly” quickly?
The most common missteps are covering hazards without containing them, and improving traction but leaving escape routes or gate vulnerabilities. Another frequent issue is choosing dark materials for comfort and then discovering they become too hot for paws in direct sun. Start with containment and traction, then finish with shade and water so you are not solving one risk while accidentally creating another.
Next Article
How to Point a Patio for Beginners: Step-by-Step Guide
Step-by-step how to point a patio for beginners, choosing the right joint material, cutting depth, fixing gaps, and curi