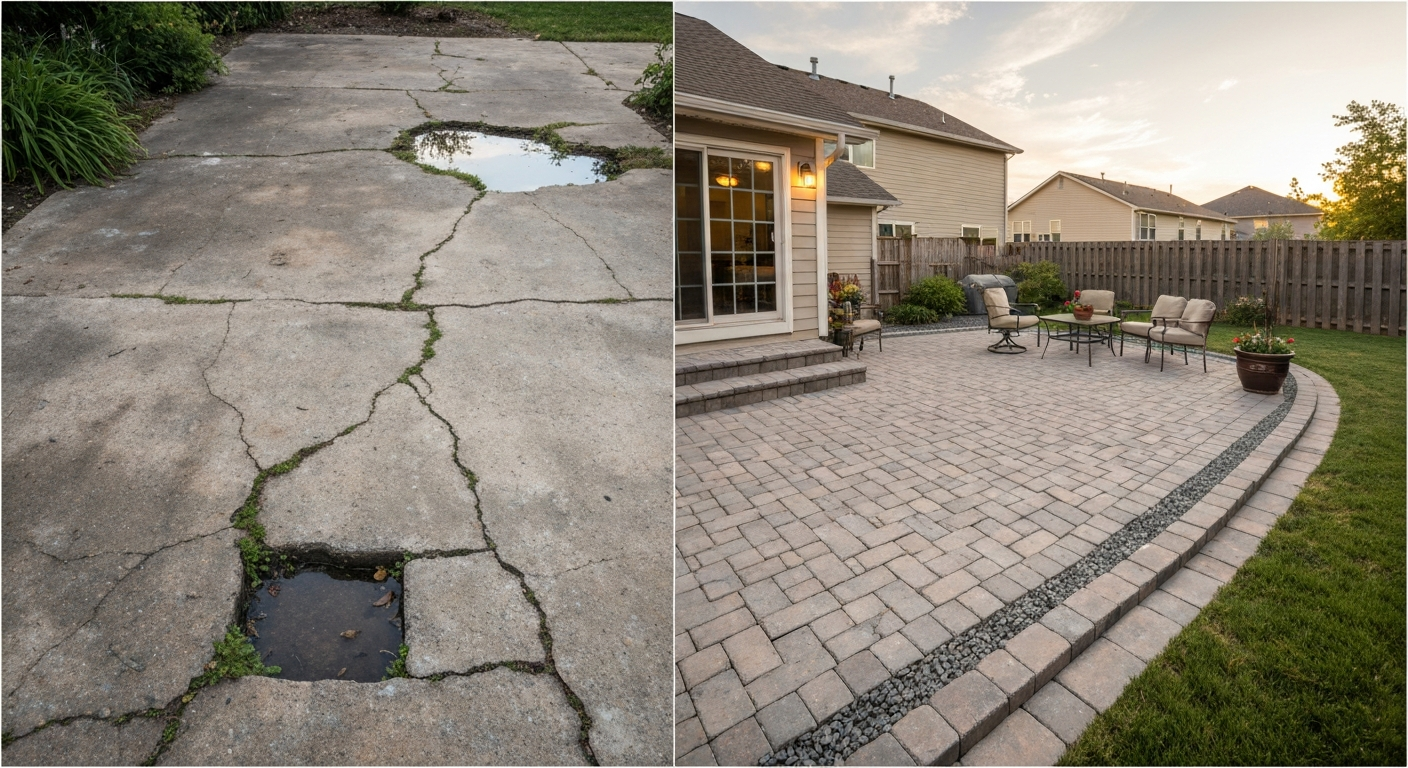
The best method for pointing a patio depends on what kind of joints you already have. If your patio uses mortar joints, you need to cut out the failed material to at least 15–20mm deep and repack with a fresh mortar mix suited to outdoor paving. If your patio uses sand joints, you just brush in new jointing sand (ideally polymeric) and compact it. Getting that diagnosis right first saves you hours of wasted work. If you're planning a new patio or improving an existing one, it's also worth thinking about where to put it so drainage and usability work well where to put a patio. Here's how to do the whole job properly, from checking what you have to sealing the finished surface.
Best Method for Pointing a Patio: DIY Repointing Steps

Nolan Lennox
27 May 2026
What "pointing" actually means for a patio
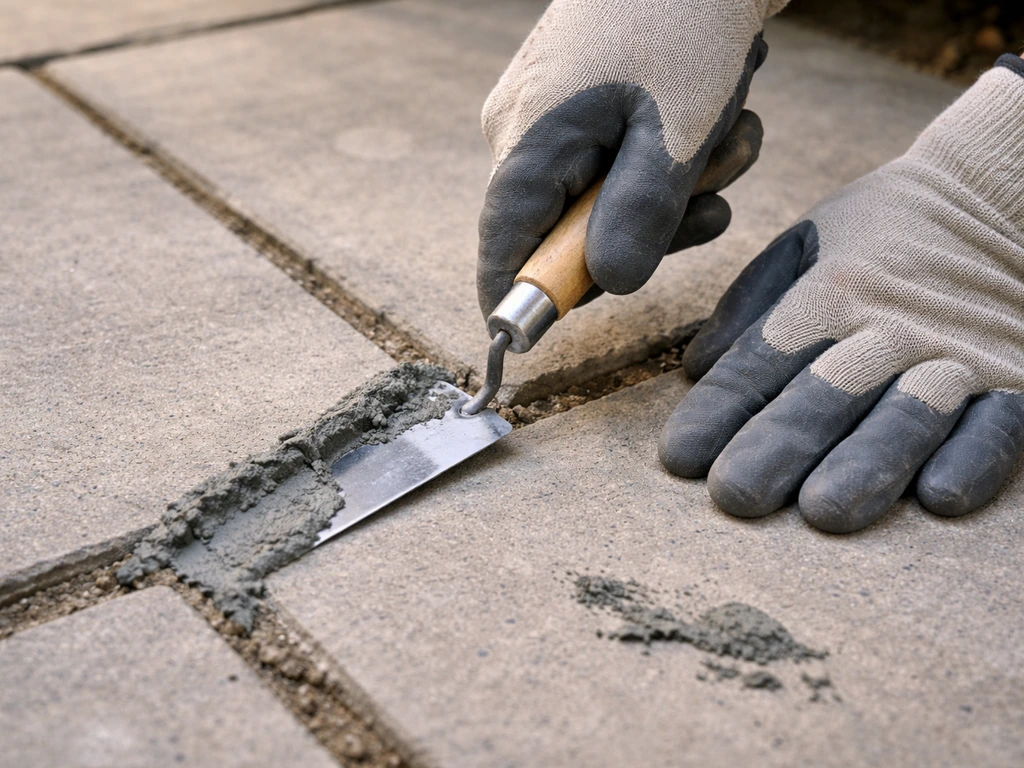
Pointing (or repointing) specifically refers to filling and restoring the joints between paving units, whether those are bricks, natural stone slabs, concrete pavers, or porcelain tiles. It's not about the slabs themselves cracking or shifting. The SPAB defines repointing as "taking out and replacing the mortar from the face of a masonry joint," which captures the core idea well. You're removing the deteriorated material sitting in the gap between units and replacing it with something solid and durable.
A lot of people confuse pointing with other patio repairs. Relaying a sunken slab, filling a crack through a paver, or resealing a surface are all different jobs. Pointing is purely about the joint. If your slabs look fine but the gaps between them are crumbling, pulling away, growing weeds, or letting water pool, that's a pointing problem and this guide is for you.
Diagnosing your joints before you touch anything
Before buying a single bag of material, spend ten minutes working out what you actually have. The wrong product in the wrong joint type is one of the most common reasons patio repairs fail within a season.
Mortar joints vs sand joints
Mortar joints are hard and rigid when intact. Scratch one with a screwdriver: if it's solid and takes some effort to score, it's mortar. If the material crumbles out easily or the gap is full of loose gritty sand, you have a sand-jointed patio. The distinction matters enormously because the repair methods are completely different. Mortar-jointed patios need fresh mortar; sand-jointed patios need more sand (or an upgrade to polymeric sand). If you’re trying to work out how to point patio joints correctly, the first step is identifying whether you have mortar or sand joints. Mixing these up, such as dropping mortar into a sand-jointed patio, can cause real damage by trapping water or cracking individual pavers.
Check for movement first
Walk over every part of the patio and feel for wobble. Any slab or paver that rocks, sinks, or shifts when you step on it needs to be relaid before you point anything. If slabs wobble or move when you step on them, it often points to a joint problem that can require more than cosmetic repointing, potentially including relaying blank" rel="noopener noreferrer">rock, sinks, or shifts when you step on it. Pointing over a loose base is a complete waste of time and money: the movement will crack your new joints within weeks. Pavingexpert warns against wasting time and money on blank" rel="noopener noreferrer">re-jointing paving that is known to be loose or moving, suggesting the paving units and base must be stable enough first. This is one of those cases where it's worth being honest with yourself about the scope of the job. If more than a quarter of the slabs are loose, you're looking at a relay, not a repoint.
Identify the paving material
The paving material affects which mortar or jointing product you should use. Natural stone (sandstone, limestone, slate) is often softer and more porous than concrete or porcelain, and needs a weaker, more flexible mortar so the joint gives slightly with movement rather than cracking the stone face. Brick and concrete pavers are tougher and can handle a standard stronger mix. Porcelain tiles typically need a specialist flexible jointing grout because they're almost non-porous and have very tight joints.
Look for old sealers or contamination
Run your hand over the paving and look at the joint edges. A shiny, plasticky finish or a surface that beads water suggests a previous sealer was applied. Old sealers can prevent new mortar from bonding to the edges of the slabs, so you need to either strip the sealer back or use a flexible resin-based pointing product designed to cope with sealed surfaces. Algae, oil, and general grime in the joint will also kill adhesion, so clean everything before you commit to a method.
The right tools and materials for the job
Tools you'll actually need
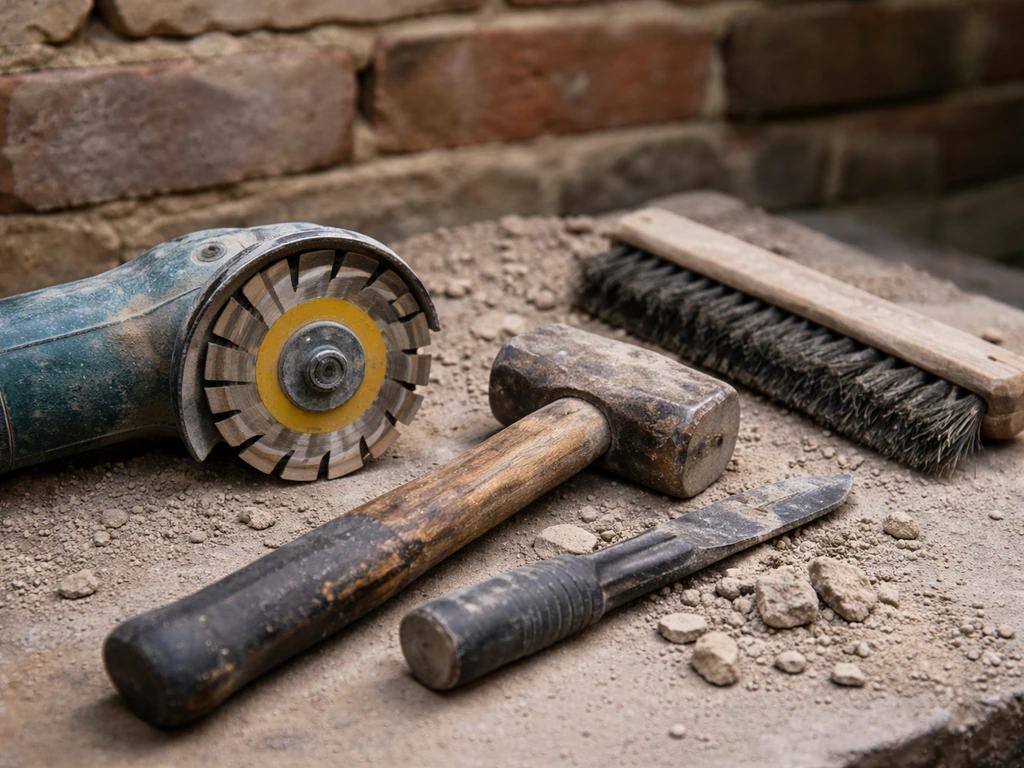
- Angle grinder with a pointing/mortar raking disc (fastest for large areas) or a manual plugging chisel and club hammer (slower but quieter and lower risk)
- Stiff-bristled brush and a vacuum or blower to clean out joints
- Pressure washer or garden hose with a jet attachment for washing down
- Pointing trowel or margin trowel for packing mortar
- Jointing iron or piece of copper pipe for striking and finishing joints
- Bucket and mixing paddle (or drill with mixer attachment) for mortar
- Sponge and clean water for wiping haze off slab faces
- Knee pads — you'll be on the floor for hours
Mortar mixes: what to use and when
For most brick and concrete paver patios, a standard 4:1 mix of sharp sand to cement works well. For softer natural stone like sandstone or limestone, go weaker: a 5:1 or even 6:1 mix reduces the risk of the stronger mortar cracking the stone edge. If you're working with porcelain or on a patio that sees heavy freeze-thaw cycles, a ready-mixed flexible pointing mortar (often sold as "patio pointing compound" or "pointing paste") is worth the extra cost. These products flex slightly with temperature changes rather than going brittle in winter. Add a plasticiser to a standard mix to improve workability and reduce water content, which gives a more durable finish.
Sand joints: polymeric vs standard kiln-dried
If your patio is sand-jointed, standard kiln-dried sand is the quick fix: sweep it in, compact it, done. But it'll wash out again within a season or two, especially in exposed or high-rainfall gardens. Polymeric jointing sand is the better investment. It contains binding agents that activate with water, setting into a semi-firm joint that resists washing out, suppresses weeds, and holds up much better through winter. It costs about two to three times more than kiln-dried sand but lasts many times longer.
Colour and texture matching
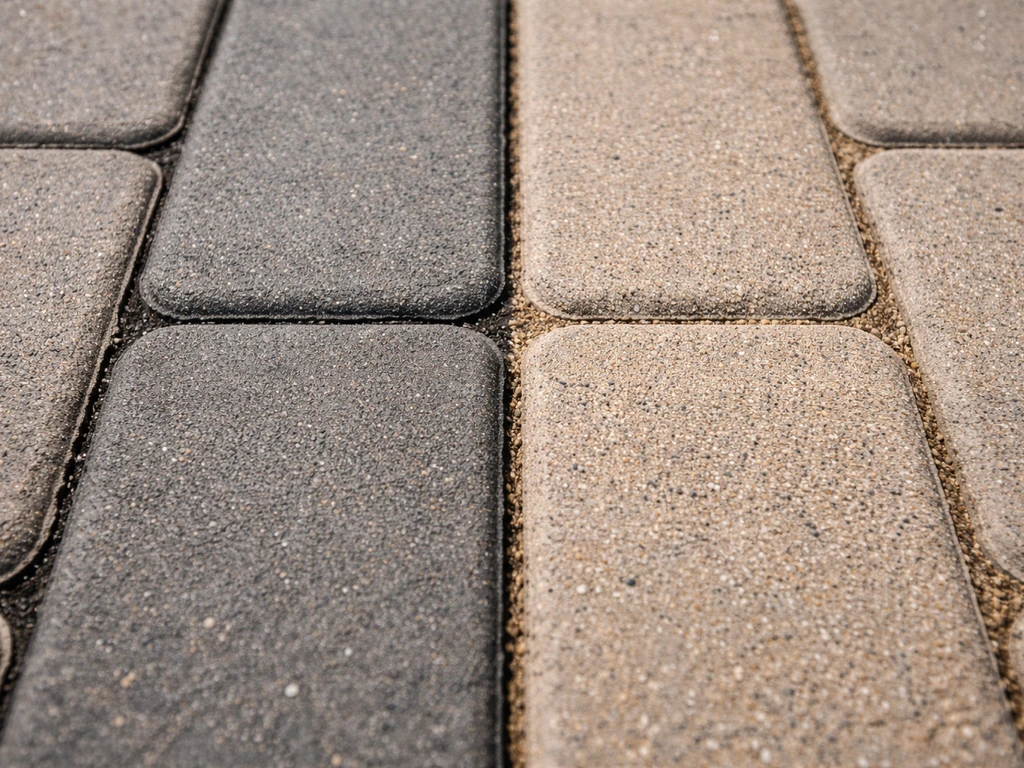
Fresh mortar almost always looks lighter than weathered existing mortar. If you're doing a partial repair and the colour mismatch matters to you, buy small bags of pigment powder to darken the mix, or accept that it will blend in after a few months of weathering. Ready-mixed products often come in a range of colours (buff, grey, charcoal, natural) which makes matching much easier. For sand joints, match the sand colour to what's already there: a buff sand on a grey patio looks jarring.
Step-by-step: cleaning out and rebuilding the joints
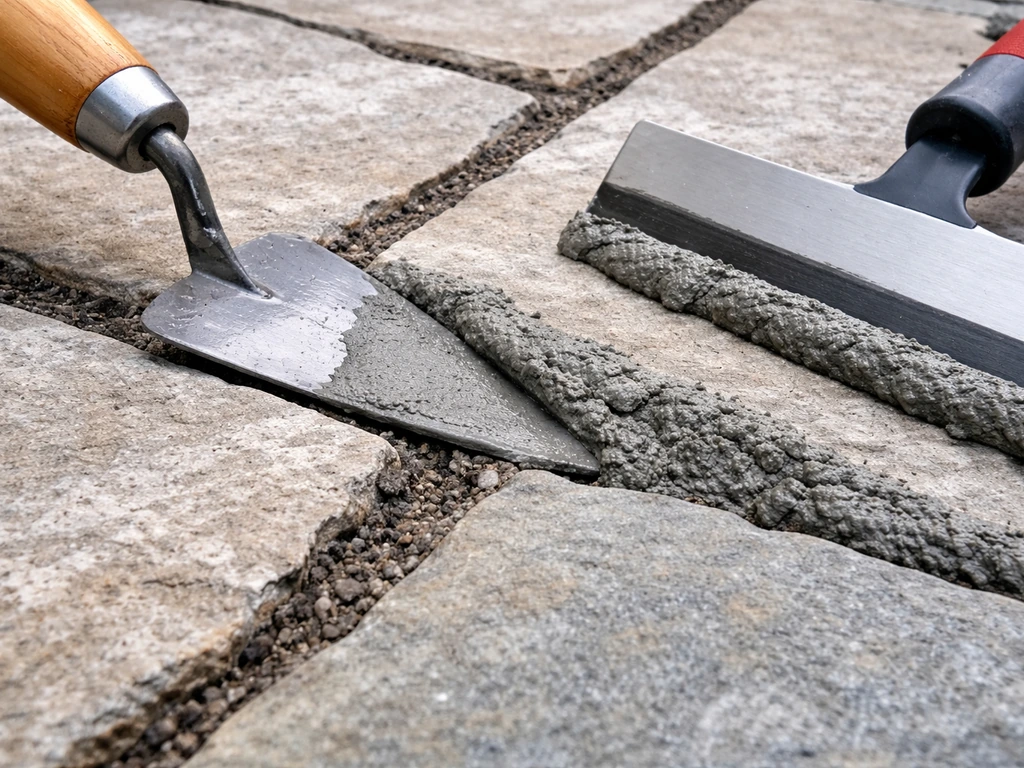
- Clear the area. Remove all garden furniture, pots, and anything else. Brush off loose debris from the whole patio surface.
- Rake out the old joints. Use an angle grinder with a raking disc or a plugging chisel to remove failing mortar to a depth of at least 15–20mm. You need enough depth for the new mortar to grip and resist pulling out. Don't go so deep that you undercut the bedding mortar holding the slab down. For sand joints, just sweep or blow out the existing sand to get a clean joint.
- Clean the joints thoroughly. Brush out all dust and loose material, then blow or vacuum the joints. For mortar joints, dampen the gap with clean water before filling: this stops the dry brick or stone from sucking the water out of your fresh mortar too fast, which causes weak, crumbly joints.
- Mix your mortar. Aim for a firm, dry-ish consistency that holds its shape when you squeeze a ball in your fist without leaving wet residue on your palm. Too wet and it slumps out of the joint and stains the slab faces. Too dry and it won't bond. Mix only what you can use in about 30–45 minutes.
- Pack the mortar into the joints. Work it in with a pointing trowel in layers if the joint is deep, pressing firmly so there are no air voids. Fill to just slightly proud of the slab surface.
- Strike the joints. While the mortar is still green (firm but not set hard, usually 20–40 minutes after packing), run a jointing iron or a bent piece of copper pipe along the joint to compact the surface and form a slightly recessed, rounded profile. This is what gives a tidy finished look and helps shed water. Avoid flat-flush joints that sit level with the slab: they pool water.
- Clean the slab faces. Use a slightly damp sponge to wipe any mortar smears off the paving before the mix sets. Dried mortar haze is much harder to remove. For polymeric sand, sweep dry sand across the surface, compact with a plate compactor or tamp by hand, then mist lightly with water to activate the binder. Remove any excess sand from the surface before it sets.
- Keep off the patio. Avoid walking on mortar joints for at least 24 hours, and ideally 48–72 hours in cool weather.
Keeping it waterproof: sealing, curing, and drainage
Fresh mortar needs time to cure properly before it's exposed to rain or frost. In warm, dry conditions (above 10°C, no rain forecast) mortar reaches a workable strength within 24–48 hours but continues curing for up to 28 days. If rain is coming, cover the patio with plastic sheeting for the first 24 hours. Never point in freezing conditions: mortar that freezes before curing will crumble straight out. Aim for a weather window of at least two dry days above 5°C.
Sealing your patio after pointing is optional but genuinely useful. A good patio sealer applied once the mortar has fully cured (wait at least four weeks) does several things: it reduces water absorption into both the mortar and the paving, slows the growth of algae and moss, and makes future cleaning easier. For natural stone, use an impregnating sealer that soaks in rather than sitting on the surface. For concrete pavers, a film-forming sealer adds a slight sheen and extra weather resistance. For sand-jointed patios, apply sealer after the polymeric sand has fully set.
Drainage matters more than most people realise. If your patio sits in a low spot or doesn't slope away from the house (the standard is about a 1:80 fall, roughly 12mm per metre), water sits in the joints instead of running off. No mortar will last long in permanently wet conditions. If drainage is poor, it's worth checking and correcting the slope as part of any major repointing job, even if that means relaying a few slabs to adjust the fall.
Common mistakes and how to fix them
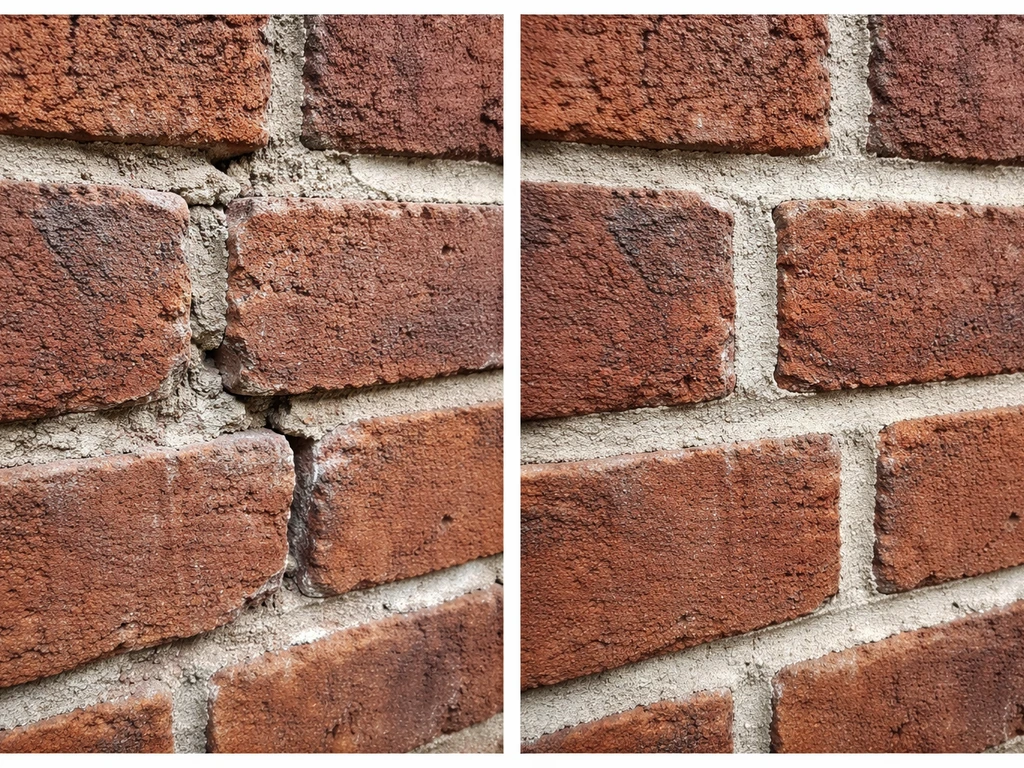
| Problem | Likely cause | Fix |
|---|---|---|
| Joints crumbling out quickly | Mortar mixed too wet, or applied to dry joints without wetting first | Rake out and redo with a firmer mix; dampen joints before refilling |
| Cracks returning within a season | Movement in the base, or mortar too strong for the paving material | Check for loose slabs; switch to a weaker or flexible mix |
| White haze or bloom (efflorescence) | Soluble salts migrating to the surface as mortar dries | Brush off dry, then treat with a dilute efflorescence cleaner; allow to weather |
| Mortar not bonding to slab edges | Old sealer on slab faces preventing adhesion | Strip sealer first, or switch to a resin-based flexible pointing product |
| Uneven or messy joint lines | Striking too late when mortar is already hard, or inconsistent packing | Strike when mortar is green; use a guide or string line for long runs |
| Weeds growing back fast in sand joints | Standard kiln-dried sand used instead of polymeric | Rake out and replace with polymeric jointing sand |
Efflorescence is worth a specific mention because it alarms a lot of people. That white powdery bloom on joints or slab faces is just mineral salts being drawn to the surface by evaporation. It doesn't mean the mortar has failed. In most cases it will weather off naturally within a few months. If you want to speed it up, dry-brush it off (don't wash it in wet as that can drive it back in), then apply a dilute acid-based efflorescence cleaner, rinse thoroughly, and allow to dry before sealing.
DIY cost, time, and skill level
Repointing a standard 20–30 square metre patio is a realistic weekend DIY project for someone who's reasonably comfortable with tools. Expect to spend about 4–6 hours raking out and cleaning, then another 4–6 hours pointing and finishing, split across two days so the first section has time to firm up. For a patio of that size, material costs typically run between £50–£120 depending on whether you mix your own mortar or buy ready-mixed pointing compound. Polymeric sand for a sand-jointed patio of the same size usually costs £40–£80. Hiring an angle grinder with a raking disc for the day adds around £30–£50 if you don't own one, and it cuts the raking-out time dramatically.
Skill-level wise, this is a moderate DIY job. Anyone who's done basic brick or concrete work will feel comfortable. Absolute beginners can absolutely do it, but be realistic: your first few metres of pointing will look rougher than the last few. If you're new to this, the detailed beginner-focused approach covered in how-to guides specifically for first-timers is worth reading before you start. If you are looking for how to point a patio for beginners, follow the steps here on diagnosis, preparation, and choosing the right jointing material beginner-focused approach. A 15-minute practice run on a hidden corner of the patio is always a good idea.
The one situation where DIY gets genuinely tricky is pointing large-format porcelain or very irregular natural stone with tight joints. The margin for error is smaller and the products are less forgiving. In those cases, spending a bit more on a specialist ready-mixed resin pointing compound rather than a site-mixed mortar is money well spent. The result will look cleaner and last considerably longer.
If you get the diagnosis right, prep thoroughly, and choose the correct material, a DIY repointing job done properly should last 10 years or more. That's a strong return on a weekend of work and under £100 in materials. The most common reason repairs fail early isn't skill, it's skipping steps: not raking deep enough, pointing into dry joints, or doing the job the week before the first frost.
FAQ
What should I do if the patio joints are unusually wide or uneven?
If the gaps are wider than your target (for example, some paving units have sunk and opened up unevenly), repoint in two stages: rake out to depth first, then backfill loosely with suitable inert backing material or a partial mortar bed so you do not overbuild the joint at the face. This prevents shrink cracks and reduces the amount of fresh mortar that can pull away during cure.
Can I just top up old joints instead of fully raking them out?
Yes, but only for sand-jointed patios and only after the sand has fully set. For mortar joints, do not “top up” without removing deteriorated material, because weak, loose mortar at the edges will not bond properly and the joint will fail quickly. The safer rule is, mortar joints need removal to at least the stated depth, sand joints need filling and compaction.
Will polymeric sand or mortar stop weeds growing from between pavers?
If the patio has active weeds or roots, remove as much plant material as possible, then rake and clean until the joint is free of loose debris. For polymeric sand, keep the joint surface dry until you are ready to apply and then water it lightly enough to activate without flushing out loose material. Never rely on pointing alone if the base is still moving or water is trapped.
Is it okay to repoint if the patio looks dry but the joints are still damp?
Don’t point when the joints are damp from recent rain or condensation. Moisture can prevent cement hydration and cause crumbly joints, even when temperatures are above freezing. Wait until the patio is visibly dry, and if you are unsure, press a dry cloth into a joint, if it comes away damp, delay the work.
How do I choose the right sealer if I used mortar versus polymeric sand?
Sealer compatibility depends on what you used in the joints. If you used polymeric sand, avoid applying a heavy surface coating before it has fully set, otherwise you can interrupt the sand activation. If you used mortar, stick to the “fully cured” wait period and choose an impregnating sealer for porous stone, film-forming for concrete pavers, and check that your sealer is designed for polymeric sand systems.
What’s the best way to avoid obvious color mismatch after repointing?
Yes, mismatch can be handled by matching for undertone, not just color name. If your existing mortar looks darker, you can tint fresh mortar with pigment, but keep the same mix consistency across the whole affected area to avoid patchy shades. After a few months, slight differences usually blend, but sharp differences remain noticeable if only one corner was repaired.
What should I do if the new pointing turns powdery or washes out?
If you see a dusty, chalky surface after rain or brushing, it usually means the joints are not cured yet or were contaminated. Let it dry fully, then lightly rake and remove any friable material before reapplying product, rather than sealing over it. Sealing over weak, sandy residues can lock in the failure and make rework more difficult.
How do I tell if my issue is really joint failure, or a base problem?
If you are removing failed mortar and you uncover a lot of voids or you can visibly see the base, stop and reassess the base. Pointing cannot correct a failing sub-base or poor compaction, if slabs flex or move when walked on, you will need relaying or base correction before repointing.
Can I repoint only a few areas, and how do I prevent a “band” of weakness?
For partial repointing, isolate the area properly: rake back to sound edges, clean thoroughly, and feather the new mortar so it is not proud of surrounding joints. Use plastic sheeting to protect the repaired strip during cure, and avoid walking on it until it firms up, otherwise you can compress the joint and create hollows that collect water.
Next Article
How to Update Patio: Complete DIY Guide to Repair or Rebuild
How to update patio: DIY guide to assess, choose materials, and follow step-by-step repairs or full rebuilds with costs.