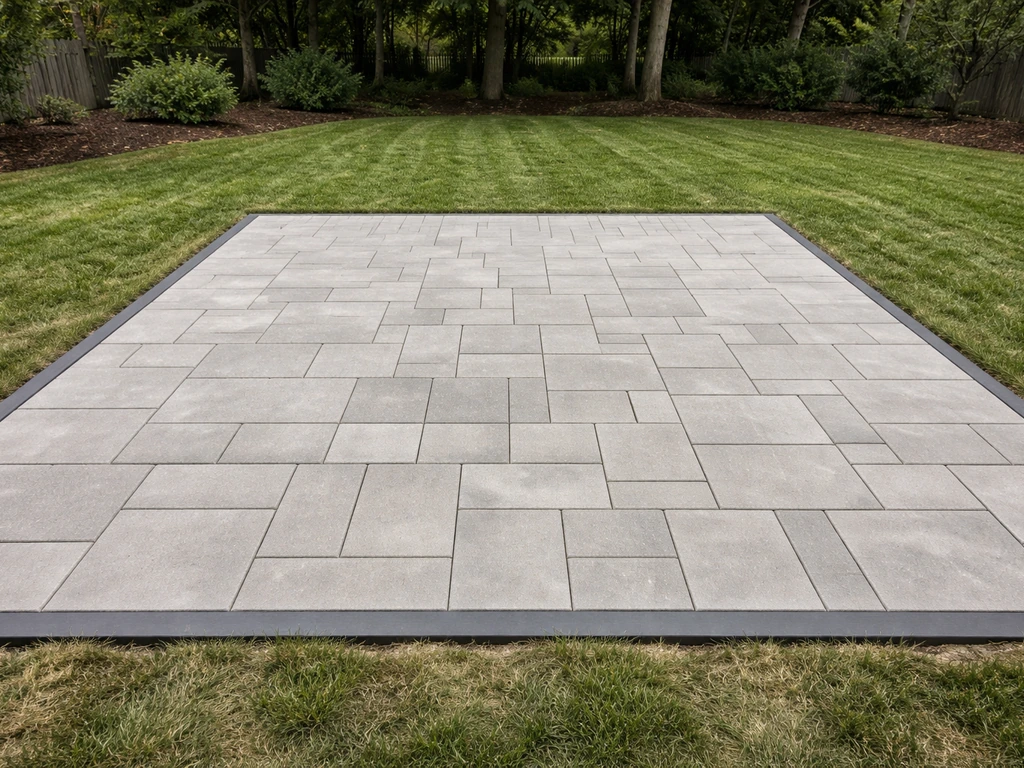
Adding a step to an existing patio comes down to four things done right: getting the height correct before you touch a shovel, building a solid compacted base that won't settle, locking the step structure in place with proper edge restraints, and finishing the tread surface so it sheds water and doesn't become a slip hazard. Get those four things right and the step will outlast the rest of the patio. Skip any one of them and you'll be releveling or tearing it out within a few seasons.
How to Put a Step in a Patio: DIY Guide

Nolan Lennox
26 May 2026
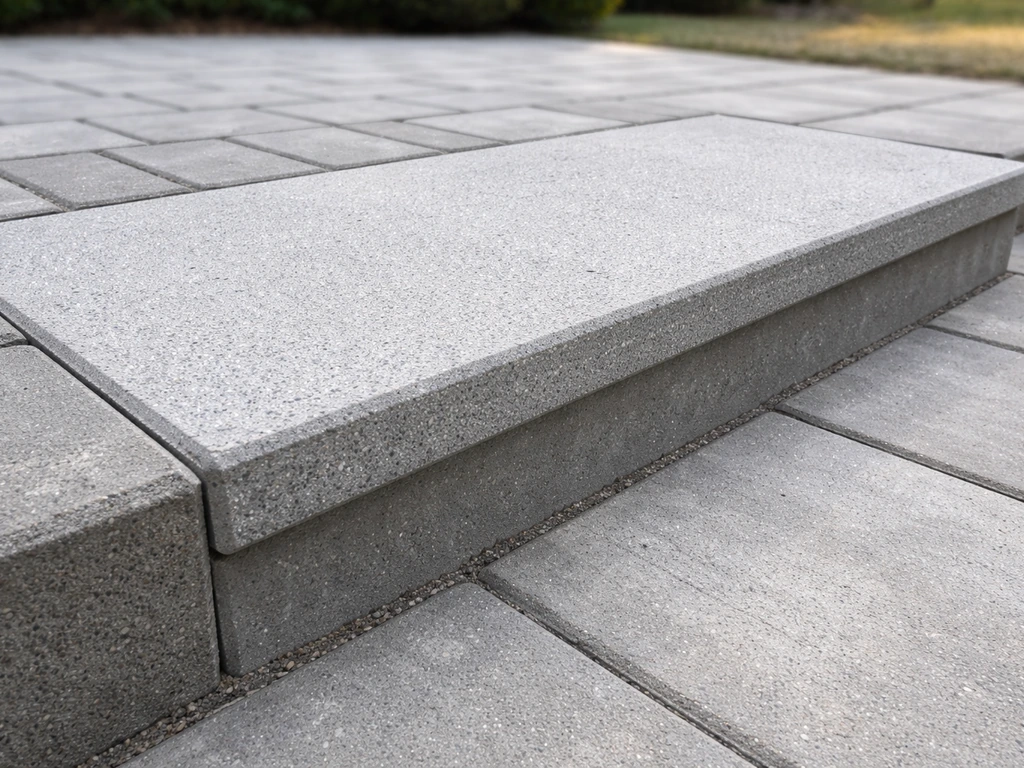
Plan the step location and height first
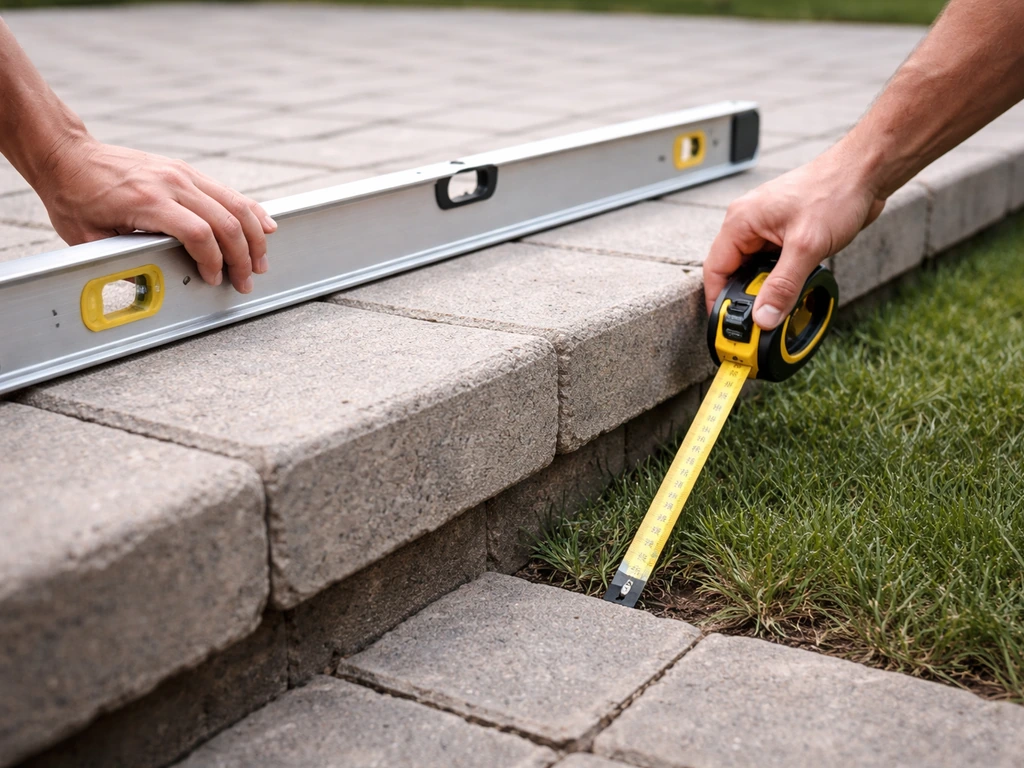
Before you order a single paver or mix any concrete, spend 20 minutes with a tape measure and a level. The most common mistake people make is guessing the step height and ending up with a riser that's awkward to use or out of code range. The 2021 IRC caps residential riser height at 7-3/4 inches, and the ADA puts the comfortable range between 4 and 7 inches. For a single exterior step connecting two patio levels, I aim for 6 to 7 inches. It feels natural, it drains well, and it keeps you well within code.
Here's how to measure it properly: hold a straightedge or long level flat on the upper patio surface and extend it out over the lower level. Measure straight down from the bottom of that level to the lower surface. That number is your total rise. If it's between 4 and 7-3/4 inches, you're building one step. If it's more than 7-3/4 inches, you need two steps, and you'll need to split the rise as evenly as possible (IRC requires that risers in the same flight vary by no more than 3/8 inch from each other). The tread depth, meaning how far out the step projects, should be at least 11 inches for comfort and code compliance.
For location, pick a spot that aligns naturally with how people walk across the patio, not just the most convenient place to build. If your patio has a door leading onto it, the step should be centered on or offset slightly from the door swing so you don't clip the edge every time you walk out. Also check the grade: the step should slope very slightly away from any structure, about 1/8 to 1/4 inch per foot, so rainwater flows off the tread and doesn't pool at the transition. Mark the footprint with stakes and string line before you dig anything.
Choose step materials that match your existing patio
The material you pick for the step should visually and structurally match what's already there. A concrete step butted up against a paver patio looks awkward and creates a problematic transition joint. A wood step alongside a brick patio is a maintenance nightmare. Here's how each common patio type pairs with step options:
| Existing Patio Type | Best Step Material Match | Notes |
|---|---|---|
| Concrete slab | Poured concrete or mortared brick/block | Match aggregate color if possible; use expansion joint at transition |
| Brick or clay pavers | Same brick or matching pavers | Easiest to blend; source from same batch if possible |
| Concrete pavers | Same or complementary concrete pavers | ICPI base method applies; edge restraint critical |
| Natural stone | Same stone species or complementary fieldstone | Cut stone for tread face gives cleanest look |
| Gravel patio | Large flat flagstone, pavers, or timber edging with compacted fill | Need solid edge restraint to hold against loose gravel |
| Wood or composite deck | Composite or pressure-treated timber box step | Must account for deck height and ledger attachment; often needs separate footings |
For most DIYers working with an existing paver or brick patio, matching pavers are the easiest path. Bring a paver sample to your supplier. For concrete patios, a poured concrete step is the most durable long-term option, but mortared brick or block over a concrete substrate is a popular middle ground that looks great and doesn't require a full form build. If you're adding a step to a wood or composite deck-style surface, a box step built from matching composite or pressure-treated lumber is the practical choice, and that's a slightly different build process covered separately in how to build box steps for a patio.
Prepare the base properly, this is where most steps fail
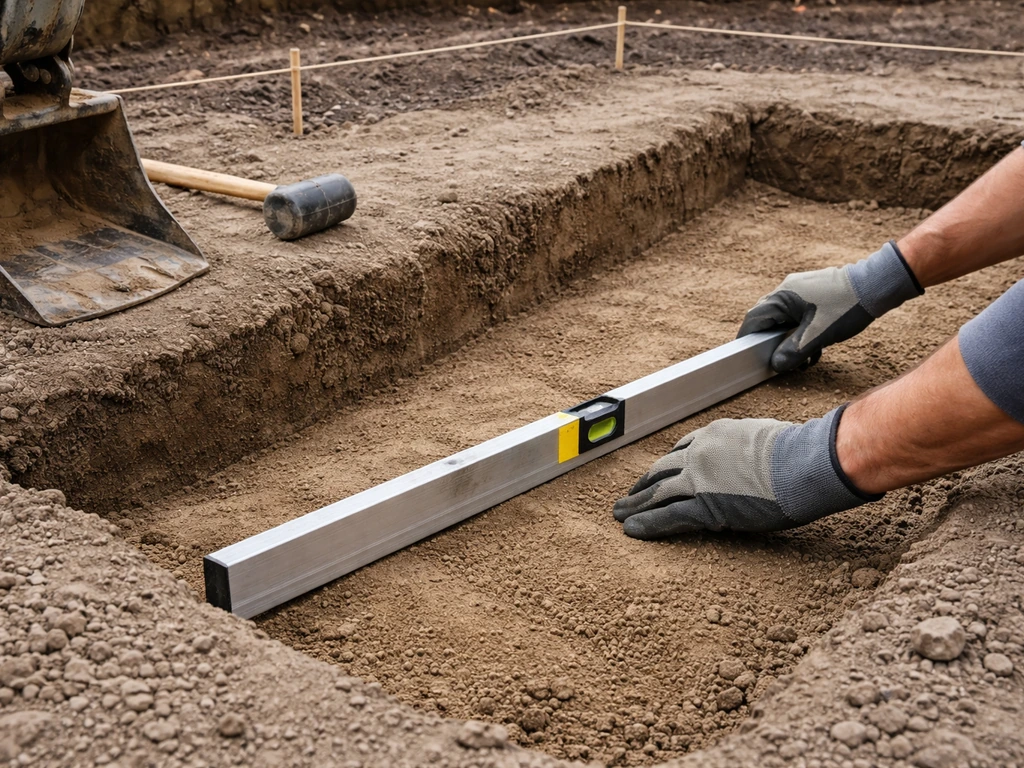
A step that sinks, tilts, or rocks almost always traces back to a bad base. If you’re planning a patio walkway as well, use the same careful base prep so it doesn’t sink or become uneven. No amount of nice pavers or careful finishing fixes a poorly prepared substrate. I've repaired enough sunken steps to know: spend the time here and you save yourself a redo in two years.
Excavation depth
For a paver or brick step, excavate to a total depth that accommodates your compacted aggregate base (4 to 6 inches for residential pedestrian use), 1 inch of bedding sand, and your paver or brick thickness. A standard concrete paver is about 2-3/8 inches thick, so you're typically digging 7 to 9 inches below your finished tread height. In freeze-thaw climates, lean toward the deeper end of that range. For a poured concrete step, dig at least 6 inches below the finished top surface and plan to pour a minimum 4-inch slab, with more concrete under the riser face.
Compaction and drainage layers
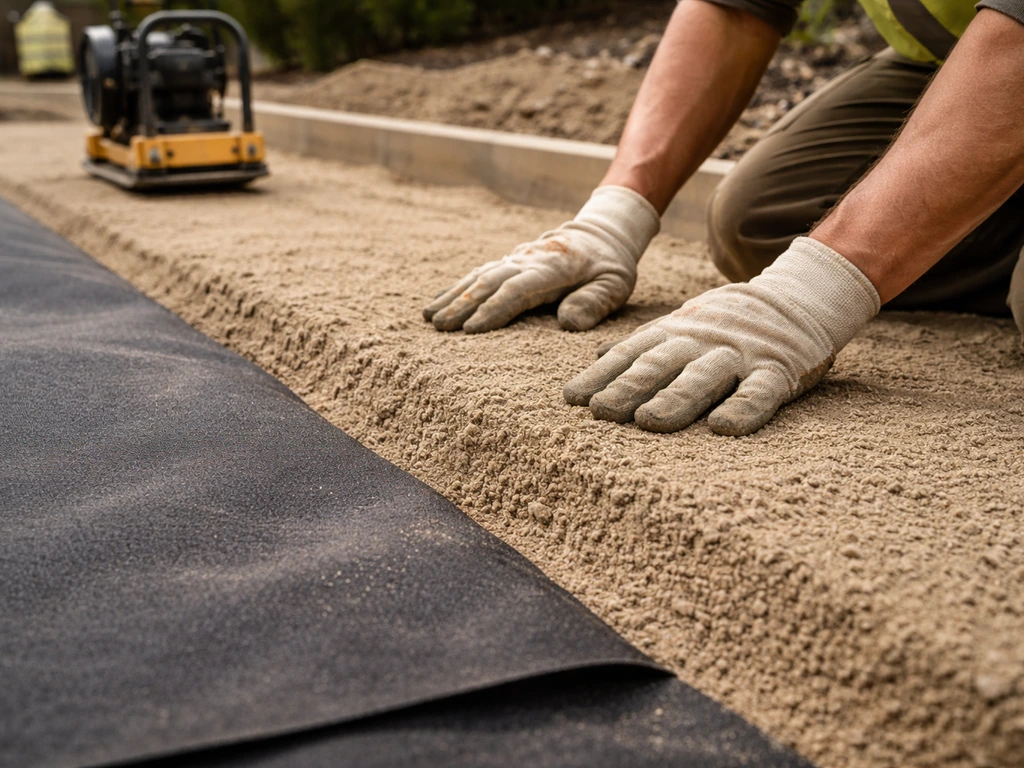
Once you've excavated, compact the subgrade with a plate compactor before adding any base material. If your soil is clay-heavy or consistently wet, lay a nonwoven geotextile fabric over the subgrade before the aggregate goes in. Geotextiles are commonly specified under AASHTO M-288 for separation and stabilization in subsurface drainage applications, which supports using a nonwoven geotextile fabric over weak or variable soils before the aggregate base [nonwoven geotextile fabric over the subgrade](https://www. aashtostandards.
com/product/AASHTO-M-288-21/). This separation layer prevents fine soil particles from migrating up into your base and destabilizing it over time. It's cheap insurance and takes five minutes. After the fabric, add your crushed stone base in 2- to 3-inch lifts and compact each lift separately, targeting about 95% compaction.
Don't dump all 6 inches in at once and compact the top, it won't compact evenly at the bottom and you'll get settlement later.
Drainage pitch matters even under the step. Angle the base layer slightly away from any structure or house wall as you build it up. Once the base is compacted, add 1 inch of coarse bedding sand (not polymeric or play sand) and screed it level, then check the pitch again before placing any pavers.
Build the step structure: forms, edges, and alignment
How you build the structural body of the step depends on your material. Here are the main approaches:
Paver or brick step (dry-set method)
For a dry-set paver step, the riser face is typically a row of pavers set on edge or stacked flat against a concrete or block core, with the tread pavers running back from the nosing. The key is locking the riser row so it can't kick out under foot pressure. Set the riser course first, bedded in mortar or backed by a solid block core.
Then lay the tread pavers from the front (nosing) edge back, maintaining a 1/8 to 1/4 inch per foot forward slope for drainage. Use a straightedge across the tread as you go to keep everything even. The IRC requires nosing projections (the overhang of the tread past the riser face) to be between 3/4 inch and 1-1/4 inches if you have solid risers, keep that in mind when positioning your tread pavers.
Poured concrete step
For poured concrete, build a plywood form to define the riser face and tread. Brace it well, wet concrete exerts a lot of pressure and a form that blows out mid-pour is a mess. Add rebar or wire mesh reinforcement inside the form, keeping it at least 2 inches from all edges. If this step connects to an existing concrete slab, drill into the slab and epoxy in short rebar pins (called dowels) to tie the two pours together, then place a foam expansion joint strip between them before pouring. Without that joint, differential movement between the old slab and new step will crack one or both.
Edge restraints (critical for all paver/brick builds)
Any paver or brick step needs edge restraints on the open sides to prevent lateral spreading. You can use purpose-built plastic or metal paver edging spiked into the compacted base, or set the outer edges in concrete. I've used both. For a single step that gets heavy foot traffic, I prefer setting the side edges in a narrow concrete haunch (a thin pour against the outer edge). It's more permanent and doesn't rely on spikes holding in sandy soil. Run the restraint all the way back to where the step meets the existing patio surface.
Keeping it square and aligned
Before placing any materials, snap a chalk line along the nosing edge to keep your front face perfectly straight. Check square using the 3-4-5 triangle method if you're building against a wall or door threshold. Measure 3 feet along one reference edge, 4 feet along the perpendicular edge, and the diagonal between those two points should be exactly 5 feet if everything is square. Small alignment errors at the base become obvious and ugly once the tread surface is in place.
Set and finish the tread and riser surfaces
With the structure in place, it's time to install the finished surfaces. The tread is what people step on and the riser is the vertical face. Both need to look clean and function safely.
Laying the tread pavers or brick
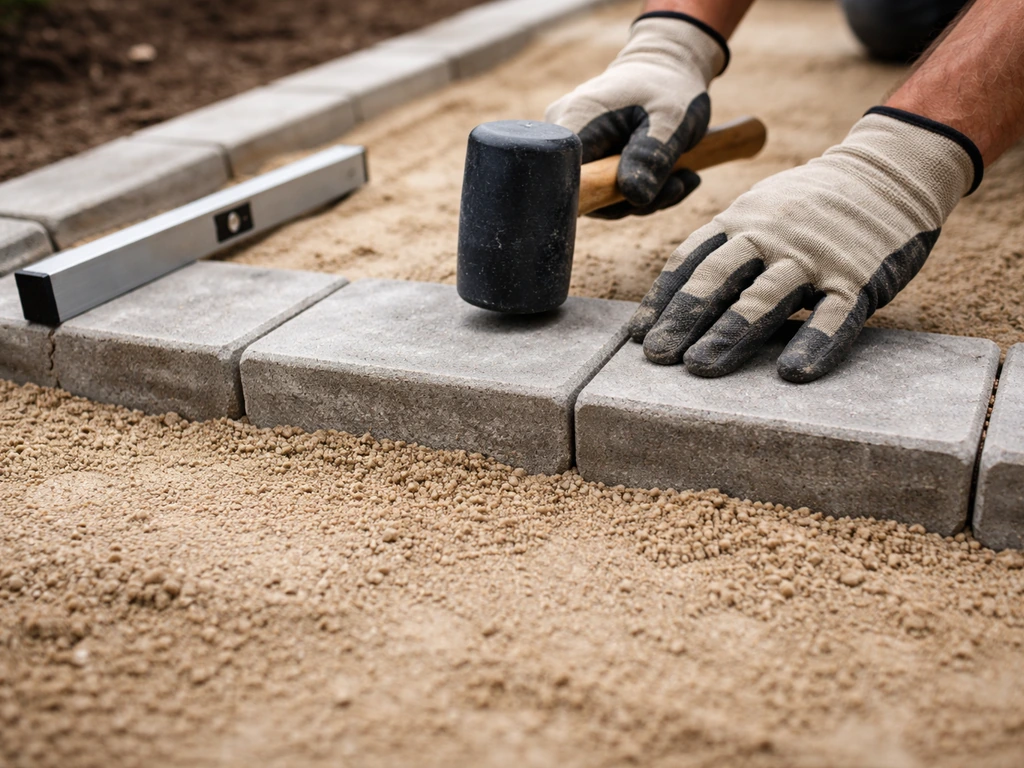
Set tread pavers from the front nosing edge backward, keeping joints tight and consistent. Use a rubber mallet to tap them into the bedding sand and check level across the tread width constantly. Once all pavers are down, run a plate compactor over them (with a rubber pad on the plate to protect the surface) to seat them uniformly into the sand. This step is easy to skip when you're tired and it's almost always the reason individual pavers rock later.
Filling joints
For paver joints, use polymeric sand rather than regular sand or mortar. Sweep it into the joints dry, then mist the surface with water to activate the polymer binders that lock the sand in place. Make sure the joints are filled completely to the full depth, partially filled joints won't harden properly and will erode.
For Sakrete PermaSand polymeric jointing sand, the TDS emphasizes filling joints to the required depth and following the stated joint width and installation requirements for proper locking performance fill the joints completely to the full depth.
Polymeric sand is noticeably more resistant to freeze-thaw cycles than mortar because it stays slightly flexible instead of becoming brittle. Wider joints take longer to cure, so keep foot traffic off the step for at least 24 hours after activation, longer if temperatures are low.
Finishing poured concrete
For poured concrete, float the tread surface smooth, then apply a broom finish before it sets. Drag a stiff-bristle broom across the tread perpendicular to the direction of travel. This gives you a textured, non-slip surface without any extra products. Let it cure under plastic sheeting for at least 3 days before allowing foot traffic, and 28 days before applying any sealer.
Mortared brick or stone riser faces
If you're mortaring brick or stone onto a concrete riser face, use a polymer-modified mortar mix for better adhesion and flexibility. Wet the brick before setting it (dry brick pulls moisture out of mortar too fast, weakening the bond). Keep mortar joints consistent and tool them slightly concave before they harden so water doesn't pool on the joint face.
Weatherproofing, safety, and keeping it solid over time
A finished step isn't done until you've addressed weatherproofing and safety. These details are easy to blow off at the end of a long build day but they make the difference between a step that looks good in five years and one that's crumbling.
Anti-slip texture
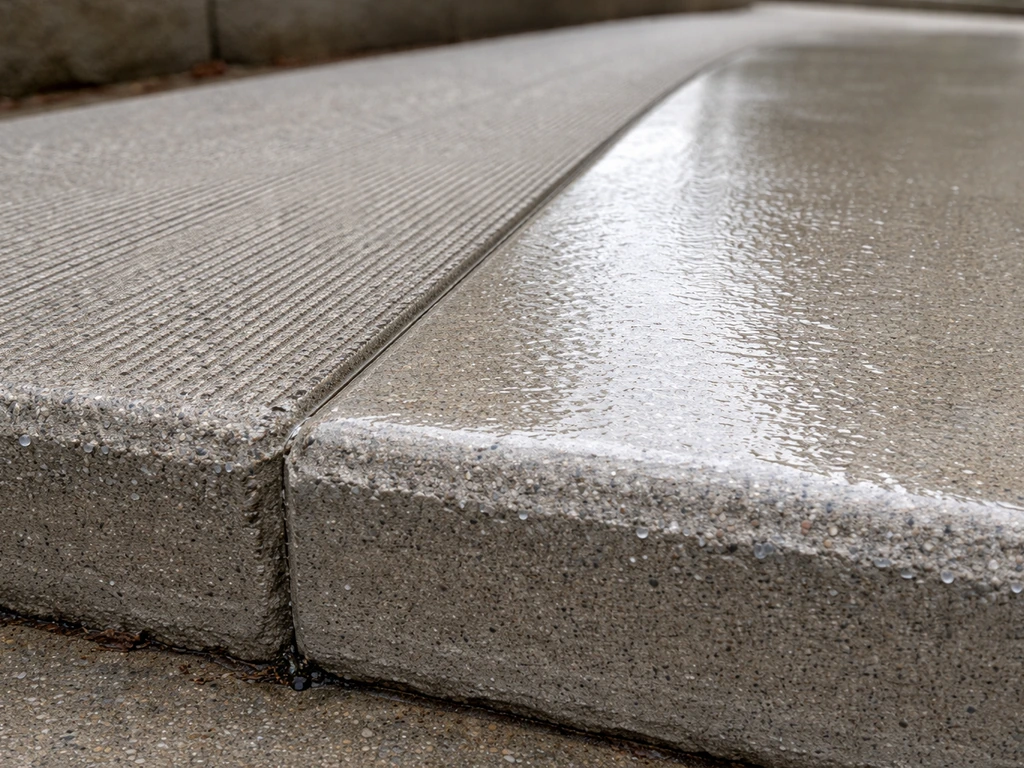
Any step tread needs texture. Smooth concrete or polished stone gets dangerously slick when wet or frosty. Options include the broom finish mentioned above for concrete, a naturally textured paver surface (tumbled pavers are better than smooth-face pavers here), anti-slip tape applied to the nosing edge, or a grit-added sealer. For natural stone treads, consider a bush-hammered or sandblasted finish on the tread surface. I've added grip tape to smooth stone steps as a quick fix and it works fine for a season or two, but it eventually lifts at the edges and traps debris underneath.
Drainage slope check
Once everything is set, hold a level on the tread and check that it tilts forward (away from the house or upper patio level) by at least 1/8 inch per foot and no more than 1/4 inch per foot. Less than 1/8 inch and water pools. More than 1/4 inch and the step starts to feel uncomfortable to stand on. If your slope is off, you'll need to reset the tread before the mortar or bedding sand fully cures.
Transition joints at the existing patio
Where the new step meets the existing patio, leave a small expansion gap if you're working with concrete or mortared materials. Fill it with a compressible backer rod and flexible sealant, or use a foam expansion joint strip. This gap accommodates differential movement between the old and new materials. If you butt hard against the existing patio without a joint, the first hard freeze will show you exactly where the stress goes.
What to check after the first season
After the step has been through its first full freeze-thaw or wet season, do a quick walkover inspection. Check for any individual pavers that rock when you step on them, that means the bedding sand has shifted and they need to be reset. Look at the joint sand: if you see obvious erosion or gaps, sweep in fresh polymeric sand and reactivate it. Check the edge restraints for any signs of lateral movement or heaving. And look at the transition joint to make sure it hasn't opened up wider than expected. Catching these things early, before one loose paver becomes three, is how you keep the step looking good for a decade or more.
A note on handrails
A single exterior step technically doesn't require a handrail under most IRC interpretations, but if the step serves elderly family members, young kids, or anyone with mobility concerns, add one anyway. A post set in a concrete footing beside the step and a single rail costs very little and prevents a lot of falls. Local codes vary, so check yours before finalizing the design.
Once you've built one step correctly, the full process starts to feel straightforward: measure carefully, compact the base thoroughly, lock the edges in, set the tread surface with a slight pitch, fill the joints properly, and check it again after a season. If you want a clear diy patio step by step path, follow these same stages from measuring and base work through finishing and final checks. That's it.
The actual build on a single step can easily be done in a weekend, and the result is a patio that flows naturally between levels instead of presenting a tripping hazard every time you walk out the door. If you want the simplest path, focus first on how to build box steps for patio surfaces that drain well and stay aligned.
To extend this into a full patio walkway, use the same height, base, slope, and joint-filling approach along the entire path how to make a patio walkway. If you want the whole project laid out patio step by step, follow the sequence from measuring the rise to finishing the tread and joints. To keep everything organized, you can follow a patio step-by-step sequence from planning the rise to finishing the tread and joints patio step by step.
FAQ
Can I make one taller step instead of two if my patio height difference is large?
Yes, but only if the total rise fits the “single step” range. If your measured rise is above the riser cap, split it into two steps with the risers in that flight staying within the small variation limit. Don’t try to “hide” an oversized rise by using a deeper tread, it can still feel awkward and fail the intent of the code range.
What should I do if individual tread pavers rock or wobble after the step is built?
If a paver step rocks after installation, do not just add more sand. Lift the loose paver(s), remove contaminated or loose bedding sand, re-screed with fresh coarse bedding sand, then reset and compact again (plate compactor with a rubber pad). If the surrounding pavers have moved, it can indicate inadequate base compaction or missing restraints.
How can I prevent polymeric sand joints from washing out or failing to harden?
For polymeric sand, temperature and moisture matter. If it’s too cold, too dry, or you mist too soon, it may not fully bind, leaving weak joints. Plan on completing joint sweeping and activation when temperatures are in the workable range for the product, and keep people off until fully cured, often longer in cool weather.
Can I use polymeric sand under the pavers instead of bedding sand?
Not polymeric sand, regular mortar, or play sand. Use a coarse bedding sand for the 1 inch layer under pavers, and fill joints with polymeric sand only after the pavers are set and seated. Polymer-sand is for joint lock-up, not for the base or bedding layer that needs drainage and correct height.
Do I need to verify the tread slope after the step surface is installed?
Yes, and it usually should be a separate check. Even if your step height is correct, confirm tread slope after you install the surface. If the tread slopes the wrong way, rain will pond at the transition and can undermine the bedding sand, leading to movement over time.
What if the best spot for the step forces people to land on the corner or clip the door threshold?
If your door swing or common walking path doesn’t line up, the risk is clipping the step edge or landing on corners. Adjust the step location so the nosing falls where feet naturally land, even if that means offsetting slightly from the door. Re-check square and alignment after you move the footprint.
When should I use geotextile fabric under the step’s aggregate base?
Yes, and skipping it is a common failure point. In clay or consistently wet soil, geotextile separation reduces pumping of fine particles into the base. Without it, the base can lose stiffness, which shows up later as settled or tilted pavers and recurring joint erosion.
Do I need an expansion gap at the joint between the new step and the existing patio?
The expansion gap is especially important where you tie into an existing concrete slab or where mortared/rigid materials meet flexible paver sections. Use a compressible backer rod plus flexible sealant, or a foam expansion strip, so movement doesn’t crack the new work or open the joint.
What’s the best way to keep the step from spreading sideways over time?
For heavy foot traffic or frequent use, add permanent edge restraint, like setting side edges in a narrow concrete haunch or using purpose-built edging properly spiked into compacted base. Loose edges allow lateral spreading, which then breaks alignment, creates rocking, and enlarges joints.
What’s the safest finish if my patio step gets icy or very wet in winter?
You should treat “grip” as part of finishing, not just an afterthought. For concrete or smooth stone, use a broom finish, textured paver surfaces, anti-slip treatment on the nosing, or a grit-added sealer. Avoid relying only on tape for the long term, it can lift at edges and trap debris.
After a year, why would my joint sand erode, and how do I fix it without rebuilding?
If you see joint erosion after a wet season, sweep out loose material carefully, reapply polymeric sand to full depth, then activate again with water per the product directions. If erosion keeps recurring, check for slope being too flat, clogged drainage, or edge restraints that allow base movement.
Can I keep my current patio paver layout and still meet comfortable tread depth for the step?
Often, but only for the riser plus tread assembly. Always check total rise and tread depth together. If your existing patio edge or materials force a tread depth under the comfortable range, you may need to adjust the footprint or rebuild the step so it projects far enough without becoming a tripping hazard.
If handrails usually aren’t required for one step, should I still add one for family safety?
Possibly, and it depends on your specific use case and local rules. Even if a single exterior step may not trigger a required handrail in every interpretation, add one if the step serves kids, older adults, or anyone with balance issues. Choose a post base plan that doesn’t undermine the step foundation.
Next Article
DIY Patio Step by Step: Build a Patio From Start to Finish
DIY patio step by step guide: plan layout, excavation, geotextile base, compacting, edging, surface install, finishing a