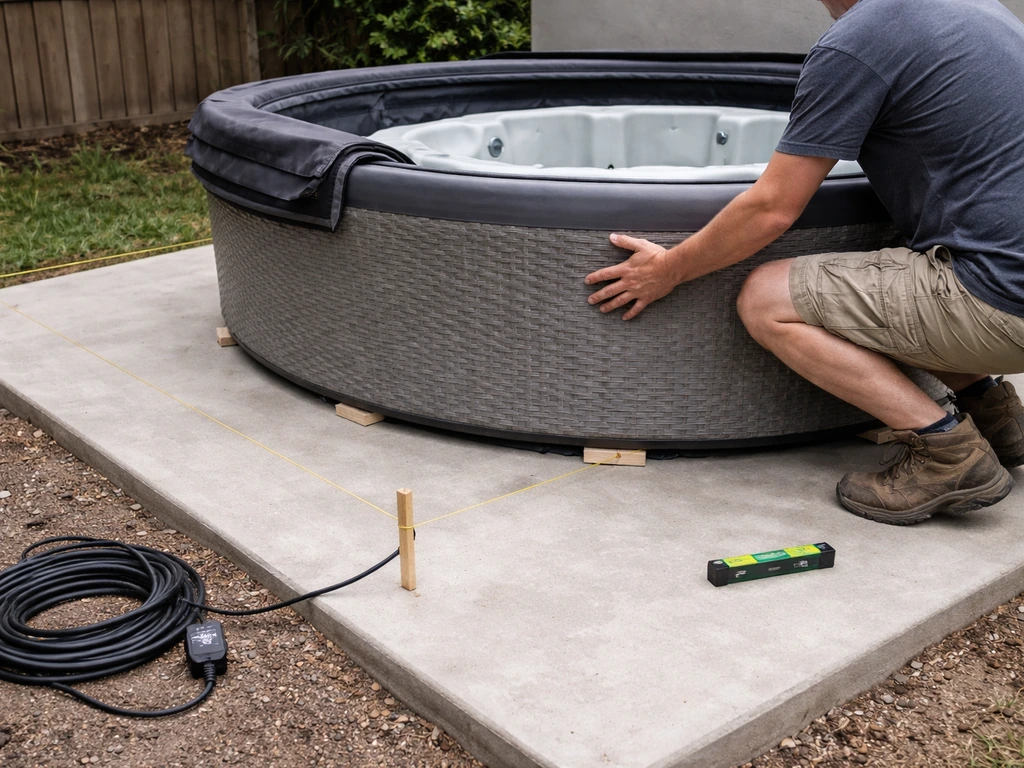
The six steps to pool and patio success are: assess the site and measure everything, plan your budget and pull your permits, grade and prep a stable base with proper drainage, choose the right patio material for a pool environment, build it layer by layer, then finish with inspections, sealing, and a maintenance plan. If you nail those six things in the right order, you end up with a patio that drains well, looks great, and doesn't crack, sink, or turn into a slip hazard after the first rainy season. Skip one of them, especially the grading and base steps, and you'll be redoing the whole thing in two years.
6 Steps to Pool and Patio Success: DIY Plan to Finish

Nolan Lennox
11 Jul 2026
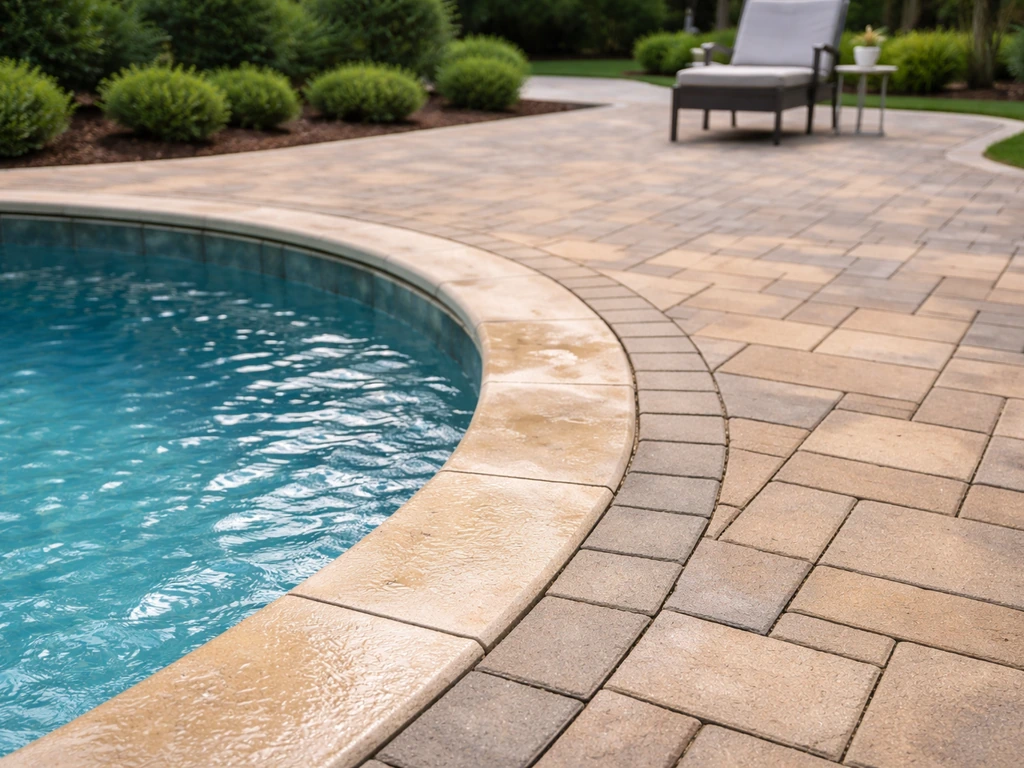
Step 1: Site assessment and measurements for your pool and patio layout
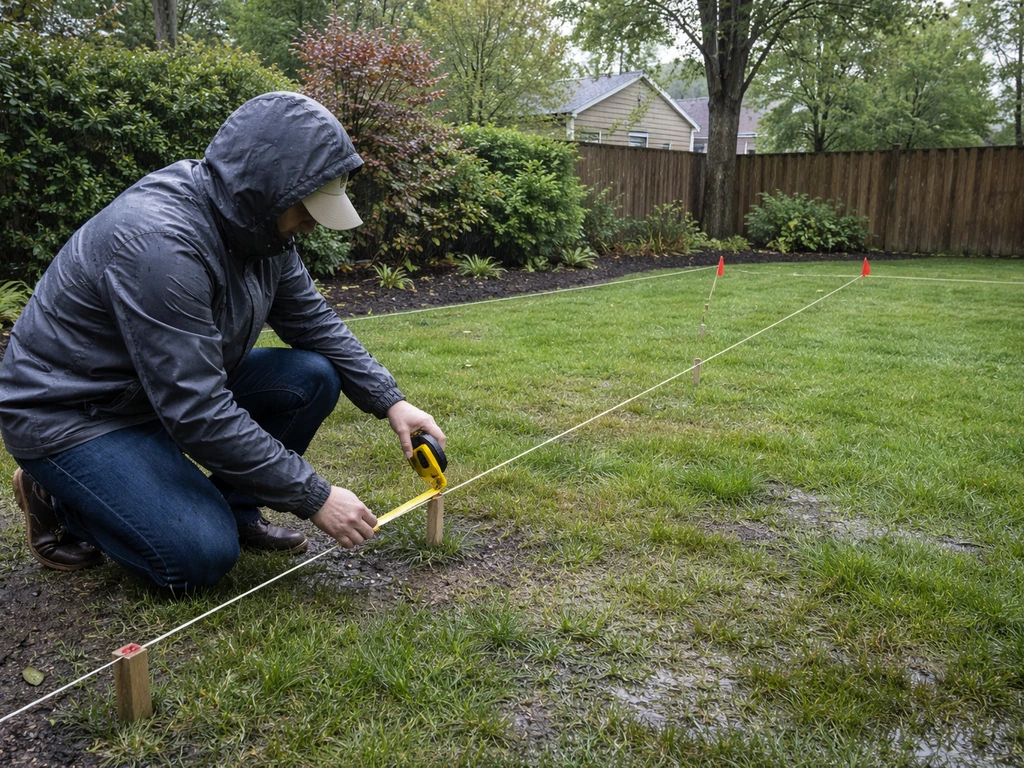
Before you order a single paver or dig a shovelful of dirt, you need to understand what you're working with. Walk your yard on a rainy day if you can, because water tells the truth about how your land drains. Note where water pools, where it flows, and which direction the ground slopes. That observation is worth more than any tool you'll buy.
Once you have a feel for the drainage patterns, take measurements. You need the overall yard dimensions, the setback distances from property lines (many municipalities require at least 5 feet between the pool or deck edge and the property line, though your local code may differ), and the distance from the house foundation and any utilities. Scottsdale's permit requirements, for example, explicitly require the site plan to show existing water and wastewater utilities because a pool cannot conflict with water lines, sewer taps, or septic systems. Even if you're not in Scottsdale, that's good practice everywhere.
Sketch a rough site plan to scale. Mark the pool footprint, the patio zone around it, where water currently flows, and where the low spots are. Note any overhead obstructions too. Some jurisdictions require a minimum 22-foot clearance from overhead power lines. Mark utility lines using your local 811 call-before-you-dig service. This sketch becomes the foundation for your permit drawings and your build plan.
- Measure overall yard dimensions and note all property line distances
- Identify existing utilities (water, sewer, gas, electric) on and near the build zone
- Observe water flow and low spots, ideally during or after rain
- Sketch the pool footprint and patio zone to scale, including any grade changes
- Check local setback minimums before finalizing pool and deck placement
- Note overhead obstructions and overhead line clearances
Step 2: Budgeting, permits, and planning the build sequence
Permits are not optional, and they're not just paperwork. They protect you legally, they flag drainage and structural requirements you might miss, and they're often what your homeowner's insurance requires. Most cities need a site plan or drainage plan as part of a pool/spa permit submission, and many require a full grading and drainage plan. The Orlando and Jacksonville checklists, for example, both call for drainage documentation including cross-sections showing existing grade, proposed grade, and elevation details at the property line and pool edge. Pull those requirements early, because the drawings you create in Step 1 will feed directly into your permit submittal.
On the budget side, be realistic about the full cost chain: pool, patio material, base materials (aggregate and sand add up fast), drainage components, permits, tools or rentals, and finishing products. The patio base alone, typically 4 to 6 inches of compacted granular aggregate plus 1 inch of bedding sand, can cost several hundred dollars in materials for a mid-sized deck before you buy a single paver. Budget a contingency of at least 10 to 15 percent for surprises like soft spots in the subgrade or unexpected utility rerouting.
Plan your build sequence carefully. If you’re wondering how to install a hot tub on a patio, this same careful planning and sequencing is what helps you avoid rework and get everything set up safely build sequence. The common failure here is building the patio before the pool is fully set, which forces you to redo work when heavy equipment comes back. The general sequence that works: finalize pool placement and excavation first, install any underground drainage infrastructure, then grade and build the patio base, then lay the patio surface, then do finishing work and pool surround details. Electrical work, including GFCI-protected circuits for pool equipment and outdoor outlets, should be roughed in before you pour or lay anything over it. Every permit checklist I've seen calls out blank" rel="noopener noreferrer">GFCI protection requirements for receptacles within the pool/fence boundary, so coordinate with your electrician early.
Step 3: Drainage, grading, and building a stable base
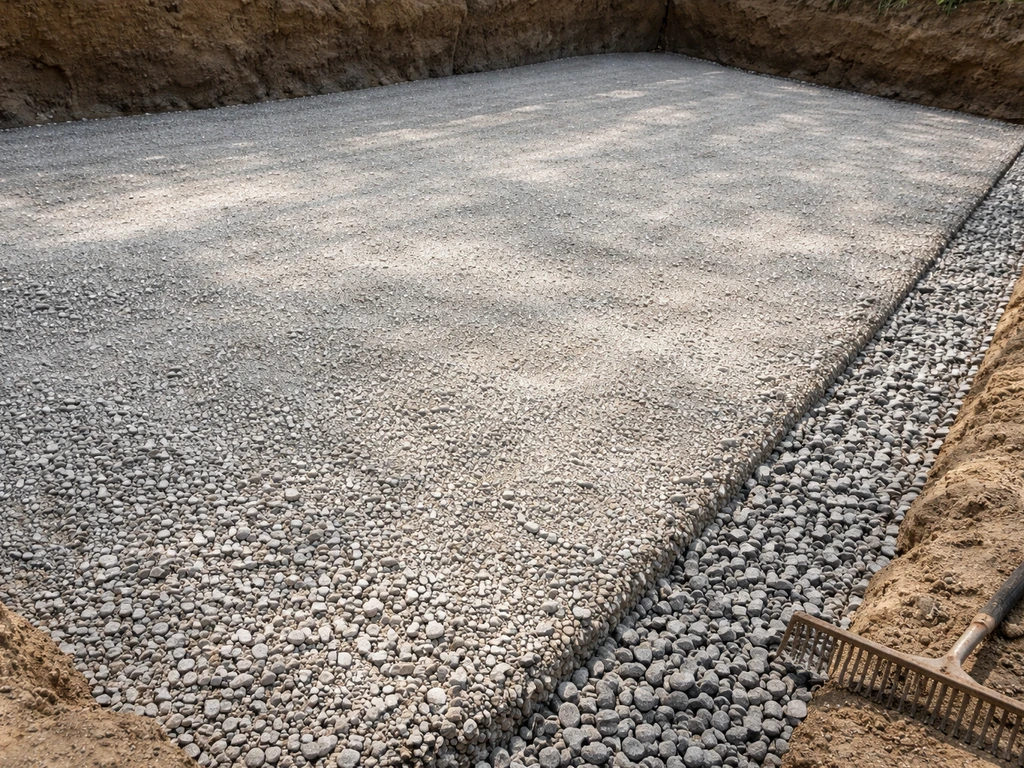
This is where most DIY pool patios fail. Not because people don't try, but because base prep is invisible work, it's tedious, and it's tempting to rush through it when you're excited to see the finished surface. Don't. A patio that sinks, cracks, or pools water almost always traces back to this step.
Getting the slope right
The deck surface must slope away from the pool. San Bernardino County's pool deck guidance puts it clearly: the slope should be no less than 1 percent (1/8 inch per foot) and no more than 2 percent (1/4 inch per foot) away from the pool toward a drainage system. That range is a good practical target regardless of your location. Too little slope and water pools on the deck, creating slip hazards and undermining the base over time. Too much slope and water rushes off too fast, erodes the edge, and the deck feels uncomfortable to walk on barefoot. A slope of 1/4 inch per foot is what most sources and installers land on as the practical sweet spot, and it matches the recommendation from Alliance Pavers for slip-resistant pool decks.
Building the base layer by layer
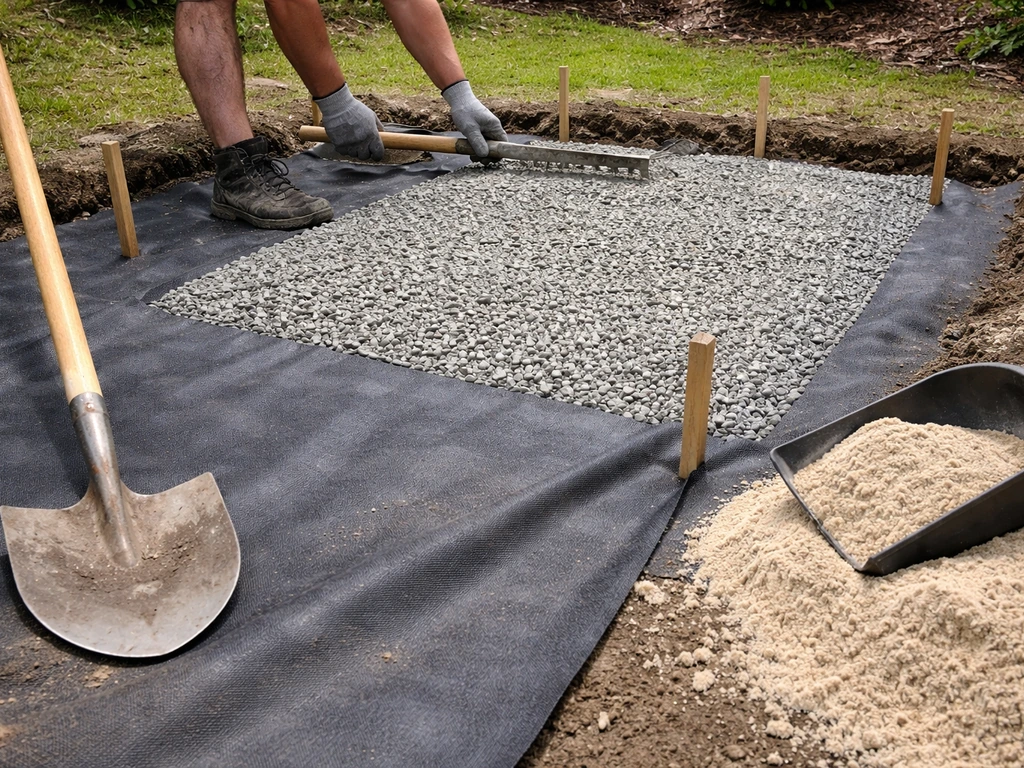
Start by excavating to the right depth. For a standard paver patio, you need room for 4 to 6 inches of compacted granular aggregate base, 1 inch of bedding sand, and the thickness of your paving material. That's typically 8 to 10 inches of excavation below your finished surface height. If you hit soft or organically rich soil, dig deeper and replace it with compactable fill.
Before adding base material, lay geotextile fabric on the subgrade. This separates the soil from your aggregate base and prevents the two from mixing over time. In areas with poor drainage, add a perforated drainage pipe in the gravel layer, wrapped in fabric, and tie it into a proper outlet. This is one of those steps that feels unnecessary until the first wet season shows you why it matters.
Add the granular aggregate in lifts of no more than 3 to 4 inches and compact each lift with a plate compactor. An ICPI tech spec library on bedding sand and compaction guidance notes that proper placement and compaction help prevent uneven settlement for paver systems blank" rel="noopener noreferrer">compact each lift with a plate compactor. Do not dump the full 6 inches in at once. Once the aggregate is compacted and at the right grade, add 1 inch of coarse bedding sand, screeded flat. The sand is not a substitute for proper base compaction. It's a leveling layer for the pavers, not a structural layer.
- Excavate to proper depth (typically 8 to 10 inches below finished surface for pavers)
- Lay geotextile fabric on the subgrade across the full patio footprint
- Install perforated drainage pipe in gravel if your site has poor natural drainage
- Add granular aggregate in 3 to 4 inch lifts, compacting each before adding more
- Check grade and slope with a long level after each compaction pass
- Screed 1 inch of coarse bedding sand over compacted base, level and smooth
Step 4: Choose your patio materials for a pool environment
Not every patio material works equally well around a pool. You're dealing with constant water, barefoot traffic, sun exposure, and pool chemicals. The material you choose affects safety, maintenance, cost, and how the whole space looks and feels. Here's how the most common DIY-friendly options stack up.
| Material | Cost (rough installed) | Slip resistance | Heat retention | Maintenance | Best for |
|---|---|---|---|---|---|
| Concrete pavers | $15–$30/sq ft | Good (textured surface) | Moderate | Seal every 2–3 years, refill joints | Most pool decks, versatile |
| Natural stone (travertine, bluestone) | $20–$40/sq ft | Very good (porous/tumbled) | Low to moderate | Seal annually, occasional repointing | High-end look, cooler underfoot |
| Stamped concrete | $12–$20/sq ft | Moderate (can be slick when wet) | High | Seal every 1–2 years, can crack | Budget-conscious, seamless look |
| Brick | $15–$25/sq ft | Good | Moderate | Occasional re-leveling, weed control | Traditional look, durable |
| Composite/wood decking | $25–$45/sq ft | Good (composite), variable (wood) | Low | Annual cleaning, periodic staining (wood) | Raised decks, hot tub surrounds |
| Gravel | $3–$8/sq ft | Poor (unstable underfoot) | Very low | Raking, top-off annually | Budget buffer zones, not primary deck |
Concrete pavers are the most popular choice for DIY pool patios for good reason. They're forgiving to install, replaceable if one cracks, and available in a wide range of textures and colors. Natural stone looks incredible but costs more and requires more sealing attention around pool water. Stamped concrete is faster to install but can get very hot underfoot and is harder to repair once it cracks. Composite decking makes excellent sense for raised pool decks or hot tub surrounds (building a patio for a hot tub has some specific load considerations worth exploring separately), but it's not ideal as a ground-level pool surround because drainage under the boards requires careful planning.
Whatever material you choose, make sure it has adequate texture or slip resistance. A smooth, polished surface that looks great in the showroom becomes a liability when it's wet and covered with sunscreen. Aim for at least a light broom finish on concrete, tumbled or textured pavers, or a sawn-and-flamed finish on natural stone.
Step 5: Building the patio around the pool
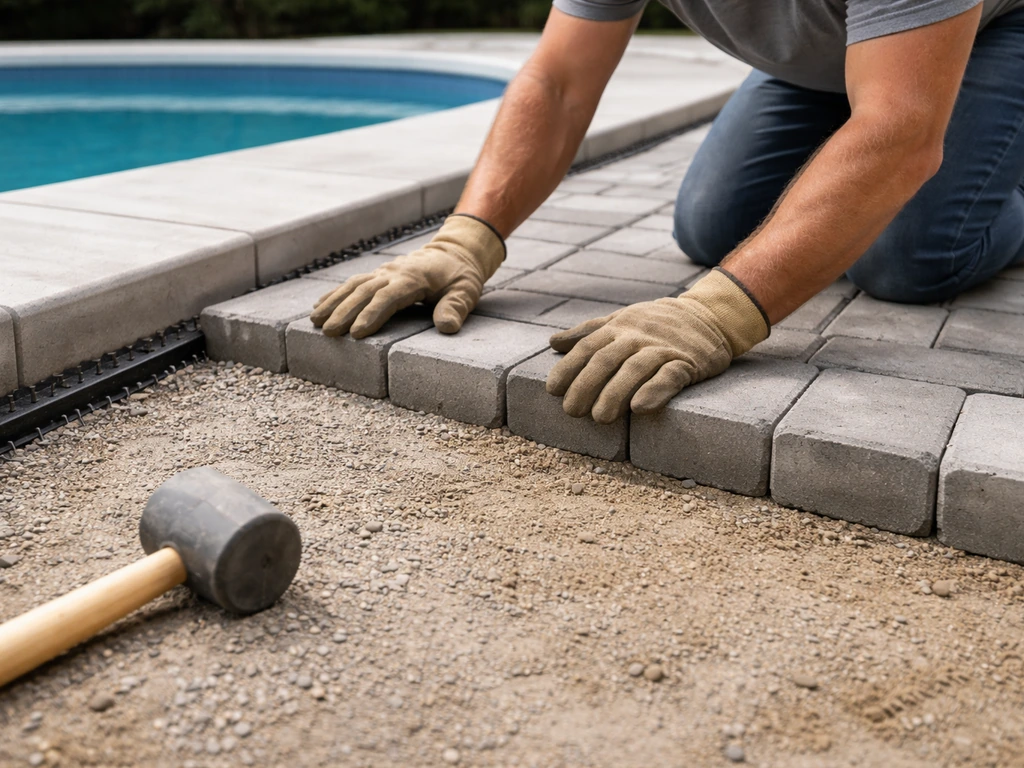
The actual build process differs depending on your material, but the fundamentals are the same: work from a stable edge, maintain your slope, and don't rush the jointing and compaction at the end. Here's how it works for the two most common DIY paths.
Laying concrete pavers or brick
- Install edge restraints along the outer perimeter before laying any pavers. These keep the field from spreading over time.
- Start laying from a fixed straight edge (usually the pool coping or the house edge) and work outward.
- Set pavers in your chosen pattern, maintaining consistent joint spacing (typically 1/8 to 3/16 inch).
- Use a rubber mallet and a level to keep each paver flush with its neighbors. Check your slope every few feet.
- Once the field is laid, compact the entire surface with a plate compactor fitted with a rubber pad to avoid surface damage.
- Spread polymeric joint sand over the surface, sweep it into the joints, compact again, then activate the polymeric sand with water per manufacturer instructions.
- Allow jointing sand to cure fully before heavy foot traffic or furniture placement.
Poured concrete pool deck
- Set forms at the correct height and slope, checking with a level before any concrete is ordered.
- Place rebar or wire mesh reinforcement, keeping it elevated off the subbase (use chairs or dobies).
- Pour and screed the concrete, working quickly in hot or dry weather to prevent surface drying before finishing.
- Finish the surface with a broom for slip resistance. Avoid steel-troweling a pool deck to a smooth finish.
- Cut control joints within 24 hours of pour (or use plastic zip strips before pouring). Space joints to prevent random cracking.
- Keep the slab moist and covered for at least 7 days of curing. Wait a full 28 days before sealing for best adhesion and performance.
- Apply a penetrating or film-forming sealer suited for exterior concrete at the right cure stage.
For larger concrete deck spans, plan for channel drains between the pool coping and the main deck surface. A channel drain catches splash water and deck runoff before it migrates under the slab or back into the pool, and it gives you more flexibility with your slope design on wide decks.
Step 6: Finishing details, inspections, and keeping it in good shape
The details that make or break the final result
The coping around the pool edge is the transition between pool shell and patio surface. It needs to be set securely, pitched slightly away from the pool, and finished cleanly so water doesn't track underneath it. For concrete pools, coping is often set before the patio surface is installed. For liner or fiberglass pools, coordinate with your pool installer on the coping detail before you begin your patio base work.
Fencing and gate requirements are non-negotiable in virtually every jurisdiction. Most permit checklists require self-closing, self-latching gates and a minimum fence height. Make sure your patio design accounts for fence post placement before you finalize the layout. Nothing is more frustrating than discovering your fence post needs to go exactly where you laid your nicest paver pattern.
On the electrical side, make sure all outdoor outlets within the pool/fence boundary are GFCI-protected, and that pool equipment circuits are wired on dedicated, properly sized breakers. If you have a hot tub on the patio, the electrical requirements get more specific, including a dedicated 220 to 240V GFCI-protected circuit and proper bonding of metal components. If you are installing a hot tub on a sloped patio, follow a dedicated leveling and drainage approach so the base stays stable and doesn’t create pooling or shifting over time level a hot tub on a sloped patio. That work should go through a licensed electrician.
Inspections: what to expect
Most jurisdictions require multiple inspections: typically a pre-pour or pre-cover inspection of the subgrade and rebar, a rough electrical inspection, and a final inspection once the work is complete. Keep your approved permit documents on site and accessible. Inspectors want to see that the drainage slope, setbacks, fencing, and electrical protection all match what was approved. If anything changed during the build, get it approved before the final.
Maintenance checklist to keep it going
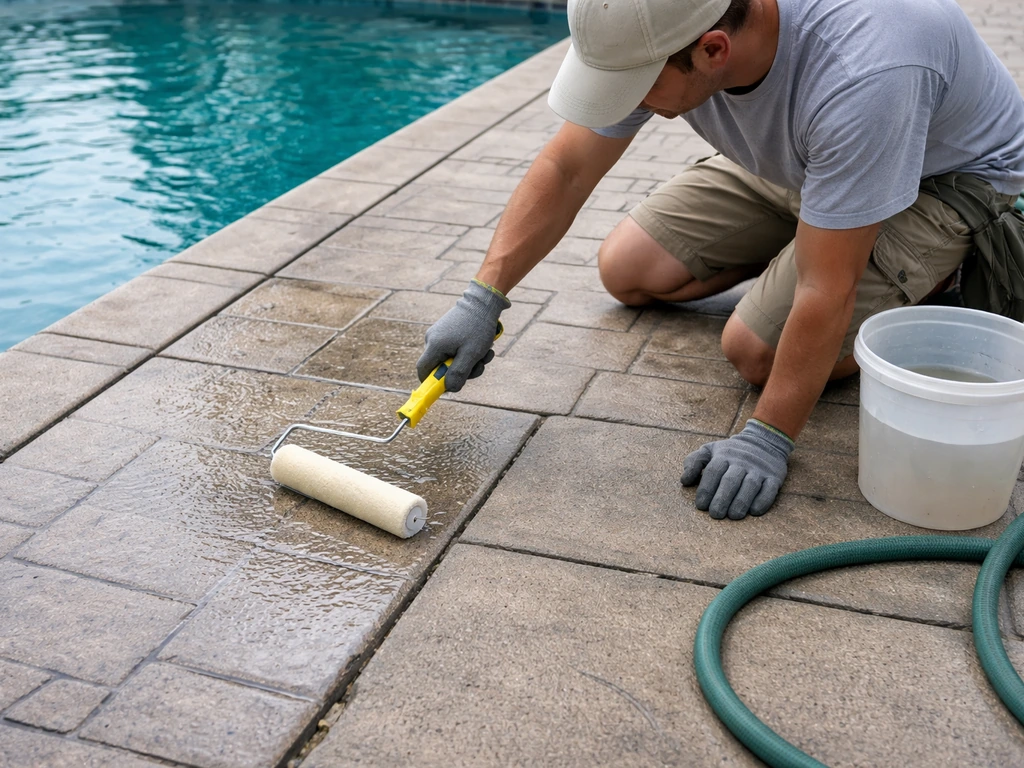
- Seal concrete or paver surfaces on schedule: every 1 to 2 years for stamped concrete, every 2 to 3 years for pavers, annually for natural stone near pool water
- Check and refill polymeric joint sand in paver joints every 2 to 3 years or after significant erosion
- Inspect the drainage slope seasonally. If you see standing water forming in new locations, address the grade before it undermines the base
- Clean pool deck surfaces with a pressure washer at low to medium pressure annually to remove algae, calcium deposits, and debris
- Check coping joints and edge restraints each spring for movement, cracking, or heaving from freeze-thaw cycles
- Verify that fence gates remain self-latching and self-closing at every inspection cycle
Common failure points to avoid
Most pool patio problems come from a short list of mistakes. The most common one is building the patio before verifying and establishing the drainage grade, then discovering the whole surface pitches the wrong direction or has low spots. Second is skipping or skimping on base compaction, which leads to settling and uneven pavers within a season or two. Third is choosing a material that looks great in a showroom but gets dangerously slick when wet. Fourth is missequencing the build: running electrical after the patio is done, or setting coping after the paver field is laid. Fifth is ignoring setbacks and permits, which can require costly demolition and rebuilds if flagged during a sale or insurance claim. Get these five things right alongside the six steps above, and you'll have a pool and patio setup that lasts.
If your project includes a hot tub alongside the pool patio, the planning for load-bearing capacity, electrical, and leveling adds another layer of complexity worth working through separately before you finalize your base design. The good news is that the six-step framework above applies directly to those projects too, just with a few extra load and access considerations layered in.
FAQ
How do I verify the patio slope is correct before I install the base and pavers?
Before you pour any concrete or set pavers, confirm your finished floor elevation relative to the pool coping and the nearest drain outlets. Use a laser level or string line to mark the exact 1% to 2% slope points, and verify that the low point leads to a real discharge location (storm drain, approved outlet, or designed trench), not toward a walkway or foundation.
Can I make part of the patio flat or steeper for design reasons around the pool?
Yes, but only if you build the right transition details. If you need a higher patio section near the pool, you typically use properly compacted thicker base areas or a raised edge system, then keep the overall surface slope toward the drainage outlet. Avoid creating a “flat pad” next to the coping, that area is where puddling and undermining start.
Do I really need drainage pipe under a pool patio if my yard “seems fine”?
Geotextile helps, but it is not a cure-all. For wet sites, add a perforated underdrain tied to an outlet and keep the subgrade free of organic material. Also make sure you compact to grade in lifts, then re-check grades after compaction, so the fabric does not hide soft spots.
What should I do if my underdrain or excavation hits something unexpected underground?
If you have to cross utility lines or run an underdrain close to existing services, keep your plan consistent with the utility locations marked by 811 and your permit documents. When in doubt, maintain separation distances, schedule inspections before you close the trench, and do not assume the drainage layer is “safe” without confirming what is beneath.
How do I prevent pavers from shifting or joint washout after the first rainy season?
Use jointing material that matches your paver type and climate, and do not skip compacting the final jointing step. For pool areas, aim for a joint width and fill method that reduces washout, then re-check joints after the first heavy rain season. If your pavers can shift after joint fill, the base is usually not compacted enough or the edge restraint is missing.
What edge restraint details matter most for a pool deck?
Edge restraints are critical at the pool surround because the deck transitions and splash zone create more movement than typical patios. Install concrete or metal edging at the perimeter, ensure it is bedded into stable base, and verify it does not interfere with coping placement or drainage flow paths.
Can I build the pool patio now and add a hot tub later without redoing everything?
If you plan to add a hot tub later, treat the location as a higher-load zone now. You will often need thicker compacted base, better leveling control, and electrical planning before anything is buried. It can also change where you run drains, so confirm outlet routing and access clearances during the initial site plan.
How can I avoid permit or insurance problems when it comes time to sell or claim damage?
Common insurance or sale issues usually come from mismatched setbacks, unpermitted electrical, or drainage that changes after the fact. Keep copies of approved drawings on-site, record any field changes with photos, and make sure fence and gate placement matches what the permit approved, since that can affect code compliance.
What material and finish choices reduce heat and slip risk around pools?
If the deck gets too hot, it is often from material choice plus slope and drainage. To reduce heat, select a lighter color, add texture for traction, and ensure the surface stays dry quickly by maintaining the slope to drains. Avoid extremely smooth finishes, even if they look premium, because wet conditions and sunscreen residue can make them slick.
How do I plan the deck slope if I add a channel drain between the pool and main patio?
Yes. For example, if a channel drain is used, you may need a slightly different base grade setup and careful alignment with the pool coping. Re-run your slope checks with the drain in place, then confirm the drain outlet route is not blocked by landscaping or buried without an inspection point.
Next Article
How to Install a Hot Tub on a Patio: DIY Steps
Step-by-step DIY guide to install a patio hot tub: site prep, base support, leveling, power safety, and startup checks.