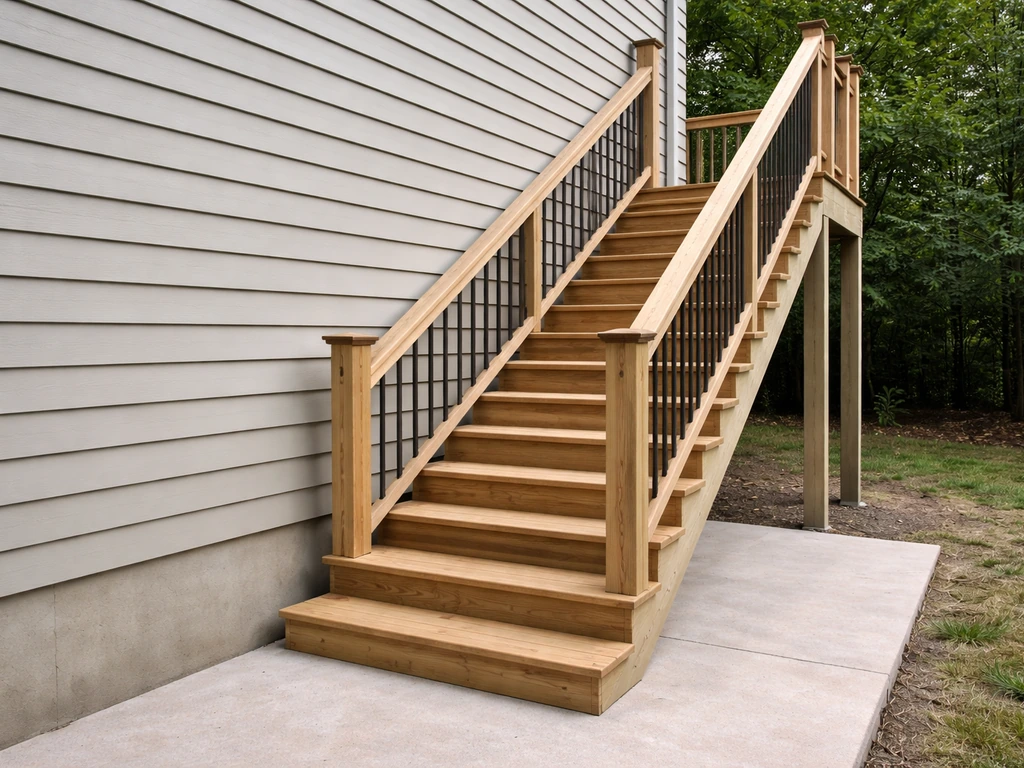
Building steps from your house to a patio comes down to four things done right: proper measurements so every step is comfortable and consistent, a solid base so nothing shifts after the first winter, drainage so water doesn't pool at the bottom, and a connection to both the house and patio that stays tight over time. Get those four things right and you end up with steps that look good and last for decades. Skip any one of them and you're re-doing the job in three years.
Building Steps From House to Patio: DIY Step-by-Step Guide

Nolan Lennox
29 May 2026
Planning the layout and measuring the run
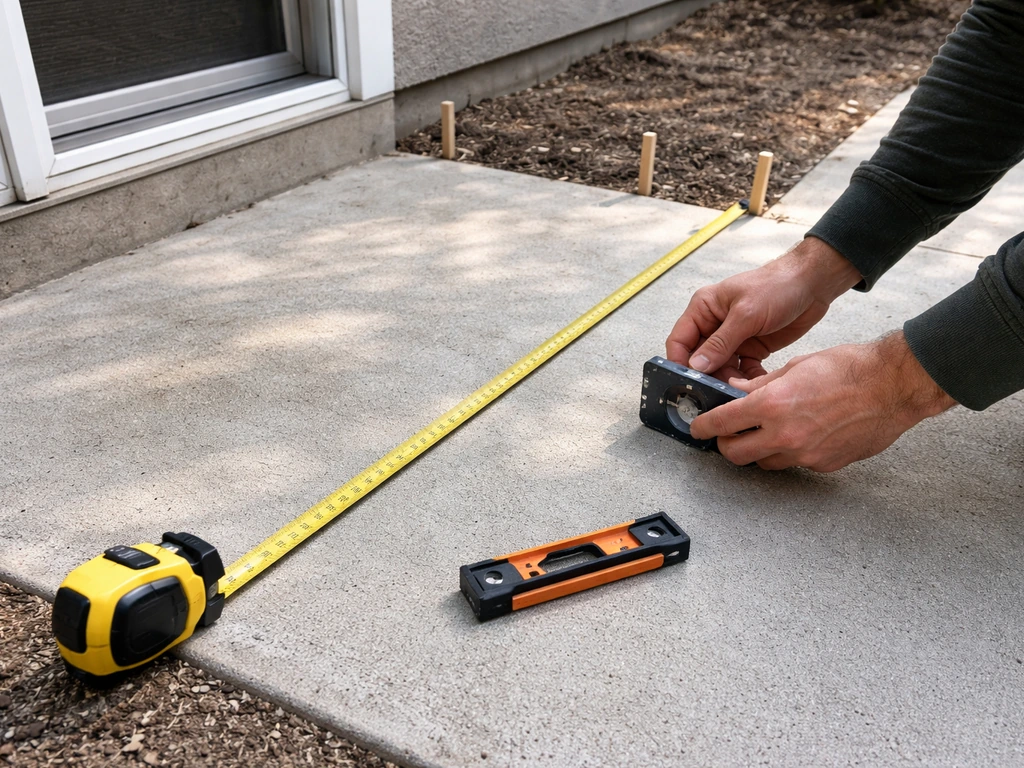
Before you buy a single material, stand at your back door and figure out the total rise and total run. Total rise is the vertical distance from your door threshold (or finished floor of the house) down to the surface of your patio. Measure it carefully with a level and tape measure, not just eyeballing from the door frame. That number tells you how many steps you need. Total run is how much horizontal space those steps will take up once you calculate tread depth.
Most exterior steps land comfortably at a 7-inch riser and an 11-inch tread. Divide your total rise by 7 to get an approximate step count, then round to a whole number and divide back into total rise to get your exact riser height. For example, if your door is 21 inches above the patio, three steps at exactly 7 inches each works perfectly. If your total rise is 19 inches, three steps at roughly 6-3/8 inches each is better than two steep ones. The goal is consistent risers, because inconsistency is a tripping hazard.
Once you have step count and tread depth figured out, measure the footprint on the ground. Mark it with spray paint or stakes and string. Check that the footprint doesn't conflict with anything: foundation plantings, utilities, downspouts, or existing patio features. Also consider traffic flow. Steps centered on a sliding door feel natural. Steps offset to one side work fine too, but make sure they don't funnel people into a corner of the patio. Width matters here too: a minimum of 36 inches keeps things code-compliant, but 48 inches or wider is much more comfortable for everyday use and moving furniture.
Choosing your material
The material you pick affects budget, how hard the build is, and how much maintenance you'll do five years from now. Each option has a real personality, and matching it to your existing patio and house exterior makes the whole project look intentional rather than tacked on. If you are also adding a patio cover on a stucco house, plan the framing attachment and flashing details early so the cover stays weather-tight over time.
| Material | Typical Cost (DIY) | Durability | Difficulty | Best For |
|---|---|---|---|---|
| Poured concrete | Low to moderate | Excellent (30+ years) | Moderate (formwork required) | Clean modern look, any climate |
| Concrete block/CMU | Low | Excellent | Beginner-friendly | Simple stacked-block builds |
| Brick | Moderate | Very good | Moderate | Traditional homes, matching existing brick |
| Natural stone (flagstone/bluestone) | High | Excellent | Moderate to hard | Rustic or upscale look |
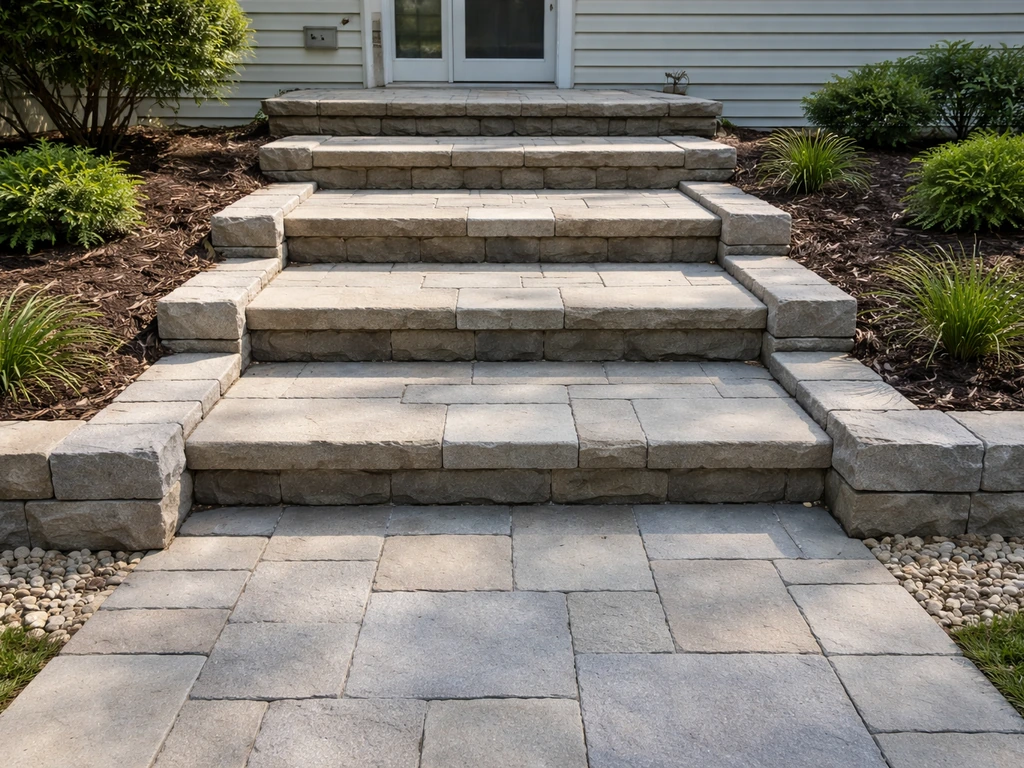
| Concrete pavers | Moderate | Very good | Beginner-friendly | Matching a paver patio |
| Wood/composite | Moderate to high | Fair to good (wood needs maintenance) | Easy to moderate | Decks, raised entries, warmer climates |
Poured concrete is the workhorse choice. It's durable, low maintenance, and handles freeze-thaw cycles well when properly air-entrained. The tradeoff is that formwork takes skill and you're committed once the pour happens. Concrete pavers are more forgiving because you can pull and reset individual pieces if something shifts. Natural stone looks stunning but costs more and requires careful fitting. Wood or composite steps make sense when you're connecting to an existing deck or raised entry, but wood needs sealing every few years and composite costs more upfront. For most DIYers attaching steps directly to the ground and connecting to a concrete or paver patio, concrete pavers or poured concrete are the most practical starting points.
Step dimensions and the code basics you actually need to know
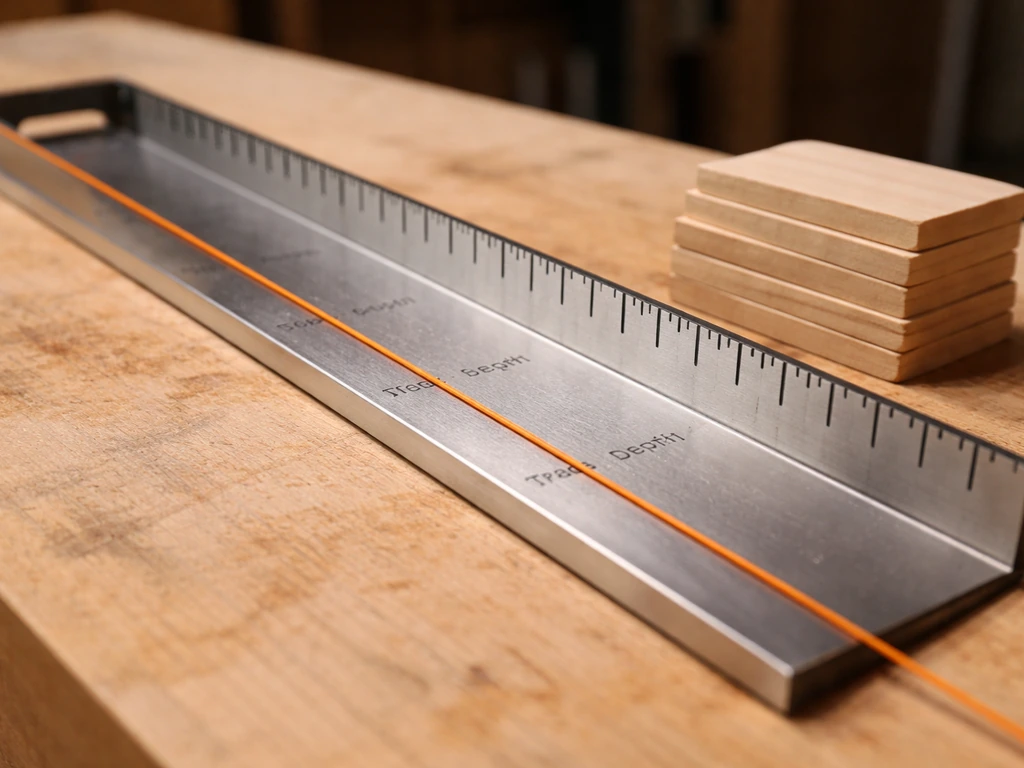
The 2021 International Residential Code (IRC) sets a maximum riser height of 7-3/4 inches and a minimum tread depth of 10 inches. Those are the outer limits, not targets. Comfortable exterior steps usually land closer to 6-1/2 to 7 inches of rise and 11 to 12 inches of tread. ADA guidance goes a step further, recommending risers between 4 and 7 inches with treads of at least 11 inches, which is worth referencing even for private homes if you want genuinely comfortable steps for everyone using them.
The consistency rule is just as important as the dimensions themselves. All risers within a flight must be within 3/8 inch of each other. A stair-code reference summary like StairFox also notes common IRC dimension limits and highlights the need for consistent riser heights within a flight. This sounds tight, but it matters because your brain learns the rhythm of a staircase after the first step, and a surprise riser height at the bottom causes falls. Measure every riser during the build, not just at the start.
On stair width, aim for at least 36 inches (the IRC minimum) but 48 inches is a much better real-world target. If your flight has four or more risers, the IRC (R311. 7. 8) requires a handrail on at least one side.
Guards (open-side barriers) are required when the sides of the steps are open and the drop exceeds 30 inches, with opening limits sized to prevent a 4-inch sphere from passing through (IRC R312). Even if you're only building two or three steps, adding a simple handrail is inexpensive and genuinely makes the steps safer, especially in wet or icy conditions.
Check with your local building department before you start, because permit requirements vary by municipality and some jurisdictions require a permit for exterior steps that connect to the house.
Site prep: grading, drainage, and base
This is where most DIY step projects fail long-term. The steps themselves are fine. The base underneath them wasn't built well enough, and after a couple of freeze-thaw cycles the whole thing tilts or settles. Spend the time here and you won't have to redo it.
Grading and drainage first
The ground around the base of your steps needs to slope away from the house, not toward it. Building patio steps against the house is also heavily influenced by the grading, drainage, and base prep, so be sure those systems are set up to keep water from backing up near the foundation how to build patio steps against house. If water collects at the base of the steps it will freeze, expand, and heave your foundation over time.
Aim for at least a 2 percent slope (roughly 1/4 inch per foot) away from the structure on all sides. If your yard slopes toward the house naturally, you may need to add a small swale or redirect water around the step area before you build.
Excavation and base layers
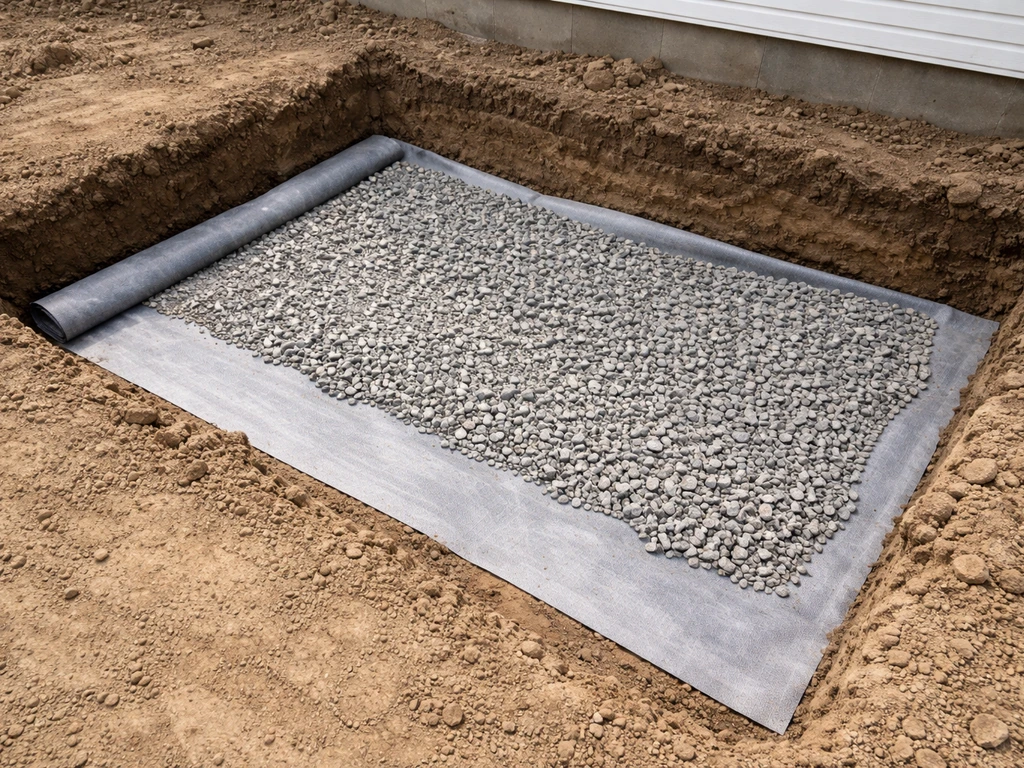
Excavate the footprint of your steps plus 6 inches on all sides. Depth depends on your frost line. Footings for exterior steps must extend below the local frost line (IRC R403. IRC Chapter 4, Section R403.1.4.1 requires exterior footings to extend below the frost line unless an exception or alternate protection method applies. 1.4.1) to prevent heaving. Frost depth ranges from a few inches in the Deep South to 48 inches or more in northern states. Check your local building department or a frost depth map, not a generic number from the internet, because getting this wrong is the single biggest cause of step movement over time.
Once excavated, compact the subgrade firmly. On clay or silty soils, lay a geotextile fabric across the entire base before adding gravel. The fabric prevents fine soil particles from migrating up into your gravel base, which is what causes base softening and settlement over time, especially on slopes or in wet climates. Then add your compacted aggregate base: 4 to 6 inches of compactable gravel (crushed limestone or road base) compacted in lifts. Each lift should be compacted to approximately 95 percent density before you add the next one. A rented plate compactor makes this achievable for a DIYer. Skipping proper compaction is the shortcut that costs you later.
Footings for heavier structures
For poured concrete steps or any masonry build heavier than stacked pavers, you want a concrete footing at the base. Pour a footing that extends below the frost line, is at least 8 inches thick, and extends 6 inches beyond the face of the steps on each side. Let it cure for at least 48 hours before building on top of it. For lighter paver-based steps in moderate climates, a well-compacted base of 4 to 6 inches of gravel plus a 1-inch bedding sand layer is often sufficient, but frost line depth still applies in cold regions.
Building the steps: sequence and assembly
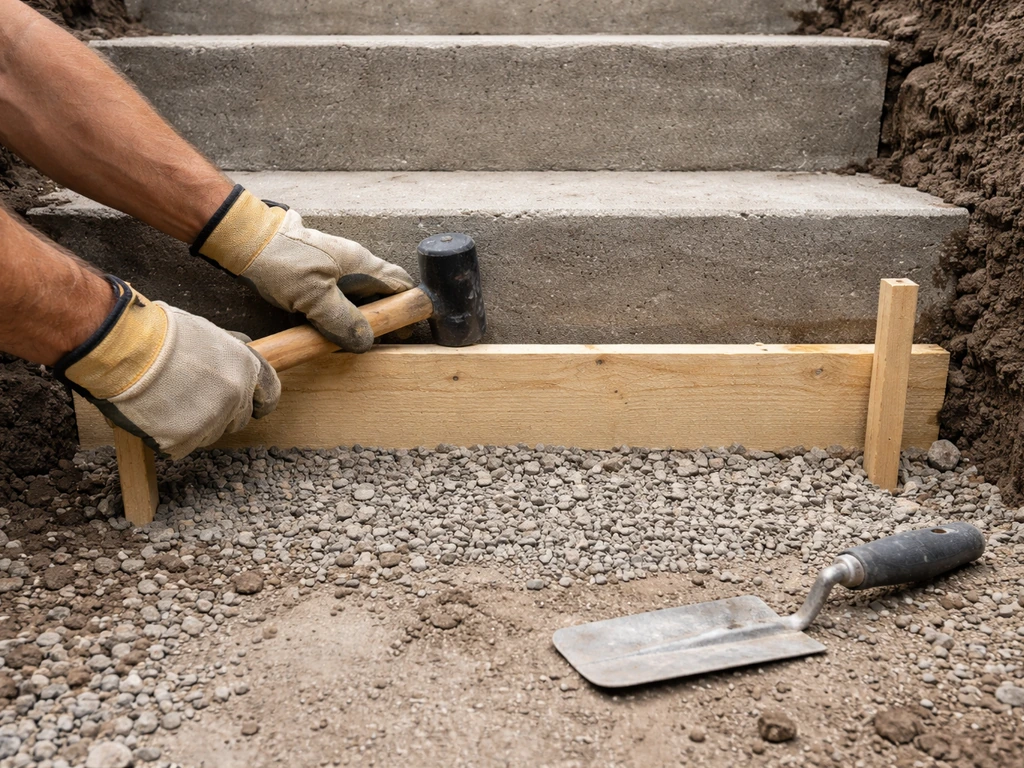
The build sequence matters. Work from the bottom up and from the ground up, which means you establish the bottom riser first, then build upward toward the house. Here's how the process flows for the most common DIY approaches.
Poured concrete steps
- Pour and cure the footing first.
- Build formwork from 3/4-inch plywood or 2x lumber, braced well on all sides. The form shapes the risers, so it needs to hold concrete pressure without bowing.
- For three or more steps, add rebar: two horizontal runs per step, tied and positioned 2 inches from all surfaces.
- Order concrete rated for exterior use with air entrainment (4 to 6 percent air content for freeze-thaw climates). Do not add water to the mix on site.
- Pour from the bottom up, rodding or vibrating each section to eliminate air pockets.
- Strike off the treads level and broom-finish immediately (more on that below).
- Keep forms on for at least 24 to 48 hours. Cure the concrete by keeping it moist for 7 days.
Concrete block or CMU steps
Stacked concrete block steps are the most beginner-friendly masonry approach. Lay the bottom course on your footing using mortar, check it level in all directions, and let it set before stacking the next course. Each course steps back by one tread depth. Fill hollow cores with concrete and rebar for stability. Cap the treads with bullnose block, stone, or pavers for a finished look. This method requires mortar skills but forgives small adjustments more easily than a single poured form.
Paver or natural stone steps
For paver steps, each step tier is essentially a small paver patio stacked one on top of the other. Build a solid gravel and sand base for the bottom tier, then stack subsequent tiers with pavers mortared or dry-set on top. Use exterior-rated mortar for any joints that will see freeze-thaw cycling. For dry-set installations, polymeric sand swept into joints and activated with water creates a semi-rigid fill that resists washout and weed growth better than regular sand, and it's easier than mortar for beginners. Natural stone follows the same logic but requires more cutting and fitting to get tight joints.
Connecting to the house and patio
The connection at the house is one of the most important details to get right. Steps should not be structurally attached to the house foundation in most cases, because the steps will move slightly with seasonal ground changes while the foundation doesn't. Instead, leave a 1/4 to 1/2 inch expansion joint between the steps and the house, filled with a backer rod and exterior-rated flexible caulk or sealant. This joint prevents cracking and water infiltration at the most vulnerable spot. At the patio end, the bottom step should sit level with or very slightly above the patio surface to prevent a trip hazard and allow water to run off.
Finishing details that actually matter
Slip resistance
Exterior steps get wet, and smooth surfaces become dangerous. On poured concrete, a broom finish applied while the concrete is still workable creates a textured, slip-resistant surface without any extra materials or cost. Drag a stiff broom across each tread in one consistent direction. For pavers or stone, a naturally textured or brushed surface already helps. You can add anti-slip grit additives to sealers for extra traction on smoother materials. Non-slip strips are inexpensive and easy to apply if you're finishing an existing smooth surface.
Sealing and joint maintenance
Concrete sealers protect against water absorption, staining, and freeze-thaw damage. Apply an exterior penetrating sealer after the concrete has fully cured (at least 28 days for poured concrete). For paver joints, polymeric sand handles most weather well, but inspect it annually and reapply where it has washed out. At the expansion joint between steps and house, use an exterior-rated flexible caulk rated for freeze-thaw environments. Inspect this joint every spring and re-caulk when it shows cracking or separation. This is a five-minute job that prevents a hundred-dollar water damage repair.
Edging and nosing
Tread nosings (the front edge of each step) should be clearly defined and slightly rounded or bullnosed, not sharp corners that chip, and not so rounded that they become slippery. For concrete, forming a slight radius with a concrete edging tool during the finish stage works well. For paver steps, bullnose pavers give a clean edge. Metal or plastic edging along the sides of the steps keeps material from spreading over time and gives the whole project a tidy, finished look.
Common DIY problems and how to fix them
Steps settling or tilting
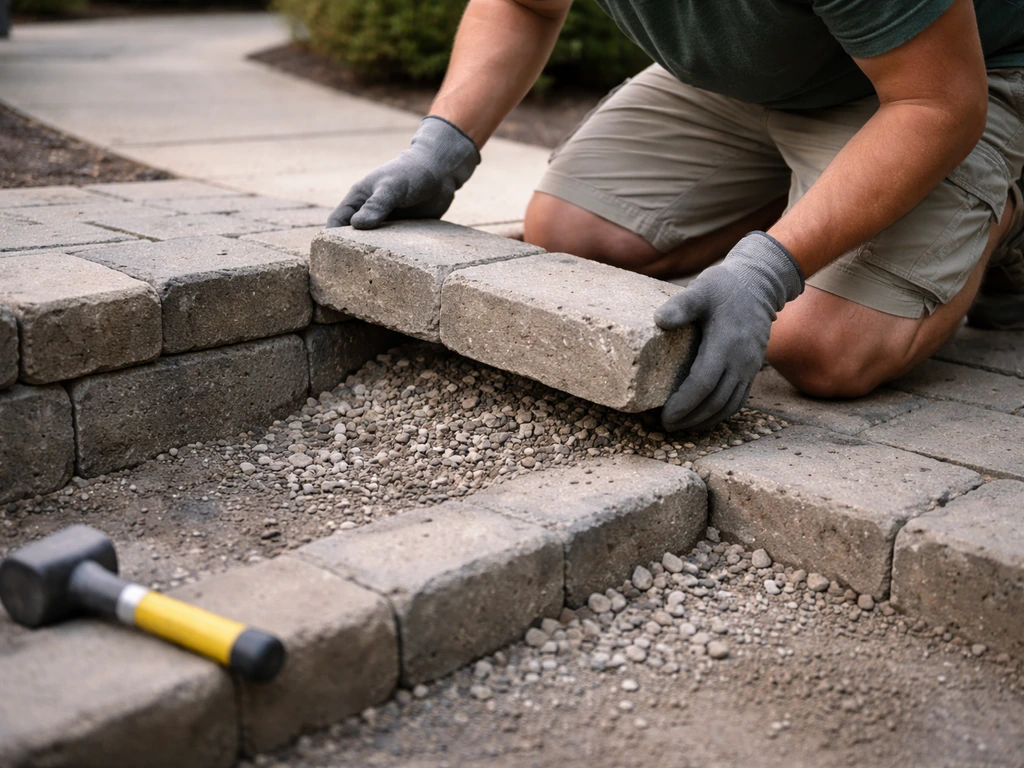
This almost always traces back to an inadequate or poorly compacted base. If your steps have settled but not cracked badly, you may be able to lift paver-based steps, add base material, re-compact, and re-set them. Poured concrete steps that have settled significantly are harder to fix and sometimes require removal. The prevention is compaction: don't skip the plate compactor and don't cut corners on base thickness.
Uneven risers
Uneven risers usually come from not measuring carefully enough during the planning phase, or from forms that moved during a concrete pour. Check every riser height before it's set in stone (or set in concrete). For paver steps, individual pavers can be reset if you catch the problem early. For poured concrete, you're re-pouring.
Water pooling at the base
If water sits at the bottom of your steps after rain, you have a grading problem. The solution is to add topsoil or gravel around the perimeter and re-slope it away from the steps, or in more serious cases, install a small channel drain at the base. Addressing this early prevents long-term heaving and foundation moisture issues.
Cracking at the house connection
Cracks where the steps meet the house are almost always caused by differential movement: the steps move slightly, the house doesn't, and something has to give. If you didn't leave an expansion joint, cut one now with an angle grinder and fill it with backer rod and exterior flexible caulk. This is the correct long-term repair, not patching with rigid concrete or grout.
When to call a pro
Most house-to-patio steps are very DIY-able. But there are situations where bringing in a professional is the right call. If your steps need to be structurally attached to the house foundation or ledger board (common when connecting to a raised entry or deck), you're in structural territory that affects your home's envelope and often requires a permit and inspection.
Complex grading issues, particularly a yard that drains toward the house with no obvious solution, can require engineered drainage solutions beyond a simple DIY fix. If your total rise is significant (say, 5 or more steps connecting a walk-out basement to a grade-level patio), the footing depth, rebar schedule, and potential permit requirements become more involved. And if you live in a municipality that requires a permit for exterior steps, pull the permit.
A failed inspection discovered during a future home sale is a much bigger headache than the permit fee.
For readers who want to go deeper on specific parts of this build, the process of building patio stairs and how to build stairs from house to patio cover the stringer and structural framing side in more detail, while building patio steps against the house digs into the connection point between steps and the house structure specifically. If you're also planning the patio surface itself, building a patio attached to the house covers the foundation and attachment details that work alongside these steps.
FAQ
Can I attach the steps directly to the house so they do not move?
Yes, but only if you keep the expansion gap where the steps meet the house. Use a 1/4 to 1/2 inch joint filled with backer rod and exterior flexible sealant, and avoid fastening the step framing or masonry into the house foundation. Instead, support the steps on a proper footing and let them move slightly without cracking the connection.
If I use pavers with dry-set and polymeric sand, how often will I need to maintain joints?
Treat paver or stone surfaces that are “dry set” with polymeric sand as semi-rigid, but still inspect the base and joints after big freeze-thaw seasons. If you lose joint fill, weeds and washouts accelerate base settlement, so plan a yearly joint refill check, especially on steps that get direct downspout runoff or heavy foot traffic.
When calculating total rise, do I measure from the bare patio base or the finished patio surface?
Use the door threshold or finished interior floor height as your starting reference, then subtract any finish-thickness differences like patio slab thickness, paver height, bedding sand, and mortar if applicable. If you ignore finish build-up, the bottom riser can end up too high and create a trip edge when transitioning between the patio surface and the first step.
What should I do if my concrete or stone steps feel slippery in rain or winter?
If the tread surfaces are smooth or wet-prone, add slip resistance even if the design “looks fine.” A broom finish on concrete helps, for pavers you can choose a brushed texture or add anti-slip grit additives to a sealer. Avoid glossy sealers without traction unless you can confirm the finish remains skid-resistant when wet.
Are there special considerations if I’m only building two or three steps?
Yes, but you should still meet minimum safety and code-like geometry even for a small run. A common mistake is building very shallow treads to fit a tight space, which increases trip risk. If you have open sides or more drop than expected, consider adding a handrail or guard, and verify local requirements before you pour or lock in the layout.
Can settled steps be fixed without rebuilding everything?
If you have small settlement that has not cracked the steps, paver-based systems are usually the easiest to correct by lifting affected tiers, adding compacted base, re-compacting, and re-setting. Poured concrete settlement often requires more involved removal and re-pour, so prevention is usually cheaper than trying to patch.
What’s the best way to keep risers and tread widths consistent from top to bottom?
Do not rely on a single dimension after the first stage. Measure and adjust every riser and tread during the build, especially the bottom riser near the patio, since small formwork shifts or minor base unevenness get amplified at the transition edge.
What should I do if my yard grading naturally slopes toward the house?
Plan the base with drainage in mind before you excavate, including ensuring the ground slopes away and that water is not directed toward the foundation at the step ends. If you cannot re-slope the yard enough, a small channel drain or redirected runoff can protect both the steps and nearby foundation moisture risk.
Can I just eyeball the layout and then adjust risers as I go?
Not usually, and “stringing it by eye” is one of the most common causes of uneven risers and lopsided footprints. Use a level and string line to establish straight runs, and confirm that stakes and string reflect both rise consistency and overall plan width before you start stacking or pouring.
Which material choice is most forgiving in regions with harsh freeze-thaw?
Choose based on frost exposure and how you want to repair later. In freeze-thaw areas, porous untreated stone and some wood details can deteriorate faster, while pavers with a well-compacted base and proper joint fill are often easier to reset. If you pick wood or composite, plan frequent sealing and detail the transition edge carefully to avoid rot-prone water traps.
Next Article
How to Build Stairs From House to Patio: DIY Guide
DIY guide to plan and build outdoor stairs from house to patio with correct steps, framing, safety, and weatherproofing.