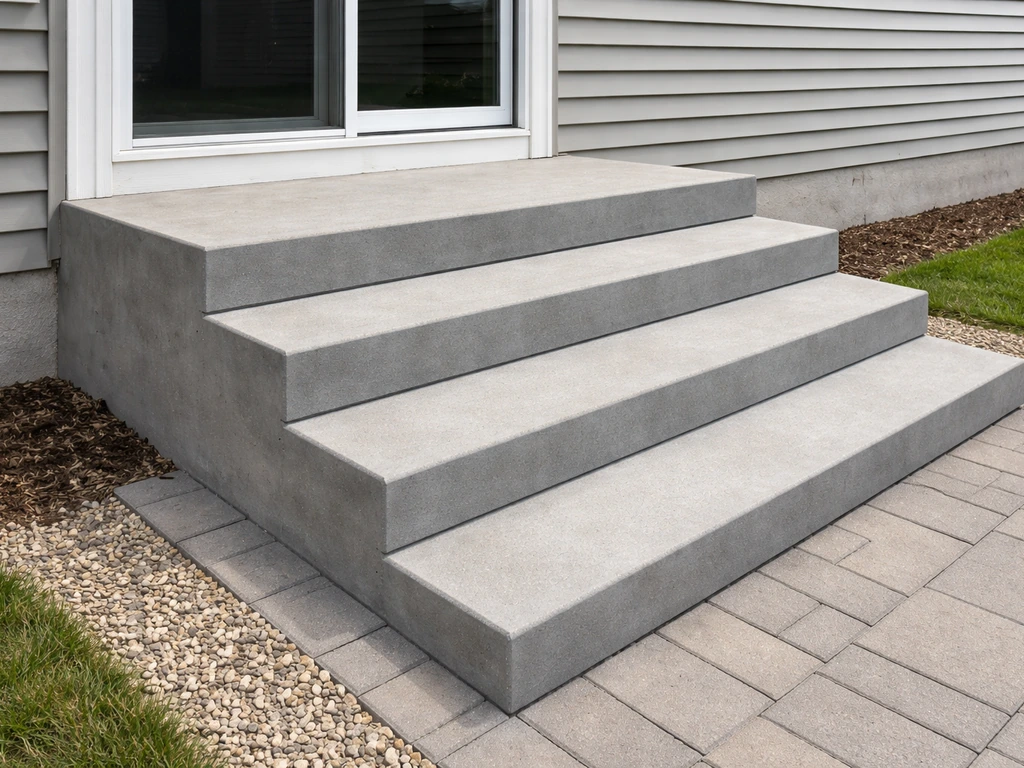
Building stairs from your house to your patio comes down to three things done right: accurate measurements so every step feels natural, a solid substructure that won't shift or rot, and a few code basics that keep the stairs safe for everyone who uses them. If you nail the rise-and-run math upfront, the rest of the build follows a logical sequence that even a first-timer can handle over a weekend or two.
How to Build Stairs From House to Patio: DIY Guide

Nolan Lennox
27 May 2026
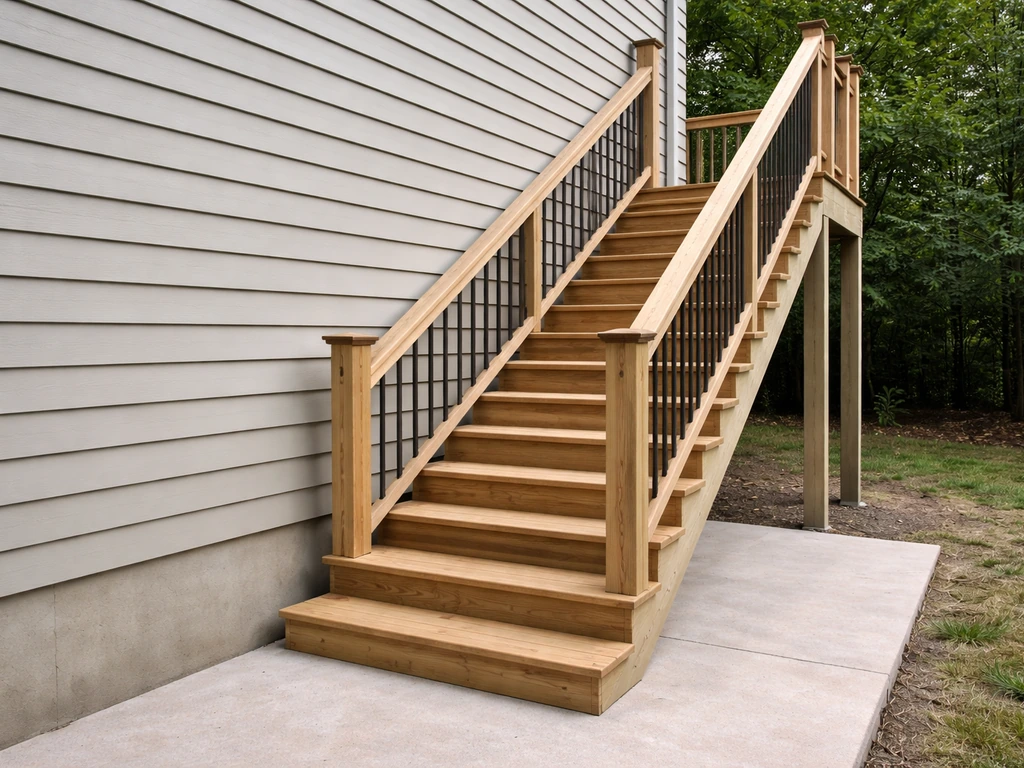
Plan where the stairs go before you pick up a pencil
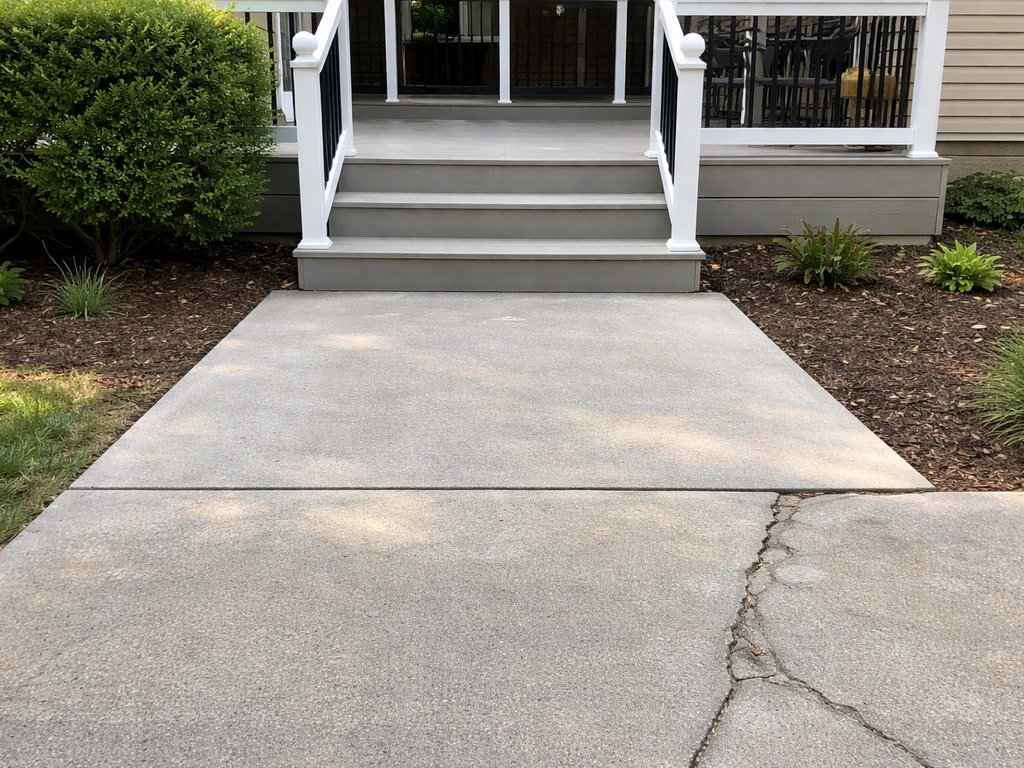
The first decision is placement, and it matters more than most people expect. You want the stairs to land on a stable, level section of the patio rather than near an edge or a low spot where water pools. Stand at the door you'll use most and think about traffic flow: the stairs should lead people naturally toward the yard, not into a wall or a planter. If the patio is attached to the house, also check what's above the stair path. Code requires at least 6 feet 8 inches of vertical headroom measured from the tread nosings up to any overhead obstruction, like a soffit or a deck above, so measure that clearance early.
Stair width is the other early call. blank" rel="noopener noreferrer">The IRC minimum is 36 inches of clear width above handrail height, and that's also just a comfortable width for two people to pass. For a main entry from the house to the patio, 42 to 48 inches feels generous and looks proportional to a wider patio. If the stairs run along the house wall rather than projecting straight out, make sure the bottom landing has at least 36 inches of flat space in the direction of travel before you step onto the patio surface. That landing can be the patio itself if it's level and wide enough.
Sketch the stair footprint on graph paper or even just on your phone. Mark the door threshold, the patio surface, and any obstacles like downspouts, hose bibs, or gas lines. Knowing the horizontal distance you have available tells you whether you can use a comfortable, gradual slope or whether you'll need to steepen the stairs to fit a tighter space.
How to measure rise and run and figure out how many steps you need
This is the part that trips people up most often, but the math is genuinely simple once you see it clearly. The total rise is the vertical distance from the top of the finished patio surface to the top of the finished floor inside (or to the top of the door threshold if you're measuring from there). Measure it precisely with a tape measure and a level, not just a guess. Even a half-inch error here throws off every step.
Once you have the total rise in inches, divide it by your target riser height. A comfortable outdoor riser is somewhere between 6 and 7 inches. The IRC caps risers at 7-3/4 inches maximum, and most inspectors expect consistency, meaning no single riser can differ from the others by more than 3/8 inch in the finished stair.
Start by dividing your total rise by 7 to get a rough step count, then round up to the next whole number and divide the total rise by that number to get your actual riser height. For example, if your total rise is 28 inches: 28 divided by 7 equals exactly 4 steps, each with a 7-inch riser. If your total rise is 30 inches: 30 divided by 7 is 4.
28, so round up to 5 steps, and 30 divided by 5 gives you 6-inch risers. Always round up, never down, so your risers stay under the maximum.
Tread depth (the run of each step, the part your foot lands on) must be at least 10 inches per the IRC, and nosing projection should be consistent across all steps, varying by no more than 3/8 inch. If your treads are 11 inches or deeper, you don't need a nosing at all. Multiply your tread depth by the number of treads (which is always one fewer than the number of risers) to get your total horizontal run. That tells you how far out from the house the bottom of the stairs will land, which is important for confirming you have room on the patio.
| Total Rise | Divide by 7 | Rounded Step Count | Actual Riser Height | Total Run (10" tread) |
|---|---|---|---|---|
| 21 inches | 3.0 | 3 steps | 7.0 inches | 20 inches (2 treads) |
| 28 inches | 4.0 | 4 steps | 7.0 inches | 30 inches (3 treads) |
| 35 inches | 5.0 | 5 steps | 7.0 inches | 40 inches (4 treads) |
| 40 inches | 5.7 | 6 steps | 6.7 inches | 50 inches (5 treads) |
| 48 inches | 6.9 | 7 steps | 6.9 inches | 60 inches (6 treads) |
Permits and code basics you actually need to know
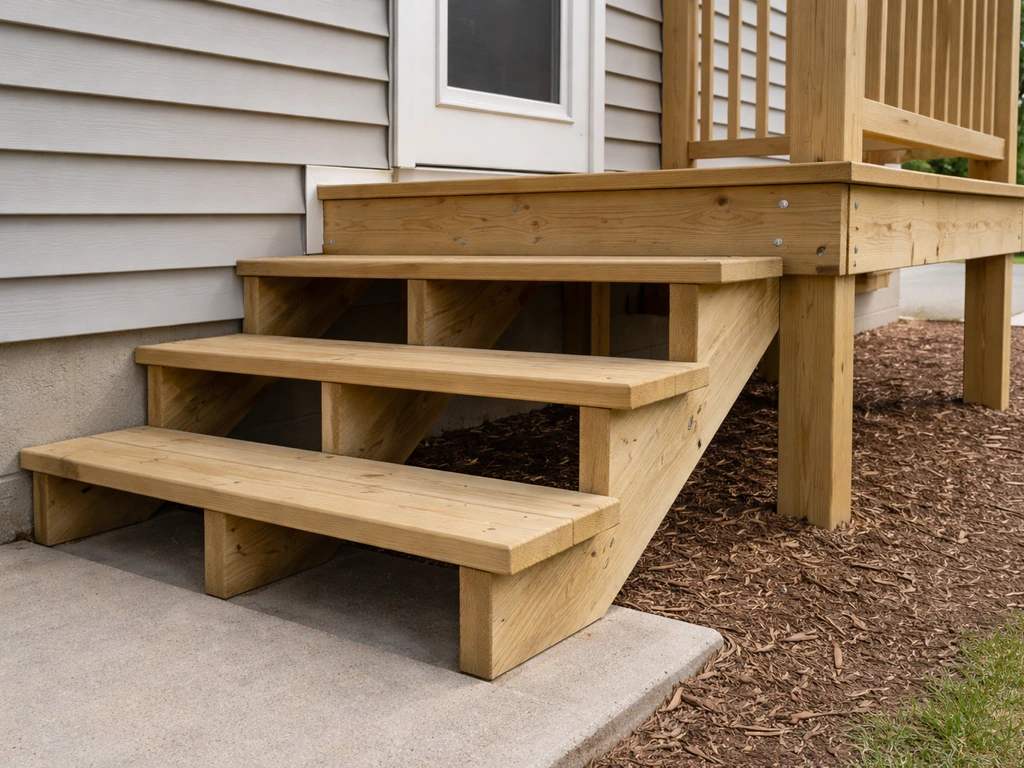
Whether you need a permit depends on your municipality, but as a rule of thumb: if the stairs are attached to the house, exceed a certain height above grade (often 30 inches), or are part of a larger patio project that required a permit, you'll likely need one for the stairs too. Call your local building department before you build. It's a five-minute call that can save you a forced tear-down later.
Here are the IRC basics that most inspectors check on exterior residential stairs. You don't need to memorize the code, but keeping these numbers in your head while you build means you won't have to redo anything.
- Maximum riser height: 7-3/4 inches
- Minimum tread depth: 10 inches
- Riser height variation within a stair flight: no more than 3/8 inch
- Minimum clear stair width: 36 inches above handrail height
- Minimum headroom: 6 feet 8 inches measured from tread nosing line
- Minimum landing depth: 36 inches in direction of travel
- Handrail height: 34 to 38 inches above tread nosings
- Guard height (open sides): minimum 36 inches above the walking surface
- Tread/landing slope for drainage: no more than 2 percent (1 in 48)
Handrails are required on stairs with four or more risers in most jurisdictions. If the stairs are open on one or both sides and the drop is significant, guards (the full barrier system, not just a grippable rail) are required at 36 inches high. For a short 3-step stair connecting a low patio, some jurisdictions waive the handrail requirement, but I'd still add one if the stair is used daily or by older family members. It's cheap insurance.
Picking the right materials for outdoor stairs
The material you choose affects durability, maintenance, cost, and how well the stairs match the patio. Here's a practical comparison of the most common options for house-to-patio stairs in a DIY context.
| Material | Best For | Durability | Maintenance | Relative Cost | DIY Friendliness |
|---|---|---|---|---|---|
| Pressure-treated lumber | Budget builds, wood patios, flexible design | Good with proper sealing and PT-rated hardware | Seal every 1-2 years, check for rot | Low | Very high |
| Composite decking (treads) over PT framing | Low-maintenance, matching composite patio | Excellent (won't rot or splinter) | Minimal, occasional cleaning | Medium-High | High |
| Concrete/masonry | Permanent, heavy-use, concrete patio match | Excellent | Very low | Medium (forms + labor) | Moderate (more skill needed) |
| Cedar or redwood | Aesthetic, natural look | Good if sealed | Seal every 1-2 years | Medium | High |
For most DIY patio stair builds, pressure-treated lumber for the stringers and framing paired with composite treads is the sweet spot. The PT framing is affordable and easy to work with, and composite treads eliminate the biggest outdoor maintenance headache (re-sealing and splinter checks). If your patio is already composite or Trex-style decking, matching treads on the stairs ties the whole project together visually.
Whatever framing material you use, the fastener choice matters outdoors. Pressure-treated lumber contains chemicals that corrode standard zinc fasteners over time. Use hot-dipped galvanized or stainless steel screws, nails, and structural connectors throughout. Simpson Strong-Tie makes stair-stringer connectors rated for exterior PT applications that dramatically reduce stringer movement at the connections, and they're worth the few extra dollars.
Building the stringers: the backbone of the whole stair
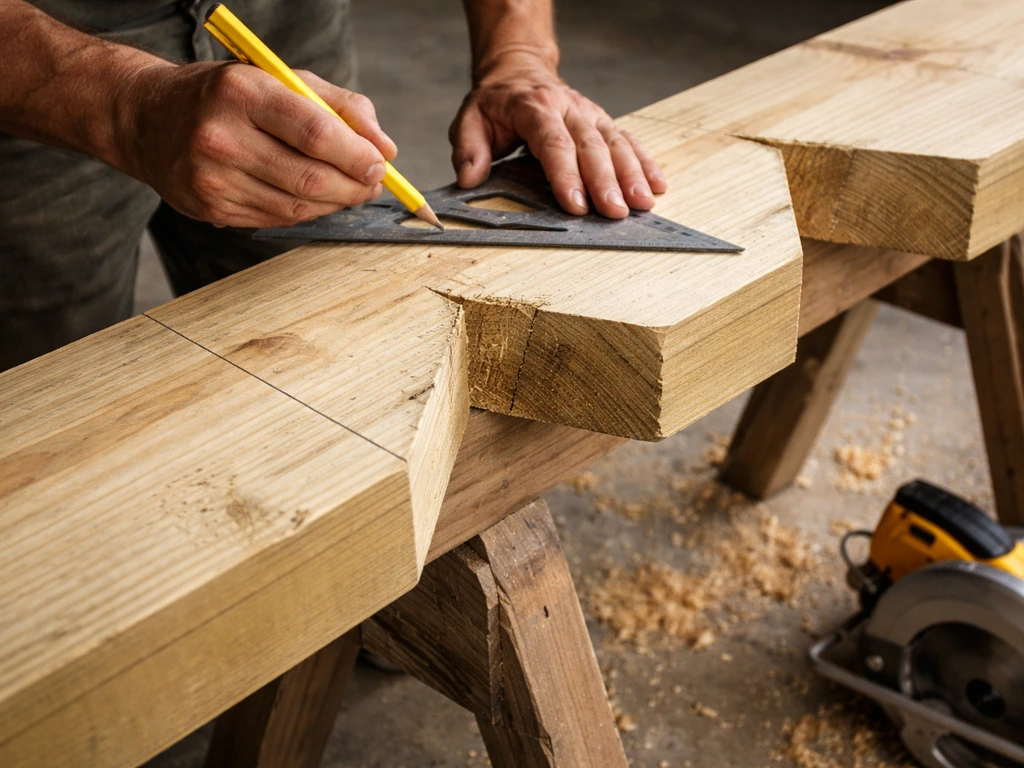
Stringers are the diagonal notched boards that carry the weight of the treads and anyone walking on them. For a 36-inch-wide stair you need at minimum two stringers, but three is better for any stair wider than 36 inches, and code in many areas limits stringer spacing to a maximum of 18 inches on center for open-riser designs. A third center stringer also prevents tread flex and bounce, which is especially noticeable with composite treads.
Start with 2x12 pressure-treated lumber for your stringers. Lay a piece flat and use a framing square with stair gauges (small clamp-on guides) set to your riser height on one leg and your tread depth on the other leg. Walk the square along the top edge of the board, marking each step. Double-check that you have the correct number of rises. The top rise will be slightly shorter than the others if you're accounting for tread thickness at the top, and the bottom rise will be shorter by the same amount. This is called the tread-thickness adjustment: once the treads are on, the actual step height should be equal all the way up.
- Mark the total rise and total run on the stringer board using a framing square and stair gauges set to your riser height and tread depth.
- Mark the tread-thickness reduction on the bottom riser (subtract the tread thickness from the bottom cut so the first step matches all others once treads are installed).
- Cut along the marked lines with a circular saw, stopping just short of the corner and finishing with a handsaw or jigsaw to avoid over-cutting the notch.
- Test-fit the first stringer: set it in place, check that the tread notches are level and the riser faces are plumb, and confirm the top and bottom cuts sit flush against the house framing and the patio surface.
- Use the first stringer as a template to mark and cut the remaining stringers so all steps align perfectly.
- Sand or smooth all cut edges and apply a wood preservative or end-cut sealer to every exposed cut surface before assembly.
Attaching the top of the stringer to the house
The top of the stair must be anchored securely to the house rim joist, band board, or a ledger board you install specifically for this purpose. Never just lean stringers against the house. Use a ledger board of at least 2x8 pressure-treated lumber, lag-screwed into the house framing (not just the sheathing) with 1/2-inch lag screws staggered every 16 inches. Flash the top of the ledger with metal flashing and seal it with a weatherproof membrane before the stringers go on, otherwise water will infiltrate behind the ledger and cause rot in the house framing.
Attach each stringer to the ledger with a rated stair-stringer connector or by toe-screwing at minimum. The connector method is stronger and resists lateral movement. Make sure the top of the stringers lines up so that when the top tread is installed, it finishes flush with or just slightly below the door threshold, so there's no awkward step up or tripping hazard at the door.
Setting the bottom of the stringer on the patio
The bottom of the stringers needs a stable, level bearing point. On a concrete or masonry patio, you can use a post base hardware connector anchored with masonry screws or epoxy anchors to secure the stringer feet directly to the patio. On a paver or composite patio, you may want to pour a small concrete pad or use a solid patio block under each stringer foot so you're not relying on individual pavers to carry point loads. For taller stairs (more than 3 or 4 steps), consider adding a small concrete footing that goes below the frost line in your area so the bottom of the stair doesn't heave in winter.
Installing treads, risers, handrails, and the finishing details
Once the stringers are in place, level, plumb, and securely anchored top and bottom, the tread and riser installation goes quickly. Work from the bottom up. If you're using open risers (no riser board, just the tread), simply lay each tread across the notches and fasten with two screws per stringer per tread. If you're using closed risers (a board filling the vertical face of each step), install the riser board first, then the tread on top of it.
For composite treads, follow the manufacturer's gap recommendations. Trex and TimberTech both specify small gaps between boards (typically 1/8 to 3/16 inch) to allow for expansion and drainage. Use a speed square to verify each riser face is plumb as you go. For natural wood treads, predrill to prevent splitting, and countersink your screws. Leave a slight front overhang (nosing) of no more than 3/4 inch on composite treads per Trex's installation guidance, and keep all nosings consistent within 3/8 inch of each other as required by code.
Handrails go in after the treads. Mount the posts first: for an exterior stair, through-bolt post bases to the outside face of the outer stringers rather than just toe-screwing them to the tread. Posts bolted to the stringer are dramatically more stable. Set posts at the top and bottom of the stair run, check for plumb, then run the rail between them at a [height of 34 to 38 inches above the tread nosings](https://remodelcalculators.
com/blog/stairs-building-guide). On a wider stair where you want a rail on both sides, repeat on the opposite stringer. If the stair is open on the sides and the total height warrants it, fill in the guard panel (balusters or cable, depending on your aesthetic) so the openings don't allow a 4-inch sphere to pass through, which is the standard baluster-spacing rule.
Drainage, anchoring for the long haul, and keeping things solid
Outdoor stairs fail in predictable ways: rot at the bottom where water pools, frost heave at the base, fastener corrosion that lets everything get loose, and water intrusion behind the ledger at the house. Each one is preventable with a few deliberate details during the build.
Drainage starts with a slight slope built into every horizontal surface. The IRC allows up to 2 percent slope (1 inch of drop over 48 inches of run) on walking surfaces, so you have room to pitch treads very slightly forward (toward the yard) so water sheds off rather than pooling on the step. On the bottom landing, make sure the patio itself drains away from the house. If water tends to sit at the base of the stairs, the subgrade under the footing will soften over time and the stair will settle.
The ledger connection at the house is the most moisture-vulnerable point in the whole build. Flash aggressively here: self-adhesive flashing membrane behind the ledger, metal drip flashing at the top edge, and caulk all fastener penetrations with a polyurethane sealant rated for exterior use. I've seen beautifully built stairs that were rotting the house band joist within five years because someone skipped the flashing. It takes maybe 20 minutes and a $15 roll of membrane to do it right.
For wood stairs and stringers, apply a penetrating wood preservative to all cut ends and notched surfaces before assembly, then finish the whole stair with a quality exterior deck stain or sealer after installation. Plan to reapply every one to two years depending on your climate and sun exposure. Check the bottom of the stringers each spring for signs of discoloration, soft spots, or staining that might signal moisture is sitting there.
Check all your fastener connections after the first winter. Freeze-thaw cycles stress every joint, and a quick tightening of lag screws and connector hardware in spring keeps things from working loose over time. Composite treads won't need sealing, but inspect the gap spacing each season to make sure expansion hasn't closed the drainage gaps or caused surface cupping. If you built the stairs as part of a larger attached patio project, the same annual inspection that covers the patio deck boards should cover the stairs at the same time.
If you're also figuring out how the stair integrates with the patio surface itself or how the stairs attach directly to the house wall, those design details are closely connected topics worth thinking through before you finalize the framing plan. For more on sizing and positioning the full layout, see how to build patio steps against house as a related walkthrough how the stair integrates with the patio surface itself. If you are planning an attached patio cover on a stucco house, the structure and flashing details at the wall connection become even more important. Getting the stair-to-patio transition right at the bottom, and the stair-to-house connection right at the top, is what separates a stair that lasts 20 years from one you're rebuilding in five.
FAQ
What should I do if my door threshold is higher than the patio surface, and the first step would be awkward?
In most cases you can adjust the design by changing where the top tread lands relative to the threshold, but keep the riser heights consistent. If the threshold forces a short top rise that breaks your code tolerance, consider adding a thin landing approach or re-leveling the patio at the stair zone, rather than forcing uneven risers.
How do I handle an uneven patio surface when the stairs have to land level?
Don’t rely on shimming pavers or composite panels under the stringer feet. Instead, create a level bearing area, commonly with a poured concrete pad (or solid patio block/mini-footing under each stringer). This prevents settlement at the base, which is a leading cause of bounce and cracked treads.
Can I build the stairs without matching tread thickness to my riser math?
You should plan for tread-thickness adjustment. If you ignore it, the finished step heights will vary and you may also end up with the top tread too high, creating a trip at the door. Measure actual finished tread thickness, subtract it appropriately from the top rise, then recalc risers before cutting stringers.
What if I can’t fit the minimum 10-inch tread depth and have to use a smaller space?
Reducing tread depth increases trip risk and usually pushes you outside common code expectations. If your available run is tight, the safer path is to adjust the layout, such as increasing the landing length, changing the stair angle slightly, or shifting the stair position on the patio to gain horizontal run.
How do I choose stair width when I want a comfortable path for moving items outdoors?
Go beyond the minimum by considering how people will pass with a grill, cooler, or garden cart. A 42 to 48 inch width is typically easier for two-way traffic, and if you want a handrail on both sides, wider spacing also makes the handrail posts less cramped.
Should I use closed risers or open risers for an exterior house-to-patio stair?
Open risers can look lighter, but they also change safety and guard requirements when the drop is significant. Closed risers reduce the chance of small items or debris collecting on steps, and they often feel sturdier. If you choose open risers, confirm your local rules on guard spacing and riser opening size before building.
How do I prevent composite tread gaps from clogging with debris or closing over time?
Follow the manufacturer’s expansion gap spacing and keep the substructure stiff so treads don’t flex. After installation, verify gaps stay open after the first seasonal temperature swing. If gaps close significantly, it usually means the framing shifted, not just that the boards expanded.
What’s the safest way to install the ledger if my wall is finished with siding or has limited access?
Ledger fastening should go into structural framing, not only sheathing or trim. If you can’t directly hit framing members, install blocking or a properly sized ledger extension, then flash with both a water-shedding layer and seal penetrations. Avoid relying on anchors that only grip trim or soft layers.
How deep should the bottom of the stair foundation be to avoid frost heave?
For regions with freezing temperatures, go below the local frost line for any footing or pad intended to carry point loads. If you’re only on a thin patio surface, the stair may move even if the stringers are well built. In winter climates, planning a small below-frost footing under the stair run is often the difference between years of stability and repeated settlement.
Do I need handrails if the stairs are only a few steps?
Many places require handrails only on stairs above a certain riser count, but rules vary. Even if you’re below the threshold, adding a handrail is practical for daily use, older family members, and wet conditions. If you don’t add a rail, consider whether a guard is still required based on the drop height.
How should I position the handrail height on an exterior stair?
Set the rail so the grip height measures roughly 34 to 38 inches above the tread nosings, then recheck after you level the stringers and treads. If your landing or bottom step settles even slightly, rail height can shift, so verify measurements at both top and bottom before drilling post bases.
What are common mistakes that cause stairs to rot or loosen even when the framing is pressure-treated?
Most failures come from water management and movement. Skipping flashing and sealant at the ledger allows hidden rot, and setting stringer feet on weak or shifting patio surfaces leads to bounce. Also avoid standard zinc fasteners in PT assemblies, since corrosion can loosen connectors and make the stair feel unsafe.
How often should I inspect and tighten the stair after completion?
Do a visual check each spring for staining, soft wood, and any movement at the connections. Then tighten any accessible lag screws and connector hardware after the first winter freeze-thaw cycle. For composite treads, also check that drainage and expansion gaps still match the manufacturer guidance.
Next Article
How to Build Patio Steps Against a House: DIY Guide
Step-by-step DIY plan to build patio steps against a house, from layout and base to drainage, leveling, and finishing.