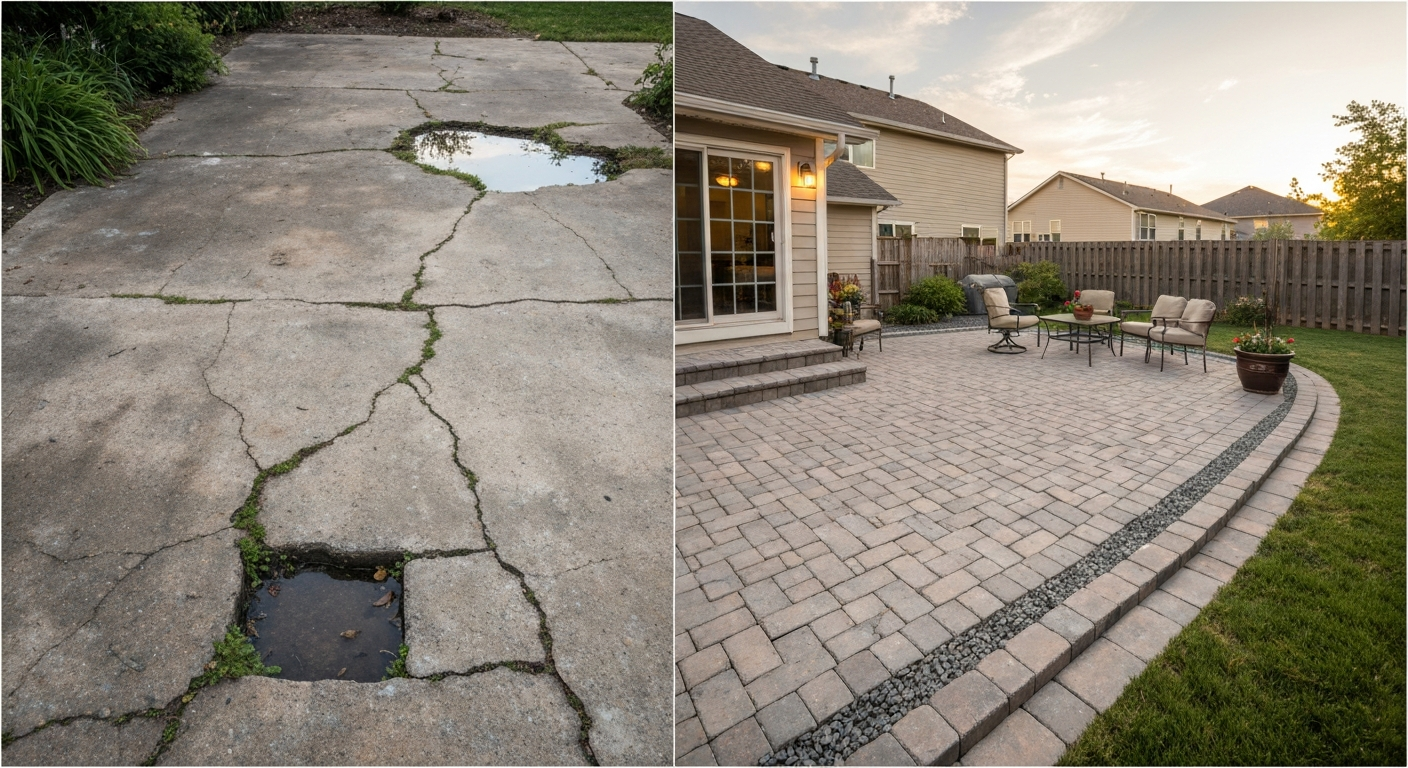
You can build a patio water fountain yourself in a weekend using a submersible pump, a reservoir basin, flexible tubing, and your choice of decorative stone or a focal piece. The basic loop is simple: water sits in a buried or surface-mounted basin, a pump pushes it up through a tube to the top of your feature, gravity pulls it back down, and the cycle repeats. Once you understand that loop, every decision you make from here (what basin size, what pump, what style) just fills in the details.
How to Make a Patio Water Feature Step by Step

Nolan Lennox
28 May 2026
Plan your design before you buy anything
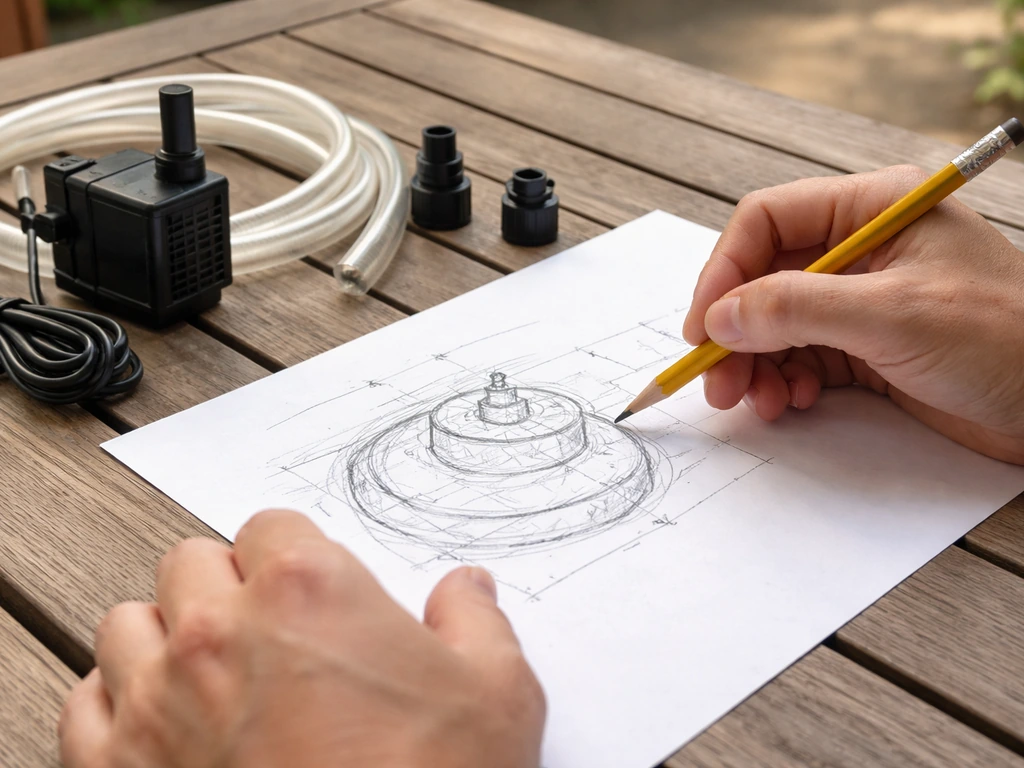
The single biggest mistake I see on patio water features is buying a pump or basin before nailing down the design. Spend 20 minutes sketching your idea first, because every dimension you choose affects the parts you need.
Pick a location that works with electricity and drainage
Your fountain needs a GFCI-protected outlet within reach of the pump cord, which is usually 10 to 20 feet depending on the pump model. That outlet needs to already exist or be installed by a licensed electrician before you start. Beyond power, think about splash. A feature roughly 3 feet tall can throw water about 3 feet in every direction, meaning you're dealing with a splash zone of around 6 feet in diameter. Put it somewhere that splash won't soak adjacent furniture, erode a flower bed, or pool against a wall or foundation.
Decide on size, style, and water effect
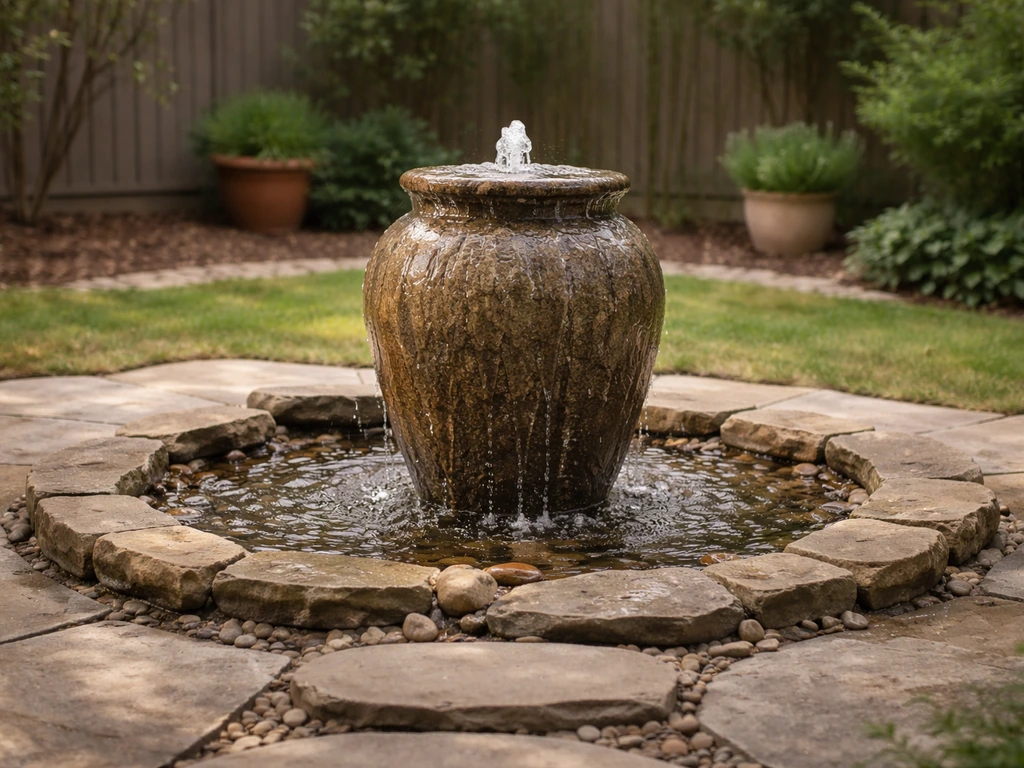
The most popular patio fountain styles for DIY builds fall into three categories: a bubbling urn or pot (water wells up and sheets down the sides), a stacked stone or column spillway (water cascades over tiers or a flat ledge), and a millstone or boulder bubbler (water percolates up through a drilled hole and disappears into surrounding gravel). All three use the same recirculating loop. The style you choose mainly determines how you finish the top and what you use as a focal piece. For a first build, a bubbling urn or millstone is the most forgiving because there's no precise spillway to level.
For size, think about the scale of your patio. A 24-inch basin is manageable and works well for a single urn up to about 24 inches tall. A 35- or 47-inch basin gives you room for a larger focal piece or stacked-stone arrangement. Whatever you choose, the basin needs to sit under or directly beside the feature and hold enough water that the pump doesn't run dry between refills or during hot evaporative days.
Choosing the right components
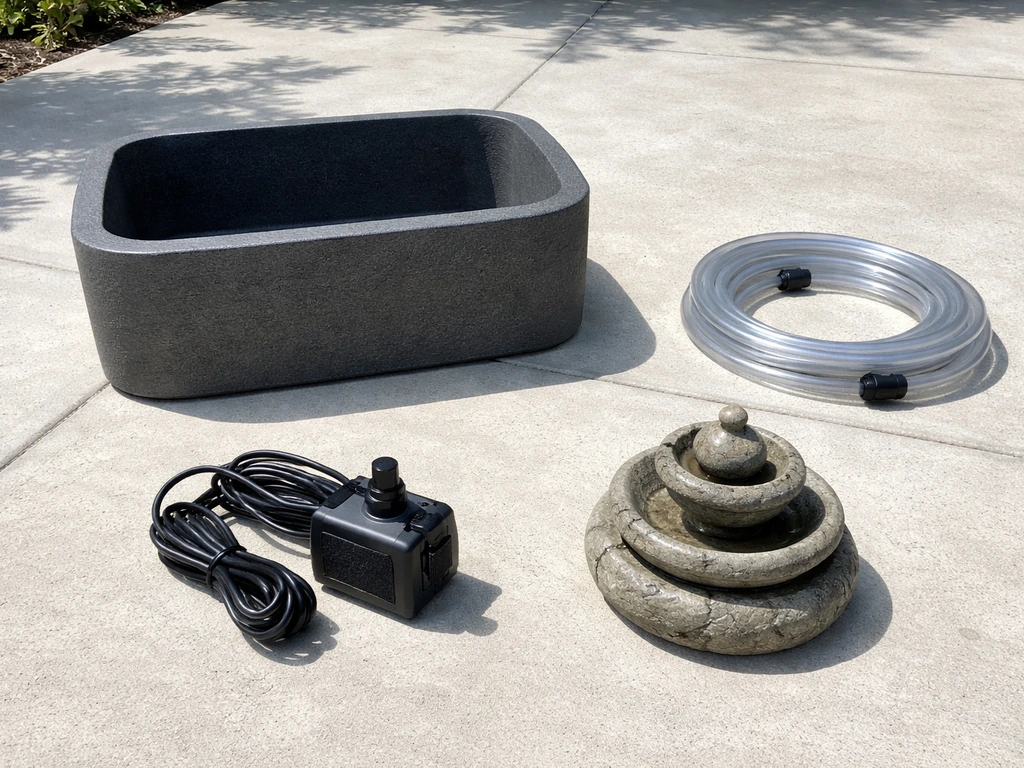
A patio fountain has four core components: the basin (reservoir), the pump, the tubing, and the decorative focal piece. Get these right and the rest of the build is just assembly.
Basin or reservoir
Pre-formed rigid basins from manufacturers like Atlantic Water Gardens are the easiest option for most DIYers. Their 24-inch basin handles a maximum pump flow of 750 GPH and works well for smaller features. Step up to the 35-inch basin and you can run up to 2,000 GPH, and the 47-inch model supports up to 4,000 GPH. Atlantic also makes a 36-inch complete kit that comes as a roughly 42-gallon self-contained basin (56 inches wide, 24 inches deep, 16 inches tall) with an integrated pump chamber, which makes plumbing routing much cleaner. For a budget-conscious build, a large plastic storage tote or a flexible pond liner cut to fit a dug depression can work too, but you'll need to be more careful about containment and support. If you want to make a backyard patio cheap, focus on using a pre-formed basin or a simple DIY reservoir and shop for the right pump size first.
Pump sizing
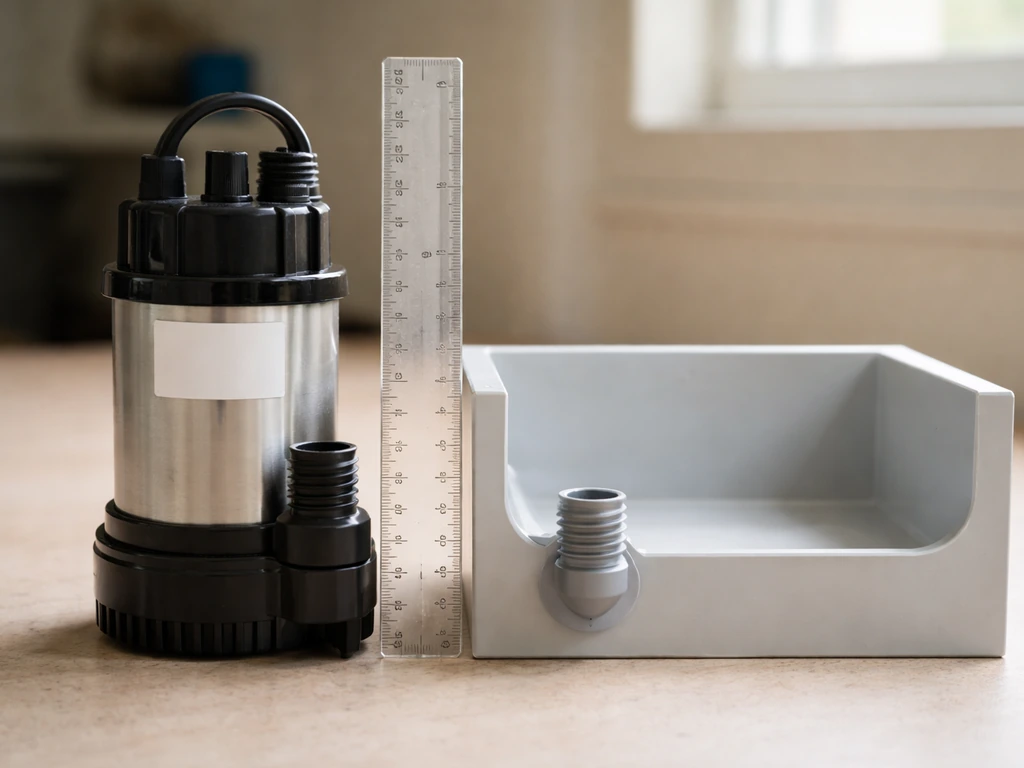
Pump sizing is where most beginners get tripped up. The advertised GPH rating is measured at zero lift (pump sitting at the same level as the water outlet). The moment water has to travel vertically, that flow rate drops. A pump rated at 300 GPH at ground level may deliver significantly less at a 3- to 4-foot lift. A practical starting rule is to target about 100 GPH per inch of fountain head height. So for a feature where water rises 18 inches, you want a pump capable of at least 150 to 200 GPH at that lift, which usually means buying a pump rated 300 GPH or more at zero lift. For overflowing-style features, a 12-inch diameter fountain bowl typically needs 400 to 800 GPH. Always check the pump curve (flow vs. head chart), not just the max rating on the box.
Also make sure the pump physically fits inside your basin's pump chamber. Some compact basins have tight clearances. The pump must be fully submerged to operate correctly and stay cool. Every pump connected to an outdoor water feature must plug into a GFCI-protected outlet, without exception.
Tubing and plumbing kit
Atlantic's FBKIT1 plumbing kit is a clean one-stop option that includes a ball valve, pump discharge fittings, and 6 feet of 3/4-inch kink-free hose. The ball valve is important because it lets you throttle flow without unplugging the pump, which is how you tune the water effect later. Basin plumbing sizes are capped by basin model: the FB2400 (24-inch basin) uses up to 3/4-inch tubing, while larger basins support up to 1 1/2-inch lines. Match your tubing diameter to both the pump outlet and the basin spec. Flexible PVC or braided kink-free hose beats rigid PVC for most patio builds because it routes around obstacles without needing fittings at every bend.
Quick component comparison
| Component option | Best for | Cost range | Watch out for |
|---|---|---|---|
| Pre-formed rigid basin (e.g., Atlantic 24"–47") | Most DIY builds, clean install | $60–$200+ | Heavy when full; needs level base |
| Flexible pond liner in dug hole | Budget builds, irregular shapes | $20–$60 | Puncture risk; needs underlayment |
| Large plastic storage tote | Quickest/cheapest option | $10–$30 | UV degradation; shorter lifespan |
| Submersible fountain pump (dedicated) | All patio fountain builds | $25–$120 | Match pump to head height, not max GPH |
| FBKIT1 plumbing kit | Clean install with flow control | $20–$40 | Only 6 ft of tubing; buy extra if needed |
| Auto-fill valve kit | Convenience in hot/evaporative climates | $30–$80 | Requires nearby water line connection |
Site prep and base construction
How you prep the base determines whether your fountain sits level and stable for years or whether you're constantly shimming and adjusting. Don't skip this part.
For an in-ground or partially buried basin
- Mark the basin footprint on the ground and dig down to the depth required to set the basin rim at or just above grade level. Most pre-formed basins specify a target depth in their installation manual.
- Compact the soil at the bottom of the excavation. Loose soil leads to settling, which leads to a tilted fountain.
- Add 2 to 3 inches of compacted sand or fine gravel for a level, adjustable base layer.
- Cut a piece of underlayment fabric (pond liner underlayment works well) slightly larger than the basin footprint and lay it in the hole before dropping the basin in. This protects the basin bottom from sharp rocks and root intrusion.
- Set the basin, check level in both directions with a spirit level, and adjust the sand base until it sits perfectly flat. A tilted basin means uneven water depth, which can expose the pump and cause it to run dry.
- Backfill around the outside of the basin with compacted soil or gravel to support the walls and prevent flexing.
For a surface-mounted basin on an existing patio
If you're placing the basin on top of an existing concrete or paver patio, your main job is confirming the surface is level and that the basin won't shift. A rubber anti-slip mat under a smaller basin is enough. For larger basins, consider setting them against a short block wall or stone surround to keep them in place and improve the finished look. Atlantic's flexible basin installation guidance actually recommends constructing the surrounding garden wall or block surround first and then positioning the basin inside it, which gives you the structure and the aesthetics in one shot. If you're building a new patio alongside the fountain, the budget guidance on making a backyard patio cheap or doing a quick patio install applies directly to this foundation stage.
Waterproofing and containment
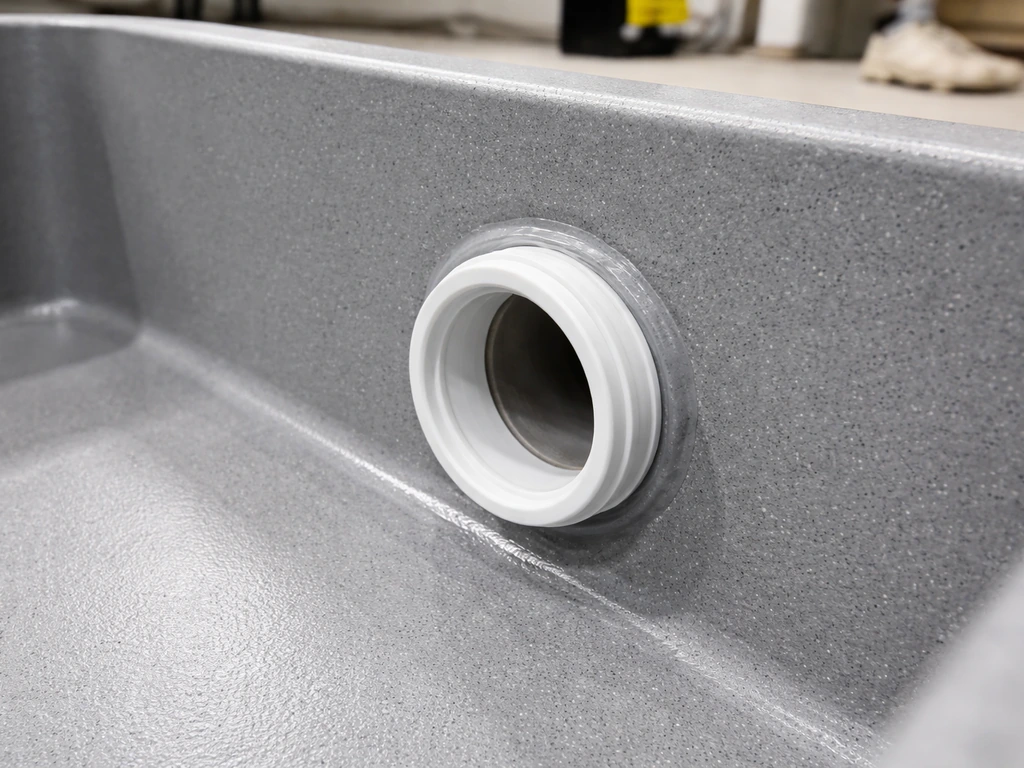
Pre-formed rigid basins are self-contained if undamaged, but any penetration (like a drain fitting or a plumbing feed-through) needs to be sealed. Atlantic's SPSEAL or a compatible waterproof sealant compound handles this. Press the sealant firmly into gaps between basin and any adjacent masonry before the basin fills with water. Once a basin is full, pressure makes leaks worse, not better.
Step-by-step build and installation
With your basin in place, your pump selected, and your tubing on hand, here's how to put it all together. I'm walking through a bubbling urn or decorative bowl setup here because it's the most common DIY patio fountain, but the same steps apply to stacked stone or boulder bubblers with minor variations.
- Place the pump inside the basin pump chamber. The pump should sit fully submerged with the intake unobstructed. Check your pump's manual for minimum water depth above the intake.
- Attach one end of the kink-free tubing onto the barbed outlet of the ball valve, following the FBKIT1 manual procedure. Then connect the ball valve assembly to the pump's discharge port using the included fittings.
- Route the tubing up through or alongside your focal piece (urn, stone column, drilled boulder) to the top outlet point. Keep bends gentle. Kink-free hose handles moderate curves but will still restrict flow if you force a sharp 90-degree bend in one spot.
- If your focal piece is a drilled urn or pot, thread the tubing up through the drain hole. Use a rubber grommet where the tube passes through any hard material to prevent abrasion and to seal the hole against drips.
- For stacked stone features, the tubing runs up the back or center of the stack and terminates at or just below the top surface. You can secure it loosely with zip ties to the back of stones where it won't be visible.
- Position your focal piece on top of or beside the basin grate or lid. Most basin kits include a metal or plastic grate that sits over the basin opening, supports the decorative elements, and allows splash water to drain back in.
- Connect the pump power cord to the GFCI outlet. Do not plug in yet.
- Fill the basin with water to the operating level specified for your pump model (usually within a few inches of the basin rim or the line marked on the pump chamber). This is the time to also check all tubing connections for snugness.
Finishing details that make it look intentional
A fountain that looks finished takes maybe an extra hour of work but makes a huge difference. The goal is to hide the mechanical parts and blend the feature into the patio space.
Conceal the tubing and basin hardware
Lay polished river rock, decorative gravel, or flat flagstone pieces over the basin grate and around the base of the focal piece. This hides the grate, the tubing, and the basin rim while still allowing water to fall back into the reservoir. Atlantic's FTN-CC manual specifically recommends this approach, noting that decorative stone around the basin both improves aesthetics and helps manage splash drainage back into the basin. Avoid packing stones so tightly that you can't reach the pump for future maintenance. Leave a section of loose stone over the pump chamber that you can lift and move easily.
Coping, edging, and surrounding materials
If your basin is partially buried, finish the edge with a coping of flat fieldstone, cut bluestone, or even standard 4-inch concrete garden block. Atlantic's basin dimensions are designed to work with standard 4-inch garden block construction, which keeps the masonry work straightforward. Keep coping stones sloped slightly inward (toward the basin) so that any water landing on the edge drains back into the feature rather than running out onto the patio or ground. Seal any gaps between coping and basin rim with waterproof sealant.
Cord management
Route the pump cord under decorative stone or through a shallow channel cut in mortar if you're working with a mortared edge. For surface-mounted features on a paver patio, run the cord in a low-profile cable channel along the patio edge. A bright orange extension cord snaking across your patio kills the aesthetic instantly. If the outlet isn't close enough for the pump cord to reach cleanly, have an electrician add a dedicated outdoor outlet closer to the feature rather than daisy-chaining extension cords.
Testing, troubleshooting, and tuning the flow
Now comes the satisfying part. Plug in the pump and watch what happens. Don't walk away for the first few minutes.
First run checklist
- Water should appear at the top of the focal piece within 30 to 60 seconds. If it doesn't, check that the basin is filled above the pump intake.
- Listen for the pump. A humming pump that isn't moving water often means an airlock. An airlock occurs when trapped air in the pump housing prevents priming and can lead to pump overheating. Fix it by unplugging the pump, tilting it slightly underwater to let air escape, then plugging back in.
- Some pumps include an anti-airlock feature (a small bleed hole in the volute housing). A tiny spray from this hole while the pump starts is normal and not a leak.
- Check every tubing connection for drips while the pump runs. Tighten or re-seat any fitting that shows a drip.
- Watch the water level in the basin. If it drops significantly over 15 to 20 minutes, you have a splash-out problem or a slow leak somewhere. Splash-out usually means reducing the pump flow rate.
Tuning the flow with the ball valve
This is where the ball valve earns its place. With the pump running, slowly close the ball valve to reduce flow until the water effect looks right. A urn-style feature should sheet smoothly down the sides without throwing water outward. A bubbler should percolate above the stone surface by an inch or two. If water is spraying too forcefully and splashing outside the basin, close the valve incrementally until splash stays contained. If the effect is too weak or the pump seems to struggle, check your total head height against the pump curve. You may need a higher-rated pump if you significantly underestimated the lift.
Common issues and fixes
| Problem | Likely cause | Fix |
|---|---|---|
| Pump hums but no water flow | Airlock in pump housing | Unplug, tilt pump underwater to release air, restart |
| Water level dropping fast | Splash-out or liner/basin leak | Reduce flow via ball valve; inspect all seams for leaks |
| Weak trickle at top | Pump undersized for head height | Check pump curve; upgrade to higher GPH pump at rated lift |
| Gurgling or air-sucking noise | Water level too low, exposing pump intake | Top up basin; add auto-fill valve for ongoing management |
| Water flowing unevenly to one side | Focal piece not level, or tubing outlet off-center | Re-level focal piece; adjust tubing termination point |
| Pump vibration noise | Pump sitting on hard basin floor without padding | Add a small rubber mat or foam pad under the pump |
Maintenance and seasonal care
A patio fountain is low maintenance compared to a full pond, but it does need regular attention to stay clean and running well.
Routine maintenance
- Top up the basin water every few days during hot weather. Evaporation in summer can drop the basin level enough to expose the pump intake within a day or two. An auto-fill valve kit connected to a water line eliminates this chore entirely.
- Clean the pump intake screen every two to four weeks by unplugging the pump, pulling it out, and rinsing the screen under a hose. Algae and debris buildup here is the most common cause of reduced flow over time.
- Flush algae from the basin walls and focal piece with a stiff brush and clean water. Avoid bleach or harsh cleaners near the pump, as chemical residue damages seals and O-rings.
- If the fountain has a filter media insert, rinse it in basin water (not tap water, which kills beneficial bacteria) on the same schedule as the pump cleaning.
- Check all tubing connections and sealant points at the start of each season for cracks or loosening caused by temperature cycling.
Winterizing your patio fountain
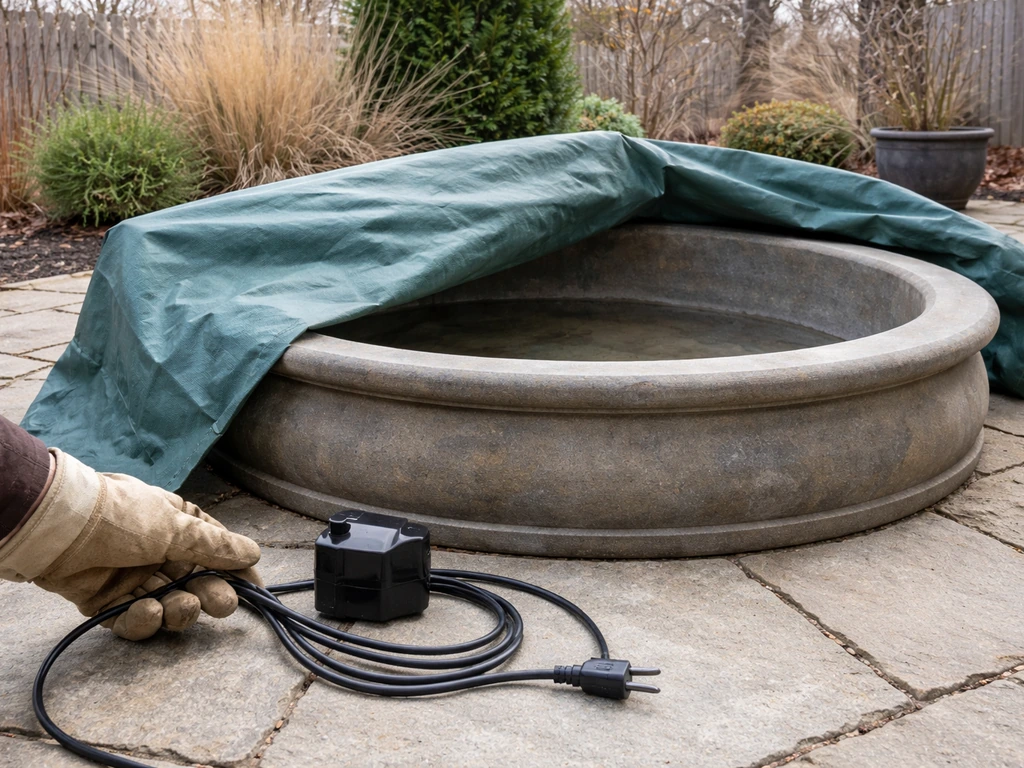
If you're in a climate that freezes, winterizing is non-negotiable. Water expands when it freezes, and a basin or urn cracked by ice is expensive to replace. The process is straightforward but has to happen before your first frost advisory.
- Unplug the pump and remove it from the basin. Store the pump indoors in a bucket of water to keep the seals from drying out and cracking during the off-season.
- Drain all water from the basin completely. Tip or siphon out every drop. Do not use antifreeze in the fountain basin.
- Remove the tubing, ball valve assembly, and any removable plumbing fittings. Store them indoors.
- If your focal piece (urn, pot, or decorative stone) is porous or glazed ceramic, move it indoors or into a garage. Porous materials absorb water and can crack when that water freezes.
- Cover the empty basin with a fountain cover or a piece of plywood weighted down with stones to keep debris, rain, and snow out.
- Wrap a ceramic or stone focal piece that stays outside in burlap and then in heavy plastic sheeting for an added layer of insulation against frost.
Come spring, reverse the process: reinstall the pump, refill the basin, reconnect the plumbing, and run through the first-run checklist again before walking away. A five-minute inspection every spring saves a full troubleshooting session later in the season.
Where to go from here
Once you've got a running fountain, you'll probably start thinking about what else could improve the space. If budget is a constraint, the same planning framework here adapts well to building a patio pond on a budget, which shares a lot of the same component logic at a larger scale. And if your patio surface itself needs work before the fountain looks right, tackling the base patio build or a patio refresh is a natural next step that ties everything together into a finished outdoor space you'll actually use. If your patio surface itself needs work before the fountain looks right, you can often redo a patio for cheap by focusing on prep, leveling, and low-cost materials.
FAQ
What GPH number should I use if my patio water feature has a filter, heater, or extra fittings in the tubing path?
Use the pump curve, not just the box’s max GPH. Add extra “effective head” for any restriction (inline filter, check valve, long runs, tight bends), then choose a pump that still hits your needed flow at that increased head. If you cannot find a pump curve, oversize the pump and plan to throttle with the ball valve.
How can I tell whether my water feature is failing because of lift height or because of bad leveling?
If the water stream or sheet looks uneven immediately after setup, leveling is usually the issue, especially for urn and spill styles. If the effect is uniformly weak across the whole run, lift is more likely. Do a quick test by placing a level on the basin rim and confirming the outlet height, then compare the result to the pump’s flow at your measured lift.
Do I need to build a spillway-style feature any differently than a bubbling urn if I’m trying to prevent splash?
Yes. Spillways typically throw more water outward because the water leaves the top with more momentum. Reduce splash by lowering the drop height, using a wider catch area around the basin, and tuning flow with the ball valve so the sheet or cascade stays controlled. Also keep the feature farther from walls and furniture than you would for a bubbler.
Can I use tap water, and should I add anything to the basin to reduce algae and mineral buildup?
You can use tap water, but it will eventually accumulate minerals and promote algae, especially in sunny spots. For algae control, consider using an approved algaecide or adding a surface skimmer approach, but avoid dumping unknown chemicals that could damage the pump. If your tap water is hard, plan for more frequent cleaning and periodic basin wipe-downs.
How often should I clean the pump and tubing on a DIY patio water feature?
Plan for a light inspection weekly during hot months and a deeper clean monthly. Look for reduced output, noisy pump behavior, or debris in the basin. When cleaning, lift the pump only after unplugging, and flush the discharge line to prevent “partial clogs” that make flow seem weak.
What’s the safest way to winterize a patio water fountain if I cannot lift heavy parts easily?
If you cannot remove the pump and empty the basin confidently, drain as much water as possible, then remove the pump to a protected area or fully protect it with an approved freeze-safe method. Leaving any standing water in the basin or tubing risks cracking, even if the fountain is “covered.” Covering alone is not a substitute for proper freeze protection.
How do I prevent the pump from running dry when evaporation is high?
Use a basin that holds enough water for your hottest, windiest days, and check levels more frequently in summer. Evaporation can uncover the pump intake if the effect seems to “pause” briefly. If your setup runs low, either increase reservoir volume, reduce flow with the ball valve, or plan more regular top-offs.
Can I run the pump on a timer or smart outlet to reduce electricity use?
Yes, but only if the fountain still runs long enough to keep the visible effect consistent and the pump is not cycling too rapidly. Avoid short on-off bursts that can trap air or debris. Also make sure the outlet and timer are rated for outdoor use and the pump’s power draw.
Why does my fountain look fine at first, then gradually get weaker after a few days?
Common causes are debris buildup in the basin, mineral scaling in the tubing, or a partial obstruction near the pump outlet. Check the basin water level first, then inspect the pump intake and the discharge line. If flow drops without visible debris, remove and rinse the tubing and consider that mineral buildup may be restricting flow.
What’s the best way to hide the mechanical parts without making future maintenance harder?
Leave a removable “access patch” of decorative stone or gravel over the pump chamber, sized so you can lift it quickly without disturbing the entire surround. Avoid tightly packed stones that lock the pump area in place. Keep the cord route accessible and not buried under hard, immovable materials.
Is it okay to use an extension cord to reach a farther outdoor outlet?
Avoid extension cords when possible. If you must extend, use a properly rated outdoor extension cord that matches the pump’s power requirements, keep the connections above standing water, and route the cord in a low-profile cable channel. The preferred approach is adding a nearby GFCI outlet so the pump cord does not need extra extension runs.
Next Article
How to Update Patio: Complete DIY Guide to Repair or Rebuild
How to update patio: DIY guide to assess, choose materials, and follow step-by-step repairs or full rebuilds with costs.