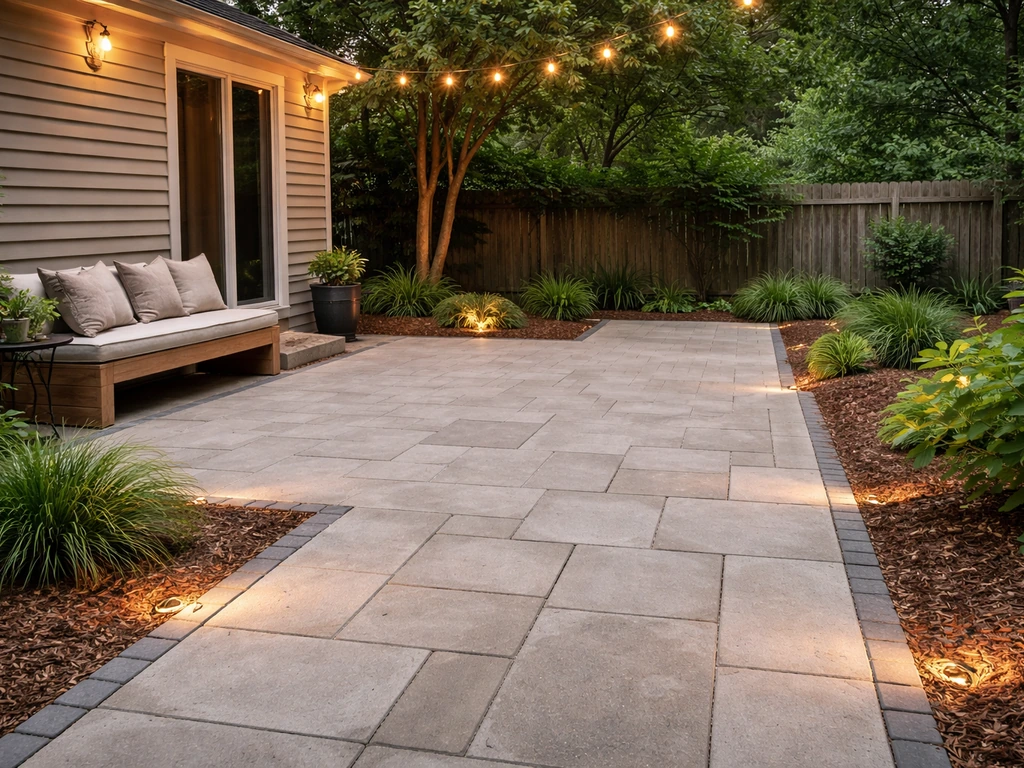
An ugly patio is almost always fixable without replacing the whole thing. In most cases, the fastest path forward is a deep clean, a few targeted repairs, and some deliberate design choices, and you can start all three this weekend. Whether your patio is cracked concrete, weedy pavers, a stained slab, or just a cluttered mess with no focal point, the steps below will walk you from diagnosis to a patio you're actually proud of, in a practical order that respects your time and budget. If you're still unsure where to begin, follow this guide for how to make a patio look nice with simple cleaning, repairs, and styling steps.
How to Make an Ugly Patio Pretty Fast With DIY Upgrades

Nolan Lennox
9 Jun 2026
Quick diagnosis: why your patio looks ugly
Before you spend a dollar or pick up a tool, spend five minutes walking around your patio and honestly naming what bothers you. In my experience, the problem is almost never one thing, it's usually a combination of a few fixable issues that compound each other visually. Here are the most common culprits:
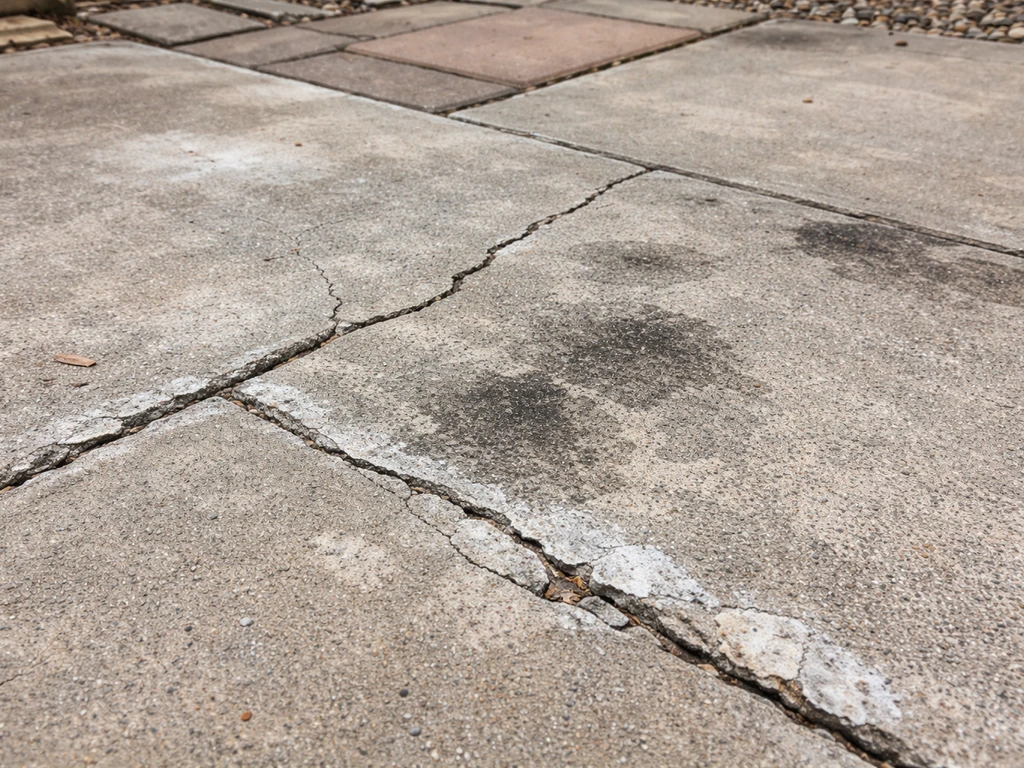
- Surface condition: Cracks, spalling, staining, or that chalky white efflorescence (salt deposits) that appears on concrete and pavers over time
- Weeds and drainage: Weeds pushing through joints, pooling water, or muddy edges that signal a grading or base problem
- Color and finish mismatch: Faded, patchy sealers or stains, or materials that simply don't go together visually
- Poor layout and scale: Furniture that's too big or too small, a patio that's shapeless or cut off from the yard with no visual boundary
- Clutter and lack of focal points: No defined zones, too much stuff stored there, nothing drawing the eye
- Outdated or mismatched materials: Bland gray concrete next to dated brick borders or mismatched pavers from different eras
Write down your top two or three problems. That list determines your starting point and how much budget you actually need. A patio that's just dirty and cluttered might need $50 and a Saturday. A patio with failing drainage under lifted pavers is a different scope entirely.
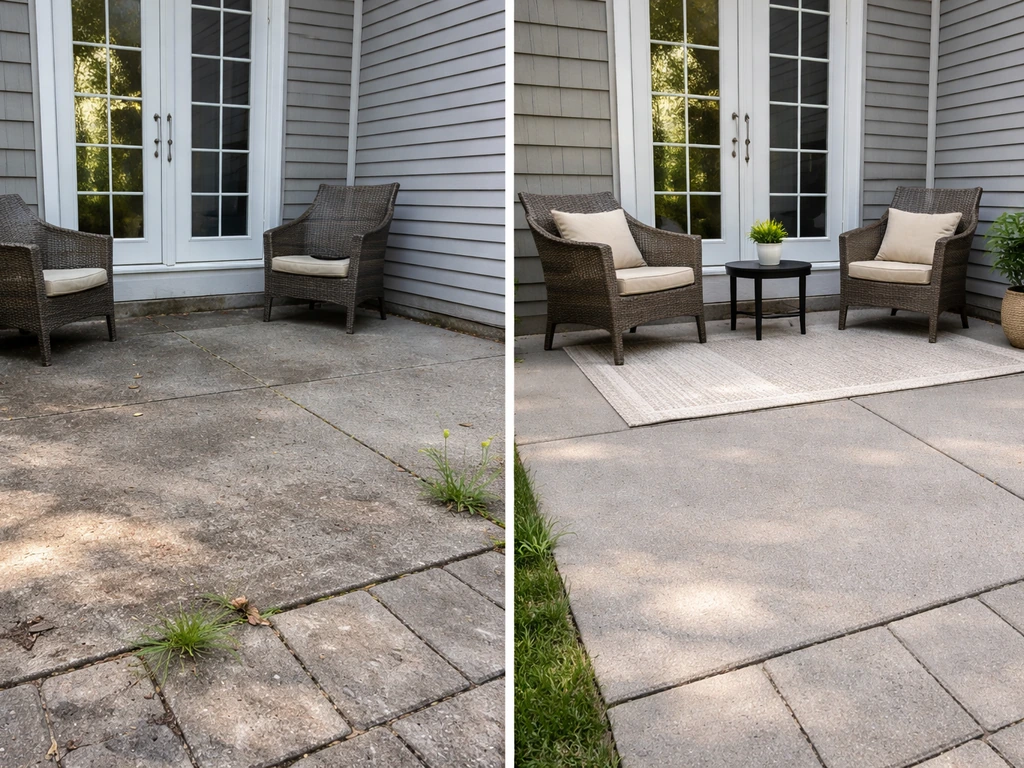
Instant improvements: clean, repair, fill, and refresh
This is where most patio transformations actually happen, and it's the step people skip because it feels too simple. A good clean alone can make a patio look 60% better. Don't underestimate it.
Start with a thorough clean
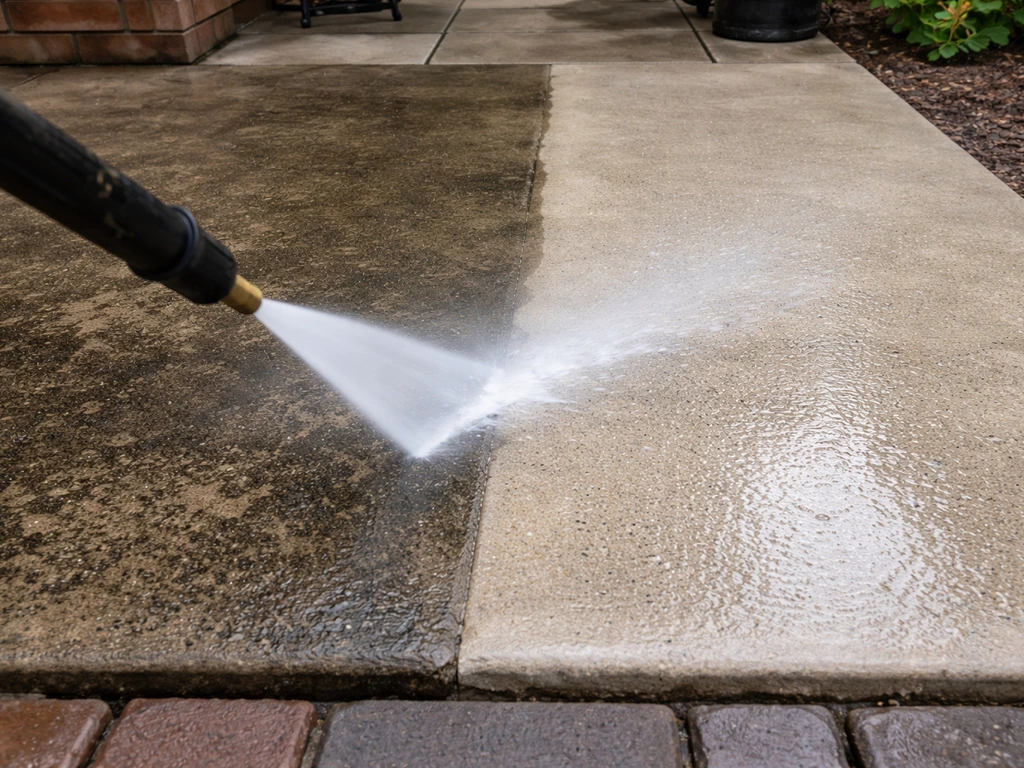
Pressure wash everything, the slab, any pavers, the edges, even the furniture. If you see that chalky white efflorescence on your concrete or pavers, you need a dedicated efflorescence cleaner rather than just water. The U. S.
General Services Administration (GSA) recommends chemical treatment for efflorescence using mixtures such as 1 part phosphoric acid plus 1 part acetic acid in 19 parts water, repeating with other listed mixtures if needed chalky white efflorescence. Products like Techniseal HD Paver Prep are formulated specifically to dissolve those white salt deposits without using hydrochloric (muriatic) acid, which is a safer option for DIYers.
If you go the acid route for more stubborn deposits, W. R. Meadows recommends dampening the concrete surface with clean water before applying any acid solution, this prevents the acid from absorbing too deeply into the concrete. BEHR's approach for cleaner/etcher solutions suggests letting the product sit for 5 to 10 minutes after scrubbing it into the surface, then rinsing thoroughly and allowing the surface to fully dry before doing anything else.
Fill cracks and reset loose pavers
Hairline cracks in a concrete slab can be filled with a self-leveling concrete crack filler. Larger cracks or areas with spalling are candidates for a resurfacer (more on that in the hardscape section). For pavers with weedy joints, pull the weeds, blow out the old sand, and refill with polymeric sand. When you're setting polymeric sand height, leave it at least 1/8 inch (3mm) below the top of the paver surface or below the chamfer edge, overfilling causes the sand to smear across the face of the paver when you activate it with water. Run a plate compactor over the entire surface a second time after filling to seat the sand properly before wetting it.
Refresh the surface finish
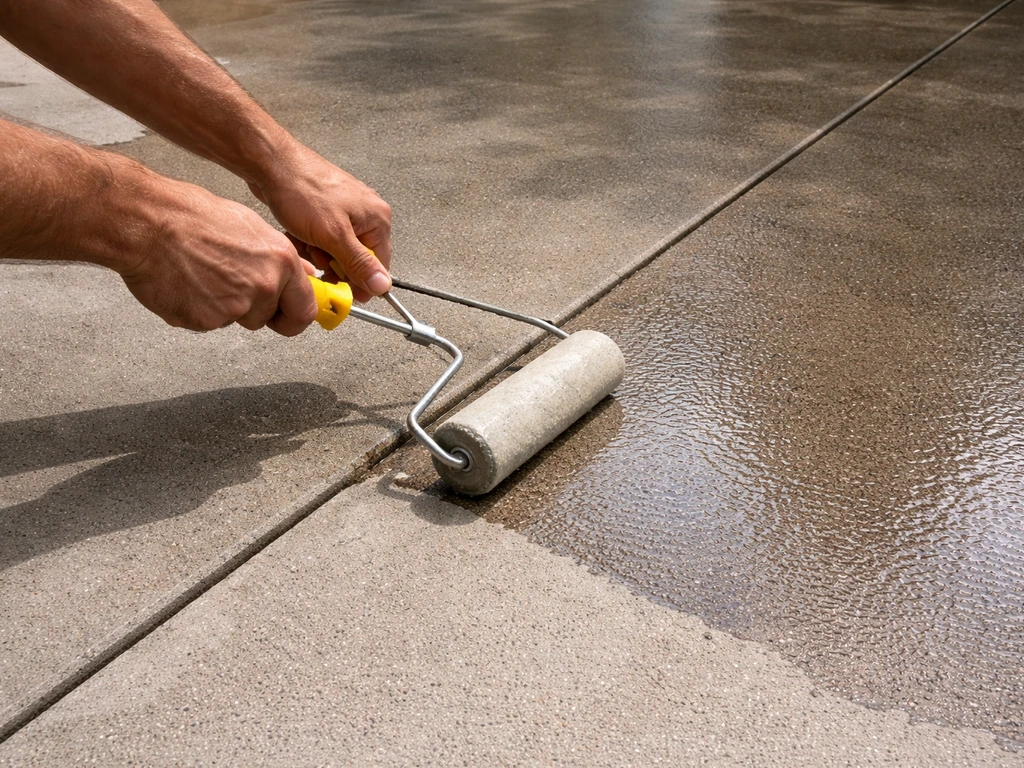
If your concrete slab is sound but looks faded or stained, re-sealing or re-staining makes a dramatic difference. Strip the old sealer first if it's peeling or cloudy, then apply a bonding primer (BEHR's concrete bonding primer has a 2-hour dry time) before any new stain or decorative coat. A fresh sealer protects against moisture, UV damage, chemical staining, and wear, all the things that make patios look old fast. For furniture, a can of outdoor spray paint in a cohesive color can refresh a whole set for under $30.
Hardscape upgrades: edging, pavers, resurfacing, or decking
Once the surface is clean and repaired, look at the bones of the patio. This is where mid-scope and larger improvements come in, and where you can meaningfully change the character of the space.
Add or replace edging
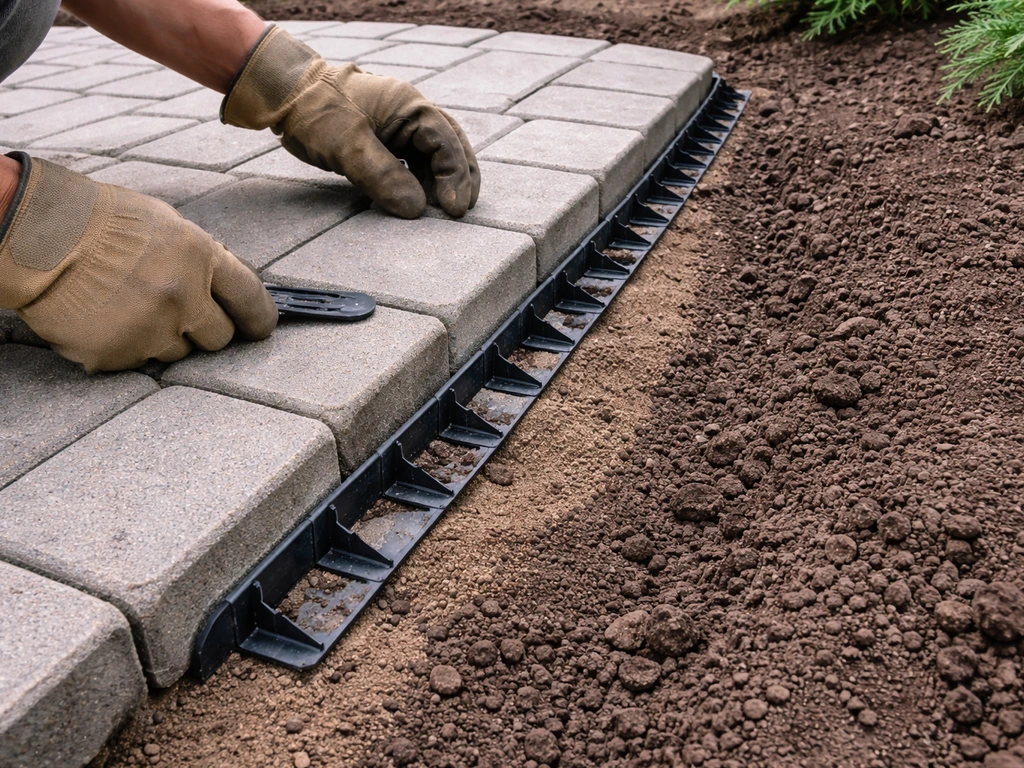
A defined edge transforms a patio from shapeless to intentional. That said, edging for interlocking concrete pavers isn't as simple as pushing in a plastic strip. The Concrete Masonry and Hardscapes Association (CMHA) is clear that flat metal or plastic landscape edging is not an acceptable restraint for interlocking concrete paver systems, it won't hold. A proper paver installation uses a concrete curb, concrete toe, or purpose-made edge restraint spiked into the base. For a decorative border, consider a soldier course of the same paver in a contrasting orientation, or a row of natural stone. For loose gravel or flagstone areas, steel or aluminum edging is appropriate and looks clean.
Resurface a worn concrete slab
If your concrete is structurally sound but ugly, stained, pitted, or spalled, resurfacing is far cheaper than demolishing and pouring new. Products like SikaQuick Concrete Resurfacer can be applied from a true feather edge up to 1/2 inch (13mm) thick, which means you can fill low spots and surface imperfections in one pass. After applying, wait 16 to 24 hours before applying any coating over it. Full foot traffic takes around 3 days for cured resurfacers, so plan accordingly. Once cured, you can apply a stamped texture, stain, or sealer over the top for a completely different look.
Lay new pavers over or alongside existing hardscape
If you want to extend or redesign the layout, adding a bedding course of sharp sand over a compacted base and laying new pavers is a solid weekend project for intermediate DIYers. Follow a proper installation sequence: compact the base, lay a 1-inch bedding course of concrete sand, set pavers hand-tight with joints around 1/8 inch, install edge restraint before you start (not after), then compact and fill joints with polymeric sand.
Build a deck over the slab
If the concrete is beyond saving cosmetically and you want a warm, natural look, building a low deck over an existing concrete slab is a proven approach. You lay sleepers (pressure-treated 2x4s) directly on the concrete, then fasten composite or wood decking boards on top. The critical detail is airflow and drainage under the boards, water trapped between the deck and slab will rot wood and degrade composite faster than anything. This is a more involved project but completely DIY-able if you're comfortable with a circular saw and drill.
Add soft structure: planters, privacy screens, groundcover, and turf
Hard surfaces alone rarely feel inviting. The soft elements, plants, turf, screens, and groundcover, are what make a patio feel like a place rather than just a slab. And they're often the most budget-friendly upgrades with the highest visual payoff.
Raised planters and planter borders
A row of large planters along one edge of the patio does three things at once: it adds greenery, creates a visual boundary, and gives the space a sense of enclosure without building a wall. Build simple cedar or concrete block raised planters yourself for a fraction of retail cost. Fill them with a mix of ornamental grasses, trailing plants, and one or two taller shrubs to create height variation. Even three matching 15-gallon pots in a cohesive color, planted with something full and lush, can anchor a corner that previously looked empty.
Privacy screens
If your patio feels exposed or backs up against a fence, neighbor's yard, or an ugly wall, a privacy screen changes the whole feel. Options range from a simple cedar lattice panel to a steel cable trellis with climbing plants, or a freestanding pergola structure. Even a mounted outdoor shade sail blocks a sightline and adds geometry. Keep the material consistent with your patio's style, a sleek composite or powder-coated steel screen suits modern patios; a cedar or bamboo panel fits more natural or rustic spaces.
Groundcover, gravel, and artificial turf
Bare dirt or dead grass surrounding a patio is one of the fastest ways to make it look neglected. Decomposed granite or pea gravel costs very little per square foot and can fill transition areas between the patio edge and garden beds. Creeping groundcovers like thyme, sedum, or mondo grass work beautifully between pavers or stepping stones to soften hard lines. Artificial turf is worth considering if you have a small yard or shaded area where real grass won't grow, it's more expensive upfront (typically $10 to $20 per square foot installed) but looks consistently neat year-round with almost no maintenance.
Design styling that makes it feel intentional
This is the part most DIYers skip, and it's why some patios look improved but still feel a little off. A cohesive design direction, even a simple one, is what separates a patio that looks fixed from one that looks designed.
Pick a style and commit
You don't need to name it formally, but decide on a general direction before you shop for anything: modern and minimal, relaxed coastal, warm Mediterranean, cottage garden, or clean Scandinavian. That decision drives your material palette (concrete and steel versus warm wood and terracotta versus stone and whitewash), your furniture style, and your plant selection. Mixing too many styles is the most common reason a patio feels chaotic even after improvements.
Color palette: three colors, max
Limit your outdoor color palette to two or three colors and let them repeat across furniture, cushions, pots, and accessories. A base neutral (charcoal, warm gray, natural wood tone, or terracotta), one accent color (navy, sage, rust, or white), and a plant/greenery tone that ties them together is all you need. Buying mismatched furniture over time is one of the biggest sources of visual chaos, even similar pieces in conflicting finishes will fight each other.
Create a focal point
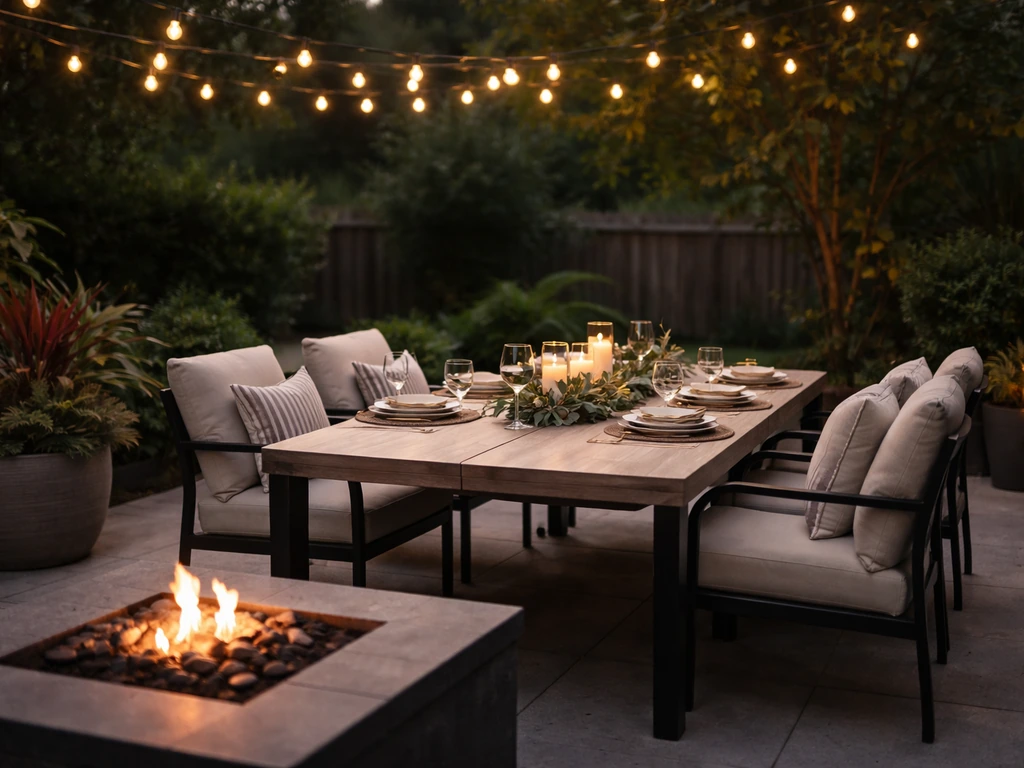
Every attractive outdoor space has something to look at, a fire pit, a bold planter, a water feature, a statement piece of art, or a well-styled dining table. Pick one anchor and design the rest of the patio around it. Scale matters: a small bistro table in the middle of a large slab looks lost. Use an outdoor rug to visually anchor a seating zone and give the space a room-like feeling.
Lighting changes everything after dark
String lights are the fastest ROI upgrade in outdoor design, a $30 set strung between two posts or around a pergola transforms the ambiance completely. Layer in solar path lights along the edge, a lantern or two on a side table, and if you want to go further, low-voltage landscape lighting aimed at planters or a feature wall. Warm white (2700K to 3000K) reads as inviting; cool white reads as commercial and harsh outdoors.
DIY execution: tools, materials, budgeting, and step-by-step order
Here's the honest reality: doing things in the wrong order wastes money. Seal before you clean, and the sealer traps grime. Plant before you finish hardscape, and you damage the plants. Style before you define the layout, and your furniture doesn't fit. Follow this sequence and you'll avoid the most common DIY patio mistakes.
The right order of operations
- Diagnose and plan: Walk the space, photograph every problem, measure the area, and write down your priority fixes and rough budget before buying anything
- Demo and clearing: Remove everything from the patio, pull weeds from joints, clear dead plants, and haul away clutter and broken pieces
- Drainage and base fixes: Address any low spots, re-level any settled pavers, and fix drainage issues before any surface work — this step has to come first or everything on top will fail again
- Surface prep and cleaning: Pressure wash, apply efflorescence cleaner where needed (let it sit 5 to 10 minutes, then rinse), and allow the surface to fully dry — at least 24 hours before applying any coating or sealer
- Repairs: Fill cracks, apply resurfacer if needed (feather edge to 1/2 inch thick), and wait 16 to 24 hours before overcoating; allow 3 days before resuming full foot traffic
- Hardscape additions: Install new edging or edge restraints, lay any new pavers or paver extensions, and compact and sand-fill joints
- Sealing and finishing: Apply bonding primer (2-hour dry time), then your chosen stain, paint, or sealer; a concrete and paver sealer can typically be recoated in 3 to 4 hours depending on conditions
- Soft elements: Build or place raised planters, install screening, lay groundcover or turf, and plant
- Furniture and styling: Bring in furniture, rugs, lighting, and accessories — using your chosen palette consistently
Tools you'll actually need
- Pressure washer (rent one if you don't own it — worth it for any surface over 100 sq ft)
- Stiff-bristle brush or deck brush (for scrubbing cleaners into surface)
- Plate compactor (rent for paver work — essential, not optional)
- Circular saw or angle grinder with diamond blade (for cutting pavers or concrete)
- Level and straight edge (for checking paver or slab grade)
- Rubber mallet (for seating pavers without cracking them)
- Garden sprayer or pump sprayer (for applying cleaners and sealers evenly)
- Caulk gun (for crack filler and sealants)
- Drill and driver (for decking projects and building planters or screens)
- Safety gear: rubber gloves, eye protection, and a respirator for acid-based cleaners and sealer application
Budget tiers at a glance
| Scope | What's included | Approximate DIY cost |
|---|---|---|
| Quick refresh (weekend) | Clean, weed control, polymeric sand refill, reseal, new cushions and lighting | $100 – $400 |
| Mid-scope makeover (1–2 weekends) | Resurfacing, new edging, planters, privacy screen, furniture refresh, rugs | $500 – $1,500 |
| Full transformation (multi-weekend) | New pavers or deck-over-slab, drainage fix, landscaping, full furniture and lighting | $2,000 – $6,000+ |
Material choices that hold up outdoors
Not all materials perform equally in outdoor conditions. For surface coatings, choose products specifically rated for concrete or masonry exterior use, interior paints will peel within one season. For wood elements like planters or screens, use pressure-treated lumber, cedar, or redwood to avoid rot. If you're building a deck over concrete, composite decking costs more upfront than pressure-treated wood but requires almost no maintenance and won't splinter, warp, or need annual sealing. For paver joints, always use polymeric sand rather than regular sand, it resists weeds, ants, and washout dramatically better. And whatever sealer you choose, look for one that protects against moisture, UV, chemical damage, and staining, which covers the main outdoor failure modes.
One thing worth mentioning: if your patio makeover involves mostly surface styling and furniture choices, the sibling topic of how to style a patio goes deeper into the design and furniture arrangement side of things. If your problem is more structural, a surface that's fundamentally worn or poorly designed, resurfacing and covering options are worth exploring alongside what's covered here. Either way, the sequence above gives you a practical starting point you can act on today, with the flexibility to scale up as your budget and confidence grow.
FAQ
I want to stain or paint my concrete patio, but I think it already has a sealer. What should I do first?
If the patio is already sealed, the safest approach is to clean and test first. Do a small water spot test, if water beads strongly and stays beaded after scrubbing, you likely have a sealer that needs removal before staining or painting. For peeling or cloudy coatings, strip the old sealer before any new stain or resurfacer, otherwise you risk new product peeling or not bonding.
How can I avoid polymeric sand smearing on the surface and failing to lock joints?
Polymeric sand only works as intended when it is installed correctly and kept dry at the right time. Install it below the paver face by the recommended margin, compact the surface after filling joints, then wet it lightly so it activates. If it rains right after installation, or you overfill and smear it onto paver faces, you can lock in residue that is hard to remove.
Can I clean my patio and apply resurfacer or sealer the same day?
Yes, but not immediately. After pressure washing, allow the slab to fully dry before repairs, and if you use acid or cleaner products, rinse thoroughly and let the concrete return to a dry state. For coatings, resurfacer, or stain, follow the product’s recoat window, and plan for a longer dry time in humid or shaded areas.
If I remove efflorescence, will it definitely stop coming back?
Efflorescence is typically salt migration from moisture below the surface. If you only clean the white haze repeatedly without addressing drainage, it can come back. Before spending on premium sealers, check for pooling, slope, and whether pavers or joints are staying wet, then fix the source of moisture and use the appropriate efflorescence cleaner.
When is a concrete crack filler enough, and when does it mean the slab has a bigger problem?
Don’t assume hairline cracks are just cosmetic. If cracks are stable and only affect appearance, a self-leveling crack filler can be enough. If you see movement, repeated widening, or spalling around the crack, that points to deeper issues where a resurfacer or professional evaluation may be necessary.
What’s the biggest mistake when adding a low deck over an existing concrete patio?
For decking over concrete, airflow is the difference between a long-lasting setup and rot. Use sleepers to create an open gap, keep boards off standing water, and avoid trapping dampness between the deck and slab. If you live in a wet climate, consider a system that lets water drain and dries quickly, not a tight, fully enclosed build.
My patio furniture and decor are from different years. How do I make them look cohesive fast?
Mixing styles is a common visual problem, even when each item looks fine alone. Pick a direction, then match finishes and materials across the main items, furniture frames, cushions, planter material, and lighting tone. If you already own mismatched furniture, you can often unify it by painting metal accents to one finish and using cushions and rugs to add controlled color repetition.
How do I choose the right size outdoor rug to make the seating area look intentional?
An outdoor rug is a great anchor, but scale matters. Choose a size that allows seating legs to sit fully on the rug, or at least front legs for the arrangement you use most. If the rug is too small, it will look like an accessory rather than a defined outdoor “room.”
String lights are available in multiple color temperatures. Which one looks best on a patio?
For lighting, warm white is usually the safest choice for patios because it flatters wood, stone, and plants. If you go with cool white, it can make outdoor surfaces look gray and harsh. A practical approach is to buy bulbs or fixtures in one color temperature range, then keep that consistent across string lights and path lights.
My paver joints are weeding again after I cleaned them. What’s the likely cause?
If weeds keep returning in paver joints, it’s usually a joint stability or installation issue, not just a weeds problem. Confirm you used polymeric sand, that the joints were set to the right depth, and that water isn’t washing out joints due to drainage or improper slope. For severe cases, you may need to reset the pavers and rebuild the bedding and joints correctly.
What’s the most common order-of-operations mistake that makes a patio makeover take longer or cost more?
Scheduling matters when you’re doing multiple jobs. Clean and repair first, define the layout before planting and hardscape adds that block access, then do styling last so you don’t damage plants or rework surfaces after placing furniture. If you’re doing a resurfacer or sealer, keep foot traffic and planter work separate until the surface is fully cured and dry.
Next Article
How to Improve a Patio: DIY Steps, Fixes, and Upgrades
DIY steps to improve a patio: prep, repair, clean and seal, fix drainage and weeds, upgrade pavers, add comfort and styl