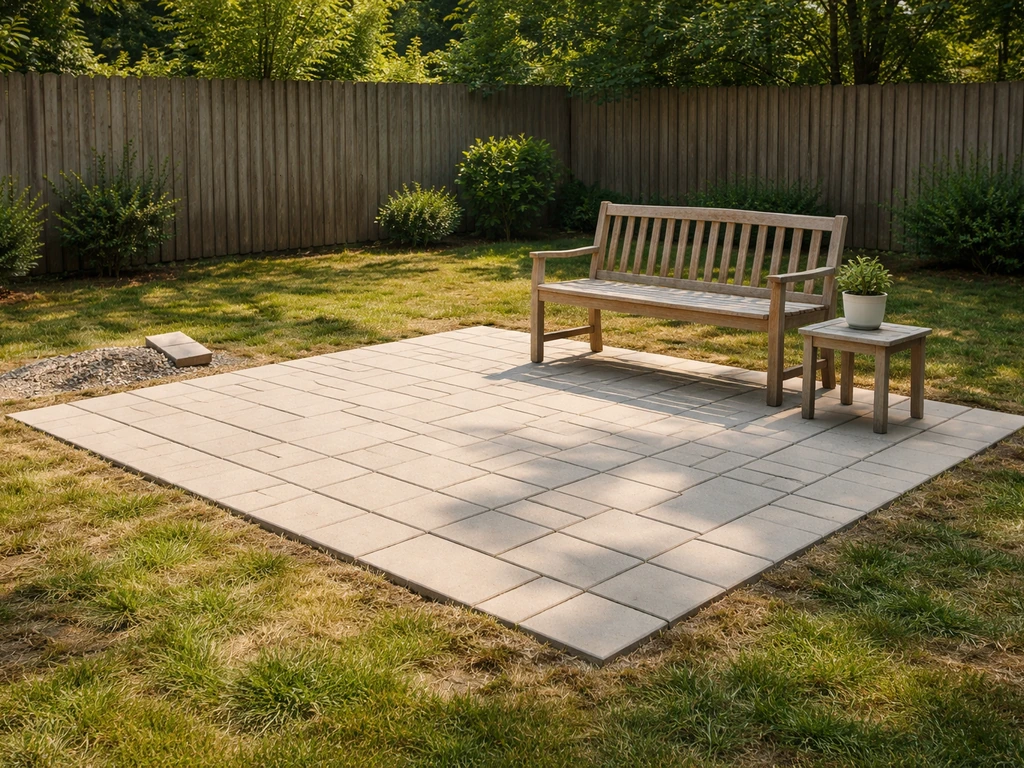
You can redo a small patio for as little as $150 to $400 in materials if you go with gravel, stepping stones, or sand-set pavers and do all the labor yourself. A mid-size project (around 200 sq ft) with concrete pavers on a compacted gravel base typically runs $500 to $1,200 in materials, depending on what you buy and where you source it. Compare that to a professional installation at $8 to $30 per sq ft, and the DIY savings are real. The catch is that cheap only stays cheap if you do the site prep right the first time, which is where most redos go wrong.
How to Redo a Patio for Cheap: DIY Plans, Costs & Tips

Nolan Lennox
18 Jul 2026
Who this guide is for and what we cover
This guide is written for homeowners who already have some kind of outdoor slab, gravel patch, or worn-out patio surface and want to replace or refresh it without hiring a crew. You do not need a construction background. You do need a willingness to rent a plate compactor, move some dirt, and spend a weekend doing real physical work. We cover everything from figuring out what your patio actually needs, to choosing the cheapest material that will still hold up, to pouring a simple base, laying pavers, and adding finishing touches. If you are starting from scratch on bare dirt, a lot of this still applies, though the planning steps will matter even more.
Figure out what you actually need before spending a dollar
The biggest waste of money I see in patio redos is buying materials before answering four basic questions: How big does it need to be? What will you use it for? What is your real budget? And what is the site actually like right now? These questions sound obvious but they change every decision that follows.
Size and use
A small bistro setup for two people needs maybe 60 to 80 sq ft. A table for four with room to pull chairs out needs at least 120 sq ft. Add a grill station or lounge chairs and you are at 200 sq ft or more. Measure the furniture you plan to use, lay it out with chalk or a garden hose first, and settle on a size before calculating materials. Overbuilding by 50 sq ft adds cost and labor without adding value.
Budget and timeline
Set a hard material budget before you fall in love with a look online. Gravel and crushed stone patios come in at the lowest end. Sand-set concrete pavers sit in the middle. Natural stone and clay brick are noticeably more expensive per sq ft. Composite and wood decking cost more upfront and require more carpentry skill. Deck tiles are the fastest to install but have real limitations in cold climates. A realistic weekend DIY timeline for a 100 to 150 sq ft patio is one full day of demo and base prep, and another day for laying the surface. Larger projects stretch to two to three weekends.
Site conditions
Check whether your yard drains well or holds water. Look at the slope direction relative to your house foundation. Note any roots, buried utilities, or low spots. These site conditions will drive how much excavation you need and whether a simple redo is actually feasible without grading work. Call 811 (in the US) to have underground utilities marked before you dig anything.
Cost and time estimates by project size
The numbers below are based on DIY material costs as of mid-2026, using standard concrete pavers on a compacted gravel base as the reference material. Gravel-only surfaces will cost noticeably less. Clay brick and natural stone will cost more. Tool rental is not included in material costs but is broken out separately in the tools section.
| Project Size | Approx. Sq Ft | Est. Material Cost (Pavers + Base) | DIY Time Estimate |
|---|---|---|---|
| Small | 60–100 sq ft | $150–$500 | 1–2 days |
| Medium | 100–200 sq ft | $500–$1,200 | 2–3 days |
| Large | 200–400 sq ft | $1,200–$2,500 | 3–5 days (spread across weekends) |
For reference, concrete paver pallet kits at major retailers currently run around $5.89 per sq ft for a 100 sq ft pallet. Individual pavers like the Pavestone Clayton start at $0.73 each at retail, though you need to calculate coverage based on paver size. Gravel or crushed stone base material from a landscape supplier typically runs $25 to $65 per cubic yard in bulk, which is far cheaper per unit than buying bags at a big-box store. A single cubic yard covers about 100 sq ft at a 3-inch depth, so ordering in bulk pays off quickly on any project over 80 sq ft.
Permits, HOA rules, and your pre-build checklist
Most ground-level patios under a certain size do not require a building permit in most jurisdictions, but that threshold varies a lot by city and county. Some places permit anything over 200 sq ft. Others require permits for any impervious surface that affects drainage. Do not skip this step because permits are a nuisance. Getting caught with an unpermitted structure can complicate a home sale or result in a forced demo.
When permits are most likely required
- The patio is attached to or structurally connected to the house
- The surface area exceeds your municipality's threshold (often 200–300 sq ft, but check locally)
- You are grading or altering drainage that affects adjacent properties
- You are adding a roof, pergola, or overhead structure above the patio
- The project is in a flood zone or within a setback distance from property lines
HOA and deed restrictions
If your neighborhood has an HOA, check the CC&Rs before buying a single paver. Many HOAs restrict surface material, color, size, and even whether a patio can be visible from the street. Some require design approval before you break ground. A quick email to your HOA management company with a description of what you plan to build takes five minutes and can save you from having to tear out work.
Pre-build checklist
- Call 811 to mark underground utilities
- Check local permit requirements with your city or county building department
- Review HOA rules and submit any required approval requests
- Confirm setback distances from property lines, fences, and the house foundation
- Check whether your area has stormwater or impervious surface restrictions
- Identify where surface water currently drains and confirm your plan does not redirect it toward neighbors or the foundation
Measure the site, assess slope, and plan for drainage
Grab a 25-foot tape measure, a long level or a 2x4 with a level taped to it, and a notepad. Measure the length and width of the area and sketch it out. Then check the slope. You want the finished surface to drain away from your house at a minimum of 0.25 inches per foot, which works out to roughly a 2% slope. Federal guidance from PNNL's Building America program and University of Wisconsin extension research both point to 1 to 2% as the practical minimum for positive drainage on impervious surfaces near a foundation. If your current patio drains toward the house, that is the first problem to fix and often the main reason the old surface failed.
Walk the site after a rain and note where water pools or stays wet for more than a day. These low spots will need to be filled and graded during base prep. If there is a serious drainage problem (a yard that holds water for 24-plus hours after normal rain), you may need to install a french drain before laying any surface. That adds cost and time but skipping it guarantees future problems. For a surface-level overview of pairing a patio with water features or a small pond, there are good starting points on this site if you want to incorporate those elements into the design later.
Base prep and drainage: the work that actually determines how long this lasts
I cannot overstate how much the longevity of a cheap patio depends on what happens underground. A perfectly laid paver surface on a bad base will shift, sink, and look terrible within two to three years. Do the base work right and even an inexpensive gravel patio will stay level and drain properly for a decade or more.
Excavation depth
For a pedestrian-only patio, the ICPI (Interlocking Concrete Pavement Institute) standard calls for 4 inches of compacted aggregate base plus 1 inch of bedding sand, then the paver itself. Add the paver thickness (typically 2 to 2.5 inches for standard concrete pavers) and you are excavating roughly 7 to 8 inches below finished grade. In areas with poor drainage or clay-heavy soil, go deeper (6 inches of base) or add a layer of geotextile fabric between the native soil and the base material to prevent migration.
Sub-base and compaction
Use crushed stone (not pea gravel or round stone) for the compacted base. Crushed stone locks together under compaction pressure. Pea gravel does not. Compact the native subgrade first, then add your crushed stone base in lifts no deeper than 4 inches, compacting each lift. The ICPI target is 95% Standard Proctor density on the subgrade (ASTM D698). In plain terms: rent a plate compactor and make multiple passes. Do not try to hand-tamp a base for anything over 50 sq ft. It will not compact properly.
Directing water away
Establish your 2% slope during base prep, not after you have laid the surface. Stretch a string line from the house outward to your low edge and check the drop with a line level. For every 4 feet of run, you want about 1 inch of drop. If the final surface needs to drain to a specific point (a lawn edge, a planted bed, a dry creek), plan that exit point now. Permeable paver designs are another option if you want to reduce runoff entirely. EPA's Soak Up the Rain: Permeable Pavement, U.S. EPA page recognizes porous concrete, pervious asphalt, and permeable interlocking pavers as federal Best Management Practices for stormwater, noting they reduce runoff volume and help treat pollutants Soak Up the Rain: Permeable Pavement — U.S. EPA. The EPA recognizes permeable interlocking pavers as a certified Best Management Practice for stormwater reduction under their green infrastructure program, which can matter in municipalities with impervious surface rules.
Tools you need and what to rent vs. buy
You do not need to own every tool for a one-time patio redo. Renting the heavy equipment is the right call for most DIYers. The rental cost is almost always cheaper than buying, and you return the machine when you are done.
| Tool | Rent or Buy? | Why |
|---|---|---|
| Plate compactor | Rent | ~$70–$100/day rental; buying runs $400–$800 for a tool most people use once |
| Tamper (hand) | Buy or borrow | Cheap (~$25–$40), useful for tight edges the compactor cannot reach |
| Rubber mallet | Buy | Essential for setting pavers; costs $15–$25 |
| Paver splitter / wet saw | Rent | Cuts pavers cleanly; rental ~$50–$80/day vs. $300+ to buy |
| String line and stakes | Buy | Inexpensive and reusable for layout and slope reference |
| Landscape rake | Buy or borrow | Needed for spreading base material and bedding sand |
| Wheelbarrow | Buy or borrow | Moving gravel and base material by hand without one is brutal |
| Tape measure and level | Buy | Basic measuring tools you will use forever |
| Shovel and mattock | Buy | Necessary for excavation; buy quality handles if you do not have them |
| Edging mallet and chisel | Buy | For cutting edging and fine adjustments; cheap to own |
If you are renting a plate compactor, also ask the rental yard about a laser level or transit level for larger projects. Getting your slope consistent over a 200+ sq ft area by eye and string line is doable but slower. A rental laser level makes it accurate and fast.
Materials compared: what to use and what it will cost you
The material you choose affects upfront cost, installation difficulty, how much base prep you need, and what maintenance looks like five years from now. Here is an honest breakdown of the main options for a budget patio redo.
| Material | DIY Cost (per sq ft) | Durability | DIY Difficulty | Best For |
|---|---|---|---|---|
| Crushed gravel / decomposed granite | $0.50–$2.00 | Moderate (resettles over time) | Easy | Low-traffic areas, quick refreshes, budget builds |
| Loose stepping stones on gravel | $1.00–$3.50 | Moderate | Easy | Casual paths, informal patios |
| Concrete pavers on sand/gravel base | $4–$9 | High (20+ years with good base) | Moderate | Most DIYers; best durability-to-cost ratio |
| Brick pavers (clay) on sand base | $8–$14 | Very high | Moderate | Classic look; higher material cost |
| Concrete alternatives (Quikrete poured) | $3–$6 | High (but cracks in freeze-thaw) | Moderate-Hard | Smooth surfaces; requires forming and mixing |
| Wood decking (pressure-treated) | $8–$15 | Moderate (requires annual sealing) | Hard | Raised or sloped sites where grading is difficult |
| Composite decking | $12–$22 | High (low maintenance) | Hard | Raised builds with bigger budgets |
| Interlocking/snap deck tiles | $3–$8 | Low-Moderate (not for cold climates) | Very Easy | Temporary setups, covered areas, apartment patios |
Gravel and loose stone
Gravel is the cheapest surface you can put down and it drains better than almost anything else. Crushed stone, decomposed granite, and pea gravel all work. The trade-off is that gravel migrates, especially around the edges, and is not comfortable to walk on barefoot. Use a solid landscape edging border (steel, aluminum, or plastic) to keep it contained. Bulk crushed stone from a landscape supplier runs $25 to $65 per cubic yard, which is dramatically cheaper per sq ft than buying bags at a hardware store. One cubic yard covers about 100 sq ft at 3 inches deep. For a truly quick and cheap patio refresh on a budget, gravel on a properly graded base with good edging is hard to beat. See our guide on how to make a quick patio for step-by-step, budget-friendly instructions.
Concrete pavers on a sand-set base
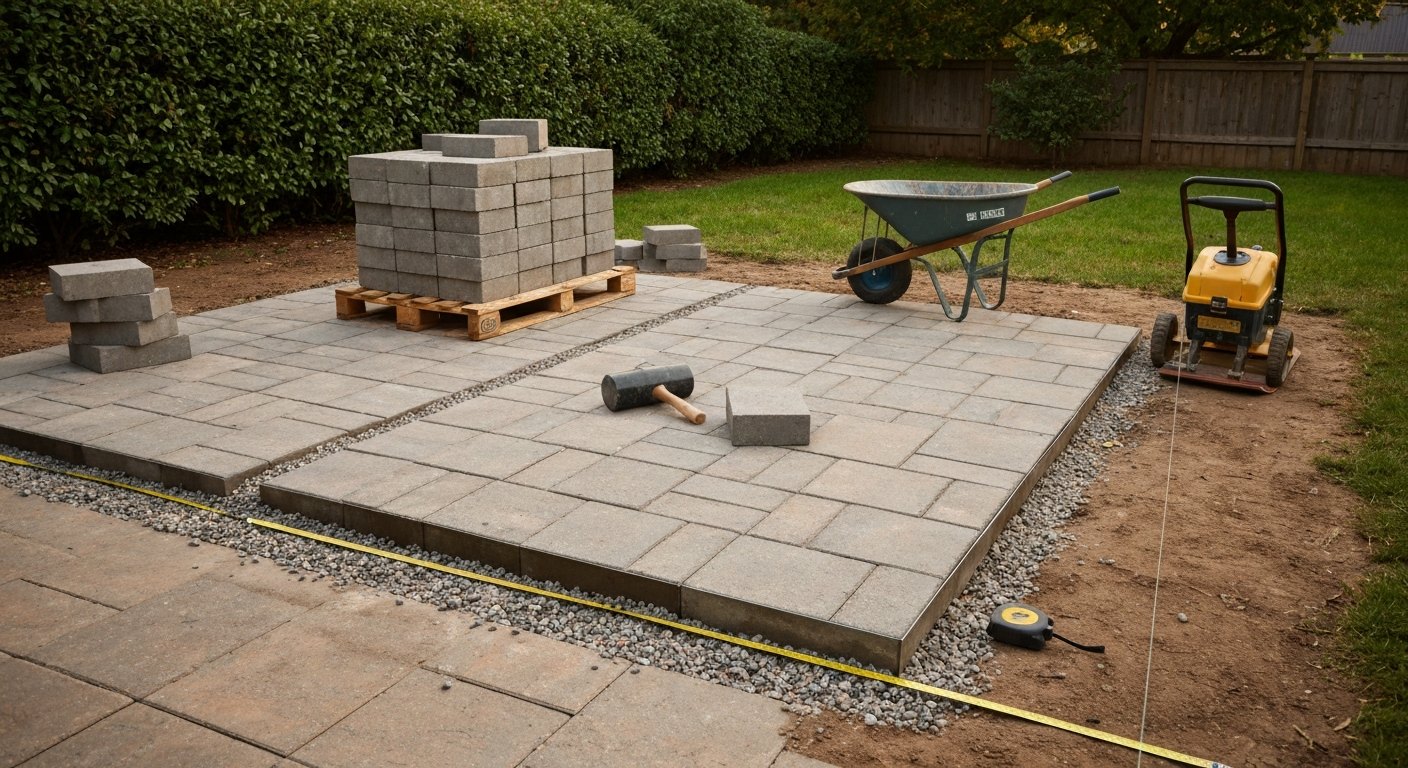
This is the sweet spot for most DIY budget redos. You get a durable, attractive surface that you can pull up and relay if you ever need to access anything underneath. Individual concrete pavers from major retailers start around $0.73 each at retail for basic shapes, and pallet kits come in around $5.89 per sq ft. Once you add base gravel and bedding sand, expect $4 to $9 per sq ft total for materials. The installation follows a clear process: excavate, compact the subgrade, lay compacted crushed stone base, screed a 1-inch bedding sand layer, set pavers with consistent joints, then compact the surface and sweep in joint sand. If you use polymeric joint sand like Techniseal's products, make sure your joints are at least 1.5 inches deep and follow the manufacturer's wetting instructions precisely. Activated incorrectly, polymeric sand either washes out or hazes the surface.
Concrete alternatives (poured and formed)
Quikrete 60 lb bags run about $4.85 each at retail. A 60 lb bag yields roughly 0.45 cubic feet of mixed concrete. A 4-inch slab over 100 sq ft needs about 1.2 cubic yards of concrete, which is roughly 68 bags at that mix, putting materials alone near $330 just for concrete. Add forms, mesh, and gravel base and poured concrete is not the cheapest DIY option per sq ft. It also cracks in freeze-thaw cycles unless you control joints are cut at regular intervals. For small accent pads or stepping stone molds, poured concrete is practical and cheap. For a full patio slab, it is more work and more technical than most people expect.
Wood and composite decking
Wood and composite are best suited for raised or sloped sites where grading would be too involved for a simple ground-level patio. Pressure-treated wood runs $8 to $15 per sq ft in materials and requires annual sealing or staining to stay in good shape. Composite costs more upfront ($12 to $22 per sq ft) but needs very little ongoing maintenance. Both options require carpentry skills, a structural frame, and proper joist spacing and fastening. If you are comfortable with framing, it is a satisfying DIY build. If not, start with pavers and come back to decking once you have more experience.
Interlocking and snap-together deck tiles
Snap-together deck tiles (wood composite, porcelain, or rubber) are the fastest option to install and require no base prep beyond a flat surface. They run $3 to $8 per sq ft in materials and can often go directly over an existing concrete slab. The limitations are real though: most are not rated for freeze-thaw climates, they trap debris and moisture underneath, and they can lift or separate under heavy furniture. Treat them as a temporary or seasonal solution, or use them on a covered porch where they will not take weather abuse. If you are looking for a fast solution without the commitment of a full base prep, this is the closest thing to a quick patio option, though it comes with those trade-offs.
Which material should you choose?
For most homeowners doing a cheap patio redo, sand-set concrete pavers on a 4-inch compacted gravel base is the best answer. For step-by-step instructions on how to make a backyard patio cheap, consult our detailed DIY how-to guide. It is durable, DIY-friendly, and repairable without replacing the whole surface. Gravel is cheaper upfront but less finished and requires more ongoing maintenance to stay tidy. Wood and composite are good for difficult terrain but add skill and cost. Snap tiles are the easiest but the least permanent. Match the material to your actual use case, climate, and skill level rather than just the lowest sticker price.
Edging, finishing touches, and low-cost upgrades
Edging is not optional for any loose-material or sand-set patio. Without it, pavers spread, gravel migrates, and the whole surface gradually loses its shape. Steel or aluminum edging stakes into the ground and holds its position for years. Plastic edging is cheaper but flexes over time and is less reliable on larger projects. Install edging before you lay your surface material, not after.
Once the surface is down and the joints are filled, a few inexpensive additions can make the space feel finished without adding much cost. A bag of river rock or decorative gravel around the perimeter creates a clean border. String lights on a simple wood post setup run $20 to $40 for a basic kit and completely change the feel of the space at night. A container water feature (a pre-drilled planter pot, a small pump, and some river rock) can be put together for under $80 and adds real ambiance. If you want to go further with a small patio pond or recirculating fountain, there is detailed guidance on this site covering container ponds and preformed liner installs that pair well with a budget patio build.
Common mistakes that cost money to fix
- Skipping the plate compactor: hand tamping does not achieve the density needed for a stable base, and the surface will shift within a season
- Using round pea gravel as a base material: it does not compact and acts like ball bearings under load
- Not establishing slope before laying the surface: correcting drainage after the fact means pulling everything up and starting over
- Buying bags of base material instead of ordering bulk: the cost difference is 3x to 5x per cubic yard
- Setting pavers without edging in place: without restraint, the perimeter pavers will spread and the whole field will loosen
- Activating polymeric sand incorrectly: over-watering causes hazing, under-watering causes washout
- Not calling 811 before digging: hitting a gas or water line is expensive and dangerous
- Underestimating how much base material you need: always add 10–15% to your calculated volume for waste and settling
When to stop DIYing and call a pro
Most straightforward patio redos are within DIY range if you are willing to do the physical work and follow the prep steps carefully. There are situations though where calling a professional is the smarter financial decision, not just the easier one.
- Your yard has a significant drainage problem that requires grading or a french drain installation over 20 linear feet
- The existing concrete slab has major structural cracks or heaving from tree roots or frost damage that needs assessment
- You are building on a slope greater than 10% where proper framing, retaining, or anchoring is required
- The project requires electrical work for outdoor lighting or a water feature pump that must be hardwired
- Your city requires a licensed contractor for permitted projects in your area
- The project is over 400 sq ft and you have not done a large-scale base prep before (the risk of getting the slope wrong across a large area is real and expensive to fix)
On those edge cases, getting a professional bid does not mean you have to hire someone for the whole job. Many contractors will do the base prep and grading work and leave the surface installation for you, which keeps the total cost down while getting the critical underground work done right. That hybrid approach is often the most cost-effective path on complex sites.
FAQ
What are the cheapest DIY patio options and approximate material cost per sq ft?
Lowest‑cost DIY patio options: compacted gravel or crushed stone with landscape fabric (~$1–$3/sq ft material‑only), loose pea gravel (~$1–$4/sq ft), concrete pavers set on sand (~$4–$9/sq ft material‑only), reclaimed brick or salvaged pavers (varies, often $2–$8/sq ft), and modular deck tiles for small areas (~$6–$15/sq ft). Bulk pricing reduces costs (e.g., gravel by the yard or pallet pavers). These estimates exclude tool rental, sleepers, delivery, or your time.
How long does a typical DIY patio project take?
Small gravel or paver patios (100 sq ft) can be done by an experienced DIYer in 1–3 days. Larger or more complex jobs (grading, base work, edging, cutting pavers) often take 3–7 days. Time depends on site access, removal of old surface, number of helpers, required base depth and curing time for concrete alternatives.
Do I need a permit to redo my patio? What should I check before starting?
Permits vary by location. Check local building/zoning rules for: impervious surface limits, setbacks from property lines and foundation, drainage and stormwater rules, and HOA covenants. If adding electrical, plumbing, or a structural deck or retaining wall over a certain height, permits are commonly required. Call your local building department or check the municipality website before starting.
What planning and site‑prep checklist should I follow?
Planning checklist: measure area and sketch layout, locate underground utilities, check slope and drainage away from house (≥1/8–1/4 in/ft or ~1–2%), decide edging method, choose material and calculate quantities, locate material delivery/access, confirm permits/HOA rules, select tools and safety gear. Site‑prep steps: remove sod/debris, establish final elevations, compact subgrade, install geotextile if needed, place and compact aggregate base in lifts, and verify slope before bedding/finish surface.
How deep should the base be for a DIY paver patio?
For pedestrian patios on sound subgrade: compacted aggregate base typically 4 in (100 mm) minimum, with 1–1.5 in bedding sand. If the subgrade is weak or subject to freeze/thaw or heavy loads, increase base to 6 in or more. Compact in lifts (≤4 in) to achieve good density; aim for ≥95% Standard Proctor on subgrade (practical target) and very firm base compaction for long‑term performance.
What are simple step‑by‑step instructions for a low‑cost gravel patio?
1) Mark and remove turf to final depth (base + finish thickness). 2) Dig and level subgrade, slope away from house (~1–2%). 3) Install geotextile if desired to reduce mixing of soil and aggregate. 4) Add 3–4 in compacted crushed stone (angular), compact with plate compactor in 2‑inch lifts. 5) Add 1–2 in of screening or fines if you want a firmer finish, rake smooth and compact. 6) Install edging to retain material (metal, plastic, timber). 7) Top with 1–2 in of pea gravel or decorative finish. 8) Clean up and maintain by re‑raking annually.
Next Article
How to Make a Backyard Patio Cheap: DIY Guide
DIY guide to build a cheap backyard patio: planning, budget, site prep, base layers, step-by-step install, and upkeep.