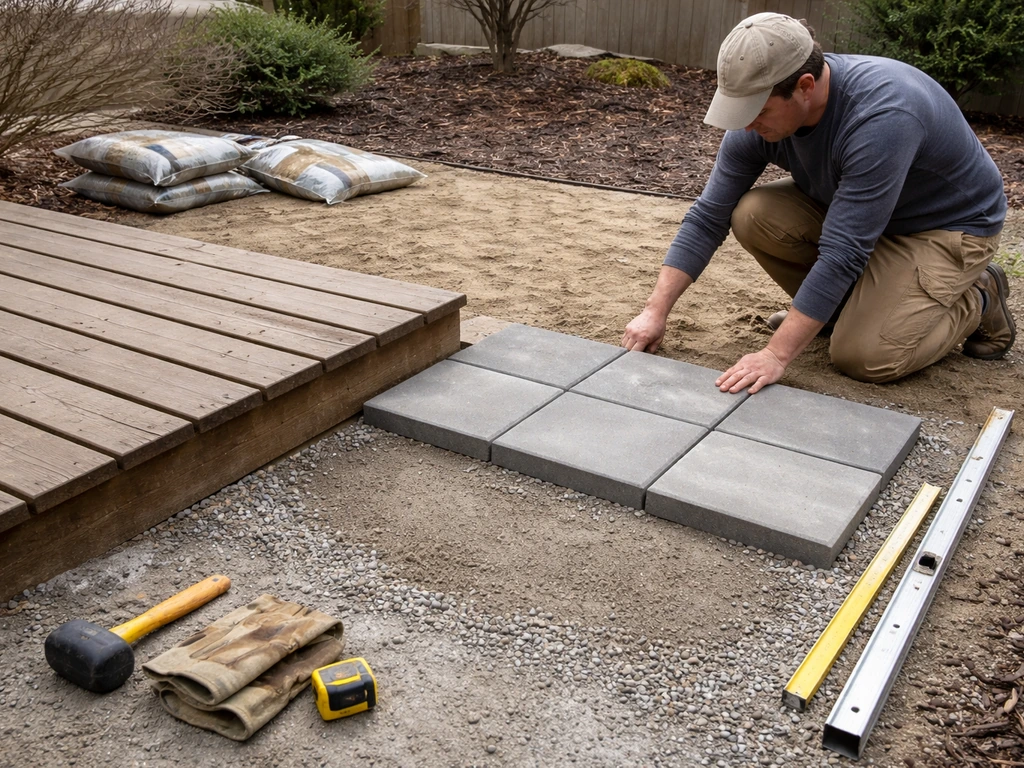
You can replace a deck with a patio by tearing down the deck structure, addressing the footings, prepping a compacted gravel base with proper slope, and installing your chosen patio surface whether that's pavers, concrete, stone, or a pedestal tile system. If you are wondering can you build a deck over an existing patio, the answer depends on how the patio base is constructed and how you plan to handle drainage and load build a patio surface. It's a full weekend-plus project, but it's very doable for a motivated DIYer and the result is a lower-maintenance, longer-lasting outdoor space that won't rot under your feet.
How to Replace a Deck With a Patio: DIY Step-by-Step

Nolan Lennox
30 May 2026
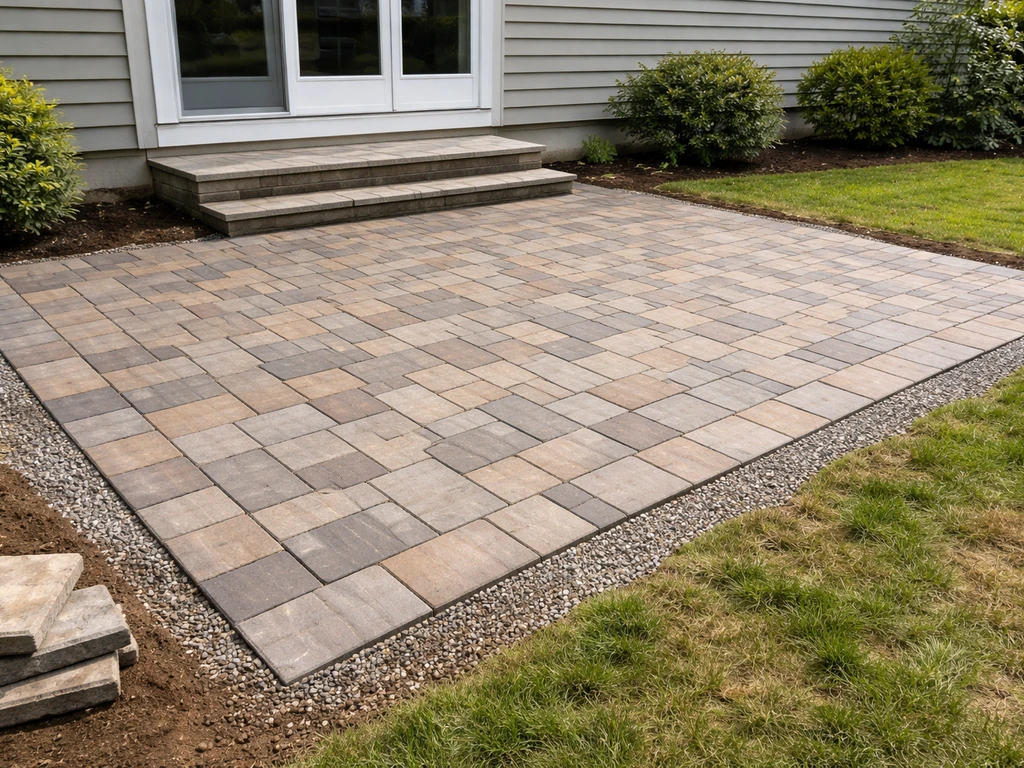
Decide what you're replacing and why
A deck is a framed, elevated structure built from timber or composite decking boards sitting on posts and beams. A patio is a ground-level surface, usually pavers, concrete, stone, or tile, that sits directly on a prepared base. That structural difference matters because decks trap moisture underneath them, and even pressure-treated wood or composite decking will eventually warp, mold, or rot when drainage and airflow are poor. Low-level decks (those close to the ground) are especially vulnerable because there's not enough clearance for air to circulate properly.
Most people making this switch are dealing with one or more of these situations: a deck that's rotting or warping faster than it's worth repairing, persistent mold or mildew problems from poor drainage beneath the structure, a desire for lower long-term maintenance, or simply wanting a different look and feel. Patios generally win on longevity because a well-built paver or concrete patio tied into good drainage can outlast multiple deck rebuilds. If your deck is elevated more than a foot or two above grade, the calculus changes a bit since you may need retaining walls or steps to transition down to grade level, which adds complexity. That's a different project scope, but it's still very manageable.
It's worth clarifying your intent before you start swinging a pry bar. Are you removing the entire deck structure including footings, or just pulling up the decking boards and building on top of the existing frame? If you want a true ground-level patio, you're doing a full removal. If you're interested in decking over or building on top of an existing patio or frame, that's a related but different approach and worth considering separately before you commit to a full teardown.
Plan the site: permits, drainage, layout, and measurements
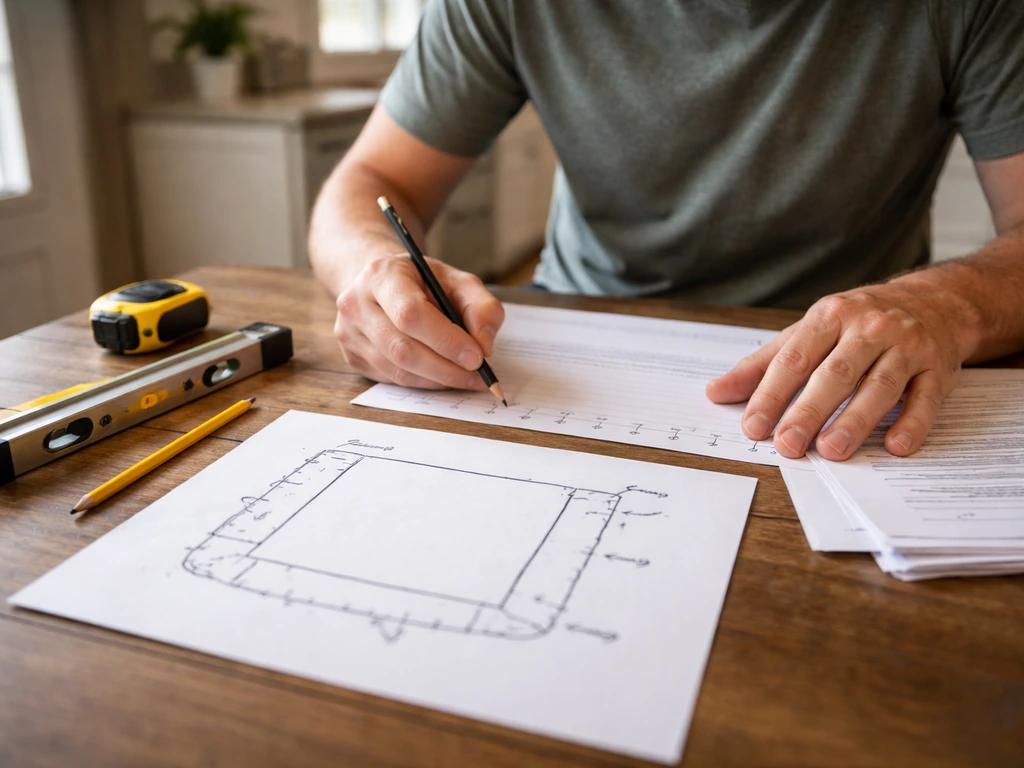
Before you touch a single board, check your local permit requirements. This step trips up a lot of DIYers who assume a patio doesn't need a permit. The rules vary a lot by municipality. In Prince William County, VA, for example, patios less than 8 inches above grade aren't subject to setback requirements, but zoning approval is still required, and structures over about 4 feet in height can trigger a full building permit.
Oakland, CA requires permits for constructing or replacing decks, with design review kicking in for decks over 30 inches above grade. Saint Paul, MN triggers zoning regulations for open porches or decks more than 2 feet above adjacent grade. The point is: don't assume. Call your local building department or check their website before you start.
Getting caught without a permit mid-project is painful.
Drainage planning is just as critical as permits. Every patio surface needs to slope away from your house at a minimum of 1/4 inch per foot. Some guides suggest 1/8 inch per foot as a minimum, but 1/4 inch is the more reliable standard, especially in areas with heavy rainfall. Mark this slope into your base prep from the very beginning because it's nearly impossible to fix after installation. You also need to think about where the water goes once it leaves the patio edge. If your yard has poor drainage or the patio area sits in a low spot, you may need a French drain or a gravel border around the perimeter to manage runoff.
For layout and measurements, use stakes and string lines to mark the patio footprint before demolition. Measure twice, and account for the thickness of your finished surface plus your base layers when calculating excavation depth. A standard paver patio, for example, needs roughly 6 to 8 inches of total excavation depth to accommodate 4 to 6 inches of compacted gravel base, a 1-inch sand bedding layer, and the paver thickness itself. Mark utility lines before any digging. Call 811 (in the US) to have underground utilities flagged at least a few days before you start.
Remove the deck: safe teardown and what to do with existing footings
Deck demolition has a logical sequence that makes the job safer and more manageable. Work from the top down. Start by assessing the whole structure for hazards: look for any electrical lines running to the deck (lights, outlets, hot tub connections), check for utility lines nearby, and identify any structural quirks before you start pulling things apart.
- Remove railings and balusters first. These are usually the easiest to detach and clearing them opens up your workspace.
- Pull up or cut the decking boards. A circular saw set to the board thickness plus a pry bar makes quick work of this. Stack boards for disposal or salvage.
- Dismantle joists and beams. Work systematically, removing hardware as you go. Have a helper for longer beams since they get heavy.
- Remove the ledger board. This is the piece bolted directly to your house, and it's the most important to handle carefully. Ledger connection failures are a known deck collapse risk, so if the ledger is still in decent shape, take your time unbolting it properly. Expect lag screws or through-bolts, not nails. Use an impact driver or wrench to remove hardware rather than prying against the house framing.
- Remove the ledger flashing and inspect the house rim joist underneath. This is a common spot for hidden rot, and you want to find it now before it's covered by the new patio.
- Clear all debris and clean up the area down to grade.
Now the question everyone has: what do you do with the footings? Concrete footings that are in good shape and set deep below frost depth can sometimes be reused if you're building a new structure on top, but for a standard ground-level patio, they're in the way. The cleanest approach is to break them up and haul them out.
Rent a demolition hammer (rotary hammer with a chisel bit) to break up shallow footings, or hire a concrete disposal service for larger poured footings. If a footing is very deep and removal would destabilize the surrounding soil, you can cut it flush with grade level and build around it, but plan your patio layout so it doesn't sit right on top of the stub. Sonotubes (cardboard tube forms) can usually be removed and the hole backfilled with compacted gravel.
Choose your patio build type and materials
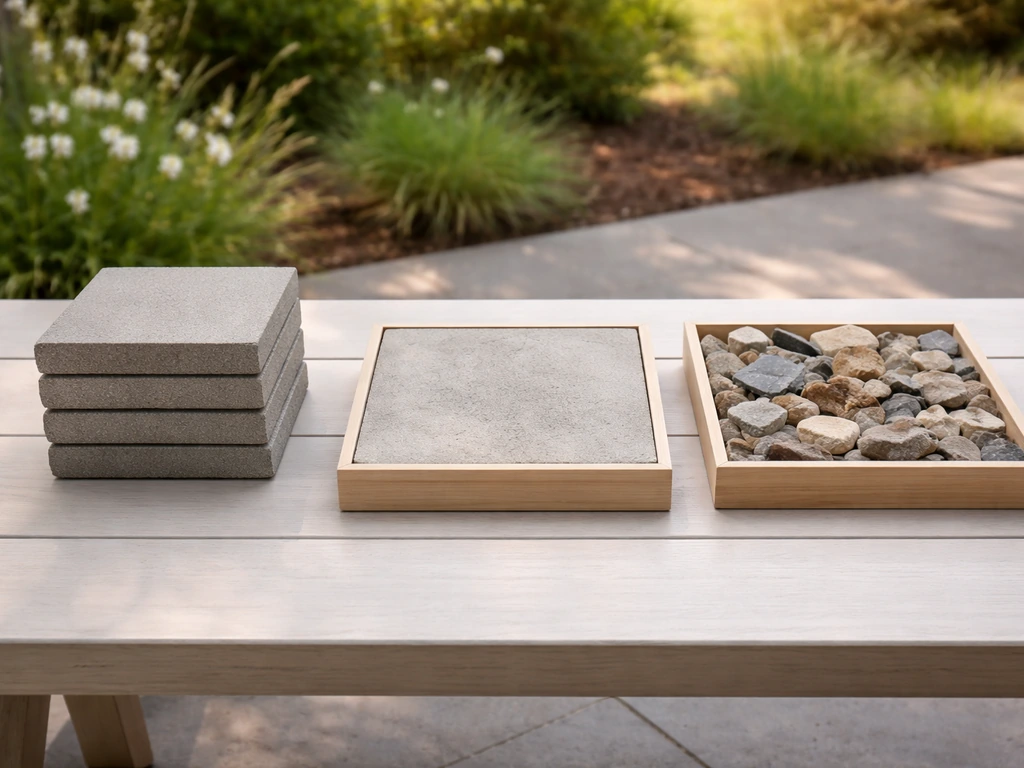
This is where the project really forks based on your budget, skill level, and the look you want. Here's an honest comparison of the main options a DIYer should consider.
| Material | DIY Difficulty | Approx. Cost (materials) | Durability | Maintenance |
|---|---|---|---|---|
| Concrete pavers | Beginner-friendly | $3–$8 per sq ft | Excellent (30+ years) | Low (repoint joint sand every few years) |
| Poured concrete slab | Moderate | $4–$8 per sq ft | Excellent (20–40 years) | Low-moderate (seal and monitor joints) |
| Natural stone / flagstone | Moderate | $8–$20 per sq ft | Very good | Low (occasional repointing) |
| Brick | Moderate | $5–$12 per sq ft | Very good | Low |
| Outdoor porcelain tile on pedestals | Moderate | $10–$25 per sq ft | Excellent | Very low (pedestals allow access under) |
| Gravel / decomposed granite | Easy | $1–$4 per sq ft | Fair (needs periodic regrading) | Moderate (weed control, raking) |
Concrete pavers are the most forgiving choice for most DIYers. The installation method (compacted gravel base plus bedding sand) is well-documented, mistakes are fixable (you can pull up and reset individual pavers), and the finished result looks great and holds up well. Poured concrete is more permanent and cost-competitive on materials, but it demands good form-building skills and careful control joint planning to prevent random cracking. Flagstone looks stunning but requires more patience to get a level, stable surface.
Porcelain tile on adjustable pedestals is worth knowing about if you're replacing a raised deck and don't want to excavate down to grade. Pedestal systems use telescoping or height-adjustable supports to blank" rel="noopener noreferrer">create a perfectly level finished surface over an uneven substrate, with built-in drainage gaps between tiles. They're more expensive upfront but require no mortar bed, make repairs easy, and are a genuinely elegant solution for transitioning from a slightly elevated deck to a ground-level or semi-elevated patio. Products like Porcea's self-leveling pedestals with 4mm spacer tabs can make this a realistic weekend project.
Base prep and structural setup
Proper base prep is what separates a patio that lasts 30 years from one that's heaving and sinking in five. This is the step most DIYers rush, and it's the most important one to get right.
Excavation and subgrade
Excavate to the correct depth for your chosen surface. For a paver patio, plan on removing 6 to 8 inches of soil (adjust based on your specific paver thickness). Use a laser level or a long straightedge and level to establish your slope as you dig. If you hit soft, organic, or poorly draining soil at the bottom of your excavation, dig out another inch or two and compact in additional base material. Soft subgrade is one of the main causes of patio settling.
Geotextile fabric
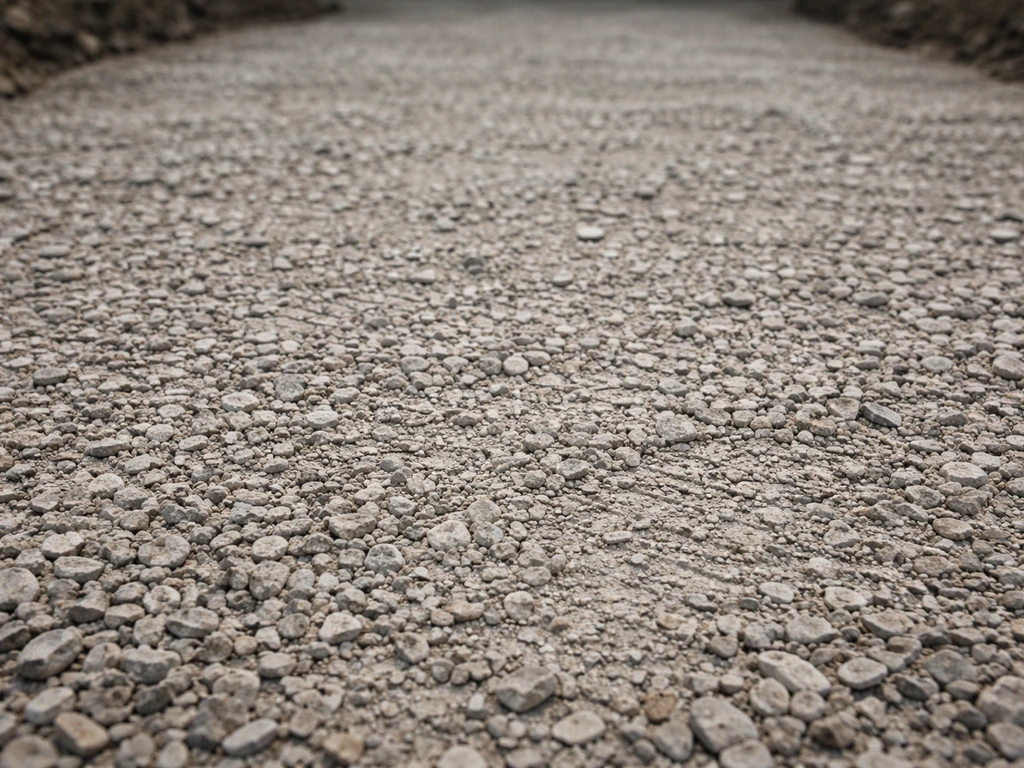
In most cases, laying geotextile landscape fabric over the compacted subgrade before adding your base gravel is a good practice. It prevents soil fines from migrating up into the gravel base over time, which would cause the base to lose stability. This is especially important in clay-heavy or silty soils. Roll it out, overlap seams by at least 12 inches, and fold it up the sides of the excavation a few inches.
Compacted gravel base
Add your crushed stone base (3/4-inch angular gravel is standard) in lifts of no more than 3 to 4 inches, compacting each lift with a plate compactor before adding the next. The minimum compacted base thickness for a residential paver patio is 4 inches, but 6 inches is better in most climates and required in freeze-thaw zones. Compact the base with your slope built in: if the patio is 12 feet wide, the outer edge should be 3 inches lower than the house edge (12 feet x 1/4 inch per foot = 3 inches). Verify your slope with a level and tape measure at multiple points across the area.
Bedding sand layer (for pavers)
For paver installations, a 1-inch layer of coarse concrete sand (not polymeric, not fine play sand) goes over the compacted base. Screed it flat and smooth using two parallel screed pipes set at your finished height, running a straight board across them. Do not compact the sand before laying pavers. It needs to remain loose for the pavers to bed into properly. Once pavers are set and compacted, the sand fills the voids and locks everything in place.
Concrete slab base setup
For a poured concrete patio, the base is typically 4 inches of compacted gravel topped by the slab itself, which should be at least 4 inches thick for a standard residential patio. Install your forms with the correct slope built in, add wire mesh or rebar per your local code (mesh helps control cracking and is fine for most patios), and pour and finish the concrete before it sets. Control joints are critical for concrete slabs.
Plan control joints at intervals no greater than 2 to 3 times the slab thickness in feet (so about 8 to 12 feet apart for a 4-inch slab), and keep panel aspect ratios close to square. Random cracking almost always starts where you didn't cut a joint.
Install edging, surface, and finish details
Edge restraints
For paver patios, edge restraints are non-negotiable. Without them, pavers at the perimeter will gradually migrate outward under foot traffic and freeze-thaw cycles. Plastic paver edging spiked into the base at 12-inch intervals is the standard DIY-friendly option. Install it on the compacted base before you lay the bedding sand, positioned so it will sit flush or just below the finished paver surface. For a cleaner look, steel edging or aluminum edging is worth the extra cost.
Laying pavers and seating them
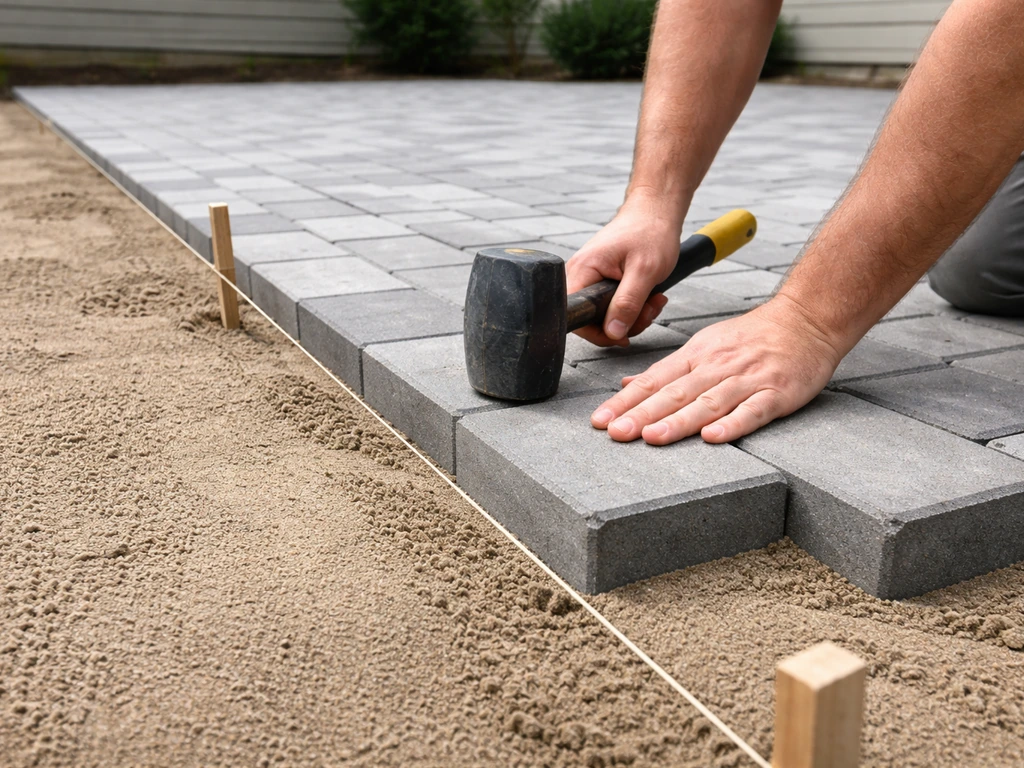
Work from the house outward and from one corner, keeping a consistent joint pattern. Use a string line to keep rows straight. Avoid standing on the screed sand as you work. Once an area is laid, run a plate compactor (with a rubber pad over the pavers) across the surface to seat them into the bedding sand. Then spread polymeric jointing sand over the surface, sweep it into the joints, and compact again. Follow the manufacturer's instructions for wetting the polymeric sand to activate the binding agent. Alliance Gator and similar products specify minimum joint widths and depth requirements relative to the paver chamfer, so read the spec sheet for whatever product you use.
Expansion gaps and transitions at the house
Leave a small gap (about 1/2 inch) between the patio surface and your house foundation or sill plate. This prevents frost heave or thermal expansion from putting pressure directly on the house structure. For poured concrete, this is typically filled with a compressible foam backer rod and flexible caulk rated for exterior use. For pavers, just leaving the gap open or filling it with polymeric sand is usually sufficient. Never mortar pavers tight to the house.
Steps and transitions
If your old deck was elevated and the new patio sits lower, you'll need steps or a transition. For small elevation changes (6 to 12 inches), a single step using the same paver or stone material as the patio surface works well. For larger drops, build a proper stair structure with consistent riser heights (aim for 7 inches max riser height and 11 inches of tread depth as a comfortable standard). Tie the steps into the same compacted base system as the patio itself rather than setting them on loose soil, which will cause them to settle separately over time.
Cleanup, inspections, and long-term care
Once the surface is installed, do a thorough site cleanup: haul away all demolition debris, cut and trim the geotextile fabric flush with the edging, and wash the patio surface. Then do a careful inspection before you call it done.
- Check your slope. Set a level on a long straightedge and verify the patio drops away from the house at the correct rate across multiple directions.
- Look for wobble. Walk the entire surface and press on individual pavers. Any rocking means the bedding wasn't properly compacted beneath that spot. Pull up the paver, add a small amount of sand, and reset it.
- Inspect joints. Polymeric sand should be fully settled into joints and flush with the top of the chamfer, not proud or missing in sections.
- Check edge restraints. Every spike should be fully driven and the edging should have no movement when you push on it.
- For concrete slabs, verify control joints were cut to the right depth (minimum 1/4 of the slab thickness) and that the surface drains properly.
- If a permit was required, schedule your final inspection with the building department before you consider the project fully closed out.
For ongoing maintenance, paver patios need very little. Expect to top up polymeric jointing sand every few years as rain and traffic erode it from the joints. Keep an eye out for any pavers that develop a wobble (usually a sign of joint sand loss below) and reset them before the problem spreads. Sealing paver patios is optional, but doing it every 3 to 5 years helps lock in the jointing sand and keeps the surface looking clean.
Concrete patios benefit from resealing every few years and from keeping control joints clean and re-caulked as the filler ages. For any patio material, making sure gutters and downspouts direct water away from the patio surface is one of the single best things you can do for long-term performance.
Replacing a deck with a patio is one of those projects that feels intimidating on paper but becomes very logical once you're actually working through it in sequence. The permit step and the base prep are where most people either skip ahead too fast or overthink it into paralysis. Do those two things right, match your surface material to your budget and skill level, and you'll end up with an outdoor space that outlasts the deck it replaced by decades.
FAQ
How do I decide between a full deck teardown and building a patio in the same footprint?
Start by measuring the deck’s outer beams and posts, then compare that to your planned patio footprint. If you need to keep the same boundary lines, you may still do a full removal but tighten layout to reuse excavation area. If you plan to keep much of the deck structure, you must still address drainage and the patio base depth, otherwise you can end up with a “raised” patio that traps moisture beneath the new surface.
Can I remove only the decking boards and build a patio on top of the existing frame or subframe?
Usually no for a true patio. Deck framing is built for elevated loads, not for a stable, compacted patio sub-base. If you place pavers or concrete over a deck frame, you risk movement, uneven settling, and poor drainage. If you want to reuse existing structure, consider a pedestal tile system, but it still requires planning for levelness and water pathways, not just setting tile over beams.
What should I do if I discover rot or water damage around the deck after demolition starts?
Treat it as a stop-and-assess moment. Check for damage at ledger points, adjacent band boards, and any rim joists near where water had been trapped. You may need to replace wood framing and address the drainage path first, then proceed with base excavation so the new patio slopes away from the house.
How deep should I excavate if my deck was low to the ground or right at grade?
Base depth is driven by the finished patio thickness and your selected surface, not by how high the old deck was. Use the “total excavation depth” approach: (paver or slab thickness) plus (sand bedding thickness) plus (compacted gravel thickness) plus any geotextile allowance. Even if you are starting near grade, you usually still need the full compacted gravel and correct slope or the patio will settle.
Is geotextile always necessary under a paver patio?
It’s strongly recommended, but it depends on soil conditions. In clay-heavy or silty soils, it’s particularly valuable because it helps stop fines from migrating into the gravel base. If your subgrade is well-draining, granular, and stable, some contractors use less or omit it, but if you see “mud pumping” or frequent base contamination, you should not skip it.
Do I really need a 1/4 inch per foot slope, or can I use a smaller pitch?
You can sometimes get away with less in very dry climates, but 1/4 inch per foot is the safer target because it creates reliable runoff during heavy rain. If the patio area includes areas where water tends to pond, increasing slope or adding a perimeter drain (like a French drain) usually performs better than trying to “plan” around the ponding with careful grading alone.
Where should the runoff go after the patio drains off the surface?
Plan the outlet before you excavate. Ideally, discharge should flow to an area designed to handle water, such as a lower swale or a controlled drainage system, not toward foundations or existing deck footing areas. If the yard has a low spot or poor absorption, add a French drain or a properly graded gravel border so water leaves the patio edge quickly and predictably.
Can I reuse the existing deck footings as part of the patio base?
Often you should not. For a standard ground-level patio, concrete footings and buried stubs can prevent uniform compaction and create voids or “hard spots,” which leads to uneven settling. The better approach is to remove shallow footings, or cut them flush only when you can build around them without leaving gaps that interfere with the gravel base and slope.
What’s the most common mistake with patio slope during excavation?
Building the slope only at one edge or assuming the grade “looks right” visually. Use a laser level or string line to verify slope at multiple points after excavation. Also confirm that the slope matches your finished surface thickness, not just the gravel layer, because adding sand and pavers changes the final elevation.
How do I avoid hollow spots under pavers after installation?
Compaction and base consistency are the keys. Compact in lifts (not all at once), keep debris out of the base, and verify you did not create localized low areas before adding sand. After setting pavers, seat them with a plate compactor using a rubber pad, then check for wobble and reset individual pavers before joint sand is fully established.
Do I need polymeric sand, or can I use regular sand for paver joints?
Regular sand can wash out more easily over time, leading to paver movement and wobble. Polymeric sand is designed to lock joints, but it requires correct joint width and correct wetting per the product instructions. If you choose polymeric, you also need to understand it should not be overwatered during activation, and it should be paired with solid edge restraints.
How do I decide what edge restraint type to use?
If you want a DIY-friendly option, plastic paver edging is workable, as long as it is installed at the right height and spiked securely into the base. For higher longevity or when you have a long run or heavier foot traffic, steel or aluminum edging offers more rigidity. In all cases, edge restraints must be installed before bedding sand and positioned so they control outward migration during freeze-thaw.
What expansion gap should I leave between a patio and the house, and how do I treat it for pavers vs concrete?
Leave a small separation gap to accommodate thermal movement and prevent pressure on the foundation. For pavers, leaving an intentional gap is typically sufficient, and you can fill it with material that won’t lock pavers tight to the structure. For poured concrete, plan for an appropriate backer rod and a flexible, exterior-rated sealant, and ensure the gap stays free of rigid mortar connections.
When is a pedestal tile system a good solution instead of excavating deeper?
Pedestals are most useful when you need a level walking surface over an uneven substrate or when excavation depth is limited by existing footings, utilities, or landscaping. They also help with drainage because water can move through the gaps. However, they are usually pricier and still require correct base preparation, stable substrate, and careful planning around adjacent door clearances and transitions.
How should I tie steps into the patio base so they don’t settle differently?
Build steps with the same compacted base concept, not on loose soil. Match the gravel base system under the step structure, compact in lifts, and keep riser heights consistent. If steps are set only on a thin bed or on un-compacted areas, they will settle unevenly and create a trip hazard.
What maintenance schedule should I follow after completion?
For pavers, expect to monitor joint sand and top up polymeric sand periodically, especially after heavy rain seasons or where traffic is concentrated. For concrete, resealing every few years and keeping control joints properly filled and caulked helps limit water intrusion and random cracking. For any patio, clear gutters and downspouts so the largest volume of water does not pour onto the patio edge repeatedly.
How can I tell if a patio base failed before it becomes a big problem?
Watch for early signs like pavers that wobble, localized dips, or joint sand washout after storms. For concrete, look for cracking that starts near edges or around uncut or poorly spaced control joints. Catching these issues early usually means resetting pavers or correcting localized base problems rather than rebuilding an entire section.
Next Article
How to Turn a Deck Into a Patio: DIY Steps
Learn how to turn a deck into a patio with planning, permits, base prep, pavers or concrete steps, leveling and pitfalls