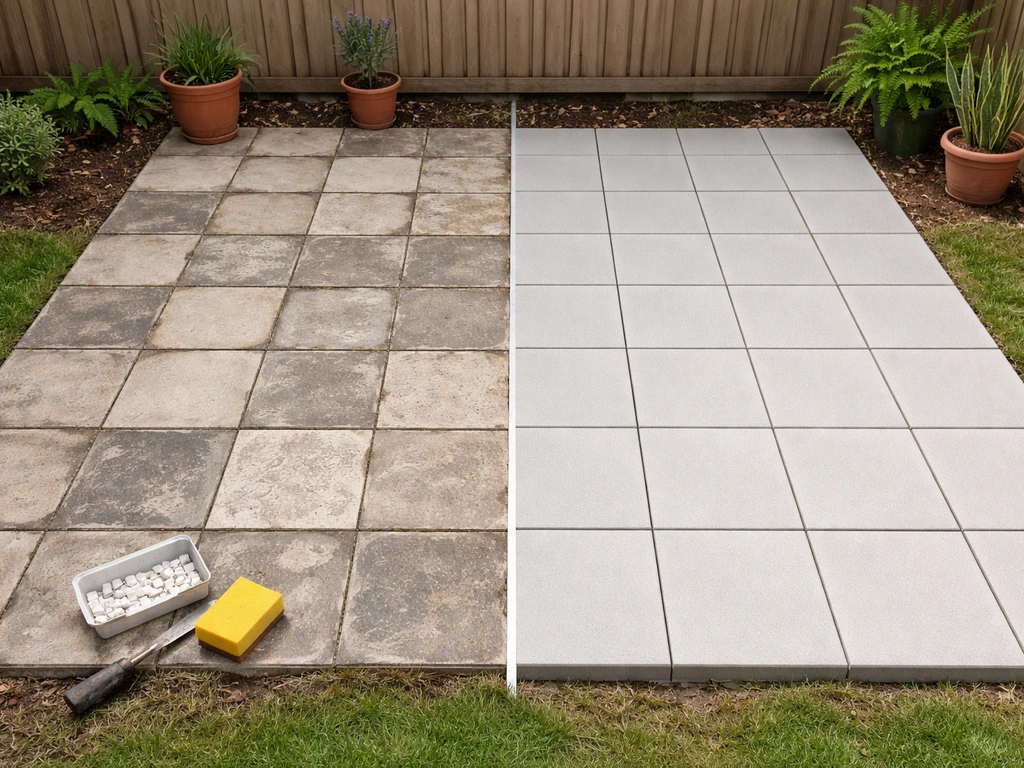
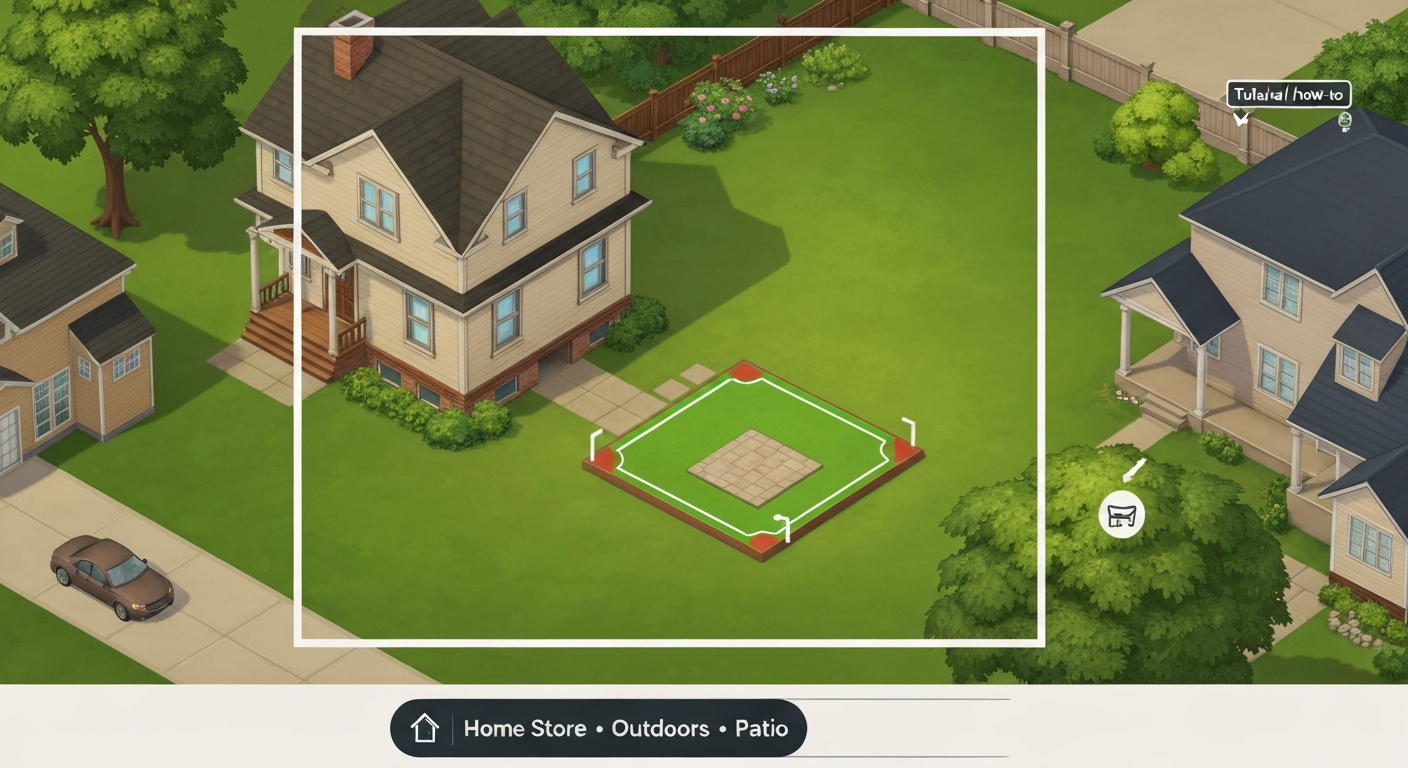
To build a patio in The Sims FreePlay, open the Home Store, tap the Outdoors tab, then select the Patio sub-tab. Touch and drag on the lawn to draw your patio area. A green overlay means the placement is valid; red means something is blocked. Once placed, you can resize the patio by dragging its white edge handles. That is the core workflow, but there is quite a bit more to it, from unlocking the feature through the Peaceful Patio quest to changing floor textures, adding stairs, and building second-floor balconies. This guide walks through every step, and if you are a DIY homeowner who stumbled here looking for real-world patio inspiration, stick around, because the last section maps in-game designs directly to an actual build.
How to Build a Patio in Sims FreePlay: In-Game Guide + DIY

Nolan Lennox
16 Jul 2026
Who this guide is for and what you will learn
This article is written for two groups of people who often end up searching the same phrase. The first group is Sims FreePlay players who want exact, no-fluff in-game steps for building, editing, and deleting patios, including floor texture swaps, stairs, and second-floor balconies. The second group is DIY homeowners who use games like Sims FreePlay (or Sims 4, Bloxburg, or Minecraft) as a low-stakes design sandbox before committing to a real build. If you are in that second group, the back half of this article covers site assessment, materials, drainage, permits, and cost ranges for turning a game layout into a backyard patio you can actually stand on.
What counts as a patio in Sims FreePlay
In Sims FreePlay, a patio is an outdoor tiled area placed on your lot's lawn, separate from your home's interior rooms. The game treats patios similarly to how it treats rooms: you draw a boundary, the game fills it with flooring, and you can then furnish it with outdoor objects. Patios are not just decorative. Sims can use outdoor furniture placed on them, and they can serve as the base for balconies and elevated outdoor areas on multi-story homes. Here is a quick look at the outdoor build options available:
- Ground-level patio: drawn on open lawn using the Patio tab in the Home Store Outdoors section
- Balcony / second-floor outdoor area: requires the Lovey-Dovey Balcony quest unlock and a multi-story house
- Patio extensions: multiple patio areas can be joined together like rooms or pools to create a larger continuous space
- Roof overhangs over patios: partial roofs and eaves can cover part of a patio for a covered-porch look
- Railings: placed along patio edges from the Outdoors catalog to define boundaries and add visual detail
Before you start: unlock the patio feature first
This tripped me up the first time. The patio-building feature in Sims FreePlay is not available from day one. You need to complete the Peaceful Patio discovery quest, which is part of the DIY Homes quest series. The quest itself walks you through opening the Home Store and using the Patio tab for the first time, so it doubles as a built-in tutorial. Until you complete it, the Patio tab either will not appear or will not let you place anything. Make sure you have that quest finished before working through the steps below.
Build a basic patio step by step
Once the Peaceful Patio quest is done, the core build workflow is straightforward. Here is the full sequence:
- Tap a Sim and select the Home Store icon (the shopping bag or hammer icon depending on your game version) to enter Build/Buy mode.
- In the Home Store, tap the Outdoors category, then select the Patio sub-tab.
- Browse and select a tile/floor style for your patio. You pick the surface material before you draw the area.
- On your lot, press and drag across the lawn to define the patio shape. A green overlay confirms valid placement; a red overlay means something is blocking that spot (a tree, object, or roof overhang).
- Release your finger to place the patio. The patio will appear with white edge handles around its perimeter.
- To resize, drag any of the white edge handles inward or outward to expand or shrink the patio footprint.
- Exit Build mode to save your changes and begin furnishing the patio with outdoor chairs, tables, grills, or planters from the Outdoors catalog.
Placing patio floors, walls, and roofs
Floor placement
Floor selection and area placement are two separate actions in FreePlay's UI. You first choose the tile pattern from the Patio sub-tab catalog, then drag to define the area on the lot. If you want to change the floor texture after placing a patio, you pick a new tile pattern from the catalog and apply it to the existing patio (more on this in the next section). The game keeps floor selection and lot placement as distinct steps, which catches a lot of new players off guard.
Walls and railings
Standard interior walls cannot be placed around an outdoor patio the same way they bound a room. Instead, you use railings from the Outdoors catalog to define patio edges visually. Railings come in several styles and are placed along the patio perimeter. Some players also use low fences or planter boxes as boundary markers. If you want a semi-enclosed covered patio, you can attach it directly to the side of your Sim's house so that one or two house walls act as the patio's back walls.
Roofs over patios
Adding a roof over a patio is one of the trickier parts of the FreePlay build system. Roof eaves and overhangs from the main house can sometimes block patio placement, showing a red overlay where you are trying to draw. The community workaround is to temporarily remove the overhanging roof section, place the patio, then re-add the roof. You can also use small individual roof segments placed selectively over part of the patio to create a partial-cover effect without triggering the placement-blocked error. Experimenting with roof placement before finalizing your patio shape saves a lot of frustration.
Changing patio floor textures and patterns
To swap the floor texture on an existing patio, go back into the Home Store, navigate to the Outdoors section, and select the Patio sub-tab. Choose the new tile pattern you want, then tap the existing patio area on your lot. The new pattern will replace the old one across the entire patio. Some tile patterns and outdoor floor styles are locked behind the Peaceful Patio quest or require in-game currency to purchase, so if a pattern you want is greyed out, check the quest log to see if there is an unlock condition. The range of available textures runs from simple stone tiles to wood-look decking styles, giving you enough variety to match different aesthetic directions.
Adding patio stairs and railings
Ground-level patios in Sims FreePlay are flush with the lawn, so you generally do not need dedicated stairs to access them. Stairs become essential when you are connecting a ground floor to a second-floor balcony or elevated outdoor area. Stairs are found in the Home Store under the indoor building/structural sections (not under Outdoors). The standard approach is: build your second story first, then go to the stairs catalog, select a stair style, and place it along the wall connecting the ground floor to the upper level. Sims will automatically use placed stairs to navigate between floors. For purely decorative edge definition on a ground-level patio, railings from the Outdoors catalog handle that job more cleanly than interior stairs.
Second-floor patios and balconies
Building an elevated patio or balcony in Sims FreePlay is a separate feature from ground-level patios, and it has its own unlock requirements. You need to complete the Lovey-Dovey Balcony discovery quest, which is also part of the DIY Homes series. Critically, you must already have a two-story house on your lot before the quest becomes relevant. Balconies cannot exist without a second floor to attach to.
Once unlocked, the placement process is similar to ground-level patios but with one key difference: the game shows a yellow highlighted area on the second floor where balconies can be placed. See our step-by-step guide on how to make a patio on the second floor in Sims FreePlay for detailed placement and unlock tips. You touch and drag within that yellow zone to define the balcony footprint. Balconies must be attached to the house structure; you cannot float them out in open space. Think of them as joinable rooms that happen to be outdoor and elevated. Once the balcony is placed, you can add railings, outdoor furniture, and partial roof coverage following the same steps as a ground-level patio.
A few limits worth knowing: balconies in FreePlay cannot span the full perimeter of a house on their own (placement is constrained by the yellow zone boundaries), and not every house configuration supports balconies on all sides. If you find the yellow zone is not appearing, make sure the second floor is fully built out to the edge where you want the balcony.
Editing and deleting patios
Resizing a patio is straightforward: enter Build mode, tap the patio to select it, and drag its white edge handles to adjust the footprint. Deleting is a bit more involved. The standard method is to enter the Home Store (Build/Buy), tap the patio to select it, and use the delete or sledgehammer tool to remove it. The important warning here is that deleting a patio also removes any outdoor items that were placed on it. If you have expensive furniture sitting on a patio you want to remove, pick those items up and place them back in your inventory or elsewhere on the lot first.
A common workaround reported by the community: if the delete function is not cooperating or objects cannot be easily removed, try placing a standard indoor room over the patio area, then selling or removing the room. This effectively overwrites the patio boundary. It is not elegant, but it works. If you plan to change your patio layout frequently, save before making major edits, the undo function in FreePlay does not always restore slotted or placed objects reliably.
Troubleshooting common FreePlay build problems
- Red placement overlay: something is blocking the area. Check for hidden objects, trees, or an overhanging roof eave. Remove the obstacle, then try placing again.
- Patio tab not appearing: confirm you have completed the Peaceful Patio discovery quest. The feature is locked until that quest is done.
- Build mode UI freezes or catalog will not open: exit Build mode entirely, close and restart the app, then re-enter. This clears most UI hang issues.
- Balcony yellow zone not showing: make sure the second floor is fully built out to the exterior wall edge where you want to place the balcony.
- Deleted patio removed furniture: outdoor items placed on a patio are tied to it. Always move items to inventory before deleting.
- Roof blocking patio placement: temporarily remove overhanging roof sections, place the patio, then replace the roof.
Quick patio methods in Sims 4, Bloxburg, and Minecraft
If you are also working across other games, the patio-building logic differs meaningfully between them. In Sims 4, ground-level patios use the Deck/Floor tool in Build Mode, and you can add railings, fences, and stairs directly from the Build Mode catalog without completing any unlock quests first. See The Sims 4 | The Sims Wiki (Fandom), Build Mode and deck/balcony mechanics overview for details on using the Deck/Floor tool, fences/railings, and building elevated decks and balconies in The Sims 4 blank" rel="noopener noreferrer">The Sims 4 | The Sims Wiki (Fandom) — Build Mode and deck/balcony mechanics overview. Sims 4 also gives you terrain tools, platform stacking, and the ability to build elevated decks at precise heights, which gives far more flexibility than FreePlay. For step-by-step instructions on building patio stairs in The Sims 4, see how to make patio stairs sims 4. See Terrain Tools patch and discussion, EA Forums / Sims 4 community notes for community notes on terrain tools, platforms, and multiple floor heights in Sims 4 blank" rel="noopener noreferrer">Terrain Tools patch and discussion — EA Forums / Sims 4 community notes. In Bloxburg (Roblox), patios are built using floor tile props and decorating tools in the Build mode, and the process is more freeform and creative. Minecraft patios are essentially flat surfaces built from blocks like stone slabs, wood planks, or quartz, with no dedicated patio system at all. For step-by-step, block-by-block instructions on how to make a patio in Minecraft, see a dedicated Minecraft patio guide. Each game has its own article with platform-specific steps if you are juggling builds across games. For platform-specific steps in Roblox, see how to make a patio in Bloxburg.
From in-game design to a real-world patio build
This is where both audiences come together. Sims FreePlay (and Sims 4, Bloxburg, or Minecraft) is genuinely useful as a design tool before you break ground in your backyard. The game forces you to think about shape, size, access points, and how the patio relates to the house structure, all questions you need to answer in a real build too. I have used in-game mockups to test rectangular versus L-shaped layouts before committing to a single design, and it saved me from a layout I would have regretted.
Site assessment: what to check before you dig
Before any real patio goes in, walk your backyard with these questions in mind: Where does water pool after rain? Is the ground level, or does it slope toward the house? What utility lines run underground (call 811 before any digging in the US)? How much sun hits the area at different times of day? A patio that looks perfect in a game design can run into immediate problems in real life if the drainage is wrong. A flat surface that pitches toward your foundation will send water into your basement. Aim for a minimum 1/8-inch per foot slope away from the house on any paved surface.
Choosing your material
The material you choose determines cost, installation complexity, durability, and how much maintenance you will do for years afterward. Here is how the most common DIY patio materials compare:
| Material | Cost (installed DIY, per sq ft) | Durability | Maintenance | Best for |
|---|---|---|---|---|
| Gravel / decomposed granite | $1 – $3 | Moderate (shifts over time) | Low (raking, occasional top-up) | Budget builds, informal areas, easy DIY |
| Concrete pavers | $5 – $12 | High (30+ years) | Low (repoint joints every few years) | Classic look, most DIY-friendly hard surface |
| Brick | $8 – $15 | Very high (50+ years) | Low-medium (weeding joints, occasional re-leveling) | Traditional aesthetic, long-term investment |
| Poured concrete | $4 – $8 | High (25+ years) | Low (seal every 2–3 years) | Clean modern look, fast installation |
| Natural stone (flagstone, slate) | $12 – $25 | Very high | Medium (irregular joints need weeding) | Premium look, uneven rustic feel |
| Composite decking (raised patio) | $15 – $30 | High (25 years+) | Low (annual clean) | Elevated decks, wood aesthetic without rot |
| Pressure-treated wood | $10 – $20 | Moderate (15–20 years with sealing) | Medium (annual sealing) | Budget raised deck/patio, DIY-friendly framing |
Tools and materials checklist
| Item | Used for | Approx. cost (if renting/buying) |
|---|---|---|
| Plate compactor | Compacting base gravel layers | $50–$80/day rental |
| Tape measure + stakes + string line | Layout and leveling | $10–$20 to buy |
| Rubber mallet | Setting pavers or bricks | $15–$25 |
| Hand tamper | Compacting small areas, edges | $20–$35 |
| Level (4-foot) | Checking surface and slope | $20–$40 |
| Circular saw with masonry blade | Cutting pavers or brick | $30–$50/day rental |
| Wheelbarrow | Moving gravel, sand, concrete | $50–$80 or borrow |
| Landscape fabric | Weed suppression under base | $20–$40 per roll |
| Crushed stone / road base (4–6 in depth) | Structural base layer | $30–$60 per ton |
| Coarse sand (1 in layer for pavers) | Bedding layer for pavers | $20–$40 per bag stack |
| Polymeric joint sand | Locking paver joints | $25–$40 per bag |
| Safety glasses, knee pads, gloves | Personal protection | $15–$30 combined |
Step-by-step construction overview
- Mark the patio footprint with stakes and string line. Use a 3-4-5 triangle to confirm 90-degree corners if building a rectangular patio.
- Excavate 6 to 8 inches deep for a paver or brick patio (accounts for 4–6 in base, 1 in sand, and paver thickness). Shallower for gravel (3–4 in).
- Establish drainage slope: 1/8 inch drop per linear foot away from the house, checked with a level along your string lines.
- Lay and compact a 4-to-6-inch layer of crushed stone base in two passes with a plate compactor. This is the most critical step — a weak base means a shifting surface.
- Add a 1-inch layer of coarse sand (for pavers/brick only) and screed it flat using two pieces of conduit pipe as guides.
- Lay pavers, bricks, or flagstones in your chosen pattern, starting from a straight edge (a house wall or a string line). Tap each piece level with a rubber mallet.
- Cut border and edge pieces with a masonry saw to fit the perimeter.
- Install edge restraints (plastic or metal paver edging) around the full perimeter to keep the surface from spreading outward over time.
- Spread polymeric joint sand over the surface, sweep it into the joints, and compact lightly. Mist with water to activate the binder.
- Seal the surface (optional but recommended for pavers and brick) after 30 days.
Drainage, grading, and permits
Drainage is the part most DIYers underestimate. Water that cannot escape a patio surface will find its way somewhere, and that somewhere is often your house foundation or your neighbor's yard. Beyond slope, consider where runoff exits the patio. If you are building against a fence or wall, you may need a small gravel channel or drain at the low edge. On permits: most municipalities require a permit for paved surfaces above a certain square footage (often 200 sq ft, but this varies widely). Some jurisdictions also regulate how much impervious surface coverage a residential lot can have. A quick call to your local building department before you start saves the headache of being asked to remove unpermitted work later.
Realistic cost ranges for a DIY patio
For a 200-square-foot patio built yourself, expect roughly $200 to $600 for a gravel surface, $800 to $2,000 for concrete pavers, $1,500 to $3,000 for natural stone, and $2,500 to $5,000 for a composite or wood deck platform. These figures assume you rent equipment rather than buy it and do all labor yourself. Contractor-installed patios typically run 2 to 3 times these numbers. The game design phase costs you nothing, which is exactly why using Sims FreePlay or Sims 4 to iterate on your layout before spending money on materials is time well spent.
Maintenance by material
Gravel patios need fresh topping every two to three years and occasional raking. Concrete pavers need joint sand refreshed every three to five years and a sealant coat every two to three years. Brick is similarly low maintenance but may need occasional re-leveling if tree roots shift the base. Wood decks need an annual clean and sealant; composite decking needs only an annual rinse. None of these are heavy lifts, but skipping maintenance (especially on wood) compounds into expensive repairs fast.
Real-world troubleshooting: common patio build mistakes
- Insufficient base depth: skimping to 2–3 inches instead of 4–6 inches leads to surface movement and cracking within a few seasons. Do not cut corners on the base.
- Skipping edge restraints: without them, pavers gradually migrate outward and joints widen. Install metal or plastic edging on every side.
- Pitching toward the house: the most expensive mistake. Always confirm slope direction with a level before laying any surface material.
- Ordering too little material: calculate your square footage, add 10 percent for cuts and breakage, and order all material from the same batch for color consistency.
- Laying on wet or frozen ground: wait for stable, dry conditions. Laying on saturated soil creates base instability that no amount of compaction will fix later.
- Forgetting utility location: always call 811 before excavating. Hitting a gas line or buried conduit is dangerous and costly.
FAQ
How do I place a patio in The Sims FreePlay (step‑by‑step)?
Open Build/Buy (Home Store) → select Outdoors → Patio tab. Touch and drag on the lawn/area to draw the patio; the placement grid will show green where valid and red if blocked. Release to place. After placing, tap the patio to show white edge handles and drag edges to resize or reshape. If placement is blocked, check for roofs, objects, or terrain that overlap and remove/move them.
How do I change patio floor textures or tiles in Sims FreePlay?
Open the Home Store → Outdoors → Patio sub-tab that lists floor/tile patterns. Select the desired tile/pattern, then tap the placed patio to apply the new texture. Some tile styles and outdoor décor unlock through DIY Homes quests (for example Peaceful Patio) or by purchasing items in the outdoor catalog.
How do I delete a patio in The Sims FreePlay without breaking other items?
Enter Build/Buy (Home Store), tap the patio to select it, and use the delete/sledgehammer tool. Note: deleting a patio can remove or affect outdoor objects attached to it. If objects remain or a bug occurs, a workaround is placing a temporary room nearby and selling it or re-entering build mode/restarting the app before retrying.
How can I build a second‑floor patio (balcony) and add stairs in FreePlay?
You must have a multi‑story house and any required DIY Homes balcony quest unlocked (example: Lovey‑Dovey Balcony). Build the second floor/platform where you want the balcony. With the house floor active, open Home Store → Outdoors/Patio (or Balcony) and drag inside the yellow highlighted build area to place the balcony attached to the house. Add stairs from the Home Store indoor Build → Stairs catalog to connect floors. If a roof or overhang blocks placement, temporarily remove or edit roof pieces.
How do I make patio stairs or connect patio levels in FreePlay?
Place the higher floor/balcony first, then add stairs from the Home Store’s Stairs section (indoor Build categories). Position stairs so they connect the second‑floor doorway or balcony edge to the ground level. For outdoor step appearance, place outdoor stair objects or arrange terrain visually with railings/steps available in the outdoor catalog.
What common build‑mode problems occur in Sims FreePlay and how do I troubleshoot them?
Common issues: catalog or UI not loading, placement showing red even when area looks clear, undo not restoring items, or objects vanishing after deletion. Troubleshooting: exit and re‑enter Build Mode, close and restart the app, remove nearby roofs or objects blocking placement, ensure required quests/locks are complete, and reinstall only as a last resort. Note community reports that deleting patios may remove attached outdoor items—save before big edits.
Next Article
How to Change Patio Floor in Sims FreePlay Step by Step
Step-by-step guide to change patio flooring in Sims FreePlay, select the right surface, apply tiles, fix common issues.