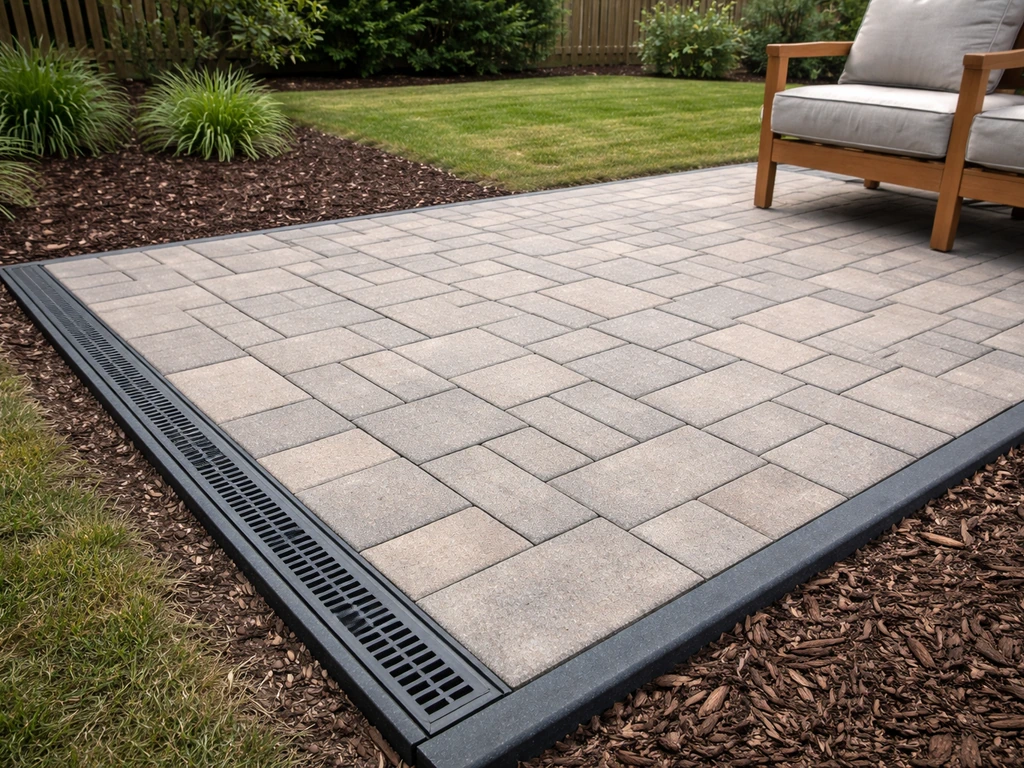
Yes, you can absolutely build a stable, long-lasting patio without cement, and most DIYers who go this route end up happier with it than they would have been with concrete. The method is called a dry-laid or dry-set patio, and it means setting pavers, bricks, or natural stone over a compacted gravel base with a thin layer of bedding sand underneath. No concrete, no mixing, no waiting for cures. It's the same system used in interlocking concrete pavement standards, it handles freeze-thaw cycles better than poured concrete, and it's fully repairable if something shifts.
How to Build a Patio Without Cement: DIY Steps

Nolan Lennox
30 May 2026
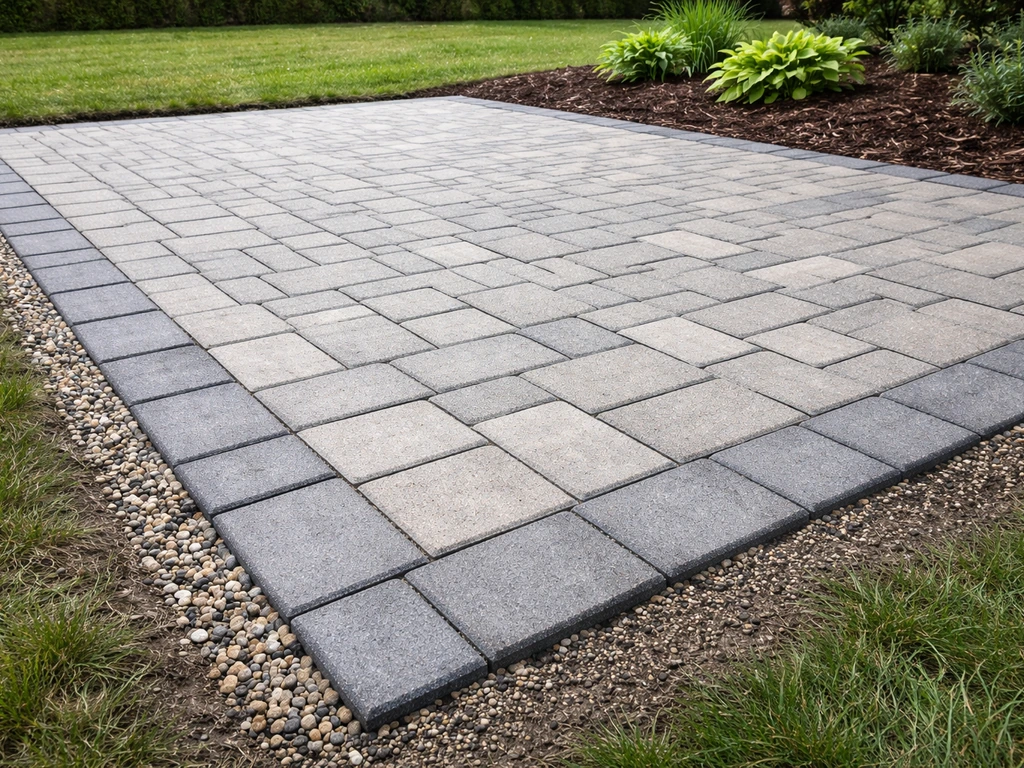
What a no-cement patio actually is (and what it's called)
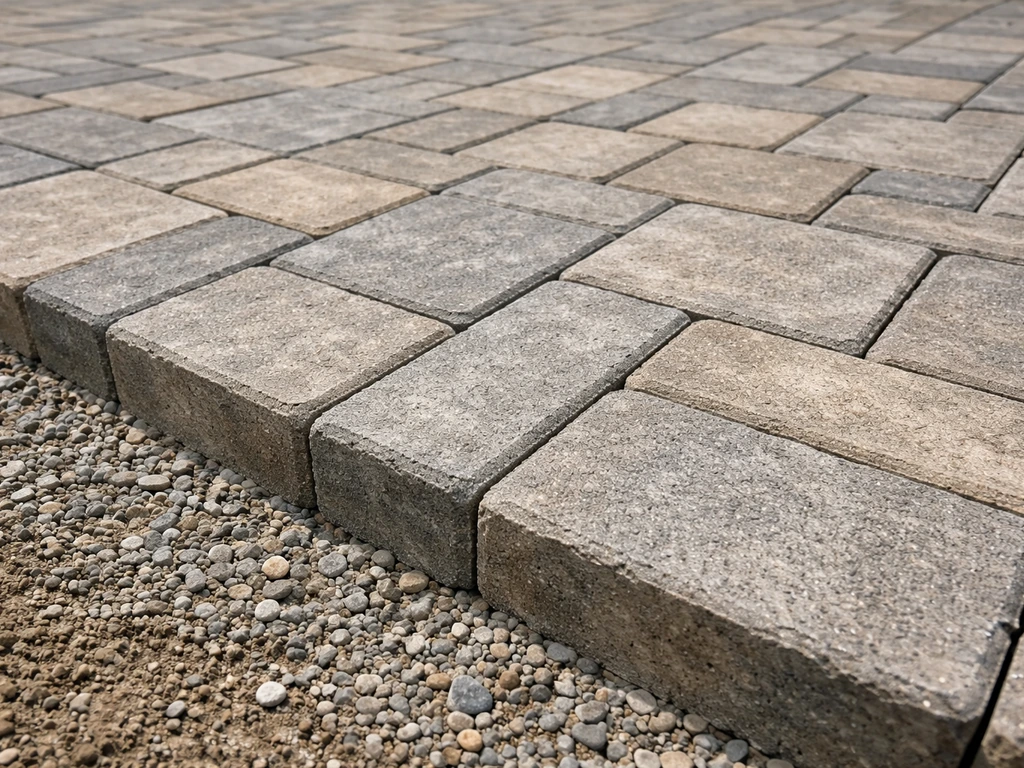
The technical term is an interlocking segmental pavement or dry-set pavement system. The surface layer (pavers, bricks, or flagstone) locks together through tight joints and the weight and friction of the material itself, not through mortar or concrete. The stability comes from what's underneath: a well-compacted crushed stone base, a bedding sand layer, and proper edge restraints that hold everything in place. Contractors and engineers have used this method for decades on driveways, walkways, and commercial plazas. It's not a workaround or a budget shortcut; it's a legitimate, industry-standard installation method.
One thing worth clearing up: dry-laid does not mean just throwing pavers on bare dirt. The ground preparation is everything. Skipping or rushing the base is the one thing that turns a dry-set patio into a wobbly mess after two winters. Do the base right and the surface stays solid for decades. Rush the base and you'll be resetting pavers every spring.
Choosing the right no-cement approach for your yard
There are three main no-cement systems worth knowing about. Each suits different situations, budgets, and skill levels.
Pavers or bricks over compacted gravel with bedding sand (the classic method)
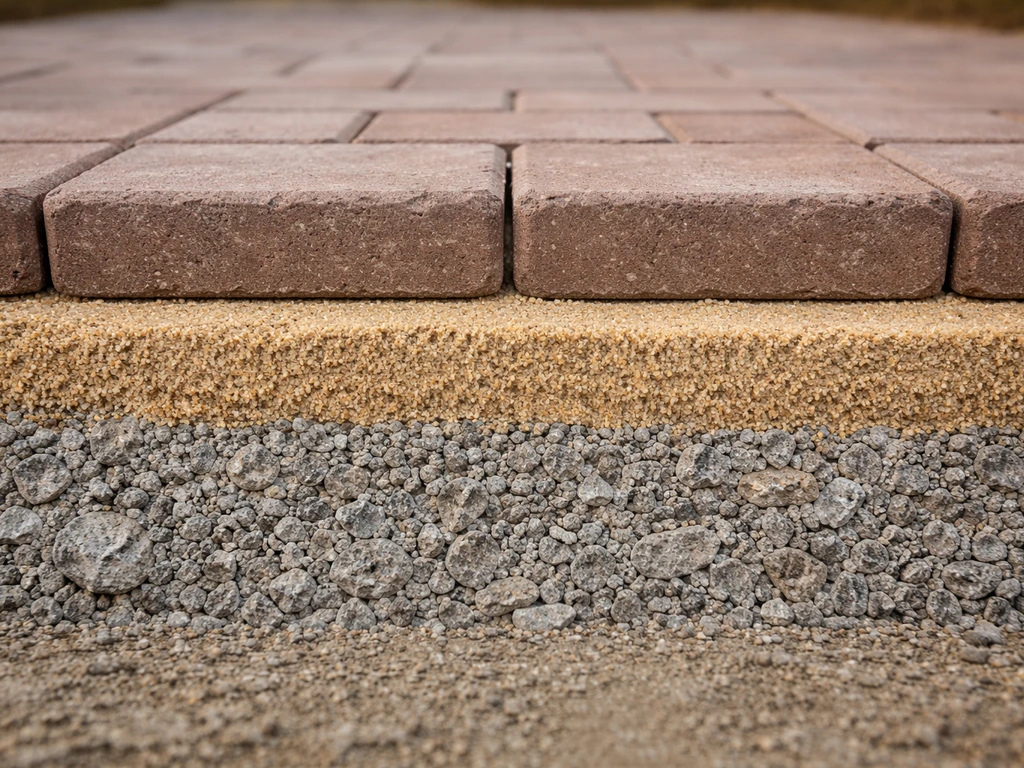
This is what most people mean when they search for a no-cement patio, and it's the most versatile option. You excavate the area, compact the subgrade, lay down a crushed stone base, add a thin layer of coarse bedding sand, set the pavers, compact the whole surface, and lock joints with polymeric sand. It works for concrete pavers, clay bricks, and natural flagstone. For standard residential use, concrete pavers at 2 3/8 inches thick handle foot traffic, furniture, and grills with no issues.
Gravel paver systems (permeable, confined aggregate)
Products like NDS EZ Roll Gravel Pavers use a plastic grid that confines loose gravel into a stable, walkable surface. These are great for low-traffic areas, side yards, or spots where you want maximum drainage. Installation is straightforward: lay the grid on a prepared base, fill with gravel, done. It's less formal-looking than pavers, but it's nearly zero-effort to install and handles heavy rain without puddling.
Pedestal systems (for flat or rooftop-style surfaces)
Pedestal-supported systems use adjustable plastic pedestals to level large-format pavers or porcelain tiles above an existing surface. Think rooftop terraces or situations where you can't dig. If you are set on learning how to make a patio without digging, pedestal-supported setups are one of the best options situations where you can't dig. They're excellent for ground-level patios on existing concrete or compacted stone. You can dial in level regardless of what's underneath. The downside is cost: pedestals add up quickly on larger areas.
| System | Best For | Skill Level | Relative Cost | Drains Well? |
|---|---|---|---|---|
| Pavers/bricks on compacted gravel + sand | Most residential patios, any size | Beginner to intermediate | Moderate | Yes, with proper slope |
| Gravel paver grid (NDS EZ Roll) | Side yards, low-traffic zones, max drainage | Beginner | Low to moderate | Excellent |
| Pedestal system | Rooftops, existing hard surfaces, large format tile | Intermediate | Higher | Yes, open gaps drain freely |
For a first-time patio build in a backyard, the compacted gravel and bedding sand method wins almost every time. The rest of this guide focuses on that system since it's what the overwhelming majority of DIYers are building.
Planning your layout, size, and drainage before you dig anything
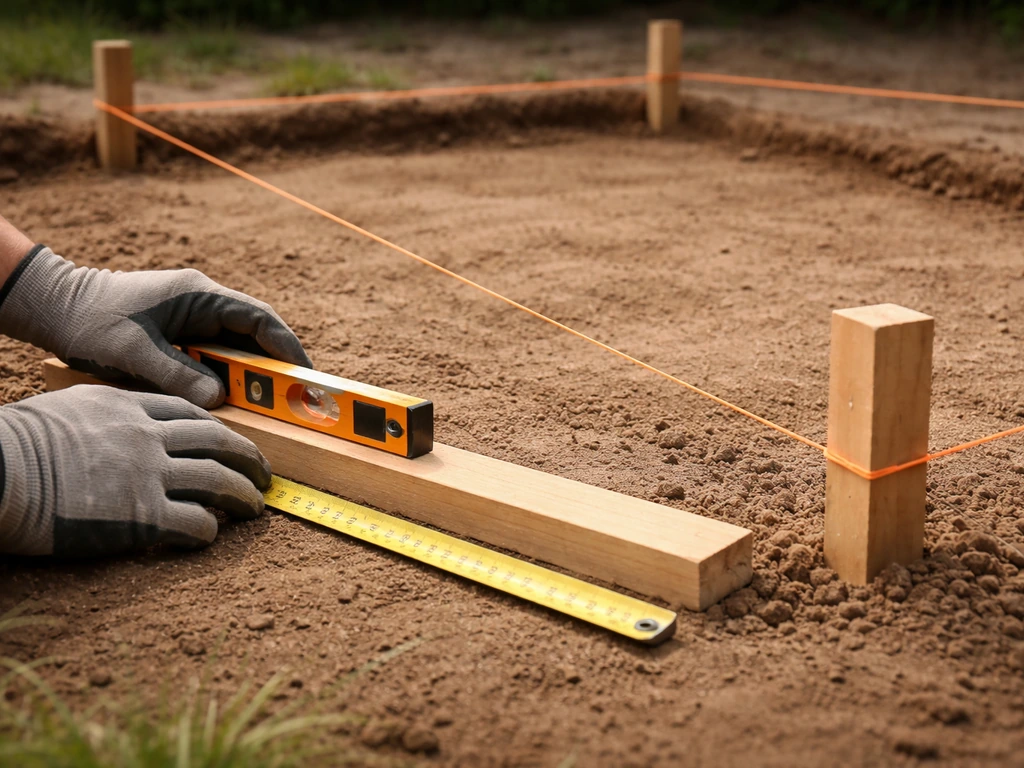
Planning sounds boring but it prevents the two most common DIY patio failures: poor drainage and running out of materials mid-project. Spend an hour here and the actual build goes smoothly.
Slope and drainage rules
Every patio needs a slope away from your house or any structure. The standard is 1/8 to 1/4 inch of drop per foot of horizontal run. That sounds tiny, but over a 12-foot patio it adds up to 1.5 to 3 inches of total drop, which is enough to move water off the surface reliably. Some installation guidelines specify grading in increments of 1.5%, which works out to about 3/16 inch per foot. Splitting the difference and targeting 1/4 inch per foot is a safe, practical target for most backyards. If your yard already slopes toward the house, address the drainage before you build anything; no amount of patio slope fixes water flowing back toward your foundation.
Layout and sizing
Plan your patio size around your paver dimensions to minimize cuts. Standard concrete pavers are often 4x8 inches or 6x6 inches, so designing in even multiples saves serious time with a saw. Lay out the perimeter with stakes and string before you dig a single shovelful.
Check for square using the 3-4-5 triangle method: measure 3 feet along one edge, 4 feet along the adjacent edge, and the diagonal between those two points should be exactly 5 feet if the corner is truly square. Also check your local permit rules before you build. Also, make sure you understand your local permit requirements before you start, because some areas require a permit even for small patios.
Some jurisdictions require a permit for patio construction regardless of material. Portland, Oregon, for example, exempts patios under 200 square feet from permits in some cases, but cities like Vancouver, WA, and Prince George's County, MD, have specific patio permit categories. A quick call to your local building department takes five minutes and prevents headaches.
Edging
Edge restraints are what keep the whole system from creeping outward over time. Without them, pavers gradually migrate, joints open up, and the surface becomes uneven. Plastic snap-edge restraints with landscape spikes are the standard DIY choice. Install them after your base is done, before you lay any pavers. For a cleaner look, soldier-course bricks (pavers set vertically on their ends around the perimeter) double as both edging and a visual border.
Materials and tools you'll actually need
Base and bedding layers
- Crushed stone base (also called compactible gravel, Class II base, or road base): 3 to 4 inches deep for pedestrian-use patios, 4 to 5 inches for areas with occasional vehicle access. Clay soils may need 5 to 6 inches plus a geotextile fabric underneath to prevent base contamination.
- Coarse bedding sand (concrete sand or coarse washed sand): 1 inch deep, screeded flat before paver placement. Do not use fine play sand or polymeric sand as bedding.
- Geotextile landscape fabric (optional but recommended on clay or organic soils): laid between subgrade and gravel base to prevent mixing and improve long-term stability.
Surface materials
- Concrete pavers: 2 3/8 inches thick for residential foot traffic; 3 1/8 inches for areas with heavier loads like vehicle access.
- Clay bricks: classic look, extremely durable, slightly irregular thickness so bedding adjustments are common.
- Natural flagstone: irregular shapes require more cutting and leveling skill but look outstanding.
- Polymeric sand: for locking joints after paver placement. Joint width should be between 1/2 inch and 4 inches with a minimum joint depth of 1.5 inches for most polymeric sand products.
Tools
- Plate compactor (rent one, don't buy): essential for compacting base layers and locking pavers after placement
- Screed rails (metal pipes or conduit work fine) and a long straight 2x4 for screeding the sand layer flat
- Rubber mallet for tapping pavers into place
- String line and line level for establishing grade across the patio
- Tape measure and framing square
- Circular saw with a diamond blade (or rent a paver splitter) for cuts
- Hand tamper for areas too small for the plate compactor
- Wheelbarrow and shovel for moving base material
- Garden hose or pump sprayer for activating polymeric sand
Step-by-step: how to build the patio from ground to surface
Step 1: Excavate to the right depth
Calculate your total excavation depth by adding up the layers: base gravel depth (3 to 4 inches), bedding sand (1 inch), and paver thickness (typically 2 3/8 inches for standard concrete pavers). That's roughly 6. 5 to 7. 5 inches below your finished surface elevation.
Mark that depth on your stakes and dig to a consistent depth across the area. If you want the full sequence, follow the steps in this guide on how to dig patio areas and prepare the base correctly. Remove all organic material, roots, and soft spots. If you hit consistently soft or wet soil, dig deeper and add more base or a geotextile layer.
For a more detailed look at excavation techniques, the how-to-excavate-for-a-patio topic goes into methods for different soil types. If you want the full step-by-step on excavation, see how to excavate for a patio for methods tailored to different soil conditions how-to-excavate-for-a-patio topic.
As you excavate, build in your drainage slope. Start from the house side and make sure the subgrade consistently drops away at your target slope (1/4 inch per foot is a solid target). Everything you build on top will follow the slope of the subgrade, so set it correctly now.
Step 2: Compact the subgrade
Before adding any base material, run the plate compactor over your bare excavated subgrade. Any soft spots that sink or pump under the compactor need to be dug out and filled with compactible gravel. A solid, stable subgrade is the foundation of everything else. Don't skip this step even if the ground feels firm.
Step 3: Lay and compact the gravel base
Add crushed gravel base in layers no more than 3 to 4 inches thick and compact each layer before adding more. Dumping 6 inches of gravel and running the compactor over it once doesn't work; the bottom layers won't compact properly. For most patios, two passes with the compactor over each lift is enough to get good density. On clay soils, lay your geotextile fabric first, then build up the gravel base on top of it.
Step 4: Install edge restraints
Once the compacted base is at the right elevation, install your plastic edge restraints around the entire perimeter and spike them into the base. This locks the system before you add the bedding sand and pavers. Make sure your restraints follow your string lines exactly, because they define the edges of your finished patio.
Step 5: Screed the bedding sand
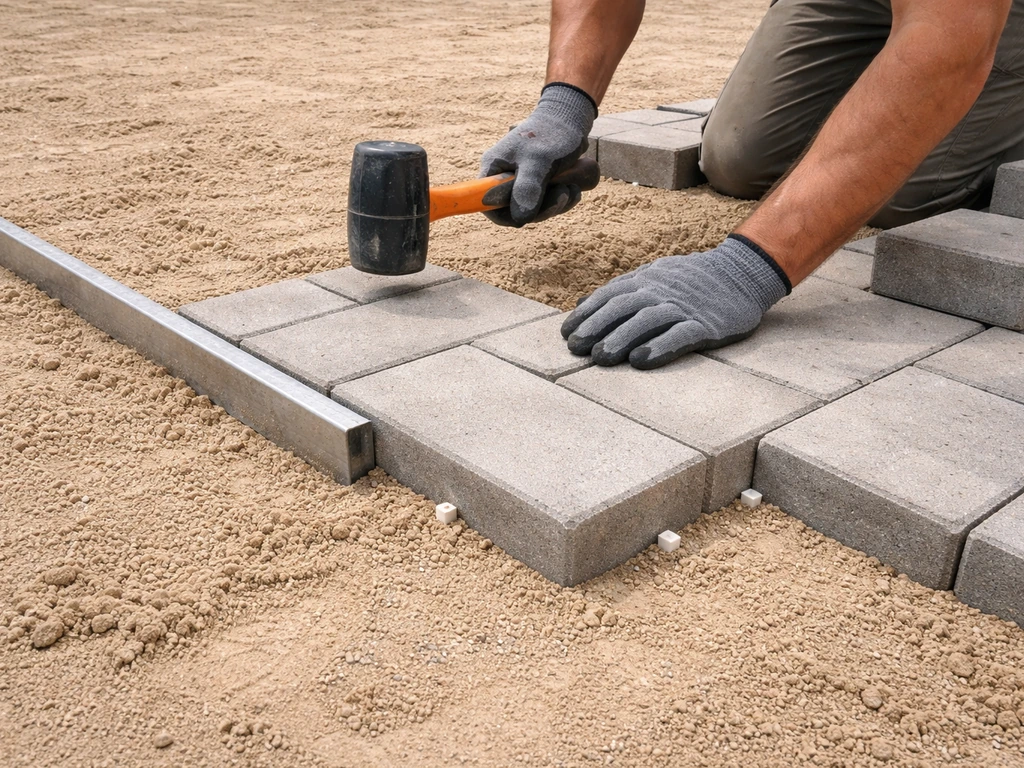
Spread an inch of coarse bedding sand over the compacted base. Set two screed rails (metal pipes work great) across the surface at your target elevation, then drag your 2x4 across them to create a perfectly flat, 1-inch-deep sand layer. Work your way backward out of the area so you don't walk on the screeded sand. The Block-Lite guideline that the final base elevation should sit 3 inches below the finished paver elevation (for a standard 2 3/8 inch paver plus 1 inch of sand) is a useful sanity check here. Do not compact the sand before laying pavers; you want it loose so pavers can bed into it.
Step 6: Lay the pavers
Start from a corner or a straight edge and work outward. Place each paver with a firm downward press rather than sliding it into place (sliding disturbs the sand beneath). Keep joints tight and consistent. As you lay, check periodically with a level and a string line that your surface is following the intended slope and staying flat across the field. Paver-to-paver lippage (height difference between adjacent pavers) should not exceed 1/8 inch per industry standards. Tap any high pavers gently with a rubber mallet. Save all cut pieces for the perimeter once the full-sized pavers are down.
Step 7: Cut the border pieces
Use a circular saw with a diamond blade or a rented paver splitter to cut border pieces to fit. Mark cuts with a pencil, score the paver first, then cut through. Wet-cutting produces cleaner edges and less dust. Ear and eye protection are non-negotiable here.
Step 8: Compact the surface and set the pavers
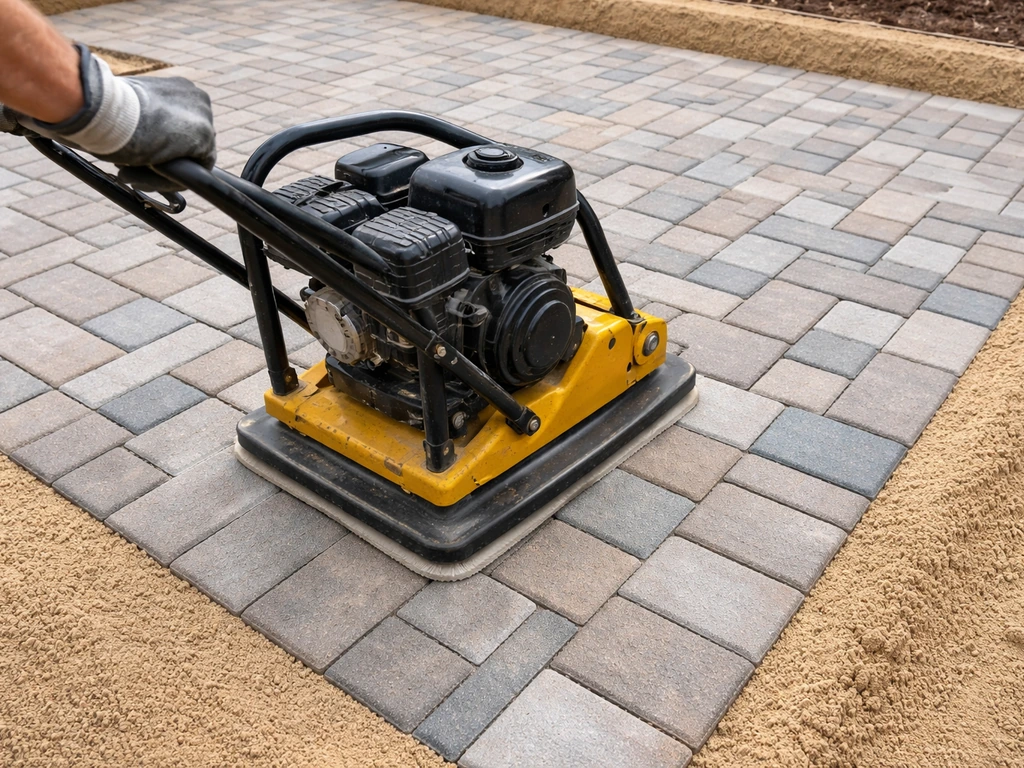
Run the plate compactor over the entire paved surface to drive the pavers into the bedding sand and begin the interlocking process. Use a rubber pad or piece of carpet under the compactor plate to avoid scarring the paver faces. After compaction, pavers will have settled slightly; industry guidance suggests setting pavers 1/8 to 1/4 inch above your target final elevation before compaction to account for this settling. Do a final check with a long straightedge and adjust any outliers with the rubber mallet.
Finishing touches: joints, weed control, and sealing
Filling joints with polymeric sand
Polymeric sand is the best jointing material for a dry-set patio. It hardens when wet, resists weeds, and stays put unlike plain joint sand which washes out over time. Pour dry polymeric sand over the surface and sweep it into the joints until they're full to within about 1/8 inch of the paver tops. Run the plate compactor over the surface again to vibrate the sand down into the joints. Repeat the sweeping and vibrating until joints are consistently filled. Then blow or brush any sand off the paver faces completely before wetting.
Wetting activates the binder in polymeric sand. Use a gentle mist setting on your hose to wet the joints without washing sand out. Follow Techniseal’s polymeric sand product instructions for proper timing and wetting so the binder cures correctly and joints are set as directed Use a gentle mist setting on your hose to wet the joints without washing sand out.. Follow your specific product's instructions closely; most require two wetting passes. Don't apply polymeric sand if rain is forecast within 24 hours of installation, and avoid installation when temperatures will drop to 32°F or below within 48 to 72 hours after application. Both conditions prevent the binder from curing correctly.
Weed control
Properly filled and hardened polymeric sand is your primary weed defense; weeds can't root easily in hardened joints. Adding a geotextile fabric under the gravel base also helps by blocking weed growth from below. Don't rely on landscape fabric directly under the bedding sand layer though; it can cause drainage problems and interfere with the sand layer's performance. If weeds do appear later, a targeted spot treatment handles them without disturbing the surface.
To seal or not to seal
Sealing concrete pavers enhances color, adds stain resistance, and gives a finished appearance, but it's not required for structural stability. If you want to seal, wait at least 30 days after polymeric sand installation before applying any sealer; the joints need to fully harden first. Use a penetrating paver sealer rather than a film-forming one if you want a natural look that doesn't peel over time. Natural stone patios generally don't need sealing unless they're highly porous (like sandstone or some limestones).
Long-term stability and maintenance
A dry-set patio actually has one big advantage over concrete: it's fixable. If you are wondering, can you build a patio without gravel, the dry-set approach can work when you use a proper base and bedding materials instead of loose aggregate. If a paver settles, cracks, or shifts, you pull it up, adjust the sand, and reset it. No jackhammers, no patching.
Every couple of years it's worth checking the joints and topping up polymeric sand where it's eroded. Make sure your edge restraints are still solidly spiked down, especially after hard winters. Keep the drainage slope clear of debris so water always has somewhere to go. A patio built correctly over a solid compacted base will easily last 20 to 30 years with nothing more than occasional joint maintenance.
If you're dealing with a site that has significant grade changes or drainage challenges, the depth of excavation needed can vary a lot from the standard numbers above. Reviewing guidance specifically on how deep to dig for a patio and how to handle uneven terrain will help you adapt the process to your specific conditions before you start digging.
FAQ
Can I build a no-cement patio on top of existing concrete or pavement?
Yes, but use a system designed for it. Pedestal-supported setups can work when you cannot excavate, while dry-set on top of concrete is usually only viable if the existing surface is sound, properly graded for runoff, and you can still install edge restraints. If the old surface has standing water or is cracking badly, you should address drainage or removal first to avoid repeating failures.
Do I still need edge restraints if I’m using polymeric sand between pavers?
Yes. Joint material helps lock pavers in place, but it does not stop lateral movement. Without rigid edge restraints, the perimeter typically creeps first, which then opens joints across the field. Use plastic snap-edge restraints (or soldier-course edging) and spike them into the compacted base before laying pavers.
What happens if I skip geotextile fabric under the gravel base?
On soils that stay stable and well-draining, it can sometimes be fine, but on clayey or mixed soils it increases the risk of base contamination and loss of stability over time. Geotextile is meant to separate soil from base aggregate so the base does not slowly migrate or lose drainage performance, especially when you build in lifts and compact correctly.
How do I know if my patio is properly sloped before I lay pavers?
Before any bedding sand goes down, verify the grade on the subgrade with string lines and a level, then re-check after the gravel base is compacted. A quick check after pavers are set is not enough, because pavers will follow the slope of what’s underneath. If you see low spots where water will collect, correct them by adjusting base elevation, not by relying on sand thickness.
Should I compact the bedding sand layer?
No, keep it loose. Compacting bedding sand can prevent pavers from bedding properly and can create a brittle, uneven layer that transfers height differences as loads increase. Screed it to thickness, keep it uniform, then place pavers with firm presses rather than sliding.
Is polymeric sand required, or can I use regular joint sand?
Polymeric sand is strongly recommended for a dry-set patio because it hardens and resists weed growth. Regular sand usually washes out over time, leaving open joints, shifting pavers, and more maintenance. If you use regular sand anyway, plan for more frequent joint top-ups and higher weed risk.
Can I install a dry-set patio in cold weather?
You should avoid conditions that prevent polymeric sand binder from curing. If temperatures are expected to drop to 32°F within about 48 to 72 hours after wetting, postpone the final jointing step. Also avoid installation when rain is forecast within about 24 hours, because washing out joint sand can ruin the binder action.
How thick should my base and bedding be for typical pavers?
A common target is about 3 to 4 inches of compacted crushed gravel base, plus about 1 inch of bedding sand, then paver thickness on top. Keep in mind the finished paver surface should be slightly above final height before compaction to allow for settling, then verify with a straightedge after you compact.
What’s the best way to handle small areas where I can’t excavate deeply?
Consider a pedestal-supported system if excavation depth is genuinely limited, especially for level correction over existing surfaces. If you must use a dry-set method, you may be able to reduce paver thickness or choose thinner systems, but the tradeoff is often less tolerance for soft soils. In tight spots, focus on removing organics and achieving a stable compacted layer, even if the total depth ends up on the lower end of typical ranges.
If a paver shifts later, how do I repair it without breaking everything?
For a dry-set patio, lift the affected units, remove or re-skim bedding sand as needed, then reset the pavers tightly with the correct slope and height. Refill joints with polymeric sand where it has eroded, compact as directed, and make sure edge restraints are still secure. Avoid adding extra sand on top of a failing base, fix the base problem if the shift repeats.
How often should I maintain joints on a no-cement patio?
Plan on an inspection every year, and after major freeze-thaw winters. Look for joint sand erosion, open seams, and perimeter movement. Top up polymeric sand when joints are low, but only wet it according to the product instructions and timing requirements.
Next Article
How to Make a Patio Without Digging: Step by Step
DIY no-dig patio guide: plan, prep, choose base and pavers, set drainage, install edging, and fix settling or weeds fast