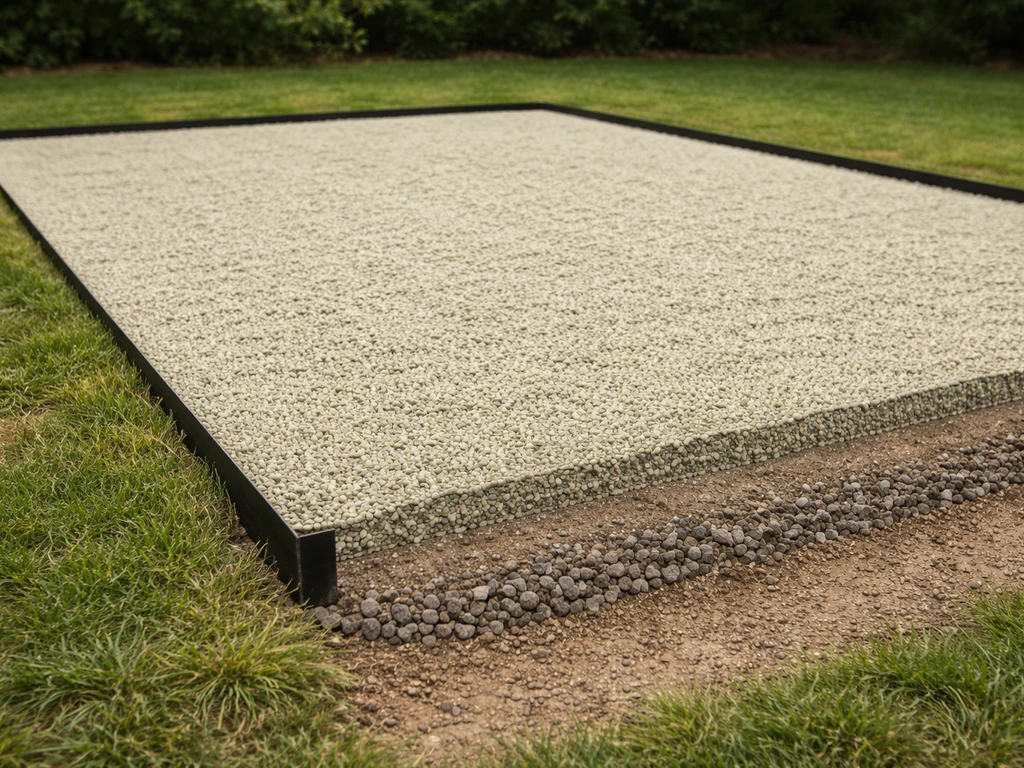
Building a pebble patio comes down to five layers of work done in the right order: site prep and grading, a compacted crushed-stone base (4 to 6 inches deep), a geotextile separator fabric, solid edging to contain the pebbles, and finally the decorative pebble layer spread 2 to 3 inches deep. Get those layers right and you'll have a stable, well-draining surface that looks great for years. Skip any of them and you'll be chasing shifting stones, weeds, and muddy patches before the season is out.
How to Build a Pebble Patio: Step-by-Step DIY Guide

Nolan Lennox
28 May 2026
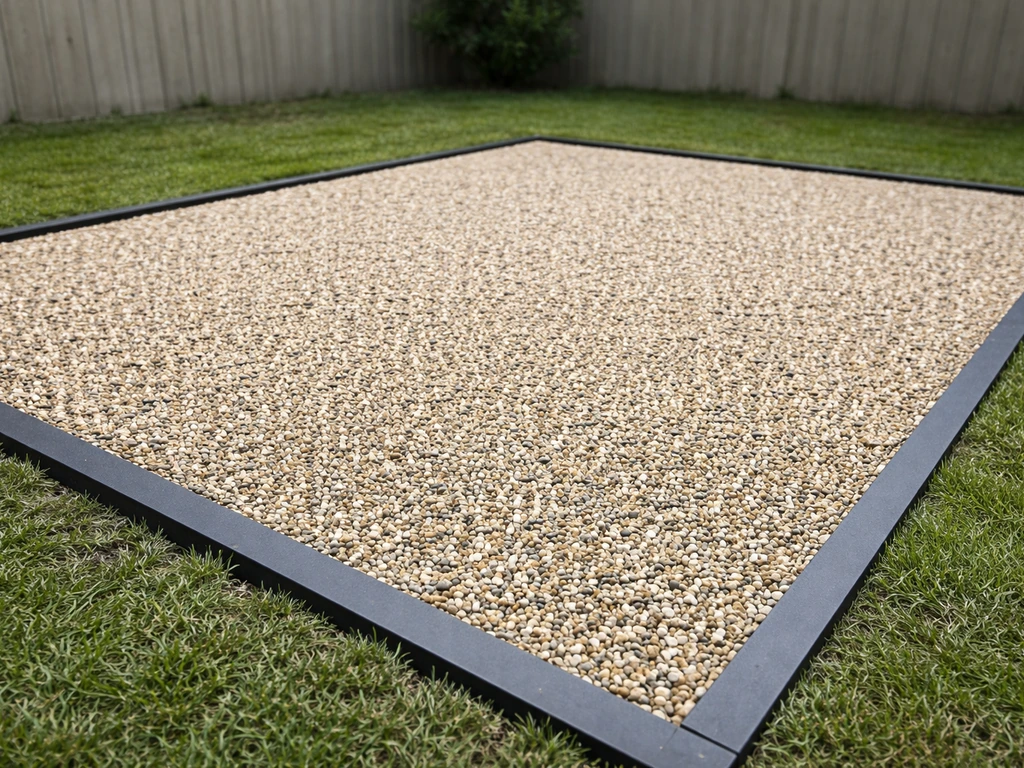
Planning and site prep for a pebble patio
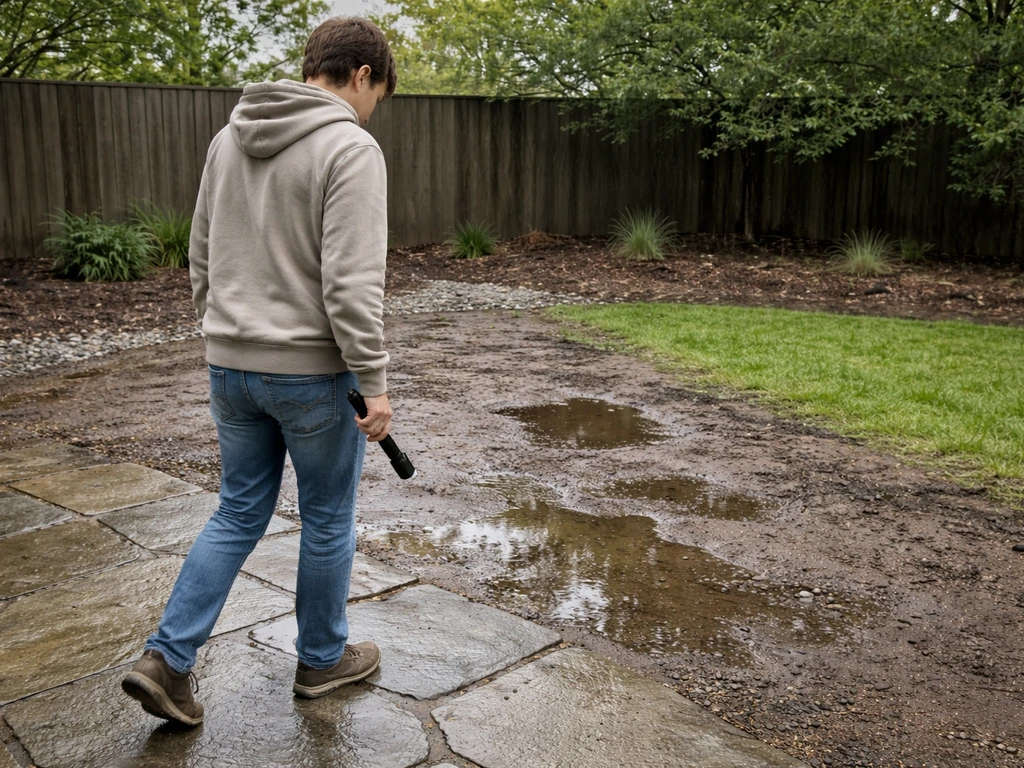
Before you order a single bag of pebbles, spend an afternoon studying the site. Walk it after a rain and notice where water pools or runs. A pebble patio needs to drain freely, and the single most important thing you can do is make sure the finished surface slopes away from any structure at a minimum of 1/4 inch per foot (roughly 2%). For the first 10 feet from your house or foundation, that slope is non-negotiable. Water that drains toward the house will eventually cause moisture problems in the foundation, and no amount of attractive pebblework is worth that headache.
Check sun and shade patterns too. Shaded areas stay damp longer and tend to grow moss and algae on pebbles. They're not a dealbreaker, but you'll want to factor in a bit more maintenance if you're building under a tree canopy. Also look at foot traffic: a path between the back door and the garage needs a firmer, more closely packed pebble surface than a decorative garden sitting area.
Mark out your patio boundary with marking spray paint or a garden hose to try different shapes before you commit. Then excavate the area to a depth of about 8 to 10 inches below your target finished surface. That sounds like a lot, but it accounts for 4 to 6 inches of compacted base, your fabric layer, and 2 to 3 inches of pebbles. Use a long level or a laser level to confirm your slope as you dig. If the existing grade runs the wrong direction, you'll need to cut and fill accordingly. Clay soils especially need close attention here because they hold water and can destabilize your base over time.
Choosing the right pebble type, size, and color
Not all pebbles perform the same on a patio. The two main categories you'll encounter at a landscape supply yard are river pebbles (smooth, rounded stones) and crushed or tumbled stone (more angular edges). For a decorative surface patio you're walking on, rounded river pebbles in the 3/4-inch to 1-1/2-inch range are the most popular choice because they're comfortable underfoot, look clean, and are widely available. Pebbles smaller than 1/2 inch tend to scatter easily and stick to shoes. Pebbles larger than 2 inches feel awkward to walk on and shift more under foot pressure.
If stability is your top priority over aesthetics, consider a tumbled or angular pebble. The slight angular edges help the stones lock together better than perfectly smooth river rock, which is the same principle that makes angular crushed stone better for base layers. Think of the base and surface as a connected system: angular sub-base plus slightly textured pebble top gives you the most stable result.
Color choice is mostly personal, but there are a few practical notes. Lighter colors (white marble chips, light grey pea gravel, buff limestone) show dirt and algae more noticeably than darker tones (black basalt, dark river rock). If you choose pea gravel for the top layer, aim for a consistent 2 to 3 inch depth so it stays comfortable underfoot and drains well. Mixed-color blends hide wear and replenishment patchwork better than single-color options. If you're going for a specific design, pick up a few sample bags and wet them down before buying in bulk because dry pebble color in a yard looks very different from the damp finished look.
| Pebble Type | Best Size | Stability | Maintenance | Best Use |
|---|---|---|---|---|
| Smooth river pebble | 3/4" – 1-1/2" | Moderate (rounds roll slightly) | Low to moderate | Decorative patios, seating areas |
| Pea gravel | 1/4" – 3/8" | Low (scatters easily) | High (raking, replenishing) | Paths, ground cover, casual areas |
| Tumbled/angular pebble | 3/4" – 1-1/2" | Good (edges interlock slightly) | Low | High-traffic patios, pool surrounds |
| Black basalt pebble | 1" – 2" | Moderate to good | Low (hides dirt well) | Contemporary or Asian-style designs |
| White marble chip | 3/4" – 1" | Moderate | Moderate (shows algae) | Formal gardens, bright accent areas |
Design, layout, and estimating materials
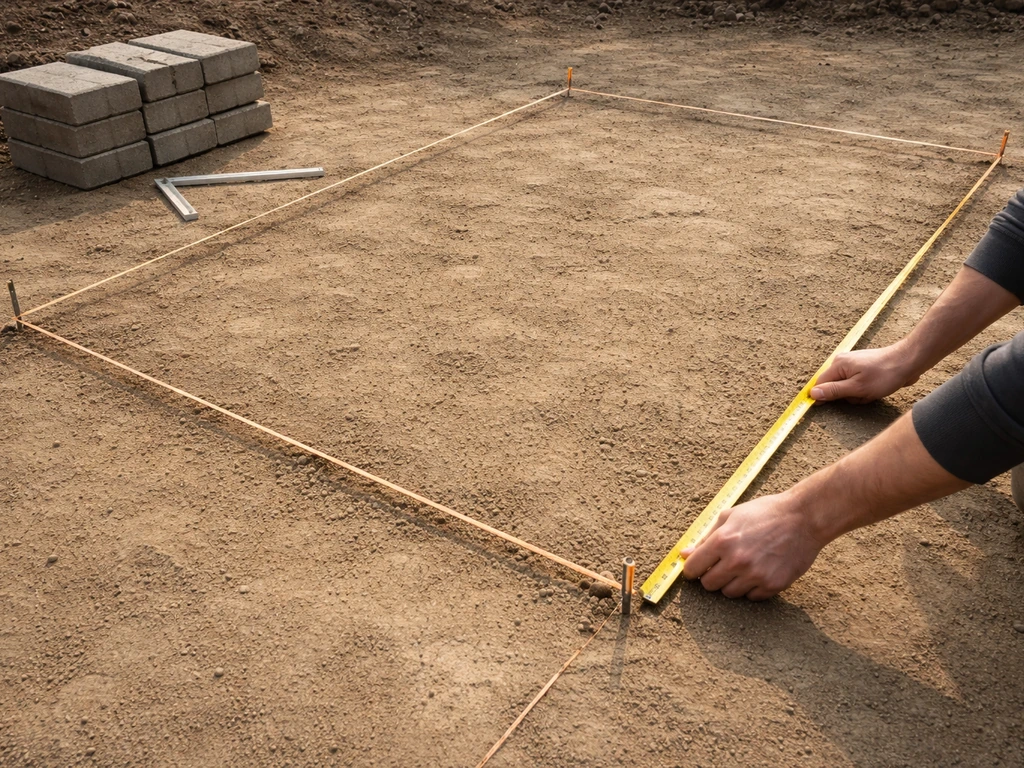
Simple rectangular or square patios are the easiest to build and easiest to estimate materials for. Organic curved shapes look great but require more flexible edging and more careful material calculation. Start with a sketch on paper, measure your actual site, and lock in your dimensions before ordering anything.
For material quantities, here's the math that actually works. Measure the area in square feet (length x width for rectangles; for irregular shapes, break them into smaller rectangles or use the hose-outline area method). Then use this approach for each layer:
- Crushed stone base (4 to 6 inches / 0.33 to 0.5 ft deep): Multiply area (sq ft) by 0.33 to 0.5, then divide by 27 to get cubic yards. Add 10% for compaction loss.
- Geotextile fabric: Order your patio area in square feet plus 10% for overlaps and edges.
- Pebble surface layer (2 to 3 inches / 0.17 to 0.25 ft deep): Multiply area by 0.17 to 0.25, divide by 27 for cubic yards. Bagged pebbles are often sold by the ton or by the bag (0.5 cu ft); bulk delivery is significantly cheaper for patios over 100 square feet.
- Edging: Measure the full perimeter of your patio.
As a quick real-world example: a 12 x 16 foot patio (192 sq ft) needs roughly 2.4 to 3.6 cubic yards of compacted base stone and about 1.2 to 1.8 cubic yards of decorative pebble. That's the kind of quantity where calling a landscape supply company for bulk delivery makes a lot of sense cost-wise. Always order about 10 to 15% extra on pebbles because you'll have spillage, and you'll want some in reserve for future replenishment.
For layout, use stakes and string lines to define your edges precisely before you dig. Confirm your slope direction with a level on the string. This is the step most beginners skip and then regret later when they're fighting a drainage problem or an edge that's not quite straight.
Base layers and drainage (sub-base setup)
The base is where durable pebble patios are made or broken. You have two main layers to install: the compacted sub-base and the geotextile fabric. Think of them as a team. The crushed stone gives you a firm, well-draining platform; the fabric keeps it from contaminating (and being contaminated by) the native soil beneath.
Sub-base material and compaction
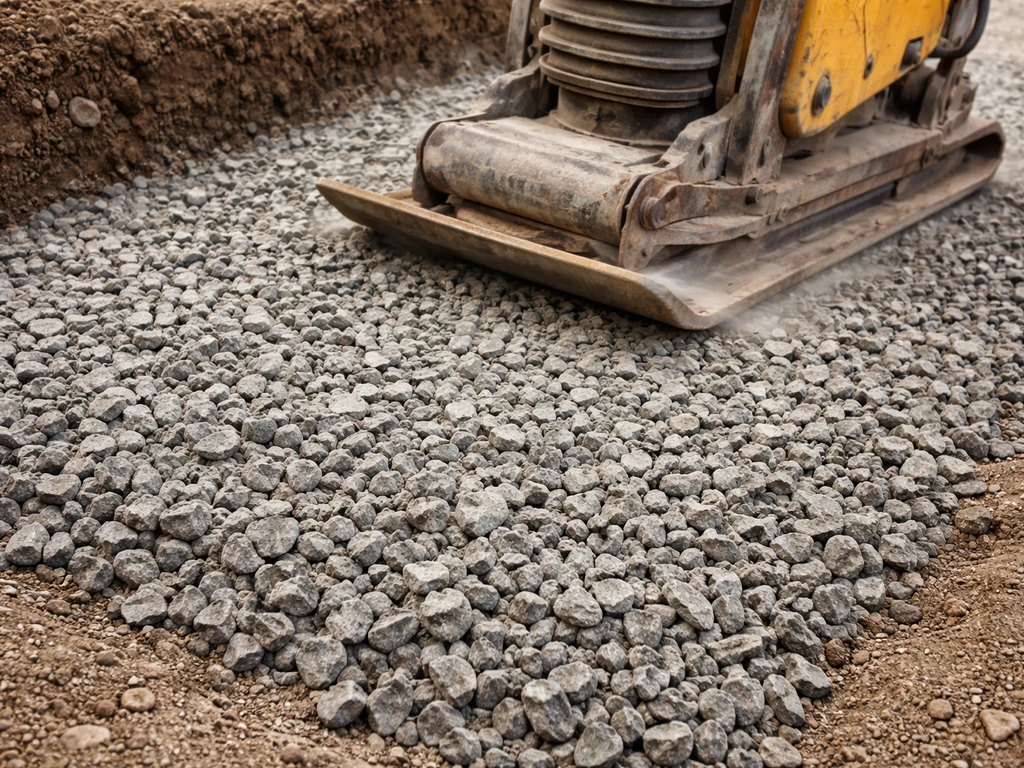
Use angular crushed stone for your base, not rounded gravel and definitely not river rock. The most common options are crusher run (also called road base or dense-grade aggregate), 3/4-inch crushed limestone, or 3/4-minus crushed gravel. The angular edges are what allow the particles to interlock under compaction and give you a stable platform. Rounded stone simply does not lock together the same way, and you'll end up with a base that shifts and sinks under load.
Spread the crushed stone in 2- to 3-inch lifts and compact each lift with a plate compactor (rentable for about $60 to $90 per day) before adding the next. Your target is a thoroughly compacted surface that doesn't deflect when you walk on it. Industry specs for compacted subgrade typically target 95% of maximum density (ASTM D698 standard), and while you won't be doing lab testing as a DIYer, the practical rule is: run the plate compactor over each layer at least two full passes, and don't compact dry stone. Lightly dampen each lift before compacting to help the particles bind.
On clay-heavy soils, lay geotextile fabric directly on the excavated subgrade before adding any stone at all. This separation layer stops clay fines from migrating up into your crushed stone base over time, which is exactly how bases fail on poorly drained sites. The fabric spec to look for is a nonwoven geotextile meeting AASHTO M288 standards for separation and stabilization. It's sold at landscape supply stores and box stores. Overlap seams by at least 12 inches and pin the edges with landscape staples before backfilling with stone.
Drainage slope and surface prep
As you build up your base layers, constantly check your slope. The finished top of your compacted base should already be pitched at 1/8 to 1/4 inch per foot away from any structure (at least 1/4 inch per foot for the first 10 feet from the house). Set up a level string line at the desired finished pebble height, then work backward to confirm your base is sitting at the right elevation and slope. Correcting slope problems at the base stage costs almost nothing. Correcting them after pebbles are down is a full teardown.
Step-by-step installation of pebbles and edging
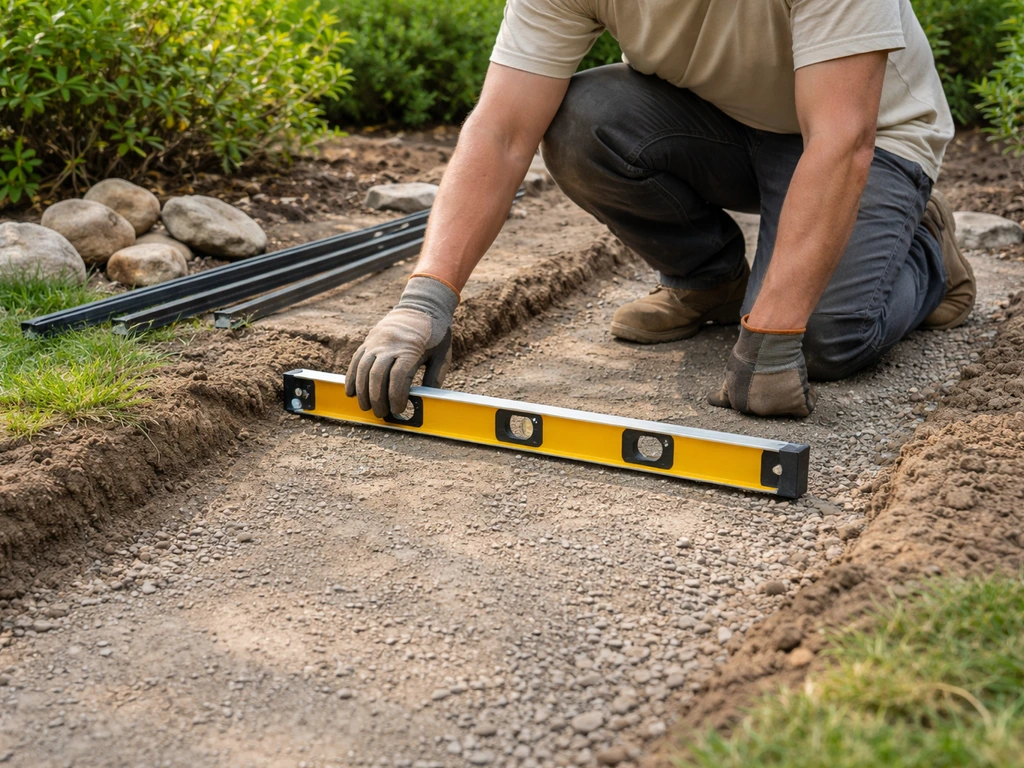
With your compacted base in place and sloped correctly, you're ready to install edging and then your pebbles. Do edging first, always. Pebbles without containment will migrate onto the lawn, into garden beds, and generally everywhere you don't want them within a single season.
Edging options and installation
The most practical edging choices for a pebble patio are steel or aluminum landscape edging, plastic flexible edging (for curves), pressure-treated lumber, or concrete bender board. Steel edging is the most durable and gives the cleanest finished line. Plastic edging is easier to work with on curves. Timber edging (using 4x4 or 6x6 landscape timber) gives a more rustic look but needs to be staked firmly with rebar or heavy-duty spikes.
Whatever edging you choose, it must be anchored into the ground, not just resting on top. For steel and aluminum edging, drive the stakes every 24 to 36 inches and at every bend. The top of the edging should sit at or just above your planned finished pebble surface so it acts as a visible border. For timber edging, predrill and spike into the ground with 12-inch rebar stakes every 2 feet. Do not rely on pebble weight alone to hold edging in place. It won't.
Laying the geotextile weed barrier and pebbles
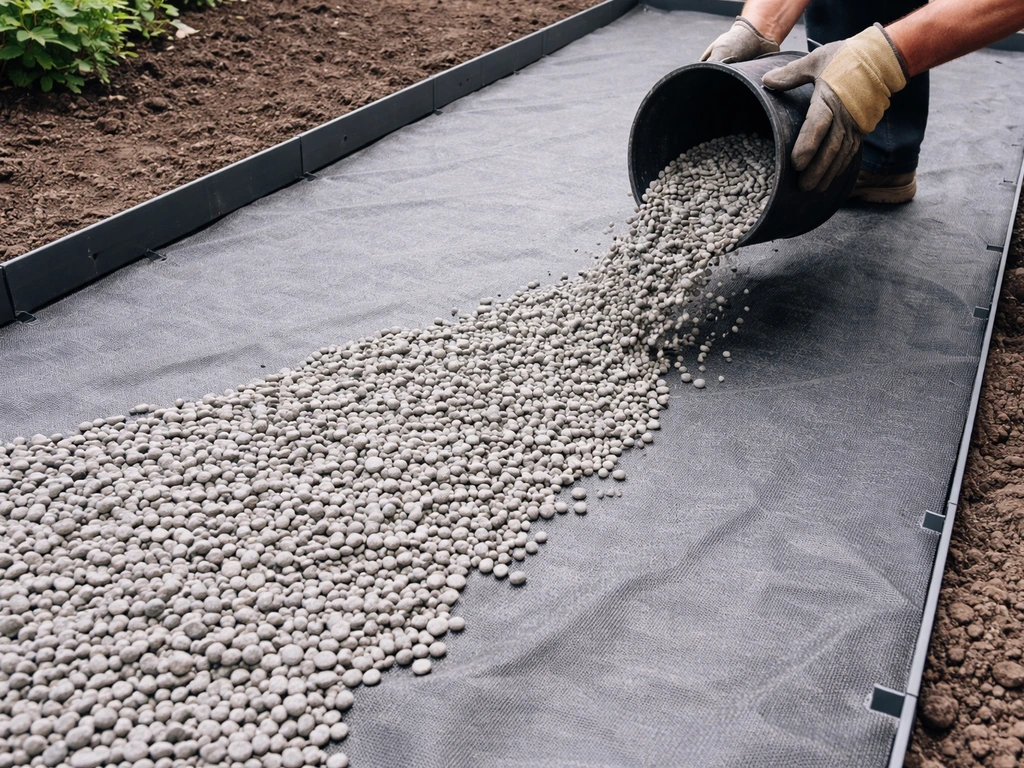
Once edging is installed, lay a layer of nonwoven geotextile fabric over your compacted base. This second fabric layer (different from the subgrade separation layer below the crushed stone) serves as your weed barrier. Overlap edges by 12 inches, tuck it snugly against the inside of your edging, and pin it down with landscape staples every 18 to 24 inches. Do not use standard plastic sheeting here. It blocks drainage and deteriorates quickly. Use a proper woven or nonwoven landscape fabric rated for this application.
Now pour and spread your pebbles. Dump smaller loads around the patio area and use a garden rake to spread evenly. Work toward your exit point so you're not walking on finished pebble and displacing it. Your target depth is 2 to 3 inches for most decorative pebbles.
Less than 2 inches and the fabric will show through in high-traffic spots. More than 3 inches and walking becomes unstable and stone goes everywhere. Use a straight 2x4 board pulled across the top of your edging as a screed to level the surface quickly. For larger pebbles (1-1/2 inch or bigger), don't try to screed.
Just rake and eyeball, then compact lightly with a hand tamper or the back of a flat rake.
After spreading, walk the entire patio slowly and look for high and low spots. Add pebbles to low areas, remove from high ones, and tamp again. Give the surface a light rinse with a garden hose to settle dust and help stones nestle into place. The patio will look its best within a day or two once moisture has dried and pebbles have settled naturally.
Finishing, maintenance, and troubleshooting
A pebble patio is one of the lower-maintenance hardscape options you can build, but it's not zero-maintenance. If you want a full walkthrough, follow the same layered process for how to make a sand patio, from sub-base to finishing surface lower-maintenance hardscape options. Setting the right expectations now will save you frustration later.
Routine maintenance
- Weed control: Even with a good fabric layer, some weeds will germinate in organic debris that collects on top of the pebbles. Pull them early before roots can anchor through the fabric. Applying a pre-emergent herbicide in early spring each year makes a noticeable difference.
- Raking and redistribution: High-traffic paths will push pebbles to the edges over time. Rake the surface back to an even depth once or twice a season. This takes about 10 minutes and keeps the patio looking intentional.
- Replenishment: Plan to top up pebble depth every 2 to 3 years. Keep a note of the stone type and source so you can match it. This is why ordering 10 to 15% extra at build time and keeping a bag or two in reserve is such a good idea.
- Cleaning: Rinse with a garden hose in spring to clear winter debris. For algae or moss buildup in shaded areas, a diluted white vinegar solution or a patio cleaner spray works well without damaging stone.
Troubleshooting common problems
Shifting stones are almost always caused by one of three things: the pebble layer is too deep (over 3 inches), the base wasn't compacted well enough, or there's no edging (or edging has failed). If stones shift underfoot, first check that your edging is still firmly anchored. If it is, the base may need attention. Pull back the pebbles in the problem area, check for soft spots in the base, add more compacted crushed stone if needed, relay the fabric, and replace the pebbles.
Poor drainage (puddles that linger after rain) almost always means the slope wasn't established correctly in the base layer, or that the subgrade below is compacted clay that's not letting water through. In serious cases, you may need to install a perforated pipe drain at the low edge of the patio. For minor pooling, sometimes regrading the edging edge slightly and creating a small exit channel is enough.
Uneven surfaces after a year or two usually mean soil settling below the base. This happens more on poorly compacted or clay-heavy subgrades. Pull back the affected area, add base material, compact it, and relay. It's tedious but straightforward.
Edging failure (steel edging pulling away, plastic edging popping up) means the stakes weren't driven deep enough or spaced closely enough. Re-drive stakes at 24-inch intervals and use longer stakes if needed (12-inch landscape spikes are more reliable than the short ones that come with budget edging kits). If timber edging is heaving, check for rebar stakes pulling loose and replace them.
One final thought: if you're drawn to pebbles because you want a naturalistic, low-cost surface, they're a fantastic choice. But if your main goal is something completely firm and flat underfoot, something closer to a flat-rock or flagstone patio might be a better fit for your needs. If you're still deciding between pebble and rock finishes, this guide on how to build rock patio can help you choose the right approach and materials. Pebble patios have a beautiful texture and a real handmade quality that's hard to beat for the effort involved. Done right, they're genuinely satisfying to build and to use every day.
FAQ
Can I build a pebble patio over existing grass or pavers without full excavation?
You can only keep the surface if it is already at the correct slope and thickness. In most cases, you still need to remove vegetation and organic matter and excavate to fit the base plus fabric plus pebble layer. Old pavers and thick roots prevent proper compaction and usually lead to sinking or weed growth within a season or two.
What slope should my pebble patio have if it drains toward a driveway instead of away from my house?
Use the same minimum pitch away from structures, then confirm the water has a safe downhill path. If the patio drains toward a driveway, keep the low point directed so runoff does not cross back under the foundation edge or pool at the property line. Measure with a level from your planned finished height, not from the existing lawn.
How do I choose pebble size if some areas get more foot traffic than others?
In high-traffic zones, prefer smaller but stable stones in the 3/4-inch to 1-1/2-inch range, and keep the top layer closer to 2 inches. For decorative areas with lighter use, you can go a bit deeper within the 2 to 3 inch target. Avoid pebbles under 1/2 inch for walking surfaces because they scatter more easily.
Should I use river rock or rounded stones anywhere in the system?
Rounded stones are usually a bad choice for the base layer because they do not interlock under compaction. Rounded stones can work as the decorative top layer if you keep the depth within 2 to 3 inches and have solid edging, but if stability is critical, choose slightly angular or tumbled stone for the top as well.
Do I need two layers of geotextile fabric, and what happens if I use only one?
Yes, two different functions are involved in the typical build. One fabric layer separates native soil from the crushed stone base, and the second acts as a weed barrier above the base. If you skip the top weed barrier, you may get rapid weed emergence in the pebble layer.
How much overlap should I leave between geotextile seams and where should I pin it?
Plan on overlapping seams by at least 12 inches and pinning the fabric so it stays tight against the inside edge of the edging. Pinning only at the edges can let fabric shift when you place stone, creating gaps where fines and weeds migrate.
What’s the best way to compact if I don’t own a plate compactor?
Renting a plate compactor is the easiest path to consistent compaction. If you must use hand tools, tamp in smaller lifts and expect more labor and less uniform results, especially on clay. Any soft spots after tamping are a sign you need more base and more compaction before adding fabric and pebbles.
Can I avoid edging if my patio is small?
No, edging is still needed even for small patios. Pebbles without containment will migrate onto adjacent grass and garden beds as people walk and stones settle. Use edging anchored into the ground, and place stakes more frequently at bends.
What edging spacing and stake type should I use to prevent failures?
For steel or aluminum edging, drive stakes every 24 to 36 inches, and add stakes at every bend. If your area is windy, heavy freeze-thaw, or the edging is on a curve, err toward closer spacing and consider longer landscape spikes (short budget stakes are more likely to pull out).
My pebbles look uneven after I spread them, should I add more stone immediately?
Check depth and high or low spots before adding lots of extra material. Remove from high areas and add to low areas, then tamp or lightly compact the adjusted zones. Also re-screed visually using a straight board across the edging if you have a consistent pebble size.
How do I prevent the pebble surface from showing fabric in dips or near the edges?
Keep the finished depth at 2 to 3 inches and avoid starting below 2 inches in any section. If you notice fabric showing, that usually means the top layer is too thin or the base settled, so pull back the pebbles and correct thickness and base compaction before relaying.
What causes weeds in a pebble patio even with fabric installed?
Common causes are using the wrong fabric type or leaving gaps at seams or against edging. Another frequent issue is tearing or puncturing fabric during base work or backfilling. If weeds appear, remove stones in the affected area, patch or replace fabric, then restore the pebble depth.
How can I tell whether drainage problems are a slope issue or soil compaction issue?
After rain, look for where water pools, then compare that to the established slope line you used during base prep. Persistent pooling that does not move even after light regrading often points to poor base compaction or clay staying saturated. If pooling is significant, you may need a perforated drain at the low edge.
If stones shift after a season, what’s the fastest troubleshooting order?
Start with edging integrity, confirm it is still anchored and straight, then inspect the base by removing pebbles in the problem area. Soft base spots mean you need more crushed stone, better compaction in lifts, and fabric relaid if it was disturbed. Finally, confirm pebble depth is not exceeding 3 inches in the affected zone.
Is it better to build a pebble patio in hot weather or after rain?
Plan for dry conditions so you can compact base consistently and avoid mud. If you dampen stone before compacting, use light moisture, you want particles to bind, not to create slurry. After installation, a light rinse helps settle dust, but avoid soaking the base so fabric shifts or fines migrate.
How long will a pebble patio last, and how often will I need to replenish stones?
Expect most settling to happen within the first day or two after installation, then more slowly over years. Top up once you see thinning in traffic areas or after weed-removal spot fixes, typically by adding a small amount of pebbles to keep the depth within the target range. Keeping edging intact reduces the amount you lose to migration.
Next Article
Pea Gravel Patio How To Build a DIY Patio Step by Step
Step-by-step DIY guide to build a pea gravel patio with base layers, edging, proper slope, leveling, drainage, and maint