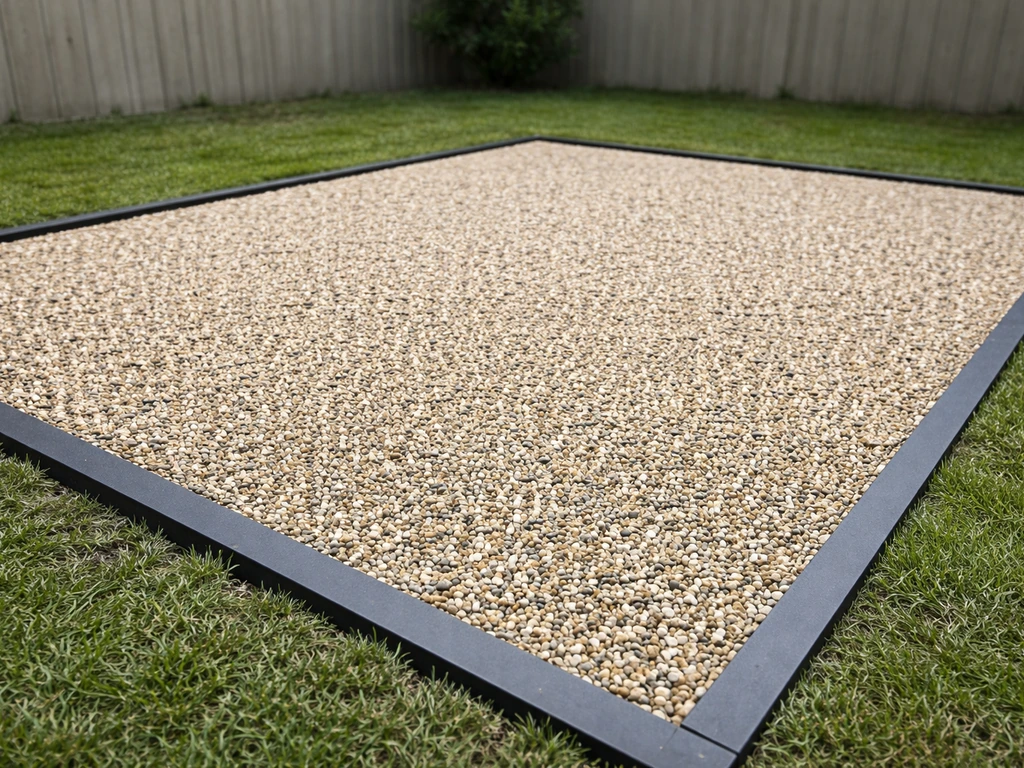
Building a rock patio comes down to three decisions: what style of rock you want, how well you prep the ground underneath it, and whether you're dry-laying individual stones or spreading loose gravel. Get those three things right and you'll end up with a patio that stays flat, drains properly, and doesn't turn into a weed farm by midsummer. Get them wrong and you're resetting stones or pulling weeds every season. This guide walks you through the whole build, from choosing your rock style to finishing the joints, so you can start with a solid plan and actually enjoy the result.
How to Rock Patio: DIY Plan, Materials, Steps, Tips

Nolan Lennox
29 May 2026
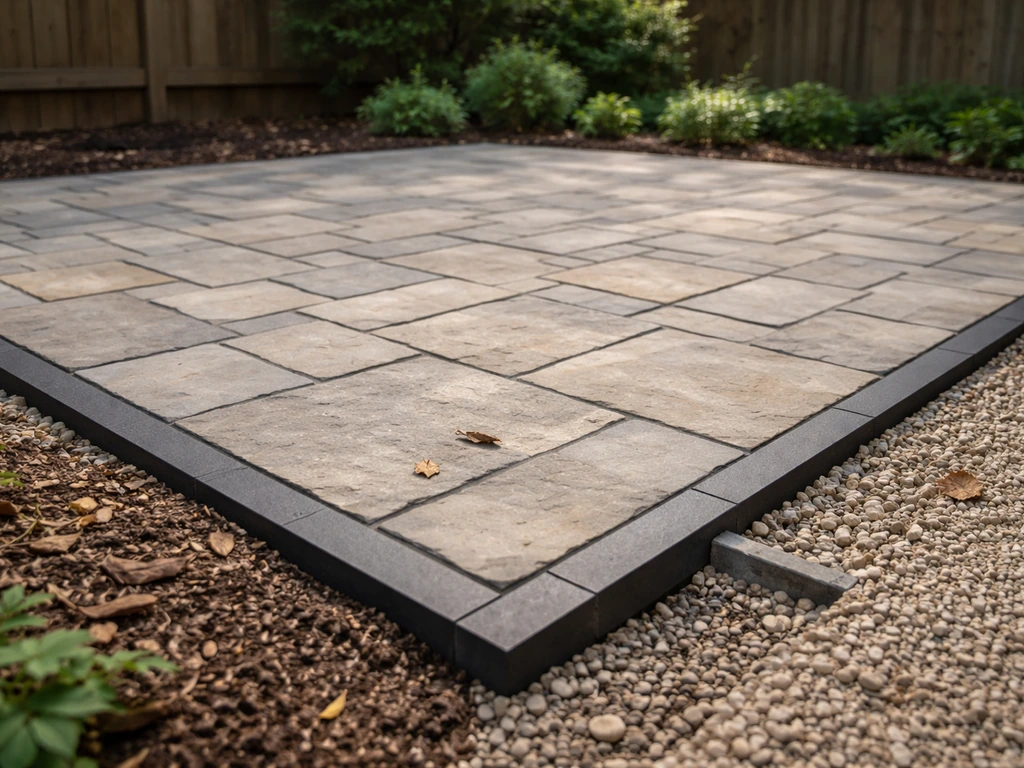
Pick your rock patio style first
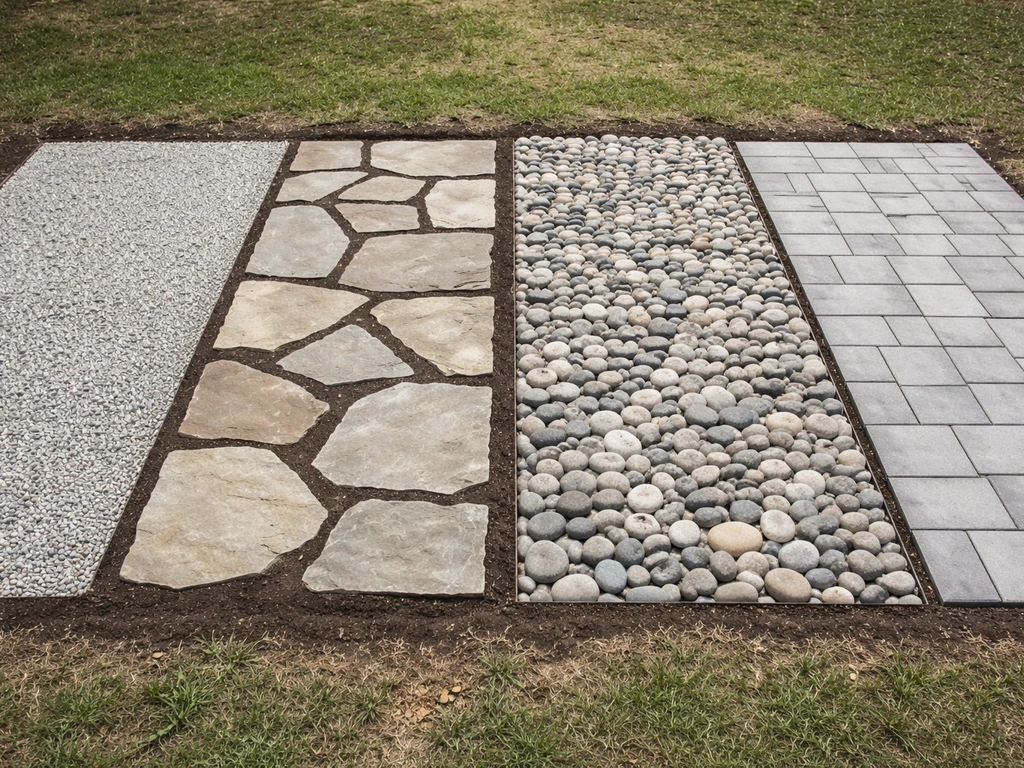
The word 'rock patio' covers a lot of ground. Before you buy anything, decide which style matches your budget, your skill level, and how you're going to use the space. The four main options are flagstone, river rock, pea gravel, and concrete pavers. Each has a different build process, different cost, and different maintenance expectations.
| Style | Best For | Skill Level | Approx. Material Cost | Maintenance |
|---|---|---|---|---|
| Pea gravel | Budget builds, informal areas, quick installs | Beginner | $1–$3 per sq ft | Low (top up gravel, edge upkeep) |
| River rock | Decorative fills, borders, dry creek looks | Beginner–Intermediate | $2–$5 per sq ft | Low–Medium (stones can shift) |
| Flagstone (dry-laid) | Natural look, flexible design, barefoot comfort | Intermediate | $4–$10 per sq ft | Medium (weeds in joints, occasional reset) |
| Concrete pavers | Clean, structured look, high traffic areas | Intermediate–Advanced | $5–$15 per sq ft | Low (joint sand refreshes every few years) |
Pea gravel and loose river rock are the easiest starting points. You excavate, lay a base, put down landscape fabric, and spread the rock. Flagstone patios take more time because you're fitting and leveling individual pieces, but the result looks fantastic and holds up for decades when done right. Concrete pavers are the most labor-intensive option but also the most forgiving long-term since you can pull and relay individual pieces if something shifts.
If you're newer to this kind of project, a gravel patio is genuinely a great place to start, and pea gravel patios specifically deserve their own deep-dive. For a more structured stone-on-stone build, flat rock patios and pebble patios follow a similar base process but with different finishing techniques.
If you're wondering how to build a pebble patio, focus on the same base and drainage work, then finish with the right pebble depth and edging so the surface stays neat pebble patios.
Site and drainage planning before you dig a single shovel
Drainage is the part most DIYers skip or underplan, and it's the reason patios fail. Water sitting under your stone base will eventually cause heaving, shifting, and cracking, especially if you're in a freeze-thaw climate. The goal is simple: water needs to move away from your house and off the patio surface.
Aim for a slope of at least 1/4 inch per foot away from your home across the entire patio surface. That's a 2% grade, which is barely noticeable to the eye but makes a real difference in how quickly water clears. If your patio is within 10 feet of the house, that slope is non-negotiable.
On the low end, a 1% slope (about 1/8 inch per foot) can work in well-drained soils, but 2% is more reliable for handling real rainfall. If you notice water pooling anywhere in your yard more than 2 to 3 hours after rain, you may have a drainage problem that needs addressing before you build, potentially with a French drain or subsurface tile drainage along the patio perimeter.
Check your soil type before committing to a base depth. Clay soil holds water and moves seasonally, which means your base needs to be thicker and a geotextile fabric layer is strongly recommended to keep fine clay particles from migrating up into your gravel. Sandy or loamy soils drain better and are more forgiving. If you're working on a slope, plan where the runoff goes so it doesn't just pool at the edge of your patio or flow toward a neighbor's yard.
Materials and tools you'll actually need
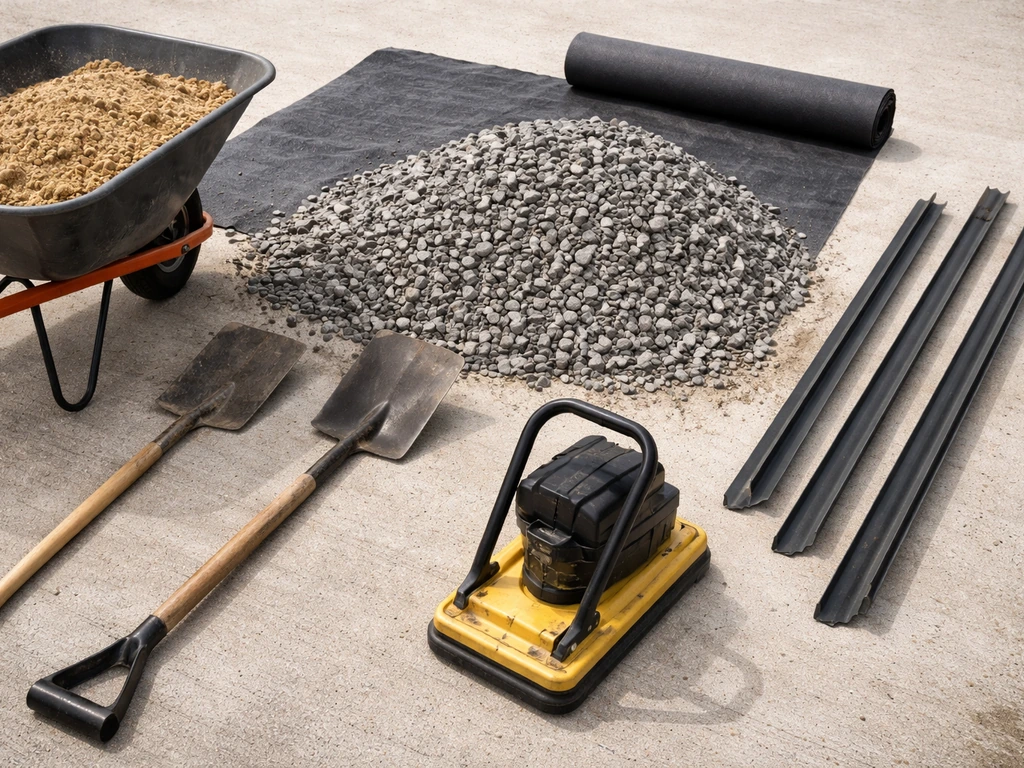
Materials list
- Crushed gravel (compactible base material, sometimes called road base or Class II base): enough to fill your base depth across the full area
- Bedding sand (coarse, not play sand): 1 to 1.5 inches depth over the compacted base for pavers or flagstone
- Your chosen surface rock: flagstone (1.25 to 1.5 inches thick minimum for dry-laid), pavers, pea gravel, or river rock
- Non-woven geotextile landscape fabric: especially important in clay-heavy soils
- Rigid patio edging (steel, aluminum, or plastic paver restraint): to contain loose gravel and hold stone layouts in place
- Polymeric joint sand (for paver or dry-laid flagstone joints): minimum joint width of 1/4 inch for most products
- Landscape stakes to secure edging
- String line and stakes for layout
Tools list
- Flat spade and/or square-bladed shovel for excavation
- Wheelbarrow for moving stone and gravel
- Hand tamper or plate compactor (rent one — a plate compactor is worth it for anything over about 100 sq ft)
- Long level and a 2x4 screed board for checking and setting grade
- Rubber mallet for setting stones
- Tape measure and marking paint or chalk line
- Brick chisel and hammer (or angle grinder with diamond blade) for cutting flagstone or pavers
- Garden hose for activating polymeric sand
- Broom for sweeping joint sand
Laying out and excavating your patio space
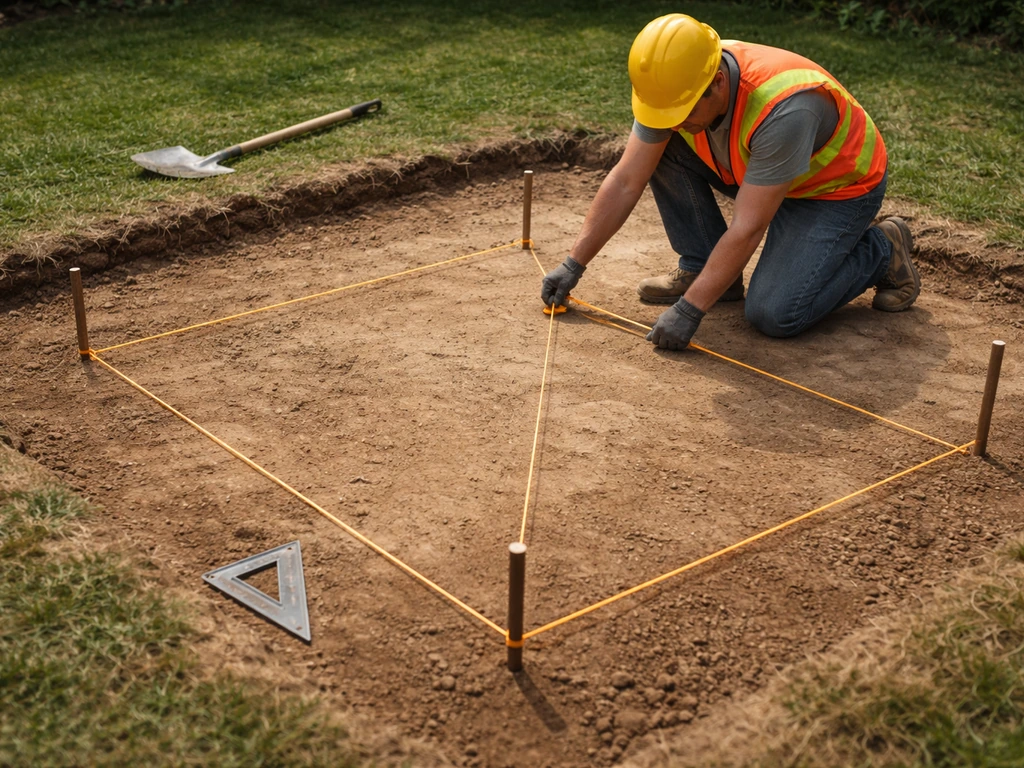
Mark your patio outline with marking paint or string lines before you dig. Use a square or the 3-4-5 triangle method to get your corners true. Once your layout is set, calculate your excavation depth: for a pedestrian patio you need 3 to 4 inches of compacted gravel base, plus 1 to 1. 5 inches of bedding sand, plus the thickness of your surface material.
Flagstone typically runs 1 to 2 inches thick. A standard concrete paver is around 2. 375 inches thick. That means your total excavation depth is usually 6 to 8 inches for a flagstone or paver patio.
For a gravel-only patio, you can get away with 4 to 5 inches total (3 to 4 inches of compacted base topped with 1 to 2 inches of surface gravel).
Before you excavate, call 811 to have your utilities located. Then start digging. Strip out all the sod and organic material, and get down to firm, undisturbed soil. Once you're at depth, use a hand tamper or plate compactor to firm up the native soil before you start adding base layers. If your soil is really soft or wet, that's a red flag worth addressing now. Loose, saturated soil will cause your entire patio to settle unevenly over time no matter how good your base layers are.
Now is also the time to cut in your slope. Set a string line at the finished patio height at the house-side edge, then drop 1/4 inch per foot as you move away from the house to establish your slope target. Check this as you dig and again after compaction.
Build the base and drainage layers properly
This is the step that separates a patio that lasts 20 years from one that starts looking rough in year three. Once the subgrade is compacted and sloped, roll out your non-woven geotextile fabric across the entire excavated area, overlapping seams by at least 6 inches. In clay soil this fabric is particularly important because it keeps the fine soil particles from slowly working their way up into your gravel base and softening it over time.
Add your crushed compactible base gravel in layers of no more than 3 inches at a time and compact each layer with the plate compactor before adding the next. Don't dump it all in and compact once, that won't achieve the same density and you'll end up with soft spots. Aim for a fully compacted base of 3 to 4 inches for a pedestrian patio. Check your slope as you go, adjusting the base gravel to maintain the correct grade all the way across.
Once your base is compacted and sloped correctly, add your 1 to 1.5 inch bedding sand layer if you're setting flagstone or pavers. Screed it smooth with a 2x4 pulled along two parallel screed rails. The goal here is a flat, even surface at a consistent depth. Don't walk on or disturb the screeded sand before setting your stones.
Setting the rock and finishing the surface
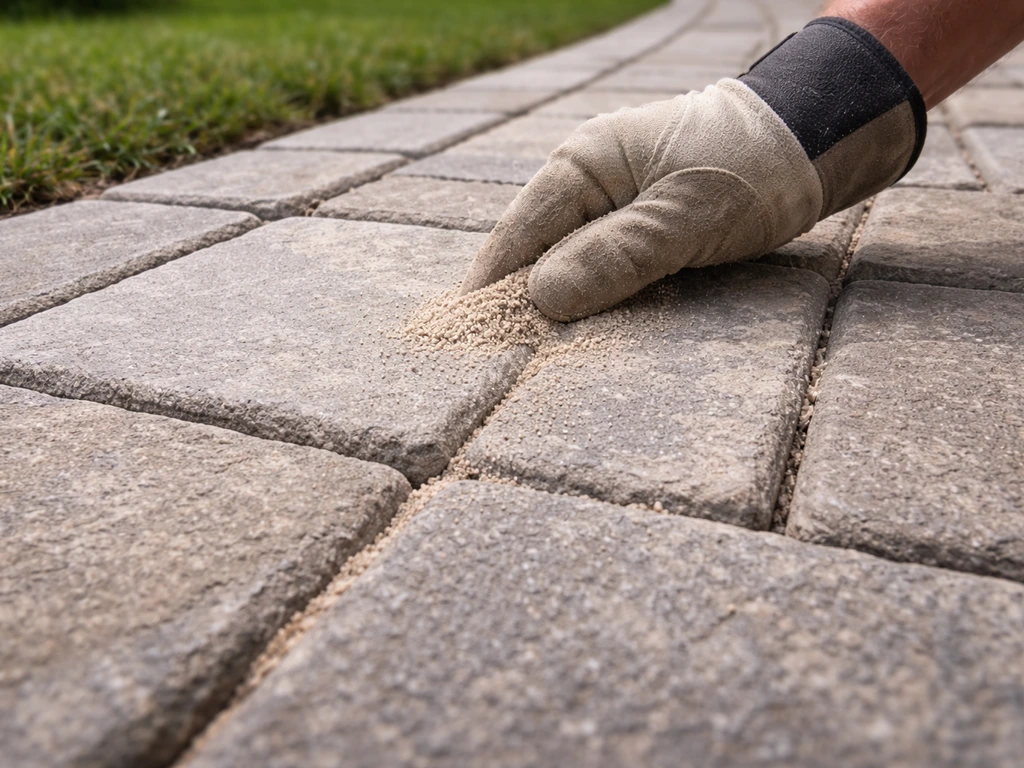
For flagstone and pavers
Lay out your stones dry before you set anything. Arrange flagstone pieces like a puzzle on the grass nearby so you can see the fit and plan your cuts before committing. Then set each piece into the sand bed, pressing and wiggling it firmly into place. Use a rubber mallet to tap stones level. Set a long level or straightedge across multiple stones as you go to catch any high or low spots early. Flagstone under about 2 square feet should be at least 1.25 inches thick, and larger pieces should be 1.5 inches or more to resist cracking under foot traffic.
For pavers, work from a fixed edge outward, keeping joints consistent. A minimum joint width of 1/4 inch is needed for polymeric sand to work properly. Once all your stones or pavers are set, sweep dry polymeric joint sand into the joints, compact the surface with your plate compactor (with a rubber pad underneath to protect the stone), and sweep again. Home Depot’s polymeric sand installation instructions advise final compaction or tamping over the area to consolidate the sand into the joints, with cautions about site conditions. Then lightly mist the surface with water to activate the polymeric binder. Keep traffic off it for at least 24 hours while it cures.
For pea gravel and loose rock patios
If you're doing a gravel patio, install your rigid edging first and secure it firmly with landscape stakes before you spread anything. Without solid edging, your gravel will migrate out into the lawn within a season. Lay the landscape fabric over your compacted base, then pour in your surface gravel to a depth of about 1. 5 to 2 inches.
Rake it level. River rock and pea gravel behave differently: pea gravel settles into a fairly stable surface, while larger river rock stays looser underfoot and works better as a decorative element around a more structured center than as the primary walking surface. If you're planning a pea gravel patio, this section will help you choose the right approach for a stable, low-maintenance surface pea gravel patio how to.
Common problems and how to fix them
Weeds coming through
This is the most common complaint, and it usually has one of two causes: no landscape fabric was installed, or the joints between stones filled with windblown soil over time and seeds took hold. Geotextile fabric under your base suppresses roughly 90 to 95% of weed growth from below. But it won't stop seeds that blow in from above and germinate in the joints. Polymeric sand in your flagstone or paver joints significantly reduces joint-based weed growth because the hardened sand leaves little room for seeds to establish. For existing gravel patios with weed problems, pull what's there, re-apply a fresh layer of gravel, and consider a pre-emergent herbicide each spring.
Stones shifting or sinking
Stones that rock or sink almost always trace back to the base. Either the base wasn't compacted enough, the sand bedding layer was too thick, or the subgrade soil was soft and unstable to begin with. The fix is to pull the problem stones, re-compact the base if needed, add fresh sand, and relay. If multiple stones in one area are sinking, suspect a drainage issue: water may be collecting under that section and softening the base.
Check your slope and look for any low points where water is pooling. This is also why dry-laid flagstone outperforms mortared flagstone in freeze-thaw climates: individual dry-laid stones can absorb seasonal movement and be easily reset, while rigid mortar bonds crack under frost heave.
Uneven surface
An uneven surface after you've finished usually means the bedding sand layer wasn't consistent, or stones of varying thickness weren't compensated for during installation. For flagstone especially, pieces vary in thickness even within a single order, so you need to add or remove sand under each piece individually to bring the surface true. If you're dealing with an existing patio that has become uneven over time, the good news is that dry-laid stone is easy to reset: pull the low or high stones, adjust the sand, and relay. It's tedious but totally DIY-able.
Poor drainage after the build
If water is pooling on your finished patio or near the house, the slope wasn't established correctly during the build. Catching this early is much easier than fixing it after the whole patio is in. If you have a completed patio with drainage issues, adding a shallow channel drain or French drain along the low edge can redirect water without tearing everything up. For future projects: set your slope in the subgrade and check it again after base compaction. Don't assume the compacted base mirrors the shape of the ground you started with.
Your starting checklist before you buy anything
- Measure your patio area and decide on your style (gravel, flagstone, river rock, or pavers)
- Check your soil type and existing drainage before you plan your base depth
- Establish your slope direction and calculate how much fall you need across the patio length
- Calculate material quantities: base gravel, bedding sand, surface rock, fabric, edging
- Call 811 to mark utilities before any digging
- Rent a plate compactor — this is not a step to skip on anything over about 100 square feet
- Plan your edging system before buying surface rock so you know what contains it
- Buy polymeric joint sand if you're setting flagstone or pavers — regular sand washes out and invites weeds
FAQ
How do I choose between flagstone, pea gravel, river rock, and concrete pavers for a first-time patio build?
Pick based on how much time you want to spend on surface fitting. If you want the easiest install, start with pea gravel because it relies on edging plus an even gravel depth rather than precise stone matching. If you want the most forgiving option for maintenance, concrete pavers let you remove and relay individual units if something shifts. Choose flagstone when you want a natural look and accept more time for cut-and-fit work, especially to keep the surface level.
What’s the minimum thickness I should target for stone surfaces if I expect lots of foot traffic?
Aim higher than the bare minimum if you will have heavier use like chairs, grill traffic, or wheelbarrows. For flagstone, thicker pieces help resist cracking and uneven settling, and for larger stones you should bias toward the thicker end of the recommended range. If you are unsure, test-fit a few stones on your sand bed and confirm you can achieve full support without rocking.
Can I skip geotextile fabric under gravel if my yard is sandy?
You can sometimes get away without it in very free-draining sandy soils, but it reduces the chance of fine soil migrating into the base over time. In clay or any soil that stays damp after rain, geotextile is strongly recommended because it helps prevent the base from slowly softening. If you skip fabric, you should be extra careful with base compaction and consider adding a thicker base layer to compensate.
How do I know if my drainage plan is truly working before I build the patio?
Do a quick test after a soaking rain: mark any spots where water remains on or near the future patio footprint for more than a couple hours. If you see pooling, correct it before you install the base, because buried low points are hard to fix later. For most projects within about 10 feet of the house, treat a 1/4 inch per foot slope away from the structure as a non-negotiable target.
What should I do if I find soft or wet soil once I’ve excavated?
Stop and address it before proceeding, because no amount of base gravel will fully correct an unstable subgrade. Remove the saturated material down to firm soil, then rebuild the subgrade, keeping your slope plan consistent. If the soil is consistently wet, you may need subsurface drainage like a French drain along the low side before you lay fabric and base.
How can I keep polymeric joint sand from washing out or failing on day one?
Once the pavers are set, keep traffic off the surface while the sand cures, and lightly mist only the amount needed to activate the binder. Don’t over-saturate during activation, and avoid rinsing the patio the same day. If you see a lot of sand disappear quickly, it usually means joints are too wide or the surface was disturbed before the binder set.
Why is my patio cracking or shifting even though I compacted the base?
Most failures come from an incorrect grade, inconsistent compaction, or a bedding layer that was too deep or uneven. If multiple areas move together, look for water collecting in a low spot rather than assuming it’s only a base thickness issue. Re-check the slope after compaction and confirm you didn’t compromise it when laying sand or setting stones.
What’s the best way to prevent weeds in joints if my patio gets windblown debris?
Geotextile suppresses growth from below, but weeds can still establish from seeds that land in surface joints. Keeping polymeric joint sand properly installed helps reduce joint-based weed growth on paver or flagstone builds. If you already have weeds in gravel, pull existing plants, refresh the gravel layer, and consider applying a pre-emergent each spring rather than waiting until weeds are visible.
For a gravel patio, how do I stop gravel from migrating into the lawn?
Install rigid edging first and stake it securely before any gravel goes in. If the edging has gaps or is loose, gravel will work its way out with foot traffic, mower vibration, and freeze-thaw movement. Also use landscape fabric over the compacted base so soil doesn’t mix upward and create an unstable, muddy surface.
Can I build on a slope, and how do I avoid ending up with a lumpy patio surface?
Yes, but you must control the slope in the excavated subgrade and verify it again after compaction. Check your grade while adding base layers, because adjusting only at the sand stage often leads to uneven thickness under stones. If your patio footprint is near a house, confirm runoff direction carefully so water doesn’t flow laterally under the edge.
How soon can I use the patio after polymeric sand activation?
Keep traffic off the surface for at least 24 hours while the polymeric sand cures. Avoid heavy loads, dragging items across joints, and watering beyond light misting. If the weather is cool or damp, curing can take longer, so wait a bit extra before moving furniture or grills onto the patio.
Next Article
How to Build a Pebble Patio: Step-by-Step DIY Guide
Step-by-step guide to build a pebble patio, from site prep and base layers to edging, leveling, and maintenance.