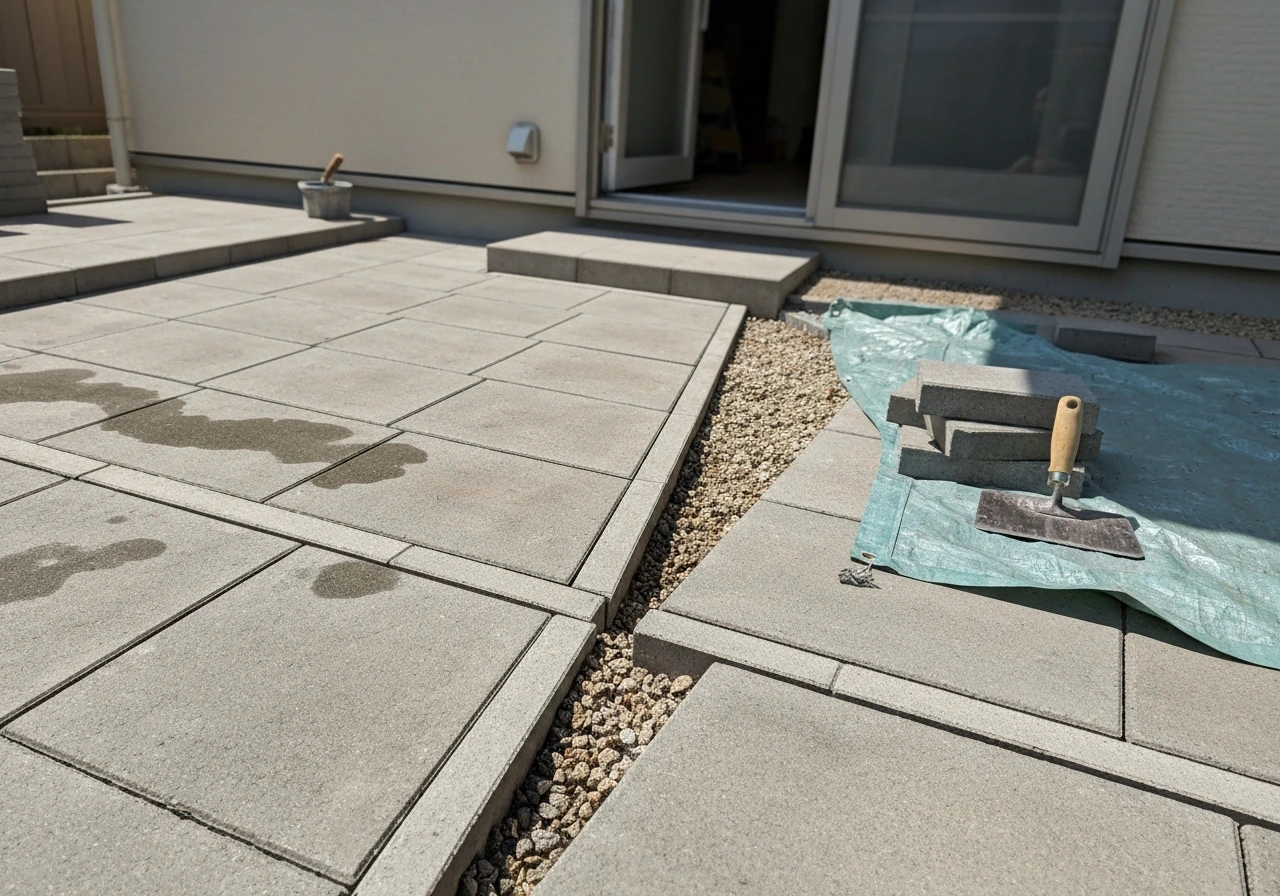
Revamping a patio starts with figuring out what's actually wrong, then choosing the fix that matches your budget, skill level, and how you want to use the space. If you are wondering how to redo a patio, start by identifying the underlying issue so you can choose the right repair, resurfacing, or rebuild approach patio revamps. Whether you're dealing with sunken pavers, crumbling concrete, a rotting wood deck, or just a layout that never worked, there's a clear DIY path forward for each problem. You don't need to tear everything out and start over unless the subbase has truly failed. Most patio revamps fall into three buckets: repair and refresh, resurface or overlay, or full demo and rebuild. This guide walks you through all three.
How to Revamp a Patio: DIY Steps, Materials, Costs

Nolan Lennox
6 Jul 2026
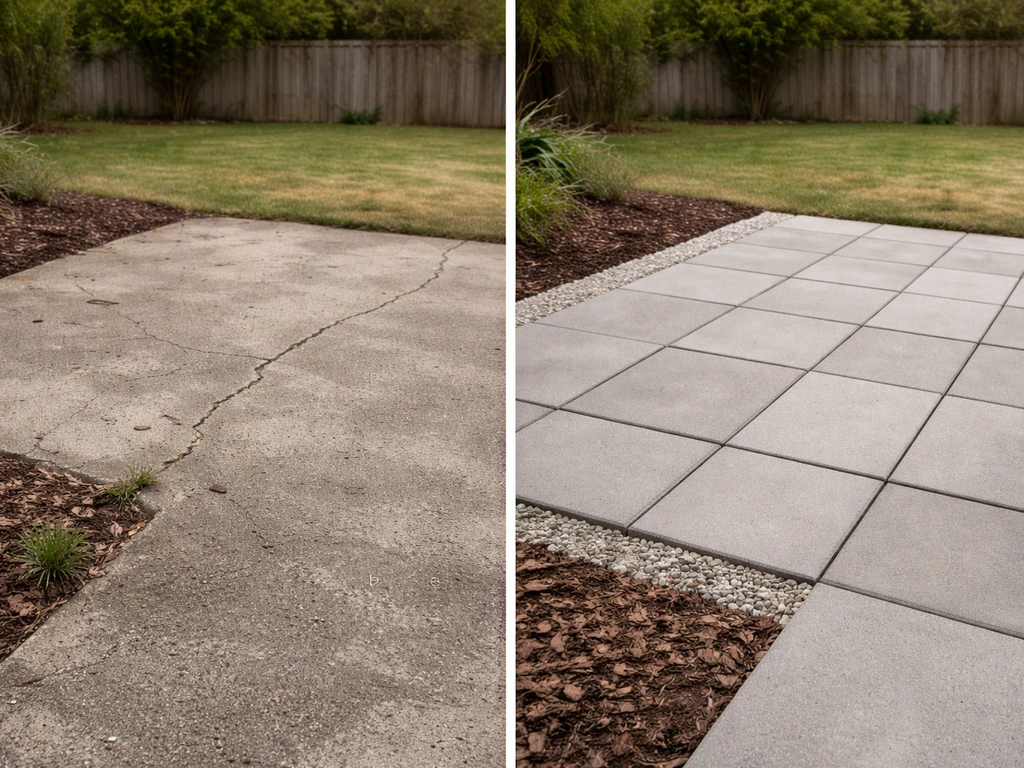
Assess what you've got before spending a single dollar
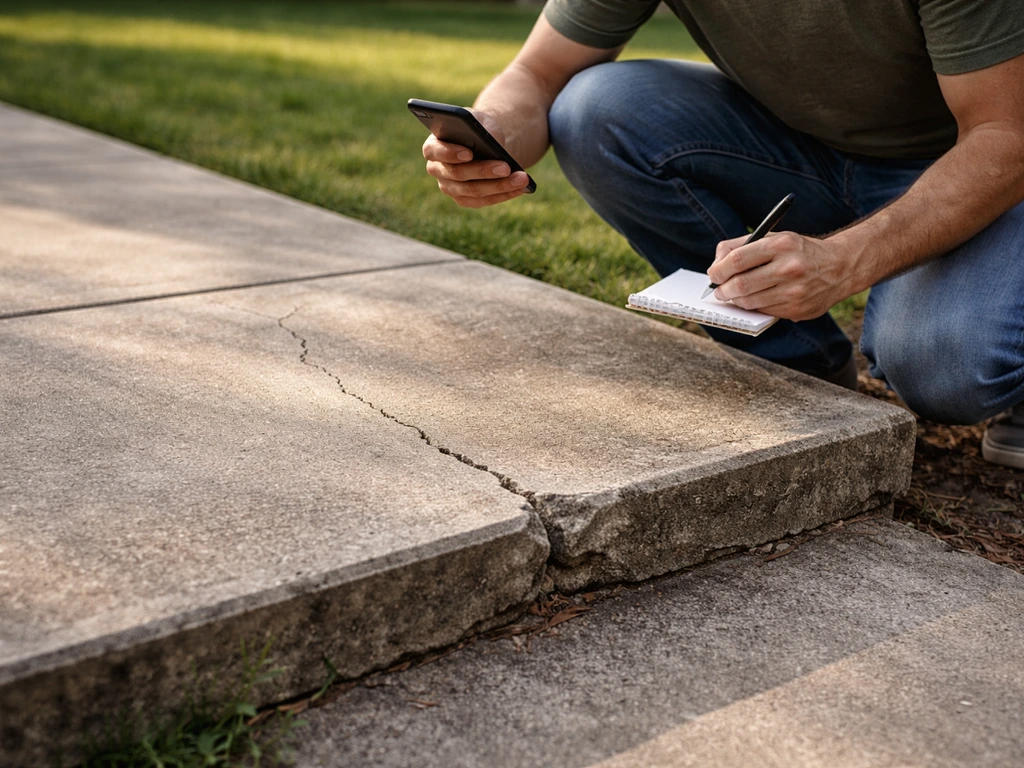
Walk your patio and take honest notes. You're looking for five specific problems: uneven or sunken sections, cracks or crumbling material, poor drainage (water pooling against the house or sitting in low spots), failing joints or mortar, and structural rot if you have a wood or composite surface. Each problem points to a different fix, so don't skip this step.
For hardscape patios (pavers, brick, concrete), push down on suspicious spots with your foot. If tiles or pavers rock, the sand bed has washed out or the subbase settled. If there's a consistent slope toward the house rather than away from it, you have a drainage design problem that no cosmetic fix will solve. For wood or composite platforms, probe the joists, posts, and ledger board with a screwdriver. Soft spots mean rot, and rot means those members need replacing before you do anything else on top.
Once you've diagnosed the problems, set concrete goals. Ask yourself: Do I want the same footprint or a bigger one? Is the current layout actually useful, or do I want to reorganize zones for dining, seating, or a grill? If you already know you want to start changing the layout, this kind of patio planning is a close companion to how to renovate patio p4s2. Do I want a low-maintenance surface or am I fine with occasional upkeep? Your answers shape every decision that follows, from material choice to how deep you need to dig.
Plan the layout, drainage, and measurements properly
Measure your existing patio and sketch it out on grid paper or a free app like RoomSketcher. Note where the sun hits at different times of day, prevailing wind direction, and where foot traffic naturally flows. If you're expanding, measure out to your property line and check local setback rules before you commit to a footprint.
Drainage is the single most important design decision you'll make, and it's non-negotiable. Your finished patio surface must slope away from the house at a minimum of 1/4 inch per foot, which works out to about 1 inch of drop over every 4 feet. Some installers use the 2% rule (roughly 1/4 inch per foot), and both get you to the same place. What you cannot do is let the existing grade or your old subbase dictate the pitch. If the existing base slopes toward the house, you need to rebuild it from scratch with the correct slope built in. If your existing base slopes toward the house, that is a key sign you may need to rebuild a patio from scratch how to rebuild a patio. Saturated bedding sand erodes joint stability, promotes efflorescence (those white salt deposits you see on pavers and brick), and will undermine even a beautiful new surface within a season or two.
When planning your measurements for a paver or brick patio, calculate your material quantity by multiplying the length by the width of the finished area, then add 10% for cuts and breakage. For a wood or composite platform, sketch your joist layout at the same time as your surface plan, because joist direction determines which way your decking boards run.
Surface and material options: what actually works and what it costs
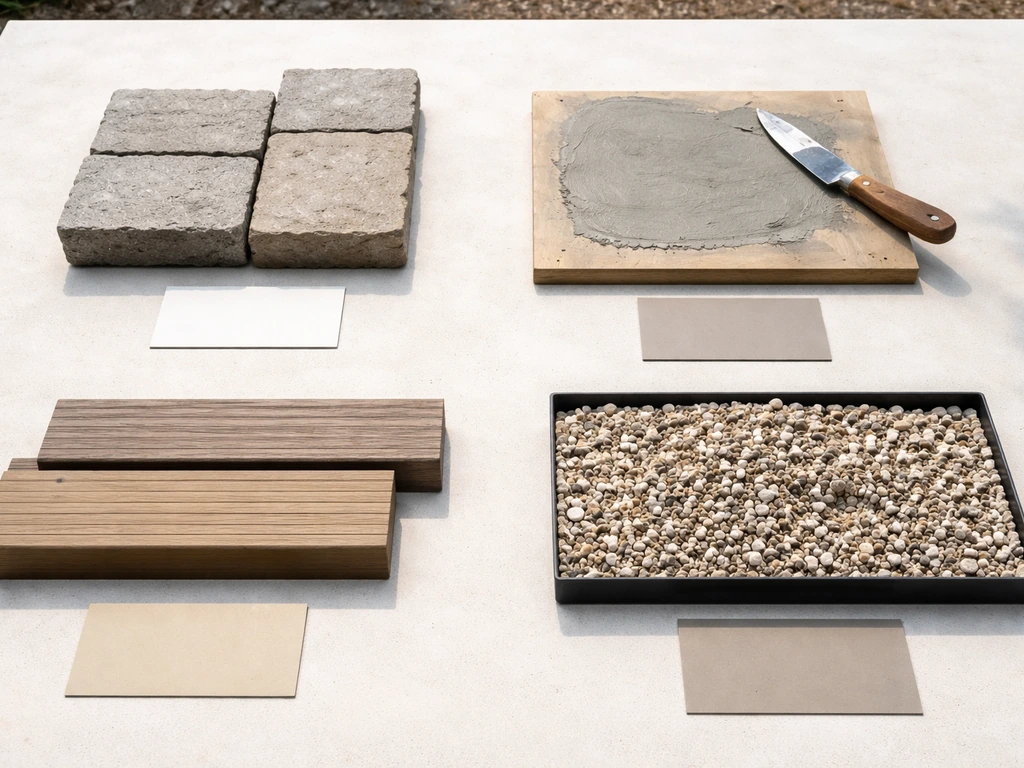
Picking a material is partly an aesthetic choice and partly a practical one based on your subbase condition, budget, and how much maintenance you're willing to do. Here's a realistic look at the main options.
| Material | Approx. DIY Cost (per sq ft) | Lifespan | Maintenance | Best For |
|---|---|---|---|---|
| Gravel/Decomposed Granite | $1–$4 | Ongoing (top up yearly) | Low (re-raking, edging) | Budget patios, informal spaces, good drainage |
| Brick Pavers | $8–$15 | 25–50+ years | Low (re-sand joints every few years) | Classic look, DIY-friendly install |
| Concrete Pavers | $6–$12 | 25–50 years | Low to medium (seal every 2–3 years) | Versatile, wide style range |
| Natural Stone | $15–$30+ | Lifetime with proper base | Medium (occasional sealing) | High-end look, irregular charm |
| Pressure-Treated Wood | $8–$15 | 10–15 years | Medium-high (stain/seal annually) | Elevated platforms, sloped yards |
| Composite Decking | $15–$25 | 25–30+ years | Low (occasional wash) | Long-term low-maintenance elevated patio |
Gravel and decomposed granite
Gravel is the most budget-friendly and beginner-friendly option. It drains naturally, doesn't require a deep excavation, and is very forgiving to install. The main trade-off is that it shifts over time, needs edging restraints to stay put, and isn't great for furniture that needs a stable flat surface. Use a landscape fabric underneath to suppress weeds, then lay 3 to 4 inches of compacted gravel or decomposed granite. It's a good option if you're starting a new space from scratch and want something functional while you decide on a permanent material later.
Brick and concrete pavers
Pavers are the most popular DIY choice for a reason: they're modular, forgiving of minor settling because individual units can be lifted and reset, and they look great. Brick pavers in a sand-set flexible installation (the BIA standard approach) use a compacted aggregate base, a 1-inch screeded sand bed, and polymeric jointing sand between units. Concrete pavers work the same way. Both materials are durable enough to last decades when installed correctly.
Wood decking
Pressure-treated wood is affordable and easy to work with basic tools. A ground-level wood platform over sleepers is a genuinely beginner-friendly project. The downside is maintenance: you need to clean, sand, and re-seal or stain wood every one to two years or it will gray and eventually crack. Realistically, a wood platform has a 10 to 15 year lifespan before major repairs or replacement are needed.
Composite decking
Composite is the upgrade path that makes the most long-term financial sense if you're already rebuilding a wood platform. The higher upfront cost is offset by a lifespan of 25 to 30-plus years and virtually no annual maintenance beyond hosing it down. Composite boards require a proper joist frame underneath, with joists spaced no more than 16 inches on center for residential installs (tighter, around 12 inches, if you're laying boards at a 45-degree angle). Brands like TimberTech publish their spacing specs in their installation guides, and you should follow them exactly to avoid board deflection.
Subbase, leveling, and prep: the work that makes everything last
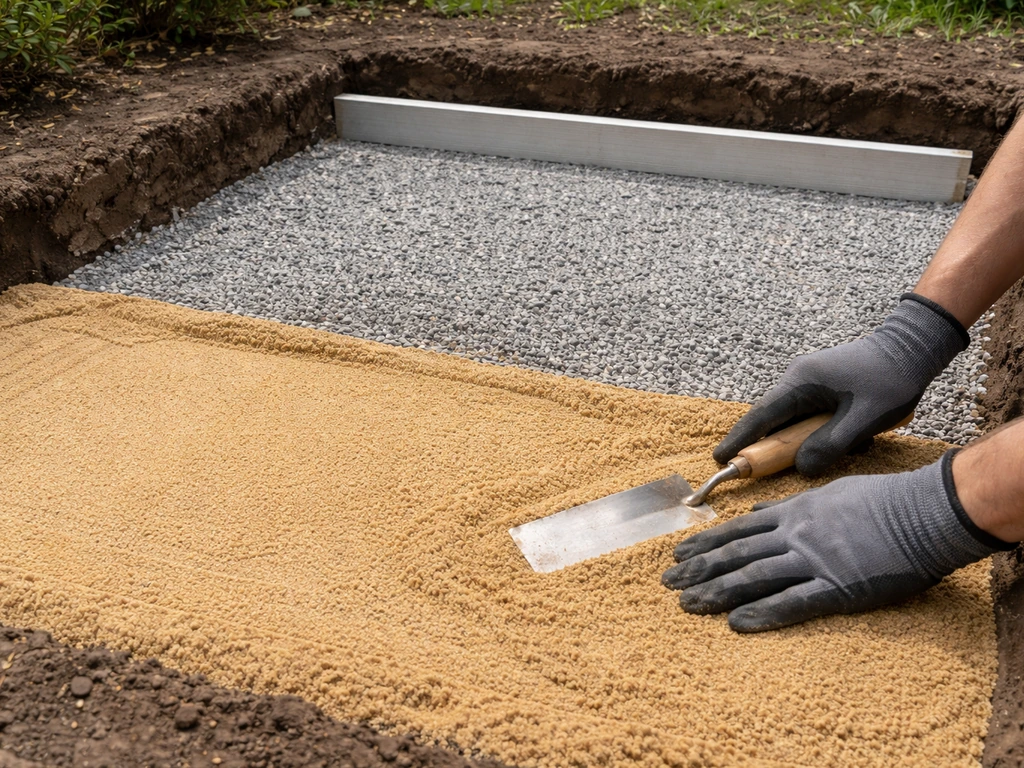
This is where most DIY revamps either succeed long-term or fail in a couple of years. A beautiful surface on a bad base is just expensive mulch. Whether you're repairing an existing patio or building fresh, the subbase rules are the same.
For paver and brick patios
- Excavate to a depth that allows 4 inches of compacted gravel base plus 1 inch of bedding sand plus the thickness of your paver or brick (typically 2 to 3 inches). Total excavation is usually 7 to 8 inches from finished surface grade.
- Compact the native soil with a plate compactor, then fill with crushed stone or gravel base material in 2-inch lifts, compacting each lift.
- Slope your compacted base away from the house at 1/4 inch per foot. Don't try to correct a bad slope with extra bedding sand. The ICPI standard is very clear: bedding sand should be screeded to a nominal 1-inch maximum. Using it as a fill material to level a bad base causes uneven settlement.
- Install edge restraints before screeding sand. Plastic or aluminum paver edging pinned every 12 inches prevents lateral movement over time.
- Screed the bedding sand to 1 inch, maintaining your slope. Set pavers or bricks, then sweep in polymeric jointing sand.
- Compact the finished surface with a plate compactor fitted with a rubber pad, then re-sweep and activate polymeric sand with water. Don't apply polymeric sand if rain is expected within 6 hours, and wait at least 90 days before applying any sealer.
For wood or composite platforms
- Remove old decking boards to expose the frame. Probe every joist and beam for rot. Replace anything soft or spongy.
- Check that posts and footings are solid and level. If footings have heaved or sunk, this is the time to correct them.
- Shim or plane joists to get a flat, level plane across the entire frame. Even small high spots cause deck boards to flex and squeak.
- For composite, confirm joist spacing meets the manufacturer spec (16 inches on center maximum for standard installs). Add blocking between joists if needed.
- Lay a layer of self-adhesive flashing tape on top of each joist to protect the wood from moisture trapped under composite boards.
- Install decking boards with the correct hidden fasteners or face screws per the manufacturer's guide. Leave the gap specified for your product between boards for drainage and expansion.
Geotextile fabric: when it helps and when it doesn't
A layer of geotextile filter fabric between your native soil and gravel base can prevent fine soil particles from migrating up into your base aggregate over time. It's most useful in sandy or silty soil conditions. It's less critical in clay-heavy soil. Some installers also use it around the perimeter near edge restraints to prevent sand loss from the edges of the installation. It's a cheap insurance policy (roughly $0.20 to $0.40 per square foot) and worth including in most revamps.
Step-by-step revamp approaches by patio type
How deep you need to go depends on what you're starting with. Here's how to approach the three most common existing patio conditions.
Revamping an existing paver or brick patio (repair and reset)
If your patio is 70% or more intact but has sunken spots, rocking pavers, and eroded joints, a targeted reset is the right move. You don't need to tear the whole thing out. If you’re trying to figure out how to update patio space without replacing everything, start with the surface and subbase condition, then choose an approach that matches the patio type. Mark every unstable unit with chalk, then pull them up carefully with two flat pry bars or a paver puller tool. Stack them nearby in the same orientation so you can relay them in the same direction.
Dig down under the problem area and check the base. If it's washed out or soft, remove the sand and base material, re-compact the subgrade, and rebuild the base layer to the correct depth and slope. If the base is solid but the sand has just settled unevenly, rake out the sand, add fresh bedding sand, screed it back to 1 inch, and relay the pavers. For ICPI interlocking pavers, bedding sand should be screeded to a nominal 1 in (25 mm) maximum thickness, and you should maintain surface tolerance and avoid filling depressions in the base with bedding sand nominal 1 in (25 mm) maximum thickness for bedding sand. Sweep in fresh polymeric sand, compact, and activate with water. For widespread joint failure where the old polymeric sand has hardened but cracked, clear the joints down to the pavers with an oscillating multi-tool or a stiff wire brush before re-sanding. Don't just sweep new polymeric sand over old failed sand. It won't bond properly.
Revamping a cracked concrete patio (overlay or demo)
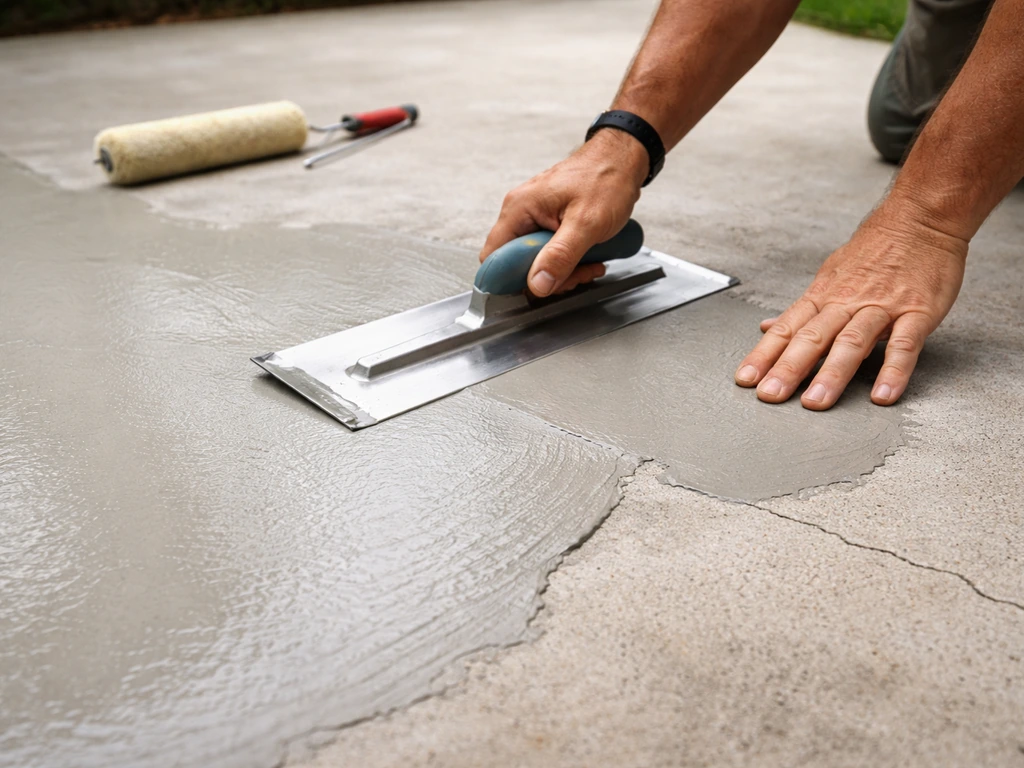
Concrete patios that are just surface-worn or have hairline cracks can be refreshed with a concrete resurfacer product (Quikrete and similar brands make DIY-friendly versions). Clean the slab thoroughly, fill any cracks wider than 1/4 inch with concrete patching compound, then apply the resurfacer with a long-handled squeegee. This adds maybe 3/16 to 1/4 inch of thickness and gives you a fresh surface you can stamp, stain, or leave plain.
If the concrete has large heaved sections, major structural cracks (wider than 1/2 inch or running the full depth), or has sunk significantly toward the house, you're better off breaking it up and starting fresh. Renting a concrete breaker (typically $60 to $80 per day) and a dumpster (varies widely by location, but budget $300 to $500 for a small residential load) is the path forward. Once the slab is out, assess the subgrade and rebuild your base correctly from scratch.
Revamping a wood or composite platform
Start by stripping the decking boards off the frame and doing an honest structural assessment as described in the prep section above. If the frame is in good shape, you can simply resurface with new wood or upgrade to composite. If posts, joists, or the ledger board (the board attached to your house) have rot, replace those members before touching the surface. A rotted ledger is a safety issue, not a cosmetic one, and it's one situation where calling a contractor for an opinion is worth it if you're unsure.
When rebuilding the frame for composite, this is also the time to think about related upgrades like rebuilding a patio from scratch with better footprint or drainage, which overlaps with what you'd do for a full rebuild or renovation project. If your goal is to upgrade patio performance, focus on footprint and drainage improvements during the frame rebuild so the surface lasts longer. If you're expanding the footprint at the same time, you're essentially doing a full rebuild on the new section while refreshing the existing one.
Starting from scratch on a neglected or completely failed patio
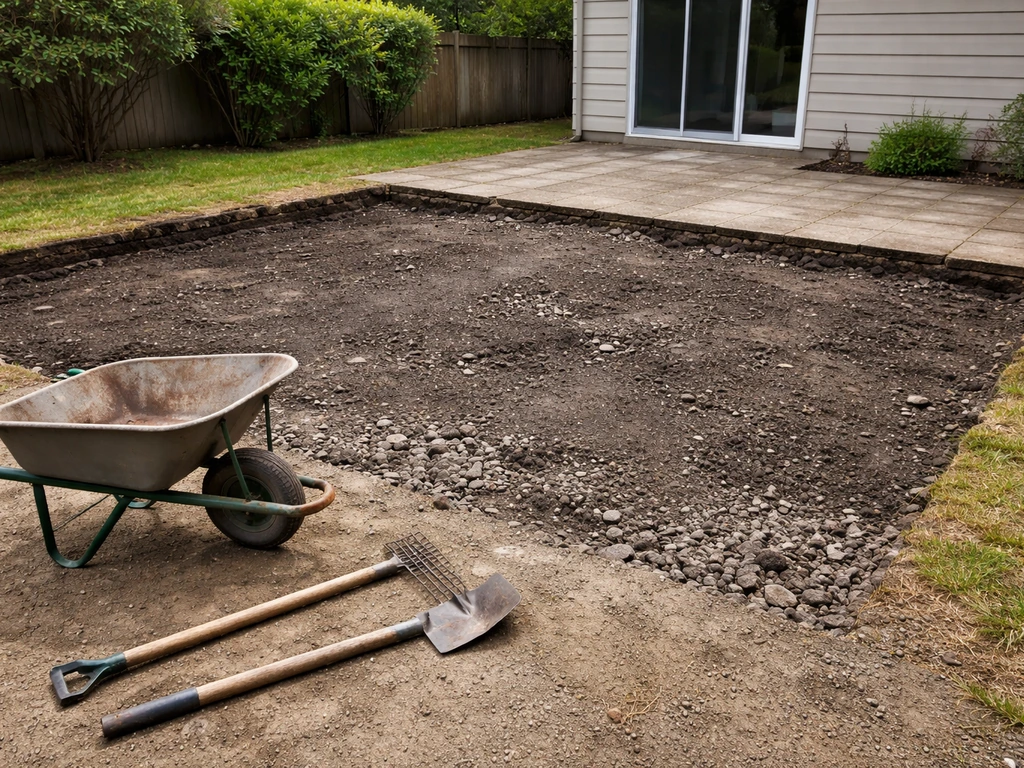
If the existing surface is beyond repair or you want a completely different layout and material, a full demo and rebuild is actually simpler in some ways because you're not working around compromised existing material. Mark your new footprint with spray paint or stakes and string. Excavate to the required depth for your chosen material. Build the base with the correct slope from day one. Then install your chosen surface. For a first-time DIYer, a sand-set paver patio on a flat or gently sloping yard is the most forgiving full-build project. It's also more reversible than poured concrete if something goes wrong.
Realistic costs, tools, timelines, and permit basics
What to budget
A small paver patio repair (resetting sunken sections, re-sanding joints) on an existing 200 square foot patio might cost $100 to $300 in materials. A full paver patio rebuild on the same footprint, including base material, sand, pavers, edge restraints, and polymeric sand, typically runs $1,500 to $3,500 in materials depending on paver choice and your location. A composite platform rebuild (200 square feet, replacing a wood deck surface and frame) runs $3,000 to $5,000 in materials. Gravel patios are the budget leader at $300 to $800 for the same footprint. Add 15 to 20% to any estimate as a contingency for surprises in the subbase.
Tools you'll need
- Tape measure, stakes, and mason's line (layout and slope checking)
- Line level or digital level (verifying your slope)
- Plate compactor (rent for $60–$100/day, essential for base compaction)
- Screed pipes and screed board (for leveling bedding sand)
- Rubber mallet and paver splitter or angle grinder with diamond blade (cutting pavers)
- Broom and leaf blower (polymeric sand application)
- Garden hose with misting nozzle (activating polymeric sand)
- Circular saw and drill/driver (wood or composite framing)
- Pry bars or paver puller (for removing existing pavers)
- Concrete breaker (rent if demoing a slab)
How long will it take?
A paver joint repair on an existing patio takes one weekend. Resetting a section of sunken pavers takes a day or two depending on size. A full paver patio rebuild on 200 square feet (with proper base prep) is realistically a three to four day project for two people. A composite platform resurface (replacing boards on an existing solid frame) takes one to two days. A full demo and rebuild with frame replacement takes a weekend or longer if you're also pouring new footings and waiting for concrete to cure (minimum 48 to 72 hours before loading footings).
Permits: when you need one and when you probably don't
Ground-level hardscape patios (pavers, gravel, brick) generally don't require a permit in most jurisdictions because they're not considered structures. However, rules vary, and anything within your setback zones may need approval. Elevated wood or composite platforms attached to your house almost always require a building permit, because they're considered deck structures subject to load and ledger attachment codes. Detached platforms over a certain height (usually 30 inches above grade) often require permits too. Check with your local building department before you start. Doing unpermitted deck work can complicate home sales and void homeowner's insurance claims. The permit process is usually straightforward for simple residential projects and often only costs $50 to $200.
Where to start right now
The best first step is spending 30 minutes walking your patio today and writing down every specific problem you find, not just a general 'it looks bad.' Sunken pavers in the northwest corner. Crack running from the door to the garden bed. Water pools near the foundation after rain. That list becomes your project scope. Once you know the scope, you can match it to one of the repair, resurface, or rebuild paths above, price out materials at your local supplier, and start your timeline. Once you’ve identified the problems, you can follow the same repair, resurface, or full rebuild steps to learn how to replace a patio. Most patio revamps are very doable for a motivated DIYer. The projects that go sideways are almost always the ones where someone skipped the assessment, rushed the base prep, or ignored the drainage slope. Get those three things right and the rest follows naturally.
FAQ
How do I tell if I can resurface versus I really need a full rebuild?
If water pools after rain, pavers rock due to a washed-out sand bed, or the old base slopes toward the house, you usually cannot fix that with a top layer. Resurfacing or overlay works best when the slab or deck structure is still sound, the surface failures are mostly cosmetic, and the drainage pitch can be maintained or restored.
What should I do if my yard grade is the problem but I do not want to rebuild the whole patio?
You can sometimes correct drainage without a full demo by rebuilding only the affected section and tying the new base into the surrounding pitch. Use the existing patio edge as a reference point, then re-slope the base so the finished surface maintains at least 1/4 inch per foot away from the house, rather than trying to “shim” the top surface.
Can I just add more sand under pavers instead of removing and rebuilding the base?
Often, no. If rocking is caused by a settled or eroded subbase, adding sand can mask the problem temporarily, then the sand bed will wash or compact again. The more reliable approach is to remove unstable units, inspect the base under them, and rebuild/compact the base where it has been compromised.
How do I choose the right bedding and joint sand for pavers?
Match the sand type to the jointing and installation method. For common sand-set paver installs, bedding sand is typically screeded to about 1 inch, and polymeric jointing sand is used only after you have stable paver alignment and compacted base layers. Avoid using polymeric sand as bedding, it does not function correctly and can trap moisture.
Why do white spots (efflorescence) keep coming back even after cleaning my pavers?
Reoccurring white deposits usually point to moisture traveling up from below, often from saturated bedding or an installation with drainage issues. The fix is not just reapplying joint sand, it is correcting the slope, addressing any base saturation, and ensuring proper subbase drainage and compaction.
Do I need edge restraints, or can I rely on the pavers staying in place?
Edge restraints are usually necessary, especially for larger patio areas. Without restraints, pavers and bedding sand gradually migrate, joints loosen, and surface height becomes uneven. For a long-term DIY outcome, install edging that locks the perimeter, then compact the base and final sand with the patio edges protected.
What is the fastest way to diagnose drainage problems before I buy materials?
Run a quick “water test.” After a normal rain or with a controlled hose, observe where water travels and where it lingers, then take photos at the same angles. If you see consistent flow toward the foundation or long-lasting puddles in low spots, plan on base work and pitch correction, not just cosmetic repairs.
How can I prevent weeds if I choose pavers or gravel?
Use landscape fabric under gravel and consider it under paver base only as part of an overall system. Even with fabric, compaction and correct base depth matter, because weed seeds and fine soil can still migrate. The biggest control is reducing exposed soil and keeping water from saturating and carrying fines upward.
When should I replace joists or ledger boards instead of “patching” a deck?
Replace structural members if screwdriver pressure reveals soft wood, if joists show rot at the ends where water collects, or if the ledger attachment is compromised. Ledger rot is a safety issue tied to load transfer and water intrusion, so if you are unsure about soundness or fastening, get an assessment before installing new decking.
How do I handle an existing patio that has settled unevenly on one side?
For localized settlement, you typically remove only the unstable region, rebuild the base with the correct slope, then reset pavers with fresh bedding sand. If settlement is widespread or the old base slopes incorrectly overall, attempt a partial fix only if you can tie the new section into a correct pitch without creating a “step” that traps water.
Is it worth adding geotextile filter fabric if my soil is clay-heavy?
It is usually less critical on clay-heavy soils because fines do not migrate upward as easily as in sandy or silty conditions. That said, fabric near the perimeter where edge restraints sit can still reduce sand loss at the borders. If your main symptom is drainage and base saturation, prioritize slope and base rebuild first.
What is the safest order of operations for a patio revamp so I do not waste money?
Start with diagnosis and documentation (notes and photos), then confirm drainage and pitch, then finalize your footprint and material choice, then order materials based on the final square footage with a realistic cut and breakage allowance. Only after the base plan is solid should you move to surface installation, because changing the base slope later is where most DIY rework costs happen.
How much should I budget for surprises in the subbase, and what counts as a “surprise”?
Add 15 to 20% contingency for typical unknowns like additional depth needed due to soft subgrade, extra base material after removing failed sections, and replacement of damaged edge restraint areas. A true surprise is when the base fails beyond the area you thought was affected, which can turn a “reset” into a partial rebuild.
If I plan to expand later, how should I build the current patio?
Maintain proper drainage on the current section and design a boundary where the future addition can tie in without creating a low spot. Keep accurate measurements and photos of your base layers and slopes so the expansion can match the original pitch, rather than guessing how the old subbase was built.
Next Article
How to Upgrade Patio: DIY Diagnosis, Prep, Materials, Steps
Learn how to upgrade a patio with DIY diagnosis, drainage prep, material choices, and step-by-step refresh, replace, or