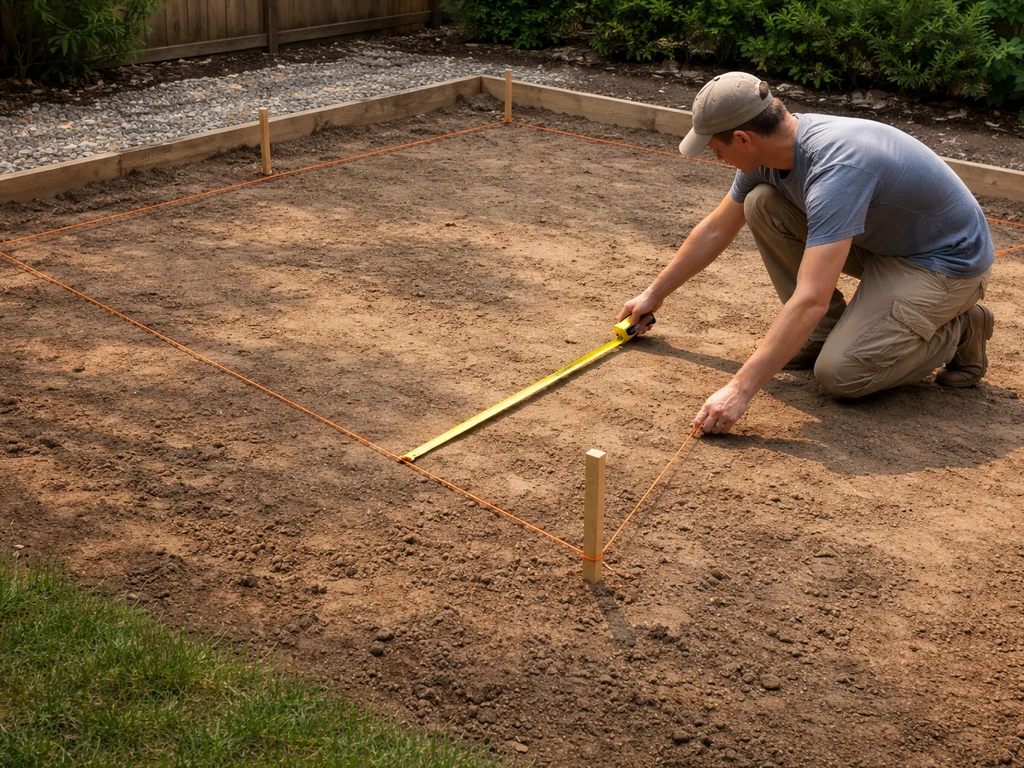
You can build a patio bed in a single weekend. The basic process is: pick your style (raised frame or in-ground edge), mark out the space, prep the ground for drainage and weed control, assemble your border material, fill with a quality soil mix, and plant. Whether you want a tidy timber-framed raised bed sitting on your patio surface or a ground-level planting border carved into the edge of an existing patio, the steps are similar and totally DIY-able with basic tools and one trip to the hardware store.
How to Make a Patio Bed: Step-by-Step DIY Guide

Nolan Lennox
27 May 2026
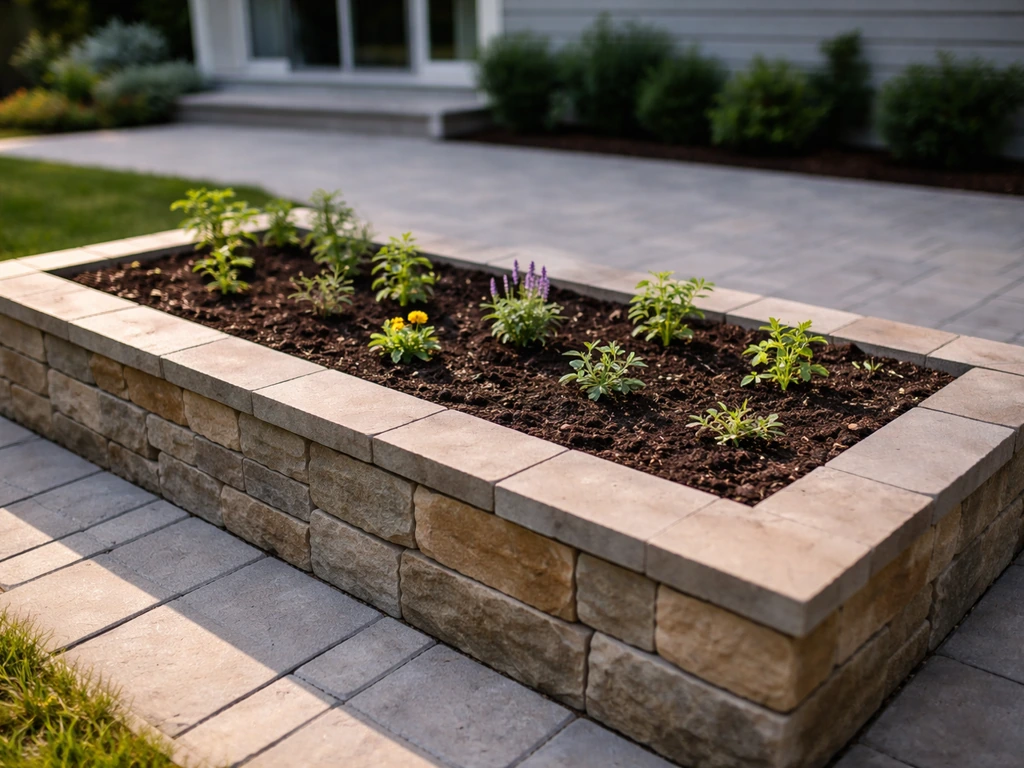
Decide what kind of patio bed you're building
Before you buy a single board or bag of soil, get clear on which style of patio bed you're actually making. There are three common builds, and each suits a different situation.
- Raised bed on top of patio: A freestanding frame (wood, metal, or composite) that sits directly on your existing paving. Great if you rent, don't want to break up hardscape, or need flexibility to move things around. Because it sits on a hard surface, drainage and soil depth are especially important.
- In-ground bed adjacent to patio: You remove a strip of sod or soil right next to the patio edge, amend it, and plant directly in the ground. This is the most natural-looking option and blends the planting area seamlessly with the patio. It requires more ground prep but no frame building.
- Built-in bed with edging or retaining border: You define a planting zone at the patio perimeter using bricks, pavers, concrete blocks, timber, or metal edging, then fill it with improved soil. This sits partially in the ground and partially above it, giving you a finished, clean edge without a full raised-bed frame.
If you're already thinking about more complex builds, like a fully raised patio platform or a sunken patio with integrated planting zones, those are bigger structural projects. This guide focuses on the planting-bed-in-or-at-the-patio workflow. The raised-bed-on-patio approach is also closely related to putting a raised garden bed on a patio surface, which has its own specific considerations around weight and drainage that are worth digging into if that's your exact scenario.
Plan the layout: measurements, location, sun, and drainage
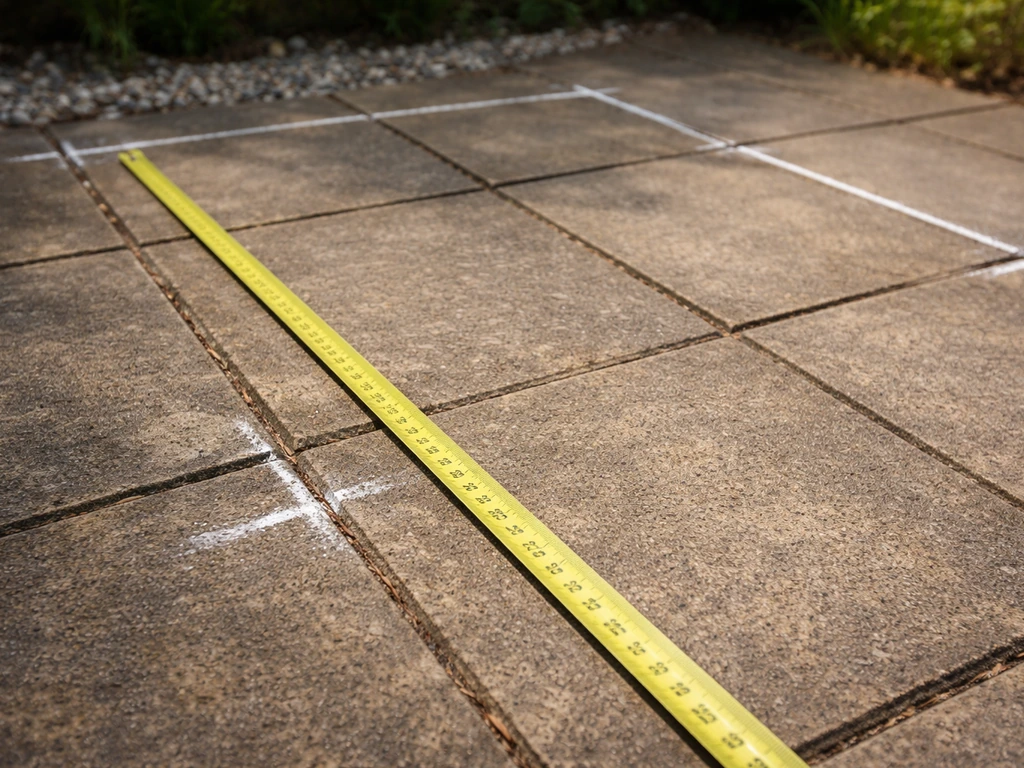
Spend 20 minutes on planning and you'll save yourself hours of rework. Start by watching how much sun your intended spot gets. If you're growing vegetables or most flowering plants, you need 6 to 8 hours of direct sun per day. If the patio is shaded by a fence, wall, or overhead structure for most of the day, stick to shade-tolerant plants or relocate the bed. This is the most common planning mistake I see: people build first and figure out the sun situation after.
For width, keep the bed no wider than 4 feet (1.2 m) if it's accessible from both sides, or 2 feet (60 cm) if it's against a wall or fence and you can only reach from one side. This isn't arbitrary, it's how you avoid compacting the soil by stepping in to reach the back. Mark your intended footprint with spray paint, stakes, or a garden hose before committing to anything.
Length is more flexible, but think about access along the sides. Leave at least 18 to 24 inches between the bed and any structure so you can walk and work comfortably. Also consider proximity to your hose spigot or irrigation source. Watering a raised bed every day in summer is real work if you're hauling a hose a long distance.
For drainage planning: if your bed sits on a hard patio surface, water must be able to escape from the sides or bottom. If you also need the general plan for what to lay out and how to position the frame, see how to build a raised patio for a full step-by-step workflow drainage planning.
If you want a floating patio instead, you can adapt the same drainage thinking so water can move away from the deck supports and surface. If the bed goes in the ground adjacent to the patio, check that the soil in that spot doesn't hold standing water after rain.
Dig a simple drainage test hole about 12 inches deep, fill it with water, and if it hasn't drained within an hour, plan to add coarse grit or gravel to the soil mix.
Prep the patio area and base: clearing, leveling, and weed control
This step is easy to rush, and it shows later. If you're building a raised bed on top of a paved patio, sweep and clear the area completely, then lay landscape fabric or cardboard under the frame before filling. This blocks weeds from working up through any gaps and gives you a clean base. Cardboard (plain, with tape removed) is a free and effective option for weed suppression under a raised frame.
For in-ground or edge-border beds, strip back any sod or existing vegetation in the footprint area. Use a flat spade to cut under the sod in sections and peel it away. Dig down at least 8 to 10 inches to loosen the soil, remove rocks and roots, and break up any compacted layers. If the existing soil is mostly clay or heavily compacted, don't try to amend it in place. You'll get better results digging it out entirely and replacing it with a proper growing mix.
For edge-style beds adjacent to paved areas, check that the finished soil level will sit at or just below patio height at the join. If the soil ends up higher than the paving, rain will wash it onto your patio every time. A 1 to 2 inch drop from paving to soil surface is ideal.
Choose your materials for the bed structure and border
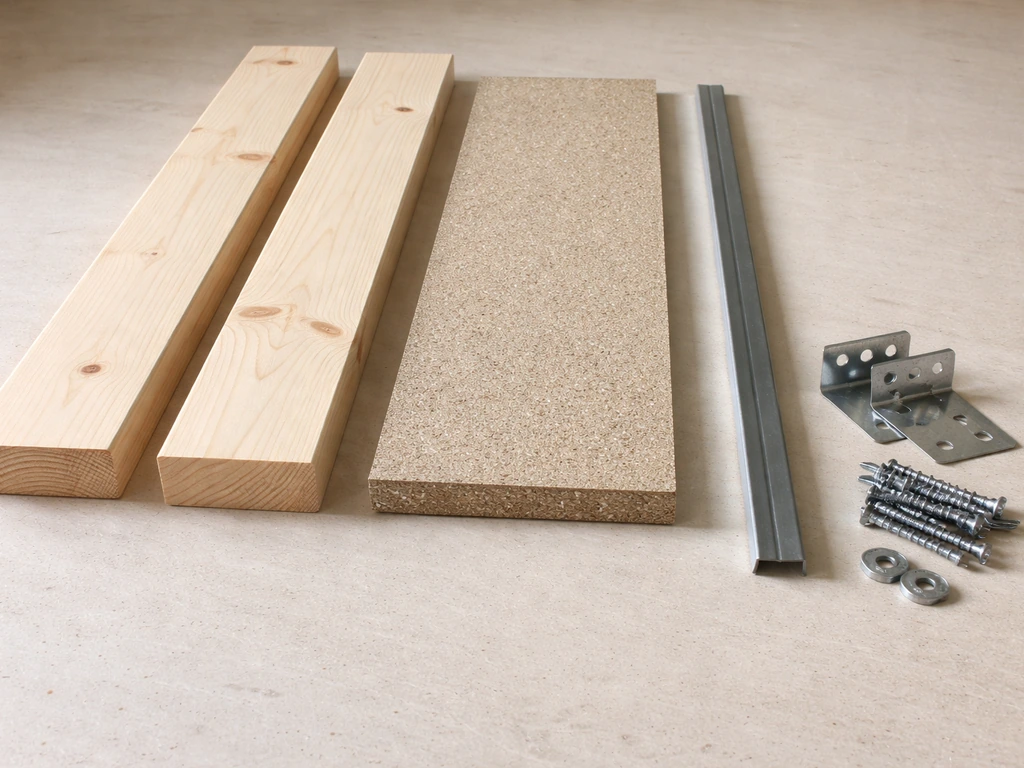
You've got more options here than most guides cover, and the right choice depends on your budget, how long you want this thing to last, and how it needs to look.
| Material | Approximate Cost | Lifespan | Best For | Watch Out For |
|---|---|---|---|---|
| Untreated pine or spruce | Low ($1–$2/linear ft) | 3–5 years | Budget builds, beginners, temporary beds | Rots faster, especially in wet climates |
| Cedar or redwood | Medium ($3–$6/linear ft) | 10–20 years | Long-lasting natural wood look | Higher upfront cost |
| Galvanized metal (Corten/steel) | Medium–High ($50–$150+ per kit) | 20–30+ years | Modern look, very durable | Can get hot in direct sun, may affect soil pH slightly |
| Concrete blocks or retaining wall blocks | Low–Medium ($1–$3/block) | Decades | Permanent built-in borders, heavy-duty edging | Heavy to move, labor-intensive install |
| Brick or reclaimed pavers | Low if reclaimed | Decades | Matching existing patio materials, classic look | Needs leveling, mortar if permanent |
| Composite lumber | Medium–High ($4–$8/linear ft) | 25+ years | Low maintenance, modern look, splinter-free | Higher cost, limited DIY cutting options |
| Plastic or resin raised bed kits | Low–Medium ($30–$80/kit) | 5–15 years | Quick assembly, renter-friendly | Less durable, can look cheap |
My honest recommendation: if budget is your main concern, go with 2x8 or 2x10 untreated pine and accept that you may rebuild in 5 years. If you want to do this once and be done, cedar or galvanized steel gives you the best return on investment. Avoid pressure-treated lumber in vegetable beds because of chemical leaching concerns, though it's fine for purely ornamental planting.
Build it step by step: assemble, anchor, and set the bed
Here's the actual build sequence. If you follow the build steps for an on-patio raised bed, you can avoid common issues with drainage and weight from the start build sequence. The specifics vary slightly depending on your material, but the core steps apply across wood, metal, and block builds.
- Cut your boards or confirm your kit pieces are the right length. For a basic rectangular wood frame, cut two long sides and two short sides to your planned dimensions. If you're using interlocking blocks or a metal kit, follow the manufacturer layout.
- Lay out the frame dry on a flat surface to check fit and square before fastening anything. Measure diagonally corner to corner both ways: if the two measurements match, your frame is square.
- Fasten corners using 3-inch exterior screws for wood, or the included hardware for metal kits. For a longer bed (over 6 feet), add a center cross-brace or interior stake to prevent the sides from bowing outward under soil pressure.
- For freestanding raised beds on a patio: set the assembled frame in position, confirm it's level (use a 4-foot level across the top edge), and use exterior corner brackets or rebar stakes driven into gaps in paving to anchor it if needed. On soft ground, drive corner stakes 6 to 12 inches into the soil for stability.
- For border or edge builds with block or brick: dig a shallow trench about 2 to 3 inches deep along your marked edge, set your first course of blocks level using a rubber mallet and torpedo level, and stack additional courses with each layer staggered for stability. No mortar is needed for most DIY garden edging.
- Line the inside base of the frame or area with cardboard or landscape fabric before adding soil. For beds directly on paving, landscape fabric is better because it controls weeds while allowing drainage. Overlap any seams by at least 6 inches.
- Fill and tamp. Add soil in layers (described in the next section) and settle each layer lightly before adding the next. Don't overfill right to the brim: leave 2 inches of headspace so soil doesn't wash out when you water.
One common mistake is skipping the squaring step. A frame that's not square looks off and can cause uneven stress on the joints over time. Takes 30 seconds and saves you a lot of frustration.
Add soil: the right mix, correct depth, and amendments
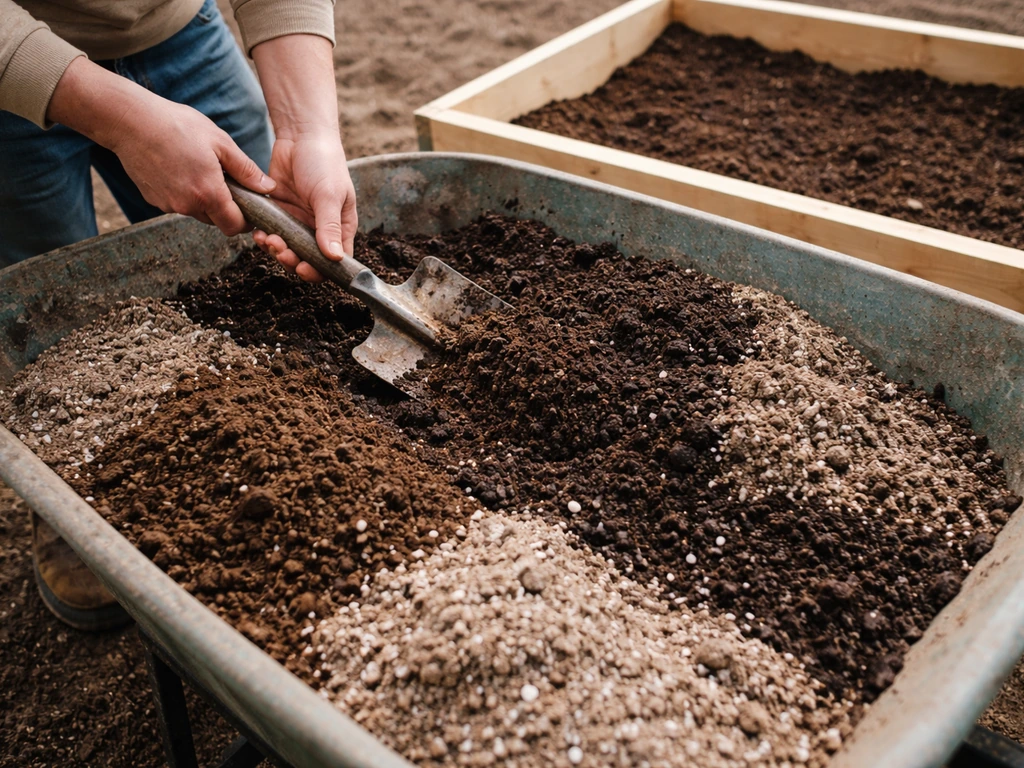
This is where most first-time patio bed builders go wrong. Don't fill the bed with straight topsoil or, worse, soil dug from the yard. Both compact easily, drain poorly, and will stunt your plants within one season.
The classic raised-bed growing mix is a roughly equal-thirds blend of topsoil, compost, and a coarse aerating material like perlite, vermiculite, or coarse horticultural grit. This keeps the mix light, free-draining, and biologically active. For a 4x4-foot bed at 10 inches deep, you need roughly 11 cubic feet of soil mix, which is about 4 to 5 bags of premixed raised-bed soil plus a bag of compost. Premixed raised-bed soil bags save time and tend to be well-calibrated for drainage.
Minimum soil depth depends on what you're growing. For annual flowers and most herbs, 6 to 8 inches is fine. For most vegetables, aim for 10 to 12 inches. For root vegetables like carrots, parsnips, or deep-rooted tomatoes, go 12 to 18 inches deep. If your bed sits on a paved surface, you have to hit these depths with your fill because there's no soil below to tap into.
After filling, top the bed with 1 to 2 inches of finished compost worked lightly into the top layer. This feeds the soil from the top down, which is how natural soil biology works. You don't need to dig it in deeply.
Planting and first-month care
Water the freshly filled bed thoroughly before you plant anything. This settles the soil, shows you where it dips (top up any low spots), and pre-moistens the mix so plants don't go into dry soil. Let it drain fully, then plant.
For the first week, water daily or every other day regardless of rain. New beds dry out faster than established garden soil because the mix is looser and drains quickly. Stick your finger 2 inches into the soil: if it's dry at that depth, water. After the first month, most plants will have rooted in enough that you can taper back to a regular schedule.
Add 2 to 3 inches of organic mulch (straw, wood chips, or shredded bark) right after planting. Mulch does several things at once: retains moisture, keeps weeds suppressed, and insulates the soil against temperature swings. This is especially important for beds on paved surfaces, where summer heat from the patio can warm the soil quickly and dry it out fast.
What to plant first
If it's your first patio bed, lean toward fast-growing, forgiving plants to build confidence: herbs like basil, parsley, and chives are excellent starters. Lettuce, spinach, and radishes are fast-growing and show you results within weeks. Marigolds and zinnias are bulletproof for ornamental beds. Avoid slow-maturing plants in year one while you're still calibrating your watering and sun situation.
Season-to-season maintenance
- Top-dress with 1 inch of compost at the start of each growing season. Raised-bed soil depletes faster than in-ground soil because it's a closed system.
- Check border joints and frame fasteners annually. Wood beds especially benefit from a quick check for rot or loose screws before spring planting.
- Pull weeds when they're small. A new bed with quality soil and mulch will have minimal weed pressure, but any that sneak through are much easier to pull when young.
- In fall, clear spent plants and add a fresh compost top-dressing, then cover the bed with straw or a frost cloth if you're extending the season or protecting the soil over winter.
- Recheck levels after the first winter. Freeze-thaw cycles can shift block edging or cause wood frames to move slightly. A quick tap with a mallet in spring keeps everything aligned.
A well-built patio bed genuinely does get easier every year. The soil improves, the plants establish, and the maintenance shrinks. Put in the work now on the base, the drainage, and the soil mix, and you'll be rewarded with a planting space that performs season after season. If you’re planning a raised patio platform using sleepers, make sure you account for extra weight and build the drainage and base accordingly.
FAQ
Can I make a patio bed without digging up the patio surface or replacing concrete?
Yes, for a raised bed you can keep the patio intact, then focus on a drainage plan from the sides. Sweep the area thoroughly, block weeds with cardboard or landscape fabric under the frame, and ensure the bottom of the bed is not sealed against the patio so excess water can escape around the edges.
What should I do if my patio is sloped and the bed will sit on uneven ground?
Level the frame area before you build. Use shims and check with a level across the footprint, because an uneven base can create low spots where water pools. After squaring, confirm the corners are the same height, then fill and water to settle the soil before final planting.
Is landscape fabric under the bed a good idea?
Usually no for the “soil-to-bottom” layer. Fabric can trap moisture and reduce natural drainage, especially if it covers the whole base. Cardboard or weed-blocking material under the frame is a safer option, and you still want water to move out from the sides or bottom openings.
How do I prevent weeds if I already have weeds in the bed area?
Remove sod or existing vegetation in the footprint for edge and in-ground beds, then dig out roots and rocks. For on-patio raised beds, use cardboard or fabric under the frame plus a tight-fitting border so weeds cannot find gaps. If weeds are entrenched, spot-treat or remove them again before the fill goes in.
Can I use potting mix instead of the raised-bed mix?
Potting mix can work for smaller projects, but it often holds water differently than a growing mix and can be pricey. For best results, follow a blend approach similar to topsoil plus compost plus a coarse aerator (perlite, horticultural grit, or vermiculite) so the bed drains well and stays light.
How do I know how much soil I need for my exact bed size?
Calculate volume by area times depth. Multiply length (ft) by width (ft) to get square feet, then multiply by depth (ft). Convert to cubic feet, then translate to bags based on the bag’s listed cubic-foot volume. If your depth changes by even 2 to 3 inches, the bag count can swing a lot.
Do I need to build with a weed barrier on the sides of the bed?
Not typically. Weed control is best achieved by stopping weeds from growing up through the base and by stripping vegetation for in-ground beds. If you add barrier material on the sides, leave no trapped air gaps that can keep the soil too wet, and do not create a sealed “bathtub” against the patio.
How often should I water after the first month?
Use soil moisture, not the calendar. After plants root, check 2 inches down. Water when that layer is dry, then water thoroughly until moisture reaches the bottom of the bed. In hot, windy patio conditions, you may end up watering more often than in-ground gardens.
What if my bed dries out too fast, even with mulch?
First check whether sun and wind are heating the bed (especially on paved surfaces). Increase mulch thickness to 3 inches if it’s currently thinner, then consider adding a moisture-holding component to the mix next time (more compost, not straight topsoil). Also confirm you are not underfilling the required depth for your crops.
How should I handle pests or soil diseases that appear in the first season?
Don’t start with chemical treatments. Improve drainage and spacing, remove damaged leaves promptly, and avoid working wet soil. If the problem is repeating in the same spots, consider crop rotation next season and top-dress with compost instead of adding fresh soil that may bring new weed seeds.
Is pressure-treated lumber okay for a patio bed if it’s ornamental?
Pressure-treated wood is generally acceptable for non-edible ornamental plantings, but if you plan to grow vegetables, switch to untreated cedar or similar options. Even with ornamentals, ensure good ventilation around the bed so the material doesn’t stay constantly damp and degrade quickly.
Do I need to add compost every year, and how should I top-dress?
A common approach is to top-dress with 1 inch of finished compost in spring, then gently work it into the top layer only lightly. Avoid burying stems or crowns. This refreshes nutrients and soil biology without disturbing deeper roots.
What’s the best starter planting choice if I’m unsure about sun and watering?
Pick fast, forgiving plants and test your conditions. Herbs like chives and parsley, plus lettuce, radishes, or marigolds let you see whether your light and watering are adequate quickly. If the bed is too hot or dry, you will notice within weeks and can adjust mulch depth or irrigation before slower crops mature.
Next Article
How to Build a Raised Patio: Step-by-Step DIY Guide
Step-by-step DIY guide to build a raised patio, from planning and leveling to drainage, supports, and pavers or decking.