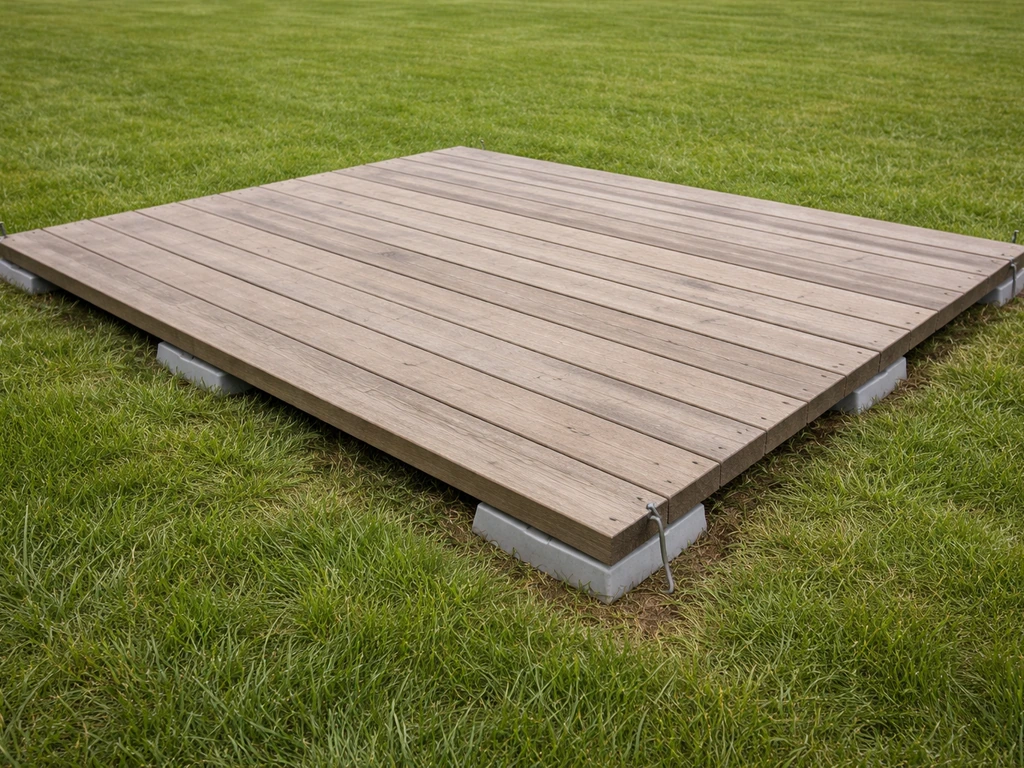
You can build a stable, removable temporary patio in a single day using interlocking deck tiles, snap-together pavers, or portable mat systems laid over a leveled, compacted base. The key difference between a temporary setup and a permanent one is avoiding any material that bonds to the ground or requires excavation deeper than a couple of inches. Get the site level, lay a weed barrier, drop your tiles or pavers, and you have usable outdoor space that comes back up cleanly when you're done with it.
How to Make a Temporary Patio: Quick DIY Steps

Nolan Lennox
31 May 2026
Decide what "temporary" means for your space
Before you buy anything, nail down your actual use case because "temporary" covers a wide range. There's a big difference between a patio you're putting down for a summer season, one you need for a single event or a weekend, and one you're using while waiting to build a permanent slab. Each situation changes the materials worth spending money on and how much base prep you actually need.
A few-weekend or event patio can get away with rubber or plastic mat systems that literally unroll and roll back up. A full-season patio needs something with more structure, better drainage, and a base layer that won't shift after a few rainstorms. A placeholder patio while you save for a permanent build benefits most from interlocking tiles or pavers you can reuse elsewhere later.
One thing worth knowing upfront: even materials marketed as grass-friendly will stress your lawn if left down too long. Anything covering turf blocks light, reduces airflow, and restricts moisture infiltration. For an on-grass installation, plan to remove the patio at least every few weeks if you want the lawn to recover cleanly underneath. Learn the basics of how to make a patio on grass, including materials and base prep, before you choose your exact layout. If you want the simplest budget plan for an on-grass setup, aim for a removable, leveled base plus a weed barrier and tiles you can lift periodically on-grass installation. The longer it sits, the more restoration work you'll face when it comes up.
- Weekend or event use: rubber mat systems, portable plastic decking, or snap-together tiles that you can put down Friday and pull up Sunday
- Single-season use (spring through fall): interlocking deck tiles over a compacted gravel base, with a weed barrier underneath
- Placeholder while planning a permanent patio: interlocking concrete or composite pavers you can reuse in a future raised bed or walkway
- Rental property or temporary housing: modular systems that disassemble without tools and store flat
Pick the right temporary patio style and materials
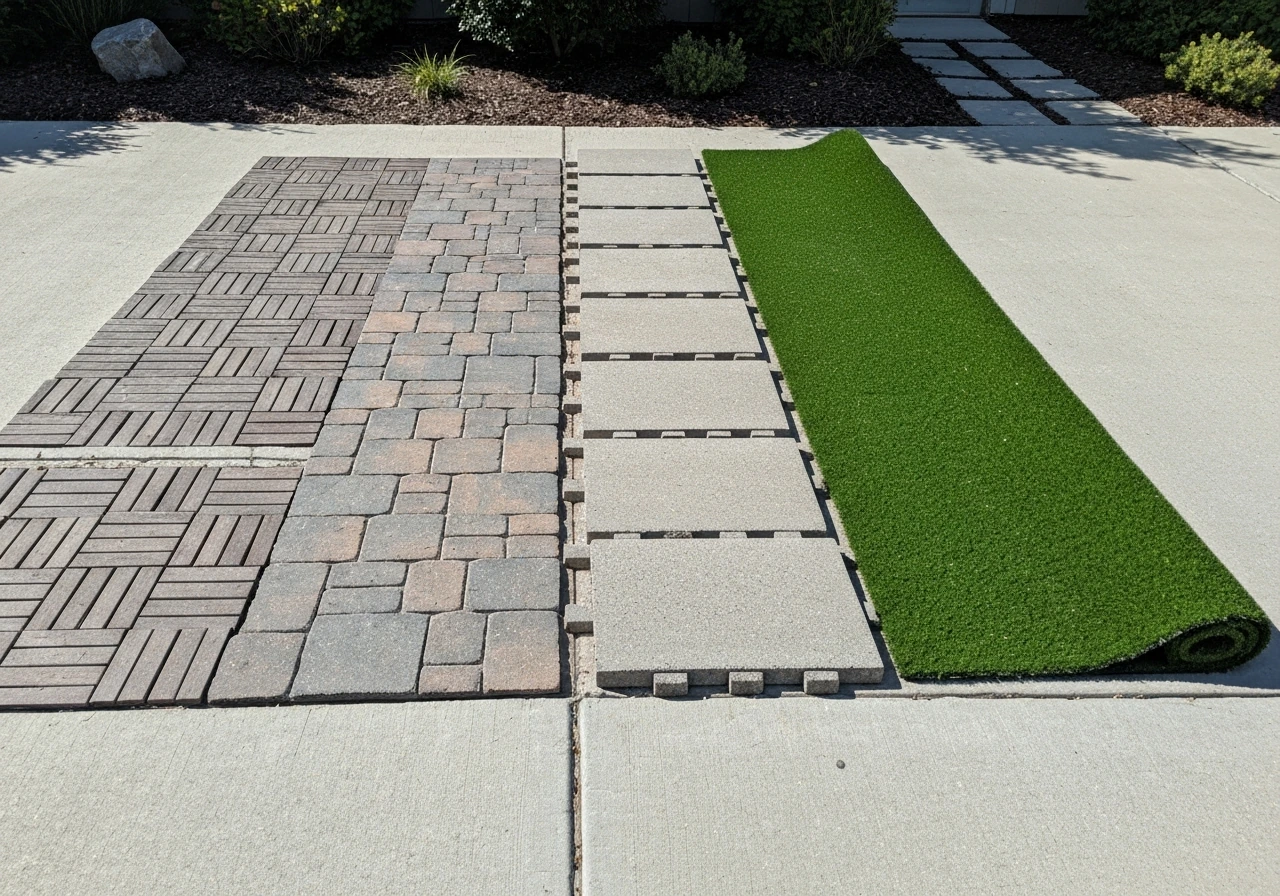
The material you pick controls your cost, your install time, and how cleanly the whole thing comes back up. I've tried a few of these approaches and the honest truth is that interlocking tiles are the best all-around option for most homeowners doing a temporary patio on a budget. But there are real situations where other materials make more sense.
Interlocking deck tiles
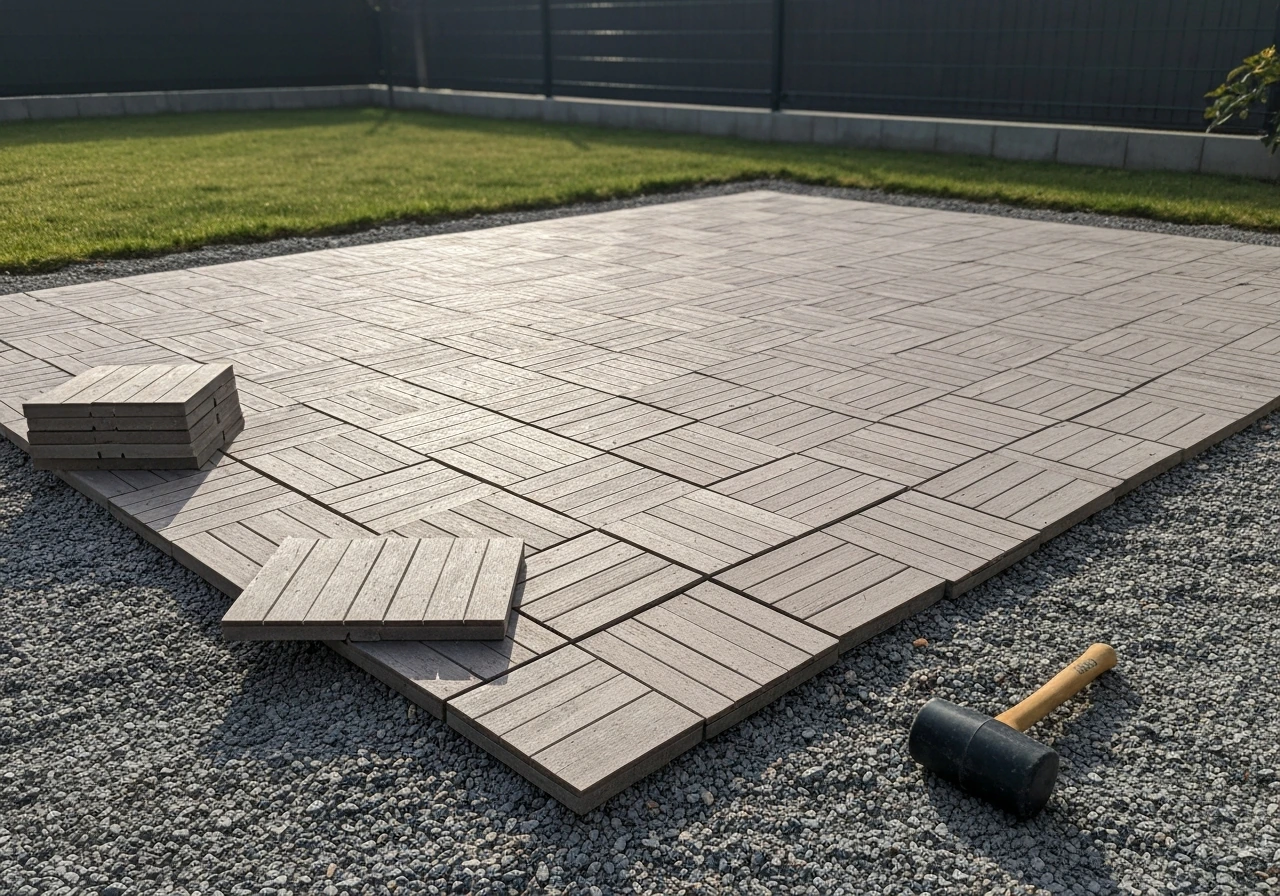
These are the most popular choice and for good reason. Wood-composite or hardwood deck tiles (typically 12x12 or 24x24 inches) click together without fasteners and sit on small feet that allow airflow and drainage underneath. Composite versions from brands like NewTechWood install with a simple tab-and-groove system and can cover a standard 10x10 foot patio in under two hours. They're reusable, weatherproof, and come back up tile by tile without any tools. One install tip: leave a half-inch expansion gap around any wall, post, or fixed structure so heat expansion doesn't cause buckling and so the tiles lift out easily later.
Snap-together plastic or rubber pavers
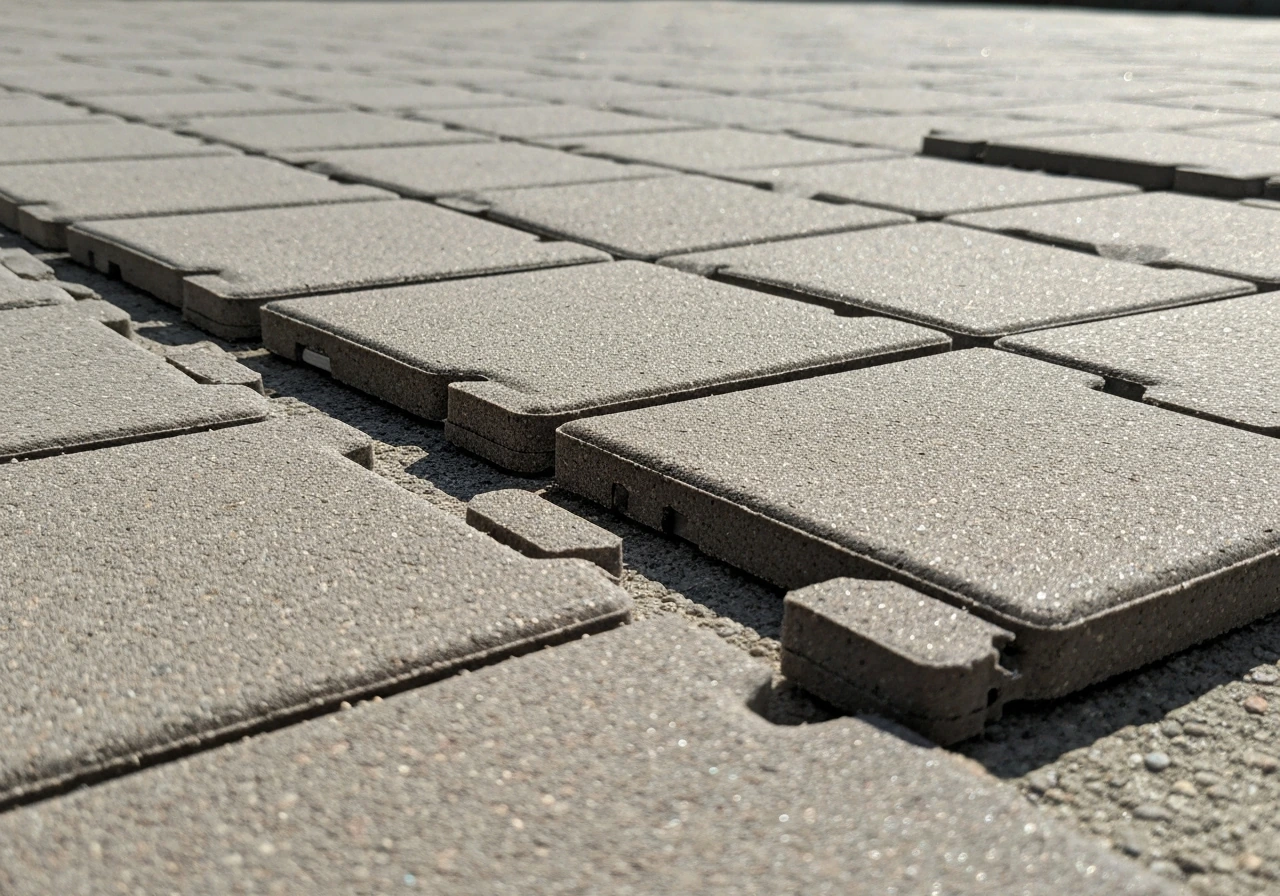
These are lighter, cheaper, and even faster to install than wood-composite tiles. They work well over concrete, existing patios, or very firm ground. On soft ground or grass they need more base prep because they flex and don't distribute weight as evenly. If you need a cheap patio directly on grass, focus on stronger base prep so snap-together pavers do not flex and sink. They're a great pick for a budget setup or a one-time event, and they come in a lot of finishes including faux stone and wood grain looks.
Loose-lay patio slabs or stepping stones
Individual concrete or natural stone slabs set directly on a compacted sand or gravel base give you a more solid, traditional patio feel without any bonding or mortar. They're heavier to move but extremely stable, and they lift out cleanly. This is a good approach if you want the look of a real patio but know you'll need to pull it up eventually. The base prep takes a bit longer, but the result feels permanent even though it isn't.
Portable turf mat systems
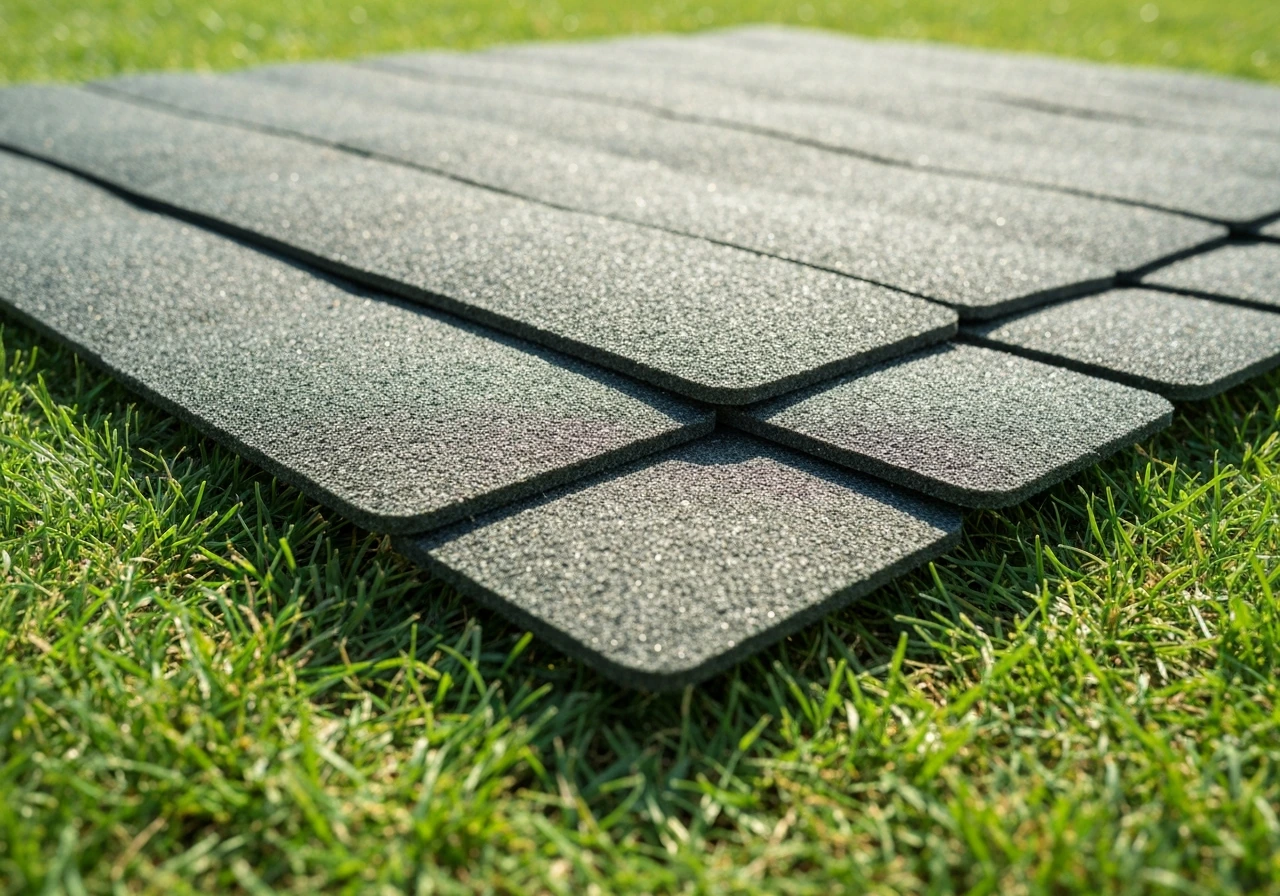
For very short-term use, pedestrian-grade mat systems (cavity-backed decking panels designed to allow light and airflow to reach grass below) are the most grass-friendly option available. Products in this category are designed specifically to protect turf during events, and some allow UV light to reach the lawn underneath. They're more expensive per square foot but ideal if you're hosting an event and need the grass to recover fully within days. These are overkill for a full-season patio but worth knowing about if lawn preservation is the top priority. A raised patio on grass usually works best as a removable, non-bonding installation using interlocking deck tiles or a turf-friendly mat system over a properly sloped base.
| Material | Cost per sq ft (approx) | Install time | Reusable | Works on grass | Best for |
|---|---|---|---|---|---|
| Wood/composite deck tiles | $3-$8 | Fast (1-2 hrs for 10x10) | Yes | Yes, with base prep | Season-long or placeholder patio |
| Snap-together plastic pavers | $1-$4 | Very fast | Yes | Fair (needs firm ground) | Budget builds, events, hard surfaces |
| Loose-lay concrete/stone slabs | $2-$6 | Moderate (half day) | Yes | Yes, with sand/gravel base | Solid feel without permanence |
| Rubber mat panels | $2-$5 | Very fast | Yes | Yes | Short events, high-traffic areas |
| Pedestrian turf protection panels | $8-$20 | Fast | Yes | Best grass protection | Events where lawn recovery matters |
My recommendation for most people reading this: go with 12x12 or 24x24 wood-composite interlocking tiles over a compacted gravel base with a weed barrier underneath. It's the best combination of look, stability, longevity, and clean removal. If budget is tight, snap-together plastic pavers over a firm, leveled surface are the fastest path to a usable outdoor space.
Quick planning: layout, measurements, drainage, and load
You don't need an architect or a permit for a temporary patio, but you do need to think through four things before you start digging or buying: size and layout, drainage, ground load, and material quantities. Can you build a patio over a leach field? That depends on local rules and how your system is designed. Skipping any of these is how you end up with a soggy, wobbly, or short-material mess on install day.
Size and layout
A 10x10 foot patio (100 square feet) is a comfortable minimum for a small table and four chairs. A grill area needs at least 6x8 feet of clear space around the unit for safety. If you're planning a seating area plus a grill zone, aim for at least 12x16 feet. Mark the area with stakes and string, then walk around it with your furniture to confirm it feels right before you commit. Tiles come in fixed sizes, so try to plan dimensions that work out to whole tiles to minimize cutting.
Drainage
Water pooling is the most common complaint with temporary patios, especially on grass or clay soil. Your patio surface needs a slight slope away from any structures, ideally about 1/8 to 1/4 inch of drop per foot of run. Interlocking tiles and mat systems with open bases handle drainage well because water passes through the gaps. Solid pavers or slabs need that slope built into the base layer to keep water moving. If your yard already has a natural slope in the right direction, use it.
Ground load and stability
Think about what the patio will support. A seating area with people and outdoor furniture is one thing; a heavy grill, a hot tub, or a large event tent is another. Soft or wet soil compresses under point loads (like furniture legs), which causes tiles to sink and shift. For anything heavier than normal outdoor furniture, go with a gravel base rather than just a weed barrier over grass, and consider concrete paver slabs instead of lighter tiles.
Material quantities
Calculate your square footage and add 10% for cuts, waste, and breakage. For a gravel base, figure on about 3 inches of depth, which works out to roughly 1 cubic yard of gravel per 100 square feet. One roll of standard landscape fabric (3 feet wide by 50 feet long) covers 150 square feet, so a single roll handles most small to medium patios.
Site prep for temporary stability (leveling and base layers)
This is where most DIYers cut corners and then wonder why their patio shifted after the first rainstorm. The base prep for a temporary patio is simpler than a permanent slab, but it still matters. A good base takes an hour or two and makes everything else easier. Skipping it almost always means you're back outside troubleshooting before the season is over.
- Clear the area: Remove furniture, debris, large rocks, and any obvious high spots of vegetation. Mow the grass as short as possible if you're installing over a lawn.
- Mark the perimeter: Use stakes and string line to define your patio boundary clearly. This keeps your cuts and layout clean.
- Remove or flatten high spots: You don't need to excavate for a temporary patio, but you do need the surface reasonably flat. For bumps over an inch, either remove the soil or use a flat shovel and tamper to press them down.
- Add landscape fabric: Roll out weed barrier fabric across the entire area, overlapping seams by at least 6 inches. Pin it down with fabric staples or landscape pins every 18-24 inches around the perimeter and across the middle.
- Add a gravel base (for season-long or heavy-use setups): Pour a 2-3 inch layer of pea gravel or crushed stone over the fabric. Spread it with a rake to a consistent depth.
- Compact and level the gravel: Use a hand tamper or the flat side of a 2x4 to compact the gravel. Check for level with a long level or a straight 2x4 and a torpedo level. Adjust until the surface is flat with your intended drainage slope.
- Optional sand layer for pavers: If you're laying individual concrete or stone pavers, add 1 inch of coarse sand on top of the compacted gravel and screed it flat. This gives each paver a solid, adjustable seat.
If you're installing over an existing hard surface like a concrete patio or a wood deck, you can skip most of these steps. Just make sure the surface is clean, dry, and structurally sound. Tiles and snap-together pavers go directly on top with no base prep needed.
Step-by-step build instructions (modular, portable, removable approach)
Here's how to build a temporary patio using interlocking composite or hardwood deck tiles, which is the method I'd recommend to most people. This covers a 10x10 foot space and can realistically be done start to finish in a day, including base prep. ModuTile markets its interlocking patio deck tile products as being “covered within one day” for residential patios and decks when the base is prepared done start to finish in a day.
What you'll need
- Interlocking deck tiles (12x12 or 24x24 inch, wood-composite or hardwood)
- Landscape fabric and landscape pins or staples
- Pea gravel or crushed stone (about 1 cubic yard for 100 sq ft at 3 inch depth)
- Hand tamper or plate compactor (rent one for bigger areas)
- Long level or a 6-foot straight board plus a torpedo level
- Tape measure and chalk line or string line
- Rubber mallet (for seating tiles firmly)
- Utility knife or jigsaw for cutting tiles to fit edges
- Work gloves
Build steps
- Complete all base prep steps from the previous section. Your gravel should be compacted, level (with the right drainage slope), and fully covered in landscape fabric before you touch a single tile.
- Find your starting corner. The cleanest approach is to start at the most visible corner, typically the corner closest to your house or the edge you'll see most. This way any cut tiles land at the far or hidden edges.
- Dry-lay the first row without locking anything. Line up tiles along your chalk line or string line to confirm spacing and alignment. Check that the first row is perfectly straight before you commit.
- Begin clicking tiles together. Most interlocking systems use a tab-and-groove or corner-locking system that joins with hand pressure or a light mallet tap. Work row by row from your starting corner outward.
- Leave a half-inch expansion gap along any wall, fence, or fixed structure. This is critical for two reasons: it lets the tiles expand in heat without buckling, and it makes the whole section easier to lift out when you remove it.
- Cut edge tiles with a jigsaw or circular saw with a fine-tooth blade. Score composite tiles with a utility knife first if you're using thinner plastic versions. Measure twice, cut once.
- Work across the entire patio area row by row, checking level every few tiles with your level. If a tile rocks, lift it, add or remove a small amount of gravel underneath, and re-seat it.
- Inspect the finished surface by walking across it, sitting furniture on it, and bouncing lightly in a few spots. Any rocking or clicking sound means a tile isn't fully seated or the base underneath that spot needs adjustment.
- Add any edging or border treatment. Some tile systems have a matching border piece that creates a finished edge. Alternatively, a simple metal landscape edging strip around the perimeter keeps the tiles from spreading outward over time.
For a loose-lay slab approach, the process is similar but slower because you're setting each paver individually into sand. Start from a corner, use a level on every single piece, and tap each one into the sand bed with a rubber mallet until it's flush with its neighbors. This method creates a patio that looks more permanent and handles heavier furniture and grills better, but takes most of a day to do carefully.
Leveling, anchoring, and weather-proofing tips
A temporary patio that moves, sinks, or blows around in a storm isn't useful. Here's how to keep everything solid without making it hard to remove later.
Keeping it level over time
Tile systems will slowly migrate on soft ground over the course of a season, especially after freeze-thaw cycles or heavy rain softens the base. Every month or so, do a quick walk-across inspection and re-seat any tiles that feel high or low. If you used a gravel base, this is usually just a matter of lifting the tile, adjusting gravel underneath with a trowel, and dropping it back in. Takes about five minutes per tile.
Keeping it from shifting
Interlocking tiles are largely self-anchoring because the tab connections transfer lateral load across the whole surface. For extra security on the edges (where corners can lift or drift outward), tap a few landscape stakes into the ground right along the outer perimeter tiles. Don't drive them through the tiles themselves; just press them against the outer edge to keep the whole field from sliding. Remove the stakes when you remove the patio and the ground closes back with no visible mark.
Handling wind
A finished interlocking tile patio doesn't usually have wind issues because it sits heavy and connected. Individual rubber mat panels or lightweight snap-together pavers are more vulnerable. In a wind-exposed yard, place heavier furniture on the patio rather than lightweight folding chairs that could lift the mats. You can also run a length of landscape edging along the perimeter and stake it into the ground through the edging holes, which effectively pins the border tiles without touching the tiles themselves.
Drainage and pooling fixes
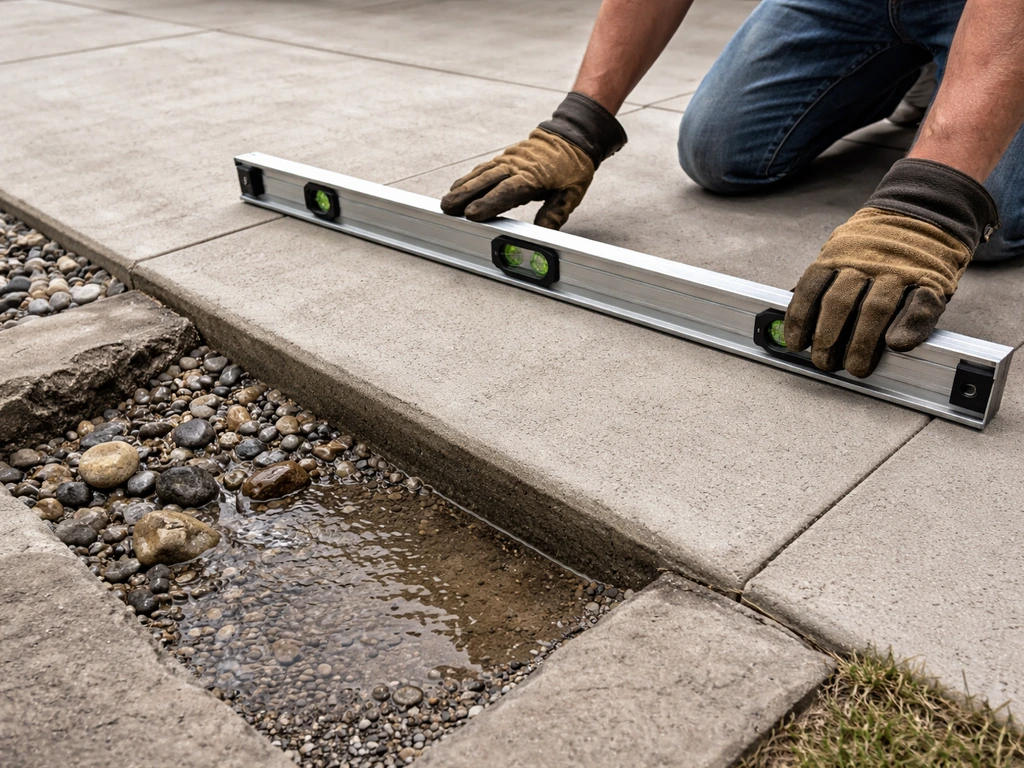
If you notice water pooling in one area after rain, the base isn't sloping consistently in that spot. Lift the tiles over the low area, add a small amount of gravel, re-compact, and relay the tiles. Check slope with your level before closing it back up. It's much easier to fix this the first time it happens than to let it repeat all season.
Weeds and growth
Weeds find gaps in tile systems fast, especially around the edges and in the tab connections. A quality landscape fabric underneath handles most of this, but any weeds that do poke up can be pulled by hand or spot-treated with a foam-tip applicator to keep herbicide off surrounding plants. Don't use a broadcast spray under the tiles since that makes the ground less hospitable when you remove the patio and want the lawn to recover.
How to remove the patio and restore the area
One of the best things about a well-built temporary patio is how cleanly it comes apart. If you built it right, removal is basically the reverse of installation, and it shouldn't take more than half the time it took to put it down.
- Remove furniture and anything sitting on the patio surface first. This gives you clear access to all edges and tiles.
- Pull any perimeter edging or landscape stakes you used to secure the border.
- Start at one corner and unclip or pop tiles up one by one. Stack them in groups of 4-6 for easy carrying. Most composite tile systems have a small notch or tab you can grip with your fingers or a flat pry bar to get the first tile started.
- Roll up the landscape fabric from one end, shaking off gravel as you go. Fold it loosely and secure with a zip tie so it can be reused.
- Shovel the gravel into a wheelbarrow and move it to a storage area or another project. Pea gravel and crushed stone are useful in so many places around a yard that it almost never goes to waste.
- If the grass underneath is yellow or matted, rake it gently to break up compaction and stand up any bent grass blades. Water the area thoroughly.
- Overseed any dead or very thin patches with grass seed matched to your existing lawn type. Keep it moist for 2-3 weeks. Most lawns recover within a month if the patio wasn't down more than one full season.
- If you left the patio in place over a winter or for more than a season, the soil may be compacted enough to benefit from aeration before overseeding. A simple hand aerator works fine for small areas.
If your temporary patio was on an existing concrete or wood surface, there's essentially nothing to restore. Just clean up the tiles, store them flat, and you're done.
The whole setup and removal process gets easier every time you do it. After the first go-around you'll know exactly where the base needed more attention, which tile sizes work best for your space, and how long you can realistically leave it down before the grass underneath starts to complain. That knowledge carries straight into planning something more permanent later, whether that's a full paver patio, a raised platform, or a built-up deck over grass.
If you want something sturdier long term, the next step is figuring out how to build a patio deck over grass with the right supports and base. If you want to install a patio over grass permanently, you will still need to manage drainage and choose materials that won’t damage the lawn over time. If you want a raised patio on grass, you’ll generally need additional height and support so the surface stays level and drains properly.
FAQ
How level does the ground need to be for a temporary patio to stay put?
Aim for a consistently level surface across the whole footprint, not just the edges. A 3 mm to 6 mm height variation across a tile row can create rocking points, so check with a long straightedge (or a 2x4) and add or remove compacted gravel before laying tiles.
Can I put a temporary patio over backyard grass without ruining it?
Yes, but treat it like short-term load management. Use a removable gravel leveling layer plus weed barrier, and plan to lift and re-seat the system every few weeks so light and airflow return. If the lawn stays shaded continuously, the turf will thin even if weeds are controlled.
Do I need to remove the weed barrier when I take the patio up?
If you used a standard landscape fabric, pull it up when you remove the tiles. Leaving fabric in place can block normal soil aeration and makes later lawn recovery harder, even if it prevents weeds during the patio season.
What’s the best base if my yard is clay or stays damp after rain?
Use a thick compacted gravel base with a proper slope, not just weed barrier. Clay holds water and softens under point loads, so increase gravel depth, compact in lifts, and avoid placing tiles directly on mud even for a “short” event.
How do I anchor a temporary patio to prevent edge lift without making removal hard?
Pin only the perimeter, using stakes pressed against the outer edge or through perimeter edging channels, not through the tile field. This adds lateral stability while still letting you lift tiles tile-by-tile when it’s time to remove.
My interlocking tiles shift after a storm, what should I check first?
Start with base compaction and slope consistency. If tiles migrate, it usually means the base was uneven or not compacted enough, or water pooled behind a low spot. Fix by lifting the affected section, reworking gravel, re-compacting, then re-laying and re-checking level.
How much slope is enough if I’m building near a house or fence?
A slight fall away from structures helps, about 3 mm to 6 mm per 1 foot of run. If you can’t achieve that with your yard, adjust the gravel base height rather than relying on the tile surface to “self-drain.”
Will a temporary patio hold a grill safely?
It can, if the base prevents point-load sinking and you maintain clear clearance around the grill. For heavier units, avoid lightweight mats, and consider paver slabs or a deeper gravel base with tiles designed for outdoor loading so legs and supports don’t create depressions.
How do I plan tile layout to minimize cutting?
Measure the available space and pick a tile size that divides evenly, then mark out the “whole tile” area first. If you must cut, keep cuts to the least visible edges and leave the expansion gap around fixed posts, walls, and borders to prevent buckling.
Can I install a temporary patio over existing concrete or pavers?
You can often lay tiles or snap-together pavers directly on sound, dry hard surfaces, but only if water drains off the area. If puddles form on the concrete, the patio will still trap moisture and create slippery, unstable sections, so correct drainage or re-slope the base where needed.
Do temporary patios need to be re-levelled during long use?
Yes, especially if your climate has freeze-thaw cycles or frequent heavy rain. Do a quick monthly walk-through, reseat any tiles that feel hollow or raised, and make small gravel corrections before the patio becomes a trip hazard.
What’s the safest way to remove the patio after weeks or months outside?
Remove in dry weather so tiles lift cleanly and the base doesn’t smear. Lift tile sections methodically, keep tiles flat in storage, and pull up weed barrier so you can address any displaced soil and allow the lawn to recover without extra shading or fabric left behind.
Next Article
How to Make a Temporary Patio on Grass: DIY Steps
DIY steps to build a stable temporary patio on grass, from leveling and drainage to removable base, anchoring, and clean