The best way to remove grass for a patio is to cut the sod into manageable strips with a spade or rented sod cutter, peel it back at root level, then excavate the soil 6 to 8 inches deep to pull out any remaining roots and organic matter. That combination gives you a clean, stable base that won't shift or sprout weeds once your patio goes in. If your grass area is small, a good sharp spade is honestly all you need. For anything bigger than about 200 square feet, rent a walk-behind sod cutter and save yourself a full day of back-breaking work.
How to Remove Grass for a Patio: Best Step-by-Step

Nolan Lennox
15 Jun 2026
Quick decision: best removal method for your yard
Before you grab a shovel, spend five minutes figuring out which approach actually fits your situation. The wrong method wastes time and can leave you with a weedy mess under your new patio. Here's how to think through it.
| Method | Best for | Effort | Cost | Regrowth risk |
|---|---|---|---|---|
| Spade/manual sod strip | Small patios under 150 sq ft, tight budgets | High | Near zero | Low if roots removed cleanly |
| Rented sod cutter (machine) | Medium to large patios (150+ sq ft), established turf | Medium | $80–$150/day rental | Low |
| Excavation with garden fork | Patios needing a deep gravel base, clay soils, areas with stubborn roots | High | Near zero | Very low |
| Rototiller | Areas with heavy root systems or near tree roots (use carefully) | Medium | $60–$120/day rental | Medium — chops roots but doesn't remove them |
| Herbicide (glyphosate) | Large areas, low-slope yards, when you have 2–3 weeks lead time | Low | Under $30 | Low if followed by excavation |
A few quick rules: if you're building near tree roots, work by hand to avoid damaging them. On slopes or uneven ground, a mechanical sod cutter gets tricky, so stick with a spade and take it in small sections. And if you're pouring a concrete slab or laying pavers (rather than just a gravel or mulch patio), you'll need full excavation regardless of which initial removal method you pick, because any buried organic matter will rot and cause your surface to sink.
Tools and materials checklist (DIY-ready)
You don't need a truck full of gear to get this done well. Here's what I'd pull together before starting.
- Flat spade or square-edge landscaping spade (your most-used tool for sod cutting and edging)
- Garden fork (for loosening soil and fishing out deep roots after sod is removed)
- Measuring tape and marking paint or garden hose (to outline the patio area)
- String line and stakes (for keeping your excavation depth consistent)
- Wheelbarrow (you'll move more sod than you expect)
- Work gloves and knee pads
- Safety glasses (especially if using a power edger or rototiller)
- Rented sod cutter — optional but worth it for areas over 150 sq ft
- Rented rototiller — optional, useful near tree roots or in compacted clay
- Landscape fabric / weed barrier (for after removal)
- 3/4-inch minus crushed gravel for base layer (typically 4–6 inches compacted)
- Plate compactor — rentable for $60–$80/day, needed for any hardscape patio
- Glyphosate herbicide — optional, only if using the chemical removal method
- Lawn edger or rotary edging tool (useful for scoring clean boundary lines before digging)
Step-by-step: remove grass cleanly using the sod-strip approach
This is the method I'd recommend for most DIYers tackling a standard backyard patio. It's physical work, but it's straightforward and gives you excellent control over where exactly you're cutting. The goal here is to sever the grass at the root level and lift the turf in sections without bringing too much soil with it. This Old House notes that a wide “swing” blade can sever roots just below the root level for cleaner removal when converting turf to a patio or path blank" rel="noopener noreferrer">sever the grass at the root level.
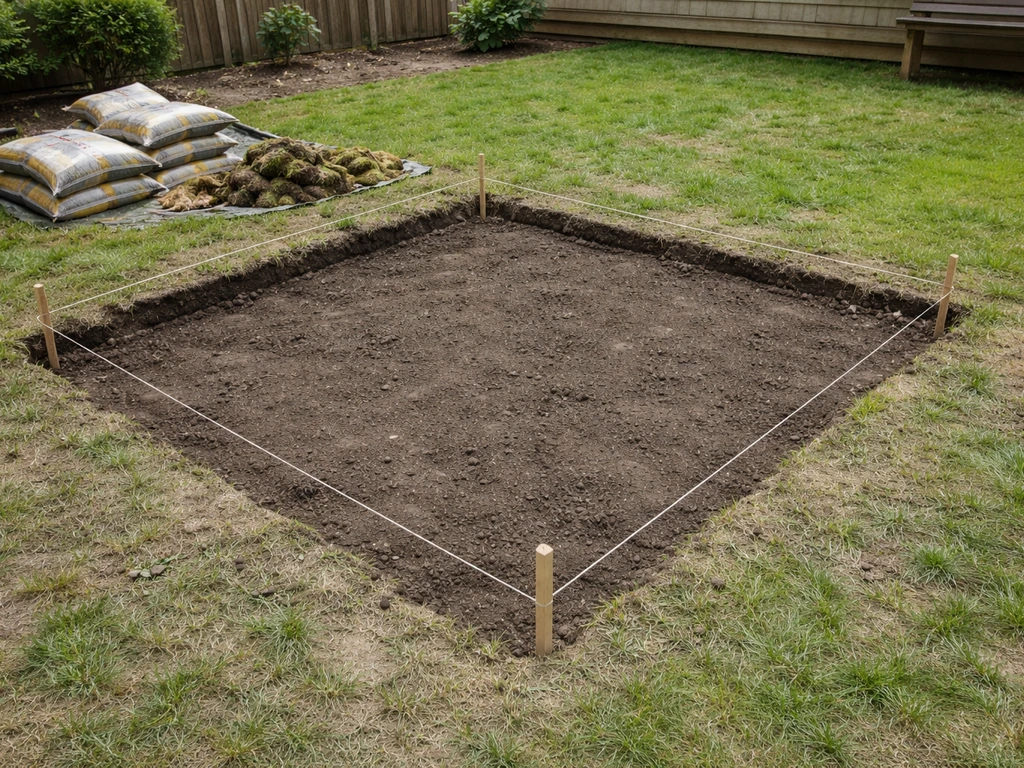
- Mark your patio boundary clearly. Use marking paint, a garden hose laid out in the shape you want, or string lines staked at the corners. Add at least 6 inches of buffer beyond your planned patio edge so your base material has room.
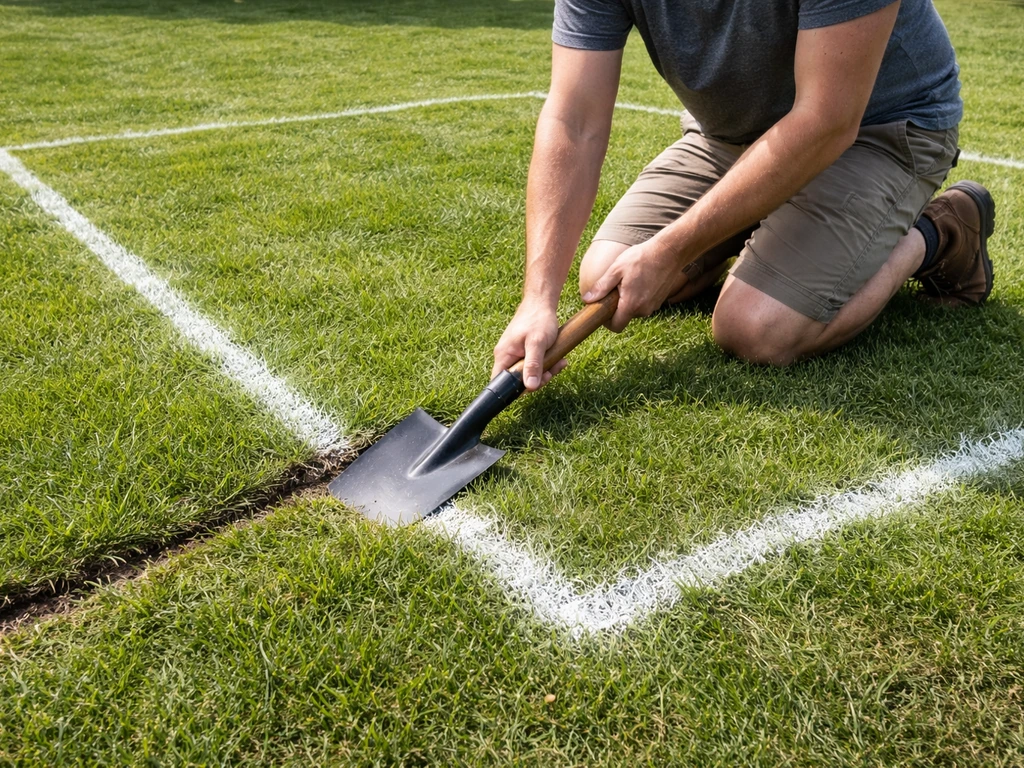
- Score the perimeter first. Run your flat spade or a lawn edger along the entire boundary line, cutting straight down about 3–4 inches. This gives you a clean edge and prevents tearing into adjacent lawn you want to keep.
- Cut the sod into 1-foot-wide strips. Working from one end of the marked area, use your flat spade to cut parallel lines about 12 inches apart across the full width. Then cut across perpendicular every 18–24 inches to create sections you can actually lift.
- Angle your spade at about 45 degrees and push it under the root zone. You're aiming to slide the blade just below where the roots end, typically 2–3 inches deep for most cool-season grasses. The goal is to sever the roots without digging too deep into the soil you'll need intact for base prep.
- Lift, roll, and remove each sod section. Once you've slid the spade under a section, lever it up and roll it back. It should come free in a manageable piece. Load it directly into your wheelbarrow.
- If you have a sod cutter, use it on the main field and finish edges with a spade. Set the blade depth to match your grass's root depth (usually 1.5–2 inches). Push through the area in straight passes, then collect the strips. Flip the sod upside-down alongside the work area to let roots dry and die before disposal if you're not hauling it off immediately.
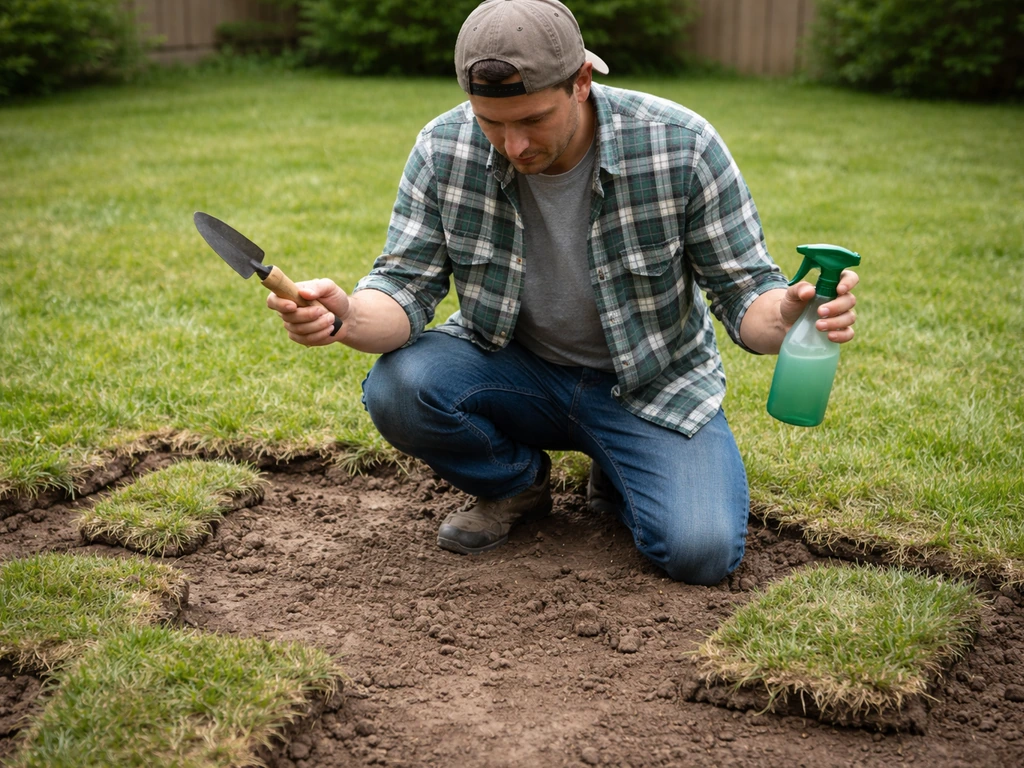
- Check for remaining root clumps. Once the sod is stripped, get down and look. Stubborn grasses like Bermuda or zoysia leave rhizomes behind. Use your garden fork to loosen the top 2–3 inches and pull out any remaining root material.
Step-by-step: excavate deeper to remove roots and prevent regrowth
If you're building a paver, brick, or concrete patio, stopping at sod removal isn't enough. You need to excavate down to accommodate your base layers, and that means getting out every bit of organic material in that soil. Roots, old thatch, decayed grass, all of it needs to go, because organic matter compresses and rots over time, and that causes your patio surface to sink and crack. I've seen it happen within two years on patios where someone skipped this step.
- After stripping the sod, assess your excavation depth. For most paver or brick patios, you need to dig down 6–8 inches total below the desired finished surface elevation. This accounts for 4–6 inches of compacted gravel base, roughly 1 inch of bedding sand, and the thickness of your paver or stone.
- Set a depth reference. Drive stakes at the corners of your patio area and run string lines at the planned finished surface height. Measure down from the string to know how deep you're digging at any given point.
- Dig out the soil systematically. Work in sections using your spade. Loosen soil with the garden fork, then scoop it into the wheelbarrow. Don't just skim the surface — go deep enough to remove the full root zone. In clay soils this can feel endless; take breaks and work in smaller squares.
- Remove every root and organic piece you find. As you dig, pull out roots, old grass clumps, and any visible organic debris. Home Depot's excavation guidance is clear on this: anything organic left behind will decay and undermine your base. If you hit a large root from a nearby tree, cut it cleanly with loppers rather than ripping it out, which can damage the tree.
- For compacted or root-heavy clay, bring in a rototiller. A rototiller can break up the soil and expose buried roots for easier hand-removal. Just be aware that a tiller chops roots rather than removing them, so follow up with a thorough hand-raking to pull the pieces out.
- Check your excavation depth across the whole area. Use your string lines and a tape measure to verify you've hit consistent depth. Low spots or high spots at this stage become a real problem when you're trying to get a level finished surface.
- Rake the exposed subsoil smooth and remove any final debris. The surface should be relatively uniform and free of organic material before you move on to base prep.
Alternative option: chemical weed control and safe timing
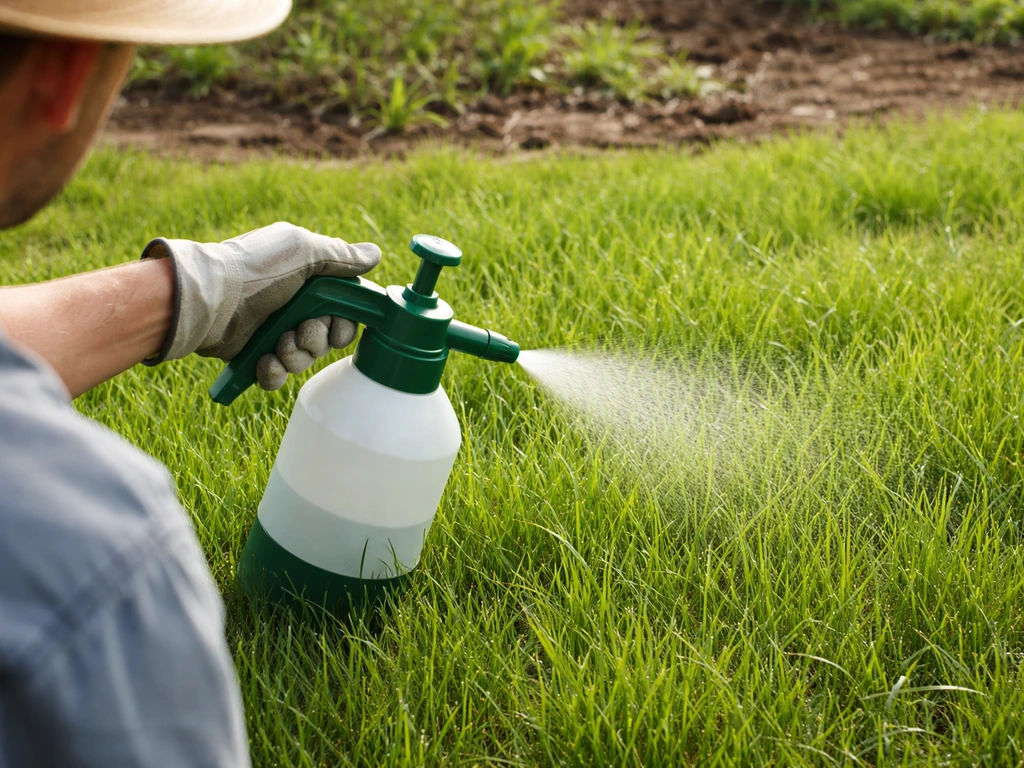
Using an herbicide like glyphosate to kill the grass before removal is a legitimate approach, especially for large areas or grass types that are hard to strip cleanly. It's not a shortcut you can do the day before you want to build, though. There's a real timing requirement that most people underestimate.
Apply glyphosate when the grass is actively growing, because the herbicide needs green leaf tissue to be absorbed and translocated to the roots. Spray on a calm, dry day with no rain expected for 24 hours. The grass typically dies within 7–14 days, turning brown and collapsing. Per EPA label guidance, wait at least 7 days after the last application before tilling or raking the area. In practice, I'd wait closer to 10–14 days and look for complete browning before doing anything physical.
For particularly stubborn grass like Bermuda, a second application 10–14 days after the first (targeting any actively regrowing shoots) gives you much better root kill. Once the grass is fully dead, you still need to physically remove the dead sod and excavate for your base. Herbicide kills the grass; it doesn't replace the sod stripping and excavation steps. Think of it as a labor reducer that makes the subsequent physical removal easier, not a complete solution on its own.
- Only use herbicide if you have 2–3 weeks before your planned build date
- Keep children and pets out of the treated area until fully dry (check the specific product label)
- Avoid applying near storm drains, ponds, or water features
- Always read and follow the specific product label — instructions vary by formulation
- Chemical removal works best as a first step before sod stripping, not as a standalone method for patio prep
Disposal and cleanup, plus troubleshooting tough spots
What to do with all that sod
A typical 200 square foot patio clearing generates a surprising amount of sod. Here are your real options, in order of easiest to most effort:
- Reuse it elsewhere in your yard: flip small sod sections upside-down onto bare patches, water them in, and they'll often re-root within a few weeks
- Compost it: sod composts well, but check your local municipal rules first. Some areas restrict or require specific drop-off locations for grass and yard waste
- Offer it on a local buy-nothing group or neighborhood app: someone with a bare patch will often haul it away free
- Municipal yard waste pickup: many cities accept bundled sod on yard-waste day, but call ahead to confirm
- Rent a dumpster or hire a junk hauler: for large amounts (over 400 sq ft of cleared area), this is often worth the cost to avoid making a dozen trips to a disposal site
Troubleshooting tough spots
Bermuda grass and other rhizomatous grasses are the worst offenders for regrowth because their underground runners can survive even when you think you've gotten everything. If you're dealing with Bermuda, zoysia, or quackgrass, plan on using the herbicide approach first, then doing a very thorough excavation. Any small root fragment left in the soil can send up a new shoot through the tiniest gap in your base layers.
Near tree roots, don't use a sod cutter or rototiller. Work entirely by hand with a spade and garden fork, cutting straight down and prying carefully. Severing large structural roots can damage or kill a mature tree and destabilize the area, which is the last thing you want under a patio. If a major root runs directly through your planned patio space, it's worth adjusting your layout rather than fighting it.
On slopes, a mechanical sod cutter can be dangerous and hard to control. Work in horizontal strips across the slope with a manual spade, always keeping your footing secure. Cut smaller sections than you would on flat ground.
Prepping the patio area after grass is gone
This is the step that determines whether your patio lasts 5 years or 25 years. Getting the base right after grass removal is honestly where I'd focus most of your attention.
Grade for drainage
Your excavated area needs a slight slope away from your house: about 1/8 inch of drop per foot of patio is the standard recommendation. Without this, water pools against your foundation. Use a long level and your string lines to check slope across the entire area and adjust your subgrade accordingly before adding any base material.
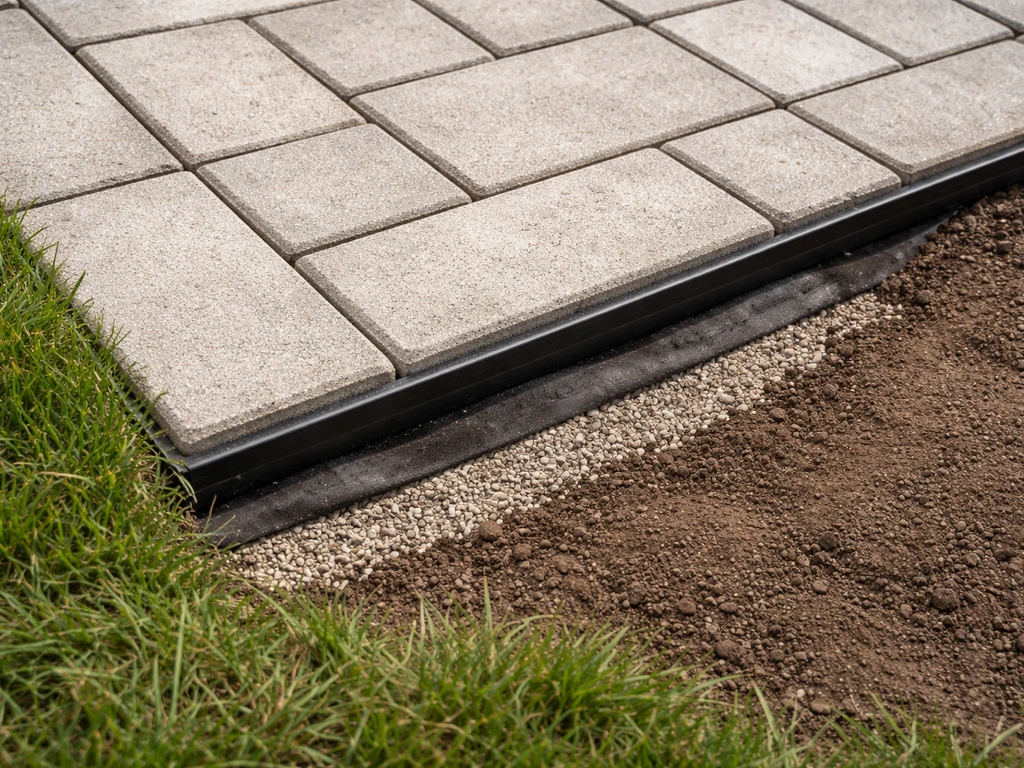
Lay landscape fabric for weed control
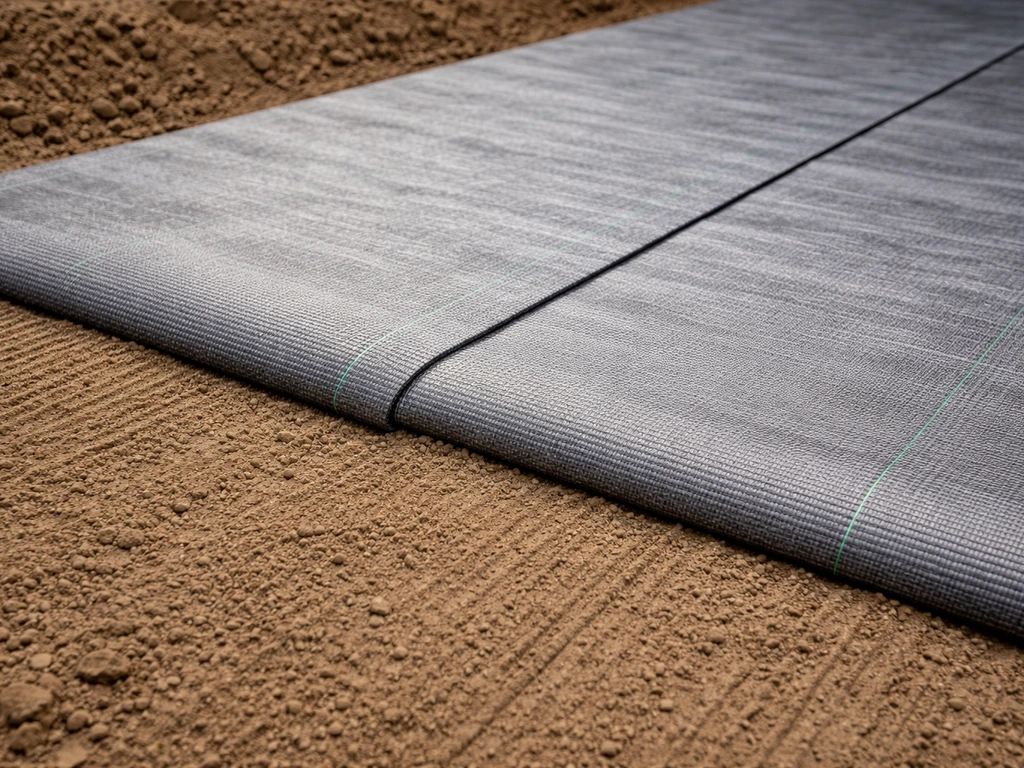
Once the subgrade is graded and raked smooth, lay a layer of woven landscape fabric across the entire excavated area. Overlap seams by at least 6 inches and run the fabric up the edges slightly. This suppresses any weed seeds in the soil below and slows any root regrowth from stubborn grass rhizomes. Landscape fabric is not optional if you had Bermuda, zoysia, or quackgrass. For patios where the look of the separation between patio and lawn matters, you might also look at how to separate your patio from the grass once it's built.
Add and compact your gravel base
Use 3/4-inch minus crushed gravel (also called road base or crusher run) for your base layer, not rounded pea gravel, which doesn't compact properly. Add it in layers of no more than 4 inches at a time, compacting each layer with a plate compactor before adding the next. Most residential patios need a total compacted base depth of blank" rel="noopener noreferrer">4–6 inches. For a quick sanity check on compaction: walk across the compacted surface. If you're leaving footprint impressions deeper than about 1/8 inch, it needs more compaction passes.
After all base layers are compacted and graded, you're ready for bedding sand (for pavers or bricks) or forms and pour (for concrete), or just a final raking (for a gravel patio). The grass removal and base prep work you just did is what makes everything that comes next actually work.
Once you’ve removed the grass, you can decide whether you want to reseed with grass again or keep the area as a patio instead grass removal and base prep work. Whether you're building a simple gravel patio, laying brick, or going with a more complex paver system, that clean, organic-free, compacted base is the whole game.
If you follow this base-prep routine, you’ll be well on your way to building a mulch patio that stays level and weed-resistant how to build a mulch patio.
If you're exploring the direction you want to go with the finished surface, thinking about how to turn grass into a patio more broadly, including what patio types work well as a direct grass replacement, can help you make sure the prep work you're doing now matches the build you have planned.
FAQ
Can I just spray grass with herbicide and skip digging?
Yes, but only if you remove the organic layer completely. For pavers, brick, or concrete, you still need to excavate to your design base depth, because dead sod and roots under the base will rot and lead to settlement. If you killed the grass with herbicide, you must wait until the area is fully browned and then physically remove dead turf and excavate.
Will landscape fabric stop weeds and grass regrowth if I don’t excavate deeply?
No. Landscape fabric reduces weed and root regrowth, but it does not replace compacted base. If you skip excavation depth or base layers, water and decomposing organics can cause uneven settling, even if fabric is present.
Is a spade enough for removing grass for a patio?
You can use a spade-only approach if the sod comes up cleanly and the area is small, but for thicker, tougher sod or persistent grasses, expect more root fragments and extra excavation passes. A quick decision aid, if you are doing more than about 200 square feet or you expect Bermuda or quackgrass, plan on rented equipment or a longer hand-excavation workflow.
What should I check for before I cut out the grass area?
Before you start, spray paint or mark the excavation outline and check for obstacles at the surface and underground. If you hit sprinkler lines, electrical conduit, or utility service, stop and replan your patio layout or protect the utilities, since you do not want to cut and guess under a slab.
How do I know when the grass is dead enough to start removal after spraying?
If the sod is still green and firm, herbicide has not finished the job. Wait until the turf is uniformly brown and collapses when you lift it, then do the physical removal and excavation. If you notice green patches, reapply or plan for extra excavation time in that spot.
Should I treat the whole patio area or just the grass in the exact footprint?
For small spots, you can spot-treat and physically remove, but for large patios, patchwork spraying often misses regrowth at the edges. If you go herbicide, treat the full footprint plus a buffer where roots could extend, then remove all dead turf within the exact excavation boundary you will build to.
Can I keep the lawn right next to the new patio after removing grass?
Yes, but root competition and slope still matter. Maintain the patio’s drainage away from the house, and be sure the bordering lawn area does not creep under the base. The simplest prevention is to keep the excavated base continuous and install a clean separation detail along the edge where needed.
What if Bermuda or quackgrass still comes back after I remove it?
With stubborn grasses, plan on a second full removal cycle even after herbicide. Do the initial spray, wait for full die-off, then excavate thoroughly. If you see fresh shoots after base prep, you can address them with targeted spot treatment and re-excavation of affected pockets before laying your top layers.
When should I check patio drainage slope, before or after base is added?
Yes, but do it after excavation and grading. Start by confirming the slope using a long level and string line, then adjust subgrade before adding base. Fixing slope after base material is spread usually costs more because you have to lift and recompact.
How should I place landscape fabric so it doesn’t cause problems under the base?
Do not rely on fabric alone for grading. You want fabric laid over a smooth, graded subgrade so seams overlap and stay flat, then you add and compact base in lifts. If the fabric wrinkles or lifts, it can create voids that promote settling.
What gravel should I use under a patio base, and how do I avoid poor compaction?
Choose the gravel size that compacts well, and avoid rounded pea gravel for the structural base because it does not lock and compact as effectively. Follow lift thickness limits (for example, no more than about 4 inches at a time) and compact each lift before adding the next.
How can I tell if the base is compacted enough before laying pavers or concrete?
If you are building pavers or brick, verify the bedding layer thickness and base firmness before placing pavers. A fast compaction check is walking the compacted area and looking for deep footprints, then add more compaction passes if needed before you move on to bedding sand or forms.
Next Article
How to Separate Patio From Grass: Step by Step Guide
Step-by-step methods to separate patio from grass using edging, weed barrier, proper base layers, and drainage to stop c