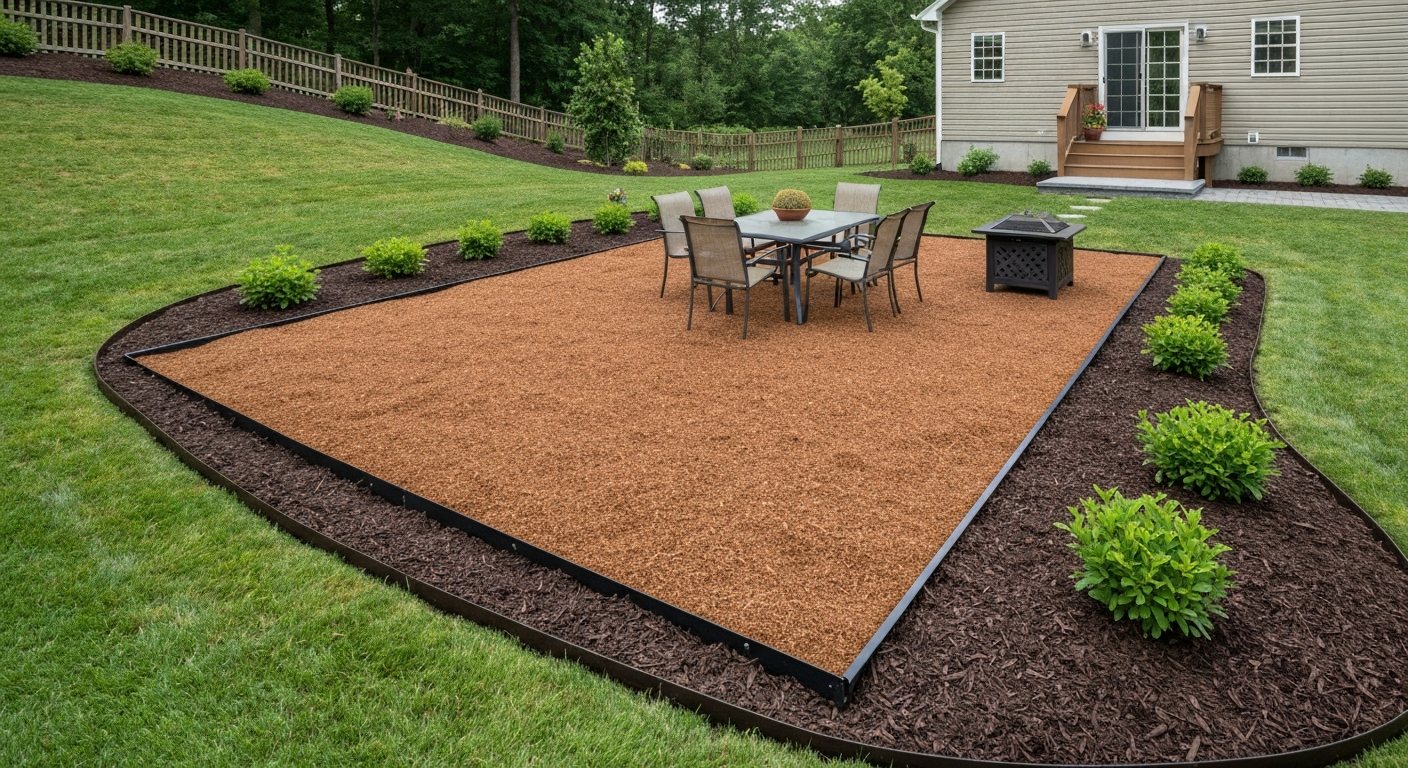
You can turn grass into a patio in a single weekend for a gravel or simple paver project, or over two to three weekends for a concrete slab. The core process is the same regardless of material: remove the grass and organic layer, excavate to the right depth, compact a stable base, install your surface, and finish the edges so the patio stays put. I've done this with a shovel and a rented plate compactor in my own backyard, and I've watched first-timers pull it off successfully when they followed a clear sequence. This guide walks you through every stage, from deciding what to build and checking permits to laying the last paver and keeping the whole thing looking sharp for years.
How to Turn Grass into a Patio: Complete DIY Guide & Checklist

Nolan Lennox
27 Jul 2026
Before You Dig: The Decision Checklist
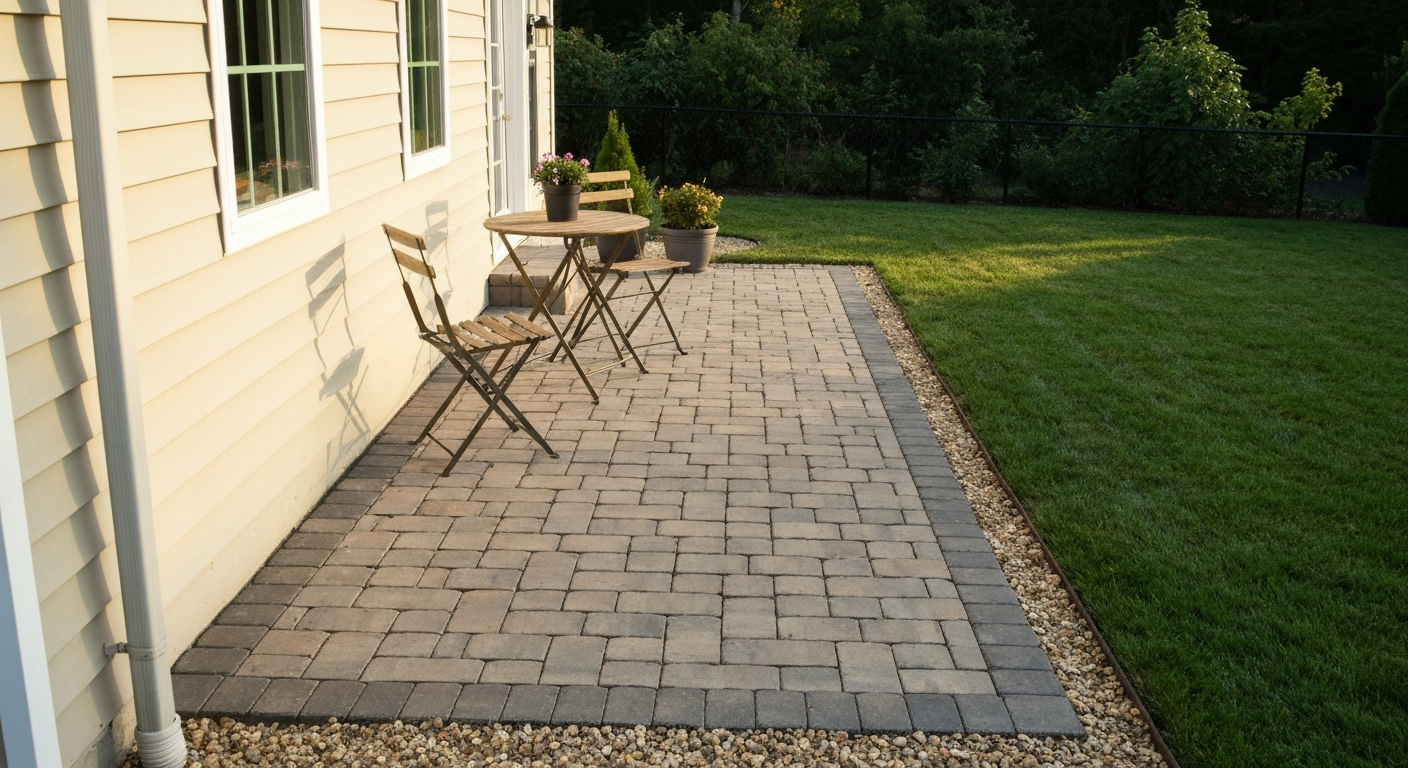
Rushing straight to the shovel is the most common mistake I see. Spend 30 minutes answering these questions first and you'll avoid expensive rework. This checklist covers intended use, size, style, budget, timeline, and whether you're working with an existing hardscape like a driveway. For step-by-step instructions on converting an existing driveway into usable patio space, see how to turn a driveway into a patio.
- Intended use: Will people walk on it, park on it, or set heavy furniture and a grill? Foot traffic only opens up gravel, mulch, and pavers. Vehicle loads require a thicker concrete or paver base (6–8 inches compacted aggregate vs. 4 inches for pedestrian use).
- Size and shape: Measure the area you want to cover. A common starting point is 12x12 feet (144 sq ft) for a bistro set, or 16x20 feet (320 sq ft) for a full outdoor dining setup. Simple rectangles are cheaper and faster to build than curves.
- Style: Do you want a permanent, finished look (concrete or pavers) or something relaxed and budget-friendly (gravel or mulch)? Match the patio style to your home's exterior so the transition doesn't look like an afterthought.
- Budget: Set a realistic number before you pick a material. Gravel runs $1–$3 per square foot installed DIY; pavers $8–$20; concrete $5–$12; wood or composite decking $15–$35+. Your budget often decides the material, not the other way around.
- Timeline: Gravel and mulch can go in one weekend. Pavers take one to two weekends. Concrete needs three to five days of curing before furniture goes back on, and full strength at 28 days.
- Existing driveway conversion: If you're expanding a patio off an existing driveway or converting a driveway into a patio, the subbase is likely already solid. You may only need to add a surface layer or edging, which dramatically cuts labor and cost. This is a separate scope worth evaluating on its own.
- Drainage: Note where water goes after heavy rain. Your finished patio must slope at least 2% (about 1/4 inch per foot) away from your house per IRC R401.3. If your yard naturally drains toward the house, plan for a swale or channel drain before you finalize the layout.
- HOA and zoning: Some neighborhoods cap the percentage of your lot you can cover with impervious surface. Check this number before you commit to a large concrete or paver project.
Permits, Utility Locates, and HOA Rules
Call 811 before you dig anything. That's the national one-call utility locate number, and the law requires you to contact them at least two business days before breaking ground. Utility operators will come out and flag gas lines, electrical conduit, and water pipes in your area. Skipping this step is one of the most common causes of utility strikes, and the liability falls on you if you damage a line. The call is free.
Permits are more likely to be required than most homeowners expect. The triggers vary by municipality, but the most common ones are: adding a roofed or covered structure like a pergola over the patio, exceeding your zoning lot's impervious surface coverage limit, or making drainage changes that could affect neighboring properties. See Permitech, Patio permit triggers (covered vs uncovered, impervious surface and setback issues) for local thresholds and contacts on covered structures, impervious surface limits, and drainage-related permit triggers Permitech — Patio permit triggers (covered vs uncovered, impervious surface and setback issues). A plain open-air patio at grade often doesn't require a permit, but you need to confirm this with your local building or planning department directly. Don't assume. A quick phone call takes 10 minutes and could save you a costly stop-work order later.
While you're checking permits, pull up your property's plat or tax assessor map and confirm your lot lines. Setback rules often require patios to sit a minimum distance from property lines or easements. If you're part of an HOA, review the CC&Rs for rules on hardscape materials, colors, or coverage. Some HOAs require design approval before you start, and building without it can mean tearing out finished work.
Site Assessment and Measurements
Walk the area with a stake and tape measure. Get the slope readings, look for tree roots, and figure out where water collects after rain. Here's what you need to document before you order a single bag of base material.
- Soil type: Dig a test hole 12 inches deep. Sandy or loamy soil drains well and compacts predictably. Clay soil holds water and can shift under freeze-thaw cycles, which means you'll need a deeper base and possibly a geotextile fabric layer.
- Slope: Use a 4-foot level and a tape measure to find how much the ground drops or rises across your patio footprint. You need the finished surface to shed water away from the house at 1/4 inch per foot minimum. If the existing grade slopes toward the foundation, plan to regrade or add drainage.
- Drainage: Look for low spots where water pools. If your patio sits at the bottom of a slope, a channel drain or a gravel-filled French drain perimeter may be necessary to prevent standing water.
- Tree roots: Surface roots within 10–15 feet of the patio edge can heave pavers or crack concrete within a few years. Either relocate the patio footprint or plan for a flexible surface (gravel or mulch) that can tolerate minor movement.
- Access and obstacles: Consider how you'll get a loaded wheelbarrow or skid steer into the area. Narrow side gates (under 36 inches) make machine access impossible and significantly increase hand-labor time.
- Underground obstacles: Note any irrigation lines, downspout drains, or buried cables visible at the surface and mark them before excavation begins.
Once you've assessed the site, stake out the patio perimeter with spray paint or batter boards and string lines. Measure the diagonal corners to check for square (they should be equal if you're building a rectangle). Sketch the layout on paper with dimensions and note the elevation at each corner so you can calculate cut and fill for your grading.
Tools, Materials, and Safety Gear
You don't need a contractor's arsenal to build a solid patio. The list scales with the project complexity and your skill level. Here's an honest breakdown by tier.
| Skill Level | Project Type | Key Tools | Key Safety Gear |
|---|---|---|---|
| Beginner | Gravel or mulch patio | Flat spade, bow rake, wheelbarrow, hand tamper, utility knife, tape measure, 4-ft level | Work gloves, safety glasses, steel-toe boots |
| Intermediate | Paver or flagstone patio | All above + rented plate compactor, rubber mallet, paver splitter or angle grinder with diamond blade, screed rails, torpedo level | All above + hearing protection, dust mask (N95) when cutting |
| Advanced/DIY+ | Concrete slab | All above + rented concrete mixer or order ready-mix, bull float, magnesium hand float, screed board, groover/jointing tool, concrete saw for control joints | All above + nitrile gloves (concrete is caustic), knee pads, waterproof boots |
For any project larger than about 200 square feet, rent a gas-powered plate compactor. Trying to compact a large base with a hand tamper is exhausting and usually results in uneven settling. Rental runs about $60–$100 per day and pays for itself in a more stable finished product. If you're pouring concrete, decide early whether to order ready-mix (easier, no mixing variability) or rent a mixer (cheaper for very small pours under 0.5 cubic yards). Concrete mixed on-site introduces quality inconsistencies, so I lean toward ready-mix for any slab over 4x8 feet.
Removing the Existing Grass
Grass removal is physically the hardest part of the job and the step most people underestimate. See our guide on how to separate patio from grass for specific edging and barrier methods to prevent turf encroachment. The method you choose depends on your timeline, physical stamina, and budget.
Hand Removal (Shovel and Spade)
For areas under 150 square feet, a flat spade and some elbow grease is practical. Score the grass into 12x12-inch sections, slide the spade under the root layer (usually 2–3 inches deep), and peel up the sod. Stack pieces grass-side down for easier stacking and hauling. It's slow work, but it costs nothing beyond your own time and gives you precise control around beds, trees, and edges.
Sod Cutter (Rented Machine)
For anything over 150 square feet, rent a sod cutter. A walk-behind machine slices under the root zone at a uniform depth (typically 1.5–2 inches) and rolls the sod into manageable strips. Rental runs about $75–$150 per day. Water the lawn lightly the day before to soften the soil and make cutting easier. The machine is heavy and unwieldy on slopes, so recruit a helper for sloped sites.
Smothering and Solarization
If you have four to eight weeks before your build date, solarization is a low-effort option. Cover the grass area with clear plastic sheeting (4–6 mil) staked tightly at the edges. Heat builds under the plastic and kills the grass and most weed seeds. After four weeks in summer (six to eight in cooler weather), the dead material can be raked off or tilled in. Cardboard smothering works similarly over eight to twelve weeks and can be left in place as a biodegradable weed barrier under gravel or mulch. If you prefer a low-effort natural surface, see our guide on how to build a mulch patio for materials, edging, and compaction tips.
Herbicide Use: What to Know
Non-selective herbicides like glyphosate kill grass quickly but require care. Always follow label directions exactly, as the label is a legal document, not a suggestion. Wait the full re-entry interval before working in the area (typically 24 hours after drying), and check that the product is appropriate for use near water features or garden beds. One application typically kills the top growth; a second application two weeks later handles regrowth before excavation. Herbicides don't remove the physical root mass, so you still need to excavate and dispose of the dead material. I personally prefer mechanical removal for patios since you're digging anyway, but herbicides can be useful for killing persistent grasses like Bermuda before final grading.
Hauling, Disposal, and Eco-Friendly Reuse of Removed Turf
A 200-square-foot patio typically generates two to three cubic yards of sod and soil, which is heavier than it looks. Before you start digging, have a plan for where it's going. Dumping it in the back corner of your yard usually just creates a weedy mound that re-sprouts, so don't skip this step. If you later decide to restore the area to lawn, see our guide on how to grow grass on patio for step-by-step regrowth tips. If you want an eco-friendly option, read about how to compost on a patio to reuse removed turf and reduce hauling and waste.
- Compost it: Stack sod strips grass-side down in a pile at least 3x3x3 feet. Alternate layers of sod with dry material (wood chips, straw) and keep it moist. Within three to six months you'll have usable compost for garden beds. This is the most sustainable and cost-free option. If composting on your patio sounds useful after the build is done, that's a separate topic worth exploring.
- Turf salvage and donation: Healthy sod in good condition can be replanted in bare patches of your own lawn or given away free through neighborhood apps like Nextdoor or Facebook Marketplace. Someone is almost always looking for free sod for a patchy yard.
- Topsoil amendment: Strip just the top 2–3 inches of sod and use the lower, grass-free soil layer as topsoil elsewhere in the yard for raised beds or low spots that need filling. This works well when you're excavating more depth than the grass root zone.
- Municipal green-waste programs: Most municipalities offer curbside green-waste pickup or drop-off composting facilities. Call your waste hauler or check the city website for accepted materials and container limits. Many programs will take bagged sod rolls.
- Rented dumpster: For large projects (300+ sq ft) or if you have no space to compost or store the material, a 10-yard dumpster rental ($300–$500 in most markets) handles everything cleanly. Fill it with sod, excavated soil, and old edging in one pass.
Base and Subgrade Preparation
The base is everything. I've seen beautiful paver patios turn into wavy, weed-infested disasters within two years because the builder skimped on base depth or compaction. This is not the step to rush. Every material has different excavation depth and base layer requirements, so match your prep to your surface choice.
Excavation Depths by Material
| Patio Surface | Total Excavation Depth | Compacted Base Layer | Bedding Layer | Notes |
|---|---|---|---|---|
| Gravel | 6–8 inches | 4–6 inches crushed stone/road base | 2–3 inches angular wearing gravel | Geotextile on clay or silty soils |
| Pavers (pedestrian) | 8–10 inches | 4–6 inches compacted aggregate base | 1 inch sand or limestone screenings | Edge restraints required; 6–8 inches base on clay subgrade |
| Pavers (vehicle load) | 10–12 inches | 6–8 inches compacted aggregate base | 1 inch bedding sand | Compact in 2–4 inch lifts to 95% Proctor density |
| Concrete slab (4 inch) | 7–8 inches | 3–4 inches compacted gravel/crushed stone | No separate bedding; slab poured directly on base | Control joints at 1 inch deep minimum; 3,000 psi mix |
| Wood/Deck on grade | Varies with post/beam design | Compacted native soil or gravel under footings | Gravel drainage layer around footings | Footings must meet local frost depth requirements |
| Mulch | 3–4 inches | No aggregate base required; grade native soil | 3–4 inches wood chip mulch | Geotextile or cardboard layer helps suppress weeds |
Compaction: How to Do It Right
Compact the native subgrade first before adding any base material. If you add crushed stone on top of loose, uncompacted soil, the whole system will settle unevenly. Make two to three passes with the plate compactor over the excavated subgrade, then add your aggregate base in layers (called lifts) no deeper than 2–4 inches each. Compact each lift before adding the next. Industry standards call for 90–95% of Proctor maximum dry density (ASTM D698 or D1557) for subgrade and base under slabs and pavement. For a DIYer, that translates to: if the surface is still giving or moving under the compactor, it's not done yet. Keep compacting until the machine bounces on the surface and material stops shifting.
When to Use Geotextile Fabric
A non-woven geotextile separation fabric is worth installing any time your subgrade has significant clay or silt content. The fabric goes directly on the compacted subgrade before the aggregate base. It prevents fine soil particles from migrating up into your gravel base (a process called pumping), which is what turns a solid base into a soupy mess after repeated wet-dry cycles. It also helps distribute load more evenly on soft soils. Look for a product meeting AASHTO M288 Class specifications. Avoid woven landscape fabric here since it can clog and doesn't perform as a separation layer under load.
Base Material Specs
Crushed stone (also called road base, crusher run, or compactable gravel) is the standard base material for nearly every patio type. It's angular, which means particles lock together when compacted rather than rolling under load like rounded pea gravel does. Limestone screenings (a byproduct of stone crushing) work well as the bedding layer under pavers because they screed smoothly to a 1-inch depth. Coarse sand (concrete sand or torpedo sand) also works as a bedding layer. Do not use fine play sand as a bedding layer; it can shift and doesn't drain as cleanly. For the wearing layer of a gravel patio, angular crushed granite, decomposed granite, or pea gravel are all common choices depending on your aesthetic preference and budget.
Slope and Drainage: Getting the Grade Right
Establish your slope during base preparation, not after. Set your string lines so they drop 1/4 inch per foot away from the house across the full patio width. If your patio is 12 feet wide, the far edge should be 3 inches lower than the house-side edge. Use a level and tape measure to check as you screed the base. Getting this right at the base layer means your finished surface will automatically drain correctly. If you can't achieve the minimum 2% slope due to existing site conditions, you'll need to install a surface or channel drain per IRC R401.3 requirements before proceeding.
FAQ
Do I need a permit to turn my grass into a patio?
Often—but it depends. Check local building and planning departments for rules on impervious‑surface coverage, setbacks, and covered structures (pergolas/roofed patios usually trigger permits). If your work changes drainage that could affect neighbors or stormwater systems, a permit or review is likely required. Always verify local thresholds before starting.
What initial planning questions should I answer before starting?
Use a decision checklist: intended use (dining, firepit, parking), required size, budget, desired material(s), expected loads (foot traffic only vs vehicles), existing soil/drainage conditions, proximity to house (observe code slope), and whether you’ll convert an existing driveway. This drives design, base depth, and permit needs.
How do I check property lines and utilities before digging?
Confirm property lines with your plat or a boundary survey if needed. Call the national one‑call (811) at least 2 business days before any digging so underground utilities are marked. Failure to call 811 is a common cause of utility strikes.
What slope and drainage requirements should I follow next to the house?
Follow standard practice: finished surfaces within 10 ft of the foundation should slope away at a minimum of 2% (~1/4 inch per foot). If you can’t provide that fall, include a channel drain, swale, or other positive drainage to keep water away from the foundation.
How do I assess the site and subgrade?
Check soil type (sand, silt, clay), surface grade, wet spots, and existing compaction. Dig test holes (6–12" deep) to inspect for organic topsoil, groundwater, or buried debris. Weak or clayey soils usually require a deeper aggregate base and geotextile fabric to prevent settlement.
What are safe, effective methods for removing grass and roots?
Options: mechanical sod cutter (fast, reuses sod), manual removal with shovel/edger (lower cost), solarization (cover with thick plastic for 4–8 weeks to kill turf — slower), or chemical herbicide (use per label and local rules). Remove roots and large organic material; dispose or compost turf per local yard‑waste rules.
Next Article
How to Build a Mulch Patio: Step-by-Step DIY Guide, Drainage
How to build a mulch patio: step-by-step DIY guide with tools, drainage, edging, costs, and maintenance.