You can DIY a patio floor from start to finish in a weekend or two, depending on the material. The full process goes like this: pick your surface material, mark out the area and plan your slope, dig down 6 to 10 inches, compact the subgrade, lay a gravel base, add your setting layer, install the surface, then lock it all in with edging, jointing, and sealer. The exact steps shift a little based on whether you're laying pavers, pouring concrete, spreading decomposed granite, or building a ground-level wood or composite deck, but the foundation work is almost identical across all of them. Get the base right and everything else follows.
How to DIY Patio Floor: Step-by-Step Build Guide

Nolan Lennox
7 Jul 2026
Pick Your Patio Floor Material First
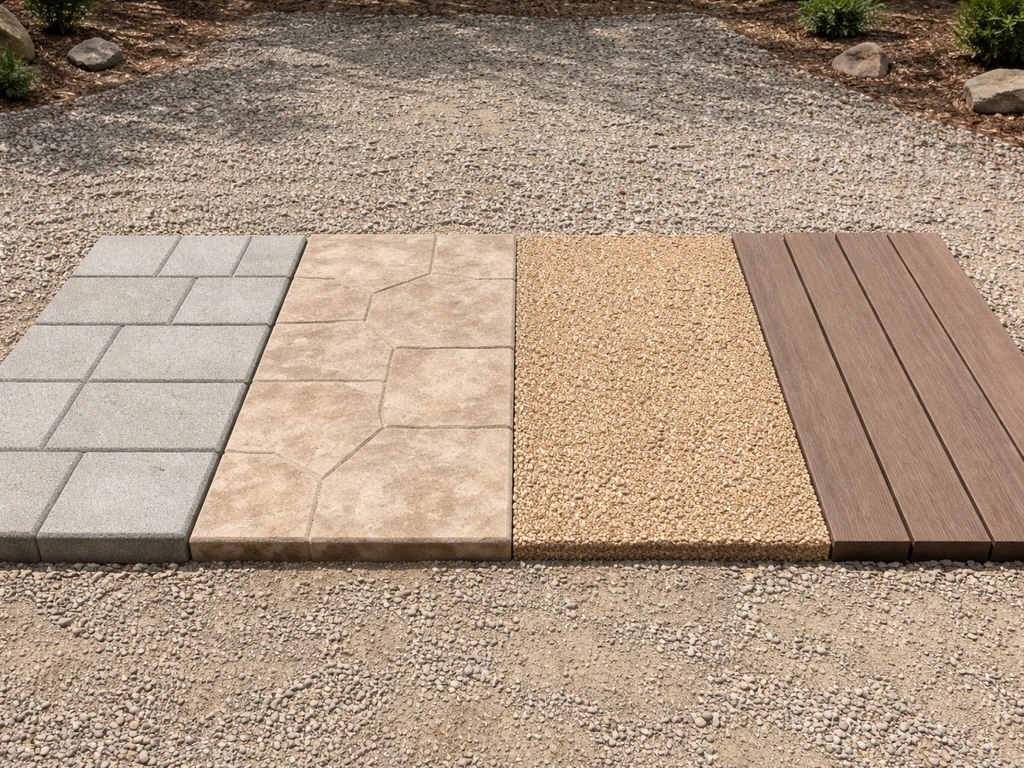
The material you choose shapes every decision that follows: how deep you dig, what tools you need, your budget, and how long the whole thing takes. Here's an honest breakdown of the four most DIY-friendly options.
| Material | DIY Difficulty | Cost (materials, per sq ft) | Durability | Best For |
|---|---|---|---|---|
| Concrete pavers / brick | Moderate | $3–$8 | 25–50+ years with good base | Clean, formal look; easy to repair individual units |
| Poured concrete | Hard | $4–$8 | 20–30 years with proper joints | Permanent, low maintenance, smooth finish |
| Decomposed granite (DG) | Easy | $0.50–$2 | 3–7 years before re-leveling | Budget-friendly, natural look, fast install |
| Wood / composite decking | Moderate–Hard | $8–$20 (composite) | 15–30+ years (composite) | Uneven or sloped ground, raised applications |
Pavers are the sweet spot for most DIYers: forgiving to install, easy to repair if one sinks, and they look great. If you are set on a decorative finish like a mosaic patio, pavers are often a practical starting point because they are easier to cut and replace around the pattern. Poured concrete is unforgiving once it's down, so it demands more precision and some experience with a screed and float.
Decomposed granite is the cheapest and fastest route if you're working on a tight budget, though it needs edging and periodic re-leveling. Wood or composite decking over a frame is the right call when your ground is too sloped or rocky to excavate cleanly, and composite materials are worth the higher upfront cost if you want something that lasts.
If you're specifically looking at a budget-first approach, a cheap patio floor guide can help you weigh tradeoffs on cost without sacrificing stability.
Plan the Layout, Size, Slope, and Drainage
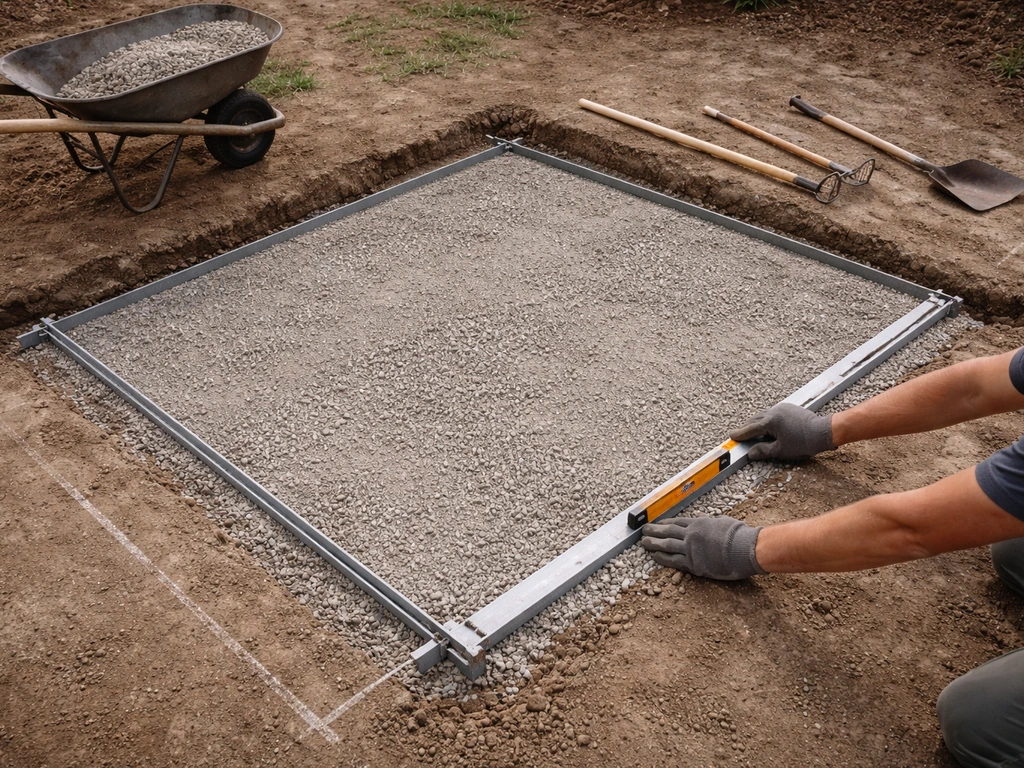
A 12x12 ft patio is a good starting size for one person. Most comfortable outdoor seating areas run 16x16 ft or larger, but go with what your yard allows. Mark your perimeter with stakes and string lines, then use a line level or laser level to check grade. Your patio surface needs a slope of at least 1/8 inch per foot away from the house.
If you want the full process, use these patio floor steps to plan materials, prep the base, and install your chosen surface slope of at least 1/8 inch per foot. That's not much visually, but it's enough to direct water away from your foundation. On a 12-foot run, that's 1. 5 inches of drop total.
If you're sloping toward a specific point like a garden bed or catch basin, keep that same ratio.
Check whether you need a permit. Most jurisdictions don't require one for a ground-level paved patio under a certain square footage, but ground-level decks and anything attached to the house often do. Your local building department can tell you in one quick call. While you're at it, call 811 (the national dig-safe line in the US) before you break ground. It's free, it's required by law, and it takes one phone call to avoid hitting a gas line.
Think about where water currently goes in that area. If it pools after rain, your drainage plan has to account for that. The slope handles surface runoff, but if the subgrade itself is poorly drained clay, you may want to add a perforated pipe at the edge of the excavation that directs water to daylight away from the patio.
Site Prep: Digging, Demo, and Soil Assessment
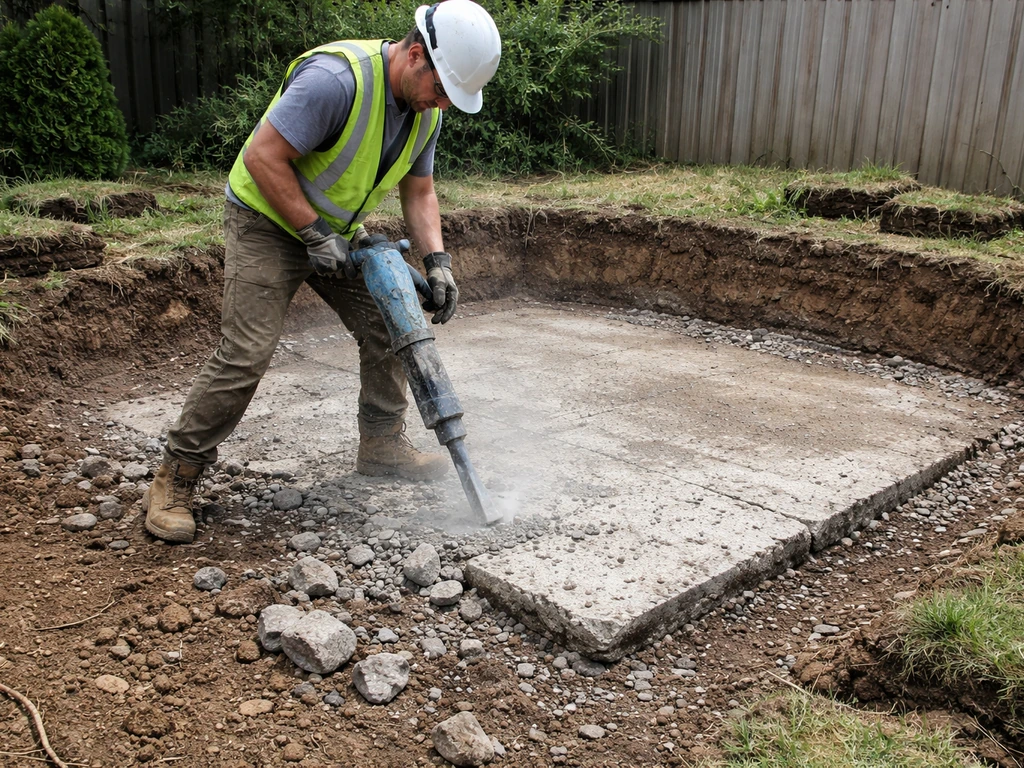
Clear the area completely. Pull up any existing sod, roots, or old surface. If you're removing an old concrete slab, rent a demolition hammer and haul the chunks out. Once you're down to bare dirt, you need to excavate to a depth that accounts for your base layers plus the surface material. For a paver patio, that typically means: If you're deciding how to cover a patio floor rather than build from scratch, the surface you choose will affect prep work, thickness, and drainage.
- 4 to 6 inches of compacted crushed stone base
- 1 inch of bedding sand
- The thickness of your pavers (usually 2 3/8 to 3 1/8 inches)
- Total: roughly 7.5 to 10 inches of excavation below your finished grade
For poured concrete, you need 4 inches of slab plus a 4-inch compacted gravel base, so dig down about 8 inches. For a wood or composite deck at near-ground level, your frame depth determines how much you excavate, but you still want to remove all organic material and get down to undisturbed mineral soil.
Poke at the exposed subgrade with a steel rod or a screwdriver. If it sinks in easily, the soil is soft and may need additional compaction or even some subgrade stabilization fabric (geotextile) before your gravel base goes in. Sandy soil compacts easily and drains well. Clay holds moisture and is more prone to movement with freeze-thaw cycles, so add an extra inch to your gravel base if you're working with clay. Peat or highly organic soil is a red flag: if the top few inches are dark and spongy, keep excavating until you hit stable mineral soil, or you're building a patio that will sink in a year.
Build the Foundation: Subbase, Compaction, and Edging
This is the most important part of the whole job. A beautiful surface on a soft base will crack, sink, and shift. Don't rush it.
Compact the subgrade
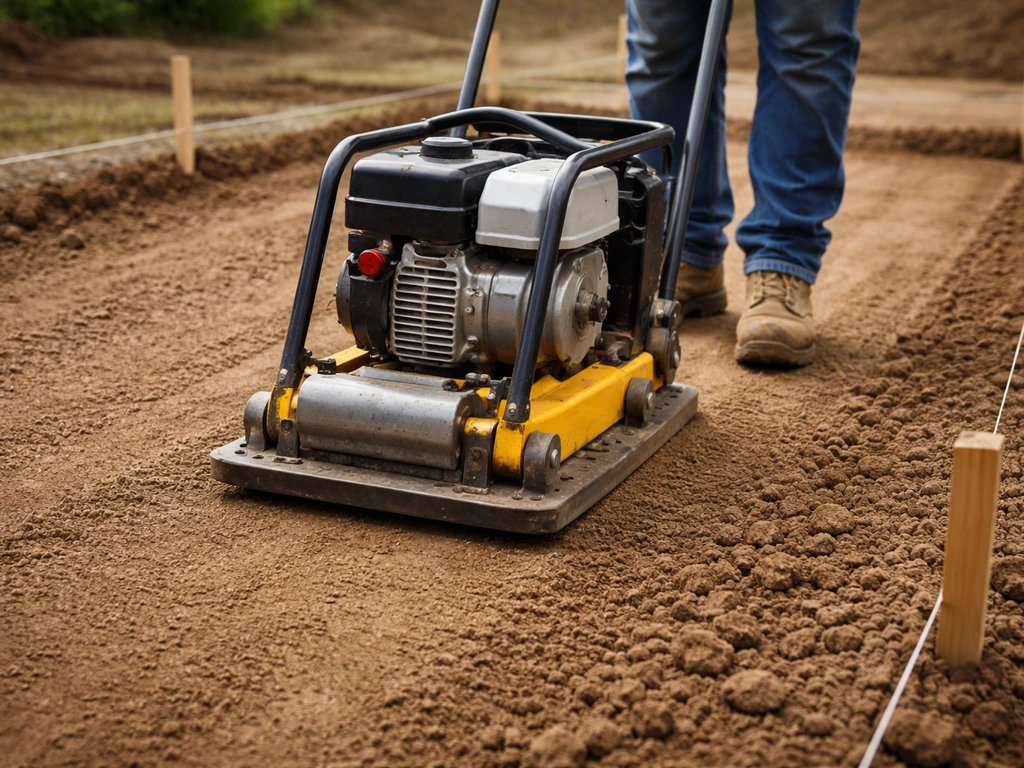
Before any gravel goes in, compact the exposed dirt with a plate compactor (rent one for about $60–$80 per day). Make at least two passes in perpendicular directions. For paver systems, the ICPI specifies a subgrade compaction target of 98% of standard Proctor density (per ASTM D698). You can't test that at home, but two solid passes with a plate compactor over dry, stable soil gets you close. If your soil is dusty-dry, lightly mist it first. Wet soil compacts poorly, so wait if it's been raining.
Lay and compact the crushed stone base
Use 3/4-inch crushed stone (also called road base or Class II base). Spread it in 3- to 4-inch lifts and compact each lift before adding more. Don't dump the full depth in all at once: compactors can only effectively densify about 3 to 4 inches at a time. Check your grade as you go using a long level or a taut string line. Adjust the base height so your finished surface will land at the right elevation with the correct slope built in. If you want to go with tile, the same planning steps apply, then you add the right tile, setting method, and waterproofing for patio use tile patio.
Install edge restraints before the surface goes in
For pavers, plastic paver edging spiked into the compacted base keeps everything from spreading outward over time. The ICPI is clear that edge restraints have to be installed at the correct height and properly anchored. Set your edging right after you finish the base, before you screed the bedding sand. Loose or incorrectly placed edging is one of the top reasons paver patios develop gaps and migration after a few seasons. Spike every 12 inches for straight runs and every 6 inches on curves.
Installation Steps by Material
Laying pavers or brick
Once your base is compacted and edging is set, spread your bedding sand. The [standard bedding layer is 1 inch thick (25 mm)](https://www. orco. com/wp-content/uploads/2017/06/ICPI-TechSpec17_Web.
pdf), using concrete sand that meets ASTM C33 gradation. Don't use mason sand or play sand: they're too fine and will shift. Screed the sand flat using two lengths of 1-inch conduit as guides, then pull a straight board across them. Do not walk on the screeded sand.
Lay pavers from one corner, working outward in a pyramid pattern. Tap each paver gently with a rubber mallet to seat it. Keep your joints consistent (1/8 inch is standard). Once all pavers are down, run the plate compactor over them (put a rubber pad or carpet scrap under the plate to avoid scratching), then sweep polymeric sand into the joints, compact again, and activate with a light mist of water.
One important note: bedding sand is not meant to fix a bad base. If you're using extra sand to level out high and low spots in the base, stop and fix the base itself.
Pouring and finishing concrete
After your compacted gravel base is done, set your form boards (2x4 lumber staked at the correct slope). For a 4-inch slab, you'll want 3,000 to 4,000 PSI mix. Order ready-mix for anything over about 50 square feet: mixing bags by hand is exhausting and the timing gets away from you. Pour, screed flat, then float the surface.
Control joints are critical. ACI 302. 1R-15 also emphasizes that finishing, jointing, and curing operations are critical for concrete floor and slab performance, including shrinkage cracking control [Control joints are critical. ](https://www.
concrete. org/Portals/0/Files/PDF/Previews/3021R-15PREVIEW. pdf). Space them every 24 to 36 times the slab thickness: for a 4-inch slab, that means a joint roughly every 8 to 12 feet.
Cut them to a depth of 1/4 to 1/3 of the slab thickness. Timing matters: cut too early and the saw ravels the edge, too late and the slab already cracked randomly. Cut when the concrete is firm enough not to be damaged by the blade, usually 4 to 12 hours after the pour depending on conditions. Cure the slab by keeping it moist for at least 7 days with burlap and plastic sheeting or a curing compound.
Spreading decomposed granite
DG is the fastest install. After excavating 4 to 6 inches, compact the subgrade, then lay a 4-inch compacted gravel base as usual. Spread DG in 2- to 3-inch layers, lightly water each layer, and compact with a plate compactor or hand tamper. Stabilized DG (which has a binder mixed in) holds together better and is worth the small extra cost if this will be a primary walkable area. Install metal or plastic edging to keep it contained. DG costs roughly $40 to $80 per ton, and a 3-inch layer on a 20x20 ft area uses about 2 to 2.5 tons of material.
Installing wood or composite decking as a patio floor
A ground-level deck frame uses 4x4 or 6x6 posts or concrete piers as footings, set below the frost line in cold climates (IRC 2024 references footing depth relative to undisturbed soil). Frame with 2x8 or 2x10 joists at 12 or 16 inches on center depending on your decking brand and board direction. Trex and most other composite brands specify 12-inch joist spacing when boards run diagonally. Composite decking is screwed into joists using hidden fasteners or face screws, following the manufacturer's gap specifications (usually 1/8 to 3/16 inch between boards for drainage and expansion). Leave at least 6 inches of clearance beneath the frame for airflow, and use pressure-treated lumber for all framing members that are close to ground level.
Finishing for Long-Term Durability
Joints, polymeric sand, and grouting
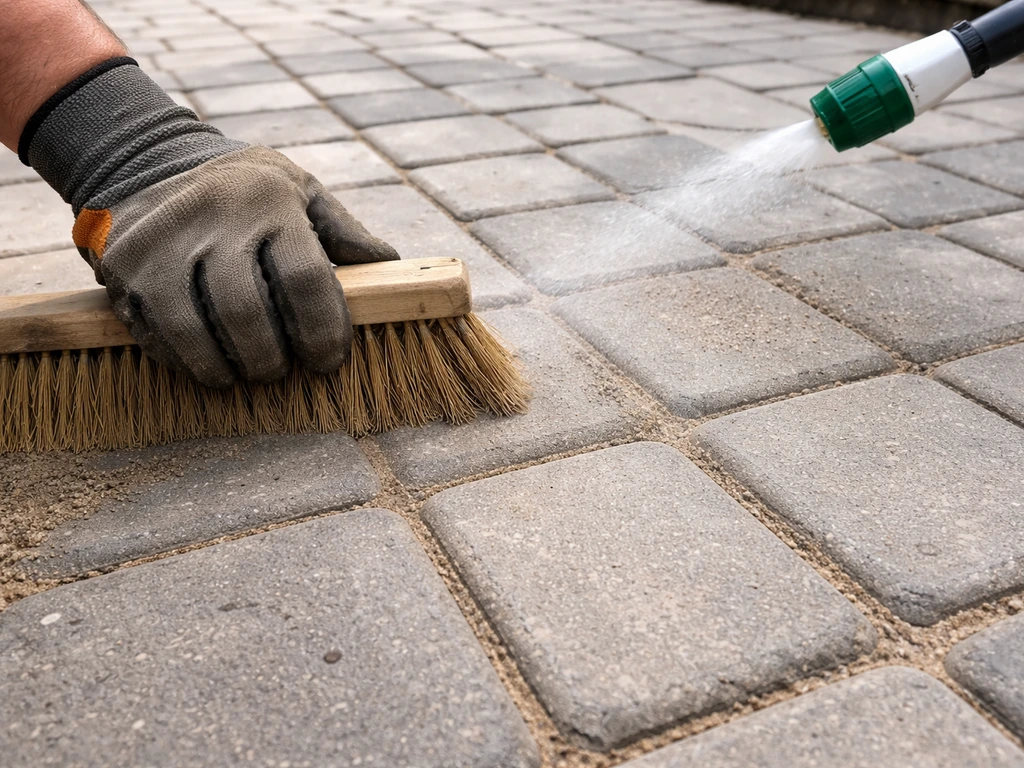
For pavers, polymeric sand is non-negotiable if you want to keep weeds out and prevent joint sand washout. Sweep it in dry, compact again, then activate with water. It sets firm over 24 to 48 hours. For tile or a mosaic-style patio surface, use a sanded exterior grout and a grout sealer after it cures. How to make a tile patio and mosaic applications are worth exploring separately since they involve a mortar-set process on a concrete substrate rather than a sand-set system.
Sealing
Seal concrete pavers 90 days after installation (the concrete needs to cure and efflorescence needs to finish releasing). Use a penetrating or film-forming sealer rated for exterior use. Concrete slabs benefit from a penetrating silane or siloxane sealer to reduce water absorption and resist freeze-thaw spalling. Reseal every 3 to 5 years. Composite decking generally doesn't need sealer, but pressure-treated wood should be sealed or stained annually to prevent checking and graying.
Weed control and weatherproofing
Lay a heavy-duty landscape fabric over the compacted subgrade before your gravel base goes in. It won't stop everything forever, but it slows weed penetration significantly. Polymeric sand in joints is your second line of defense. For DG patios, stabilized DG plus edging plus occasional re-leveling is the maintenance plan. For wood decks, keep debris cleared from between boards and inspect joists once a year for rot, especially near the ledger board.
Budget, Tools, Timeline, and Fixing Common Mistakes
What it actually costs
For a 12x16 ft (192 sq ft) paver patio, budget roughly $600 to $1,500 in materials depending on paver style and whether you're renting tools. That includes pavers, gravel base, bedding sand, polymeric sand, edging, and basic supplies. A poured concrete slab of the same size runs $400 to $800 in materials if you pour it yourself, though form lumber and equipment rental add to that.
A composite deck surface in the same footprint will run $1,500 to $3,500 in materials. DG is the budget option at roughly $200 to $400 for the same area. If you want to explore the cheapest viable options in more depth, a guide focused specifically on cheap patio floor approaches can help you prioritize where to save and where not to cut corners.
If you want to go even cheaper, see our tips for how to make a cheap patio floor.
Tools you'll need
- Plate compactor (rent)
- Long level or laser level
- Rubber mallet
- Screed board and pipes (1-inch conduit for bedding sand)
- Circular saw with masonry/diamond blade for cutting pavers or concrete
- Tape measure, stakes, and string line
- Wheelbarrow and square-edged shovel
- Safety glasses, ear protection, and gloves
- Concrete saw (rent, for control joints in slabs)
Realistic timeline
| Task | Time Estimate (12x16 ft patio) |
|---|---|
| Layout, marking, and planning | 2–3 hours |
| Excavation (by hand or mini-excavator) | 4–8 hours |
| Base and compaction | 3–5 hours |
| Edging installation | 1–2 hours |
| Surface installation (pavers) | 6–10 hours |
| Jointing and sealing | 2–3 hours (plus cure time) |
| Total (spread across 2 weekends) | 18–31 hours active work |
Troubleshooting the most common DIY problems
- Sinking or rocking pavers: Almost always a base problem, not a sand problem. Pull the affected pavers, add and compact more base material, re-screed the sand to exactly 1 inch, and relay. Don't try to fix it by stuffing more joint sand in.
- Uneven surface after compaction: Check whether you screeded on top of a base that wasn't fully compacted. The plate compactor will settle soft spots. Re-screed before laying any more pavers.
- Random cracks in concrete: Most shrinkage cracking is from joints that were too far apart or too shallow. If it's already cracked, fill with polyurethane caulk matched to the concrete color. For a new slab, space control joints at no more than 10 to 12 feet apart for a 4-inch slab.
- Weeds coming through joints: Polymeric sand that was applied wet, on a damp surface, or not fully compacted won't cure properly. Remove old joint material with a wire brush, dry completely, re-apply, compact, and activate correctly.
- Water pooling on the surface: Your slope is either wrong or blocked by edging that's set too high. Check that the 1/8-inch-per-foot drop away from the house is consistent across the whole surface.
- Loose or spreading edging: Edging spikes need to go into compacted base material, not just sand. If the base is soft, the spikes won't hold. Dig out the edge, compact the base locally, reset the edging, and re-spike.
- Composite decking gaps closing up: Boards installed too tight in cold weather will buckle in summer heat. Follow the manufacturer's specified gap (usually 1/8 inch minimum) and account for expected temperature swings.
When to call a pro instead
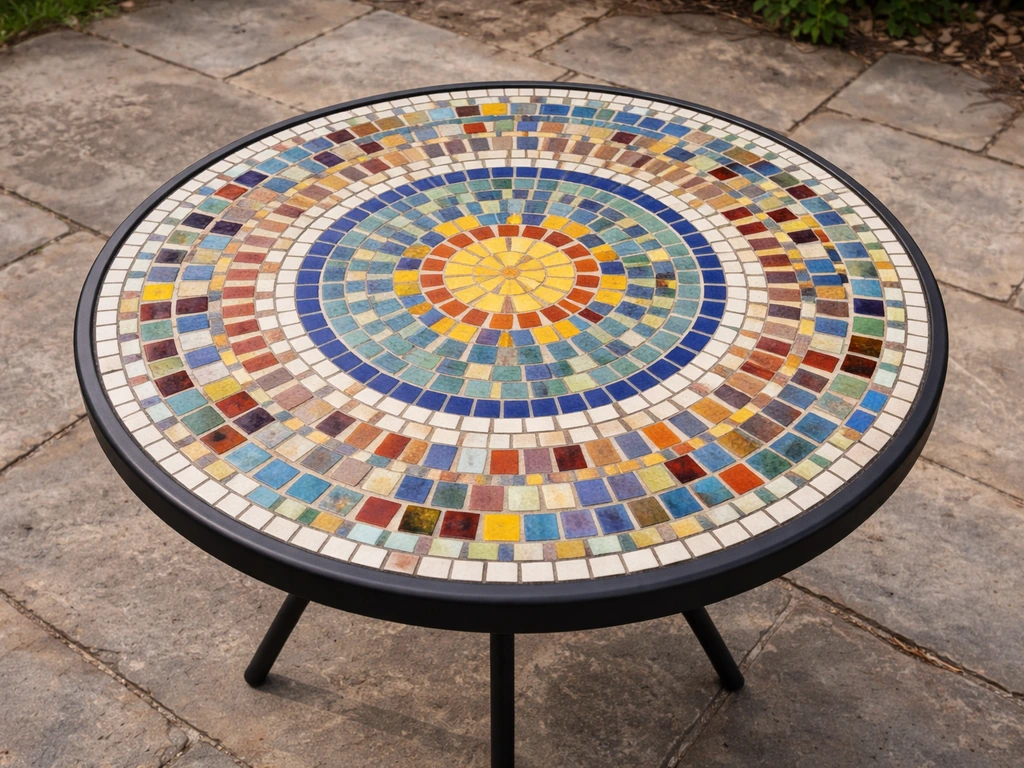
There are a few situations where hiring out makes more sense than pushing through solo: if your yard has significant grade change (more than 12 inches across the patio footprint), if you're pouring a large concrete slab for the first time, if the soil assessment reveals expansive clay or very soft fill material, or if a deck requires ledger attachment to the house (which typically involves a permit and structural considerations). You can still handle the planning, demo, and finish work yourself to save money. The goal is a patio that's solid, level, draining properly, and built to last, and sometimes the smartest DIY move is knowing which part to hand off. If you want a custom look, consider a diy mosaic patio table top as a durable, one-of-a-kind centerpiece for your outdoor space.
FAQ
Can I DIY a patio floor if my yard is slightly uneven, or do I need to start completely flat?
You can build on uneven ground, but you should not try to correct major dips with extra bedding sand or gravel. The workable approach is to excavate so your base follows the planned slope (at least 1/8 inch per foot away from the house), then bring the finished surface up by setting your base height correctly. If you have more than about 12 inches of grade change across the patio footprint, consider stepping the patio or hiring a professional for the grading plan (and potentially the base design).
What’s the biggest mistake that causes pavers to shift or form gaps?
Most failures come from skipping proper edge restraints or installing them at the wrong height. Edging should be set immediately after the base is compacted, properly anchored, and installed before bedding sand goes down. Also avoid “fixing” a wavy base with extra bedding, bedding is meant for seating only, not leveling the overall geometry.
Do I really need 98% Proctor compaction for a DIY patio base, and how can I approximate it?
You typically cannot test exact Proctor density at home, but you can get close by compacting dry, stable subgrade and running multiple passes perpendicular to each other. Use a plate compactor on exposed dirt, then compact crushed stone in lifts (about 3 to 4 inches per lift) before adding the next layer. A practical check is that your plate compactor should not leave deep ruts after repeated passes and the base should feel firm when walked on.
How do I know if my subgrade needs geotextile before adding gravel?
If your exposed soil is soft and easily compressible (sinks noticeably under a rod or screwdriver), or if it is a problem soil like peat or highly organic topsoil, you should excavate further until you reach stable mineral soil. For borderline soils, a geotextile layer can help slow mixing of base and subgrade, especially where fine clay may pump upward over time. Geotextile is not a replacement for excavation and compaction, it is a separation and stabilization aid.
Should I install a drainage pipe even if I’m already sloping the patio away from the house?
Slope controls surface runoff, but it does not fix saturated subgrade water. If you see persistent pooling after rain or your subgrade stays wet, add drainage measures such as a perforated pipe along the low side of the excavation, routing to daylight or an appropriate discharge area. This is especially important on heavy clay where freeze-thaw and movement are more likely.
How thick should I excavate for a paver patio if I don’t know the standard thickness for my exact pavers?
Use the material stack-up to drive excavation depth: subgrade depth should account for your compacted road base, your bedding sand, and the paver thickness while still achieving the correct final elevation and slope. A safe DIY method is to plan the layers first, then measure excavation depth so the finished surface lands where you want. If you need height adjustments, change base height rather than piling up bedding sand.
Can I pour concrete without control joints, since they seem like an extra step?
For most slabs, control joints are essential to control where cracking happens. Without them, random cracking is more likely and the slab can heave or open around weak points. The DIY decision aid is to budget time for proper saw cuts and to cut at the right stage (not too early, not after the slab has already cracked randomly).
How long should I wait before sealing concrete pavers or a concrete slab?
For concrete pavers, wait about 90 days so the concrete fully cures and efflorescence finishes releasing before sealing. For slabs, curing and moisture reduction matter too, and you should use an exterior-rated sealer designed for freeze-thaw exposure. If you seal too soon, trapped moisture can interfere with performance and may cause haze or uneven appearance.
Is polymeric sand always required between pavers?
For a typical paver patio, polymeric sand is strongly recommended because it reduces weed growth and helps prevent joint washout. However, you should only use it over the correct joint size and with a stable base, if the base moves, polymeric sand will not compensate. If you live where summers are very hot and dry, follow activation timing carefully, apply light mist evenly, and do not overwater during activation.
What’s the maintenance plan if I choose decomposed granite instead of pavers or concrete?
Expect periodic re-leveling and edging maintenance. DG is workable and fast, but it needs containment to stop it from migrating, and it may lose fines or compact differently with foot traffic. A good DIY rhythm is to check the surface after wet seasons, refresh edges, and re-tamp or add a thin layer of DG where low spots develop.
When does hiring help more than DIY for a patio floor?
Hand off the parts that depend on structural conditions or high-risk outcomes. Hiring often makes sense if you have major grade change (more than about 12 inches across the patio footprint), soil that is expansive clay or very soft fill, or you are pouring a larger concrete slab for the first time. It’s also wise to consult a pro for deck framing tied to the house because ledger attachment and permitting can become structural and code-driven.
Next Article
DIY Mosaic Patio Table Top: Step-by-Step Outdoor Guide
Step-by-step diy mosaic patio table top guide: design, exterior materials, waterproof setting, grouting, sealing, and tr