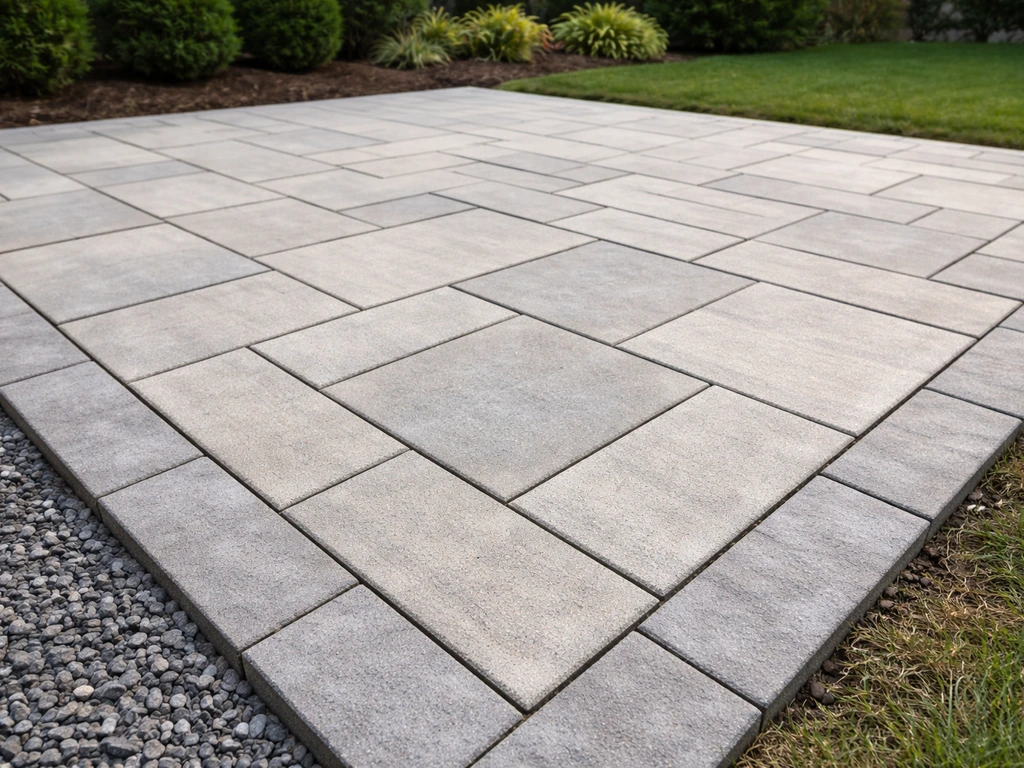
Building up ground for a patio means creating a stable, properly sloped, compacted foundation that lifts your patio surface to the right height and sheds water away from your house. For most DIY paver or brick patios, that foundation is 4 to 6 inches of compacted gravel base, plus a 1-inch bedding sand layer, all sitting on a prepared subgrade that slopes roughly 1/4 inch per foot away from your home. Get those layers right, and your patio stays flat and dry for decades. Skip or rush them, and you'll be re-leveling pavers in a couple of years.
How to Build Up Ground for a Patio Base and Drainage

Nolan Lennox
15 Jun 2026

What 'build up ground' actually means for a patio
When people search for how to build up ground for a patio, they're usually dealing with one of a few situations: the ground is lower than they want the finished patio to be, the yard slopes toward the house, the soil is soft and unstable, or they just want a clean level pad where there's currently bare dirt. All of these are really the same underlying task: you're engineering a foundation layer that raises, stabilizes, and drains the ground so your chosen patio surface sits correctly.
This is different from simply making the ground level (though that's part of it). Building up means adding material in deliberate layers, each with a specific job. The subgrade is the native soil you shape and compact. The gravel base is the structural backbone that distributes weight and drains water. The bedding layer is the fine-tuning surface your pavers or bricks actually sit on. If you're working with a low spot in your yard, a soft soggy area, or a slope that currently runs toward your foundation, this process is how you fix all of that at once.
The approach changes slightly depending on your patio surface. A loose gravel patio needs less precision and can get away with fewer layers. A stepping-stone path is similarly forgiving. But a brick or concrete paver patio demands the full stack: shaped subgrade, compacted gravel base, screeded sand bed, edge restraints, and joint sand. This guide focuses primarily on that more demanding paver/brick setup because if you understand that, the simpler versions are easy to adapt.
Site prep: mark your area, check your soil, and plan drainage first
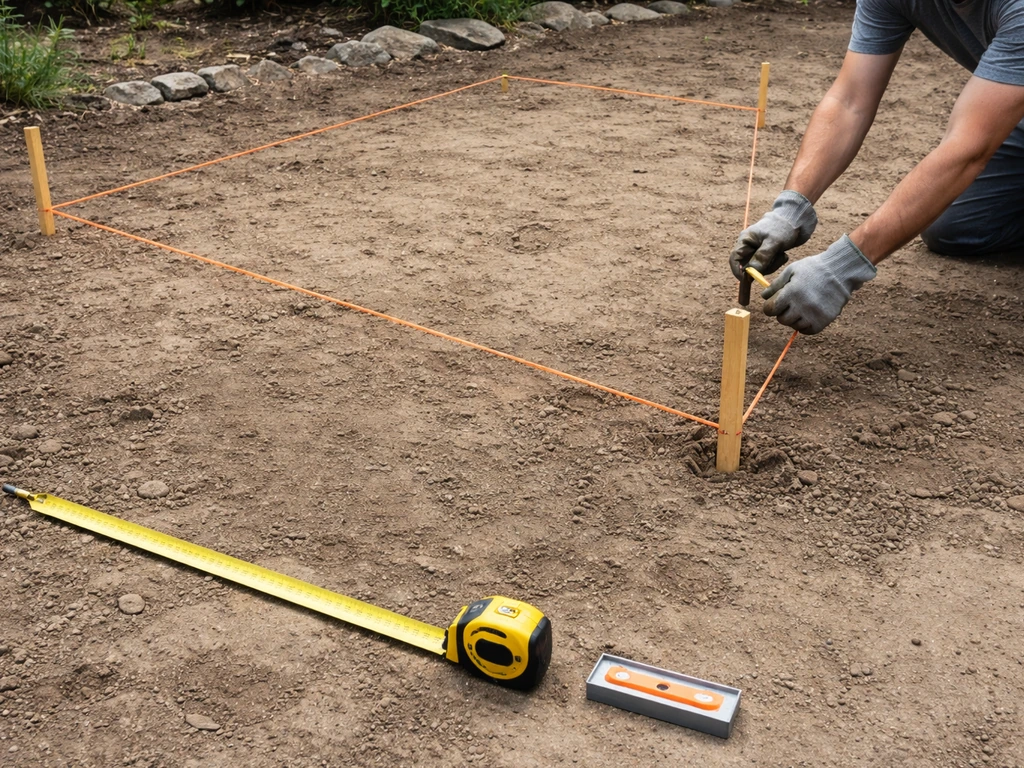
Before you move a single shovelful of dirt, spend an hour on planning. Start by marking out your patio area with stakes and string. Be generous with the perimeter: your compacted gravel base needs to extend at least 6 inches beyond your finished patio edge so edge restraints have something solid to spike into. Mark that outer boundary too.
Next, figure out your drainage situation. The single most important rule here: water must run away from your house, not toward it. The standard target, backed by building code guidance, is a minimum drop of 6 inches within the first 10 feet away from your foundation. For the patio surface itself, a slope of 1/4 inch per foot directed away from the house is the practical target. On a 12-foot-deep patio, that's a 3-inch drop from back to front. It sounds subtle but it makes a huge difference in how the surface drains after rain.
Now check your soil. Walk the area and look for soft, spongy spots where the ground gives under your feet. Poke around with a metal rod or screwdriver: if it sinks easily more than a few inches, you have weak subgrade that needs attention before anything else. Clay soils and areas that stay wet seasonally are especially problematic. Note those spots because you'll treat them differently during excavation.
Also think about where water currently goes when it rains. If your yard has a natural low point, a drainage swale, or nearby downspouts, factor those into your slope planning. You don't want to build a patio that redirects runoff into a neighbor's yard or back toward your foundation. If there's a serious drainage problem, a French drain or channel drain along the low edge of the patio is worth adding now, before you lock everything in with pavers.
Excavate and prep the subgrade (including soft and uneven spots)
Once your area is marked and your slope plan is set, start excavating. You're digging down to create room for your base layers, and you're shaping the bottom of that excavation so it already has the correct drainage slope built in. This matters because your base layers should follow the slope of the subgrade, not compensate for a flat or wrong-sloping hole.
For a standard paver or brick patio, you'll typically excavate 7 to 10 inches below your intended finished surface height: 4 to 6 inches for compacted gravel base, 1 inch for bedding sand, and then the thickness of your pavers (usually 2 to 3 inches). Add those up for your specific material and dig accordingly. For a simpler gravel patio or stepping stones, you might only need 4 to 6 inches of total depth. Remove all grass, roots, and organic debris. Organic material compresses and rots, which causes the ground to sink unevenly over time.
As you excavate, keep checking your slope. A string line stretched across the area with a line level is the most accessible tool for this. Shoot for that 3/16-inch-per-foot slope (roughly 5mm per 300mm) at the base of your excavation. A laser level makes this faster and more accurate, but a string line works fine for most residential patios. Keep the tolerance tight: the Techo-Bloc installation standard calls for base tolerance of plus or minus 3/8 inch per 10 feet. It sounds fussy, but uneven subgrade is the number-one cause of wobbly, settling patios.
Dealing with soft spots and problem soil
If you hit soft, spongy, or saturated soil, don't just dump gravel on top and hope for the best. Dig out the soft material until you reach firm ground, then fill back up with compactable gravel in layers. For clay-heavy or perpetually damp subgrades, this is where geotextile fabric earns its place. Lay it directly on the shaped subgrade before adding gravel. The fabric acts as a separator, preventing fine clay particles from migrating up into your gravel base over time and turning it into a muddy, unstable mess. It's especially worth using if your soil stays wet part of the year or if you're in a freeze-thaw climate. It's inexpensive insurance.
Base materials and layer order: what goes down and why
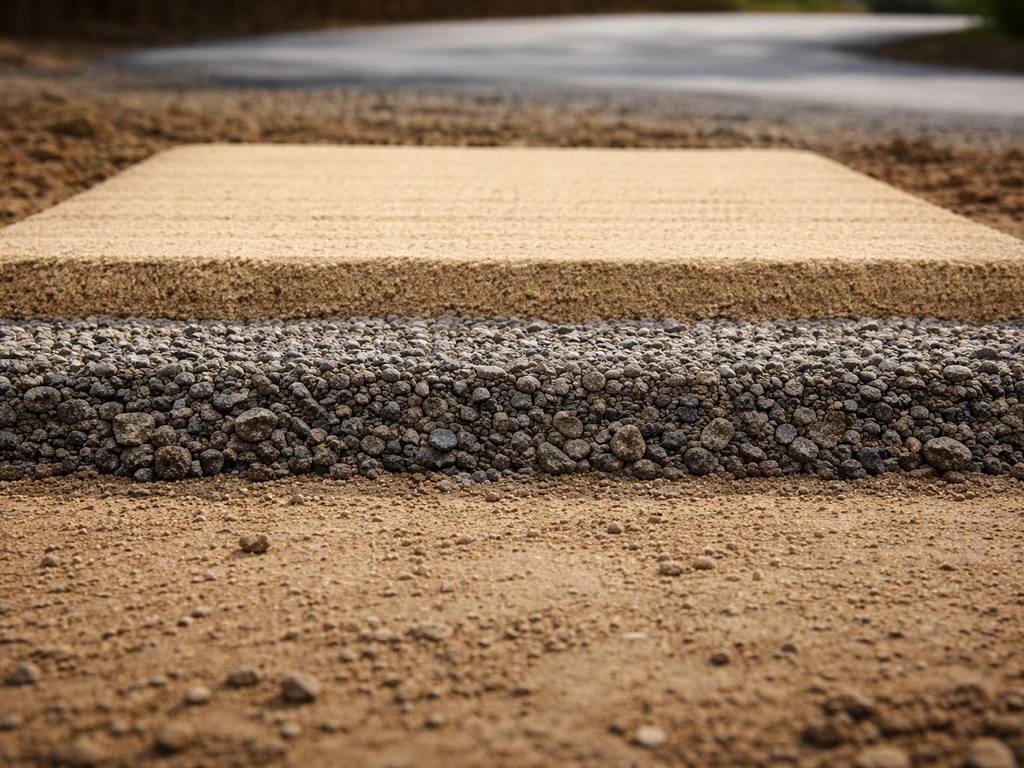
Think of building up ground as a layer cake with a specific order. Every layer has a job, and skipping or swapping them causes problems. Here's the standard stack for a paver or brick patio, from bottom to top:
- Shaped and compacted soil subgrade: the native ground you've excavated, cleaned of organics, and sloped correctly.
- Geotextile fabric (when needed): a permeable separator laid directly on subgrade in clay, wet, or freeze-thaw conditions.
- Compacted aggregate base: crushed stone or gravel (typically 3/4-inch minus or crusher run), compacted in lifts to 4–6 inches total depth for patios.
- Bedding layer: coarse concrete sand or stone dust (also called crusher dust or granite screenings) screeded to a nominal 1 inch thick, uncompacted until pavers are placed.
- Patio surface: your pavers, bricks, or slabs.
- Edge restraints: plastic or aluminum restraints spiked into the base beyond the patio edge to prevent lateral spread.
- Joint sand: swept into joints and compacted; polymeric sand is the go-to for locking pavers in place.
The gravel base is where you do most of your 'building up. ICPI Tech Spec guidance is commonly used by manufacturers, and it supports setting base depth by application and traffic, such as about 4 inches of compacted aggregate base for pedestrian patios with bedding sand as a separate layer The gravel base is where you do most of your 'building up.. ' If you're raising a low area significantly, you can use compacted fill dirt for the lower portion of a deep excavation, but the top 4 to 6 inches must always be proper compactable gravel aggregate. Loose fill or topsoil under a patio is a recipe for settling. Crushed stone (often called crusher run, road base, or Class II base rock depending on your region) is the right material: it compacts densely, drains well, and doesn't compress under load the way topsoil does.
The bedding sand (or stone dust) layer at 1 inch thick is your fine-tuning surface. You screed it flat and to slope before setting pavers. It should never be used to fix a lumpy base underneath: if the gravel base is off, fix it before you screed. Screeding bedding material thicker than about 1.5 inches to compensate for a bad base will result in pavers sinking unevenly as the extra material shifts under traffic.
How the base changes by patio surface type
| Patio Surface | Base Depth | Bedding Layer | Geotextile? | Key Note |
|---|---|---|---|---|
| Concrete pavers/brick | 4–6 in compacted gravel | 1 in coarse sand or stone dust | If clay/wet/freeze-thaw | Strictest tolerances; edge restraints required |
| Natural stone/flagstone | 4–6 in compacted gravel | 1–2 in stone dust or coarse sand | Recommended on clay | Irregular thickness needs careful bedding adjustment |
| Stepping stones | 3–4 in compacted gravel or sand | 1 in sand optional | Optional | Less formal; focus on stability of each stone |
| Loose gravel patio | 3–4 in crushed gravel compacted | None needed | Highly recommended | Fabric under gravel prevents sinking into soil |
| Poured concrete | 4 in compacted gravel sub-base | None (concrete poured directly) | If clay/wet | Needs forms and reinforcement; no sand bed |
How to calculate depth, set height, and nail the slope
This is where a lot of DIYers wing it and regret it. Take 20 minutes to do the math before you dig. Start with your desired finished surface height (usually matching or slightly above the adjacent lawn grade or door threshold), then work backward to figure out how deep to excavate. If your goal is how to raise patio level, use the excavation-depth and slope math to determine exactly how much to build up at the low side.
Here's the simple formula: excavation depth equals paver thickness plus 1 inch bedding layer plus 4 to 6 inches compacted gravel base. If you're using 2.375-inch-thick concrete pavers (a standard residential size), add 1 inch sand plus 5 inches gravel and you're digging about 8.5 inches below finished surface. Round up to 9 inches to give yourself a little working room.
For slope, use string lines set to the correct fall from the start. Drive stakes at your house-side edge and your outer edge. Set the outer stake string lower by the amount of fall you need: on a 12-foot-wide patio with a 1/4-inch-per-foot slope, the outer string is 3 inches lower than the inner string. Use a string level or line level to confirm. Now your excavation, your gravel base, your screeded sand bed, and your finished pavers all follow that sloped string as a reference. Recheck your slope at every stage rather than trying to introduce it at the bedding layer.
If you're dealing with a low spot that needs significant fill to reach the right finished height, use compacted structural fill (not topsoil) for the lower layers, then transition to your gravel base for the top 5 to 6 inches. Add fill in layers no more than 6 to 8 inches thick and compact each one before adding the next. Dumping 18 inches of fill and compacting the top is not the same thing: the bottom stays loose and settles for years.
Compaction and leveling: how to do it right (and what not to do)
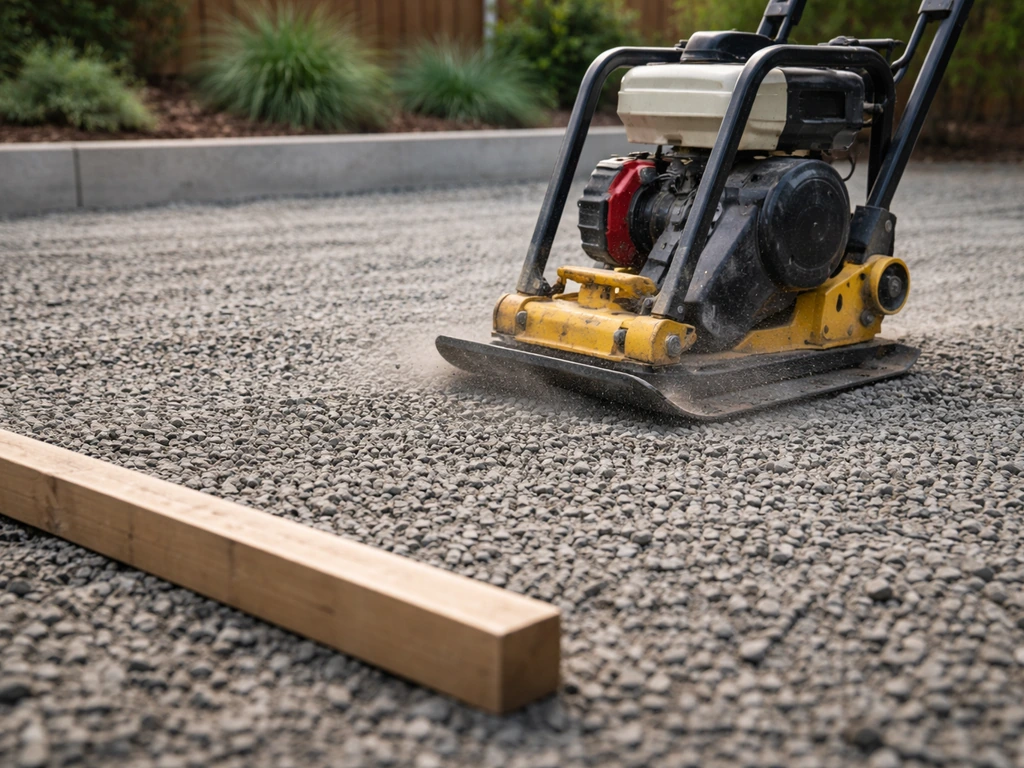
Compaction is the step most DIYers underdo. Renting a plate compactor is non-negotiable for any paver or brick patio over about 50 square feet. A hand tamper is fine for small areas and around edges, but a plate compactor does the real work of densifying the gravel base. Most rental shops rent them by the half-day, which is plenty of time for an average residential patio.
Compact your gravel base in lifts of no more than 4 inches. Add 4 inches of gravel, compact it fully, then add the next layer. For each lift, make 4 to 6 overlapping passes with the plate compactor in parallel rows, then do another set of passes perpendicular to the first. Overlap each pass by about 6 inches. After compaction, the gravel should feel and sound solid underfoot with no give at all.
The most common compaction mistakes I see on DIY patios are trying to compact too much material at once, not doing enough passes, and skipping compaction near the edges where it feels fiddly. Those under-compacted edges are exactly where pavers start to shift first. Use a hand tamper right along the edges and corners after the plate compactor makes its outer pass.
Once your base is compacted, check your slope and flatness one more time using your string lines. The tolerance you're aiming for is within about 3/8 inch over any 10-foot run. If you have high spots, scrape them down. If you have low spots, add a little gravel and compact again rather than trying to fill them with bedding sand. Then screed your 1-inch bedding layer over the compacted base using screed pipes (metal conduit works well) set to slope as rails. Pull a straight 2x4 across them to create a flat, sloped surface. Do not walk on screeded bedding after it's set: start placing pavers from one corner and work across without stepping on the fresh bed.
Edging, final bedding, and laying the surface
Edge restraints go in after your pavers are laid, not before, but you need to plan for them from the start. Your compacted gravel base must extend 6 to 8 inches beyond the outer edge of your patio on all sides so the restraint spikes have solid, compacted material to drive into. Plastic or aluminum edge restraint systems work equally well for most residential patios. Drive the spikes every 12 inches or closer on curves. If edge restraints aren't installed properly, or the base isn't solid at the edges, your patio will creep outward over time, opening up gaps between pavers.
With your screeded bedding layer ready, lay your pavers or bricks starting at the most visible corner and working outward. Use a rubber mallet to set each paver flush with its neighbors. Check your slope frequently with a level as you go. After a section is laid, run the plate compactor over the pavers (use a rubber pad or attach the compactor pad attachment if your rental unit has one) to seat them firmly into the bedding layer. This is the final compaction pass.
Once all pavers are set and compacted, sweep joint sand into the gaps. Polymeric sand is worth the extra cost: it hardens when wet and resists weeds, ants, and joint erosion far better than plain sand. Apply it when the surface is completely dry, sweep it into the joints with a stiff broom, blow off the excess from the surface with a leaf blower (any polymeric residue left on pavers when you wet it will haze the surface), then wet the joints with a gentle spray to activate the binder. Keep foot traffic off for at least 24 hours.
Your DIY checklist and materials shopping list
Before you start or make your materials run, use this as your build checklist and shopping reference. Quantities depend on your specific patio size, but the categories apply to every paver/brick patio build.
Step-by-step build checklist
- Calculate finished surface height and total excavation depth (paver thickness + 1 in sand + 4–6 in gravel base).
- Mark patio area and add 6–8 in beyond the perimeter for base overhang.
- Set string lines with correct slope: minimum 1/4 in per foot falling away from the house.
- Excavate to target depth, removing all grass, roots, and organic matter.
- Identify and address any soft spots (dig out, fill with gravel in lifts, compact).
- Lay geotextile fabric over subgrade if soil is clay-heavy, wet, or in a freeze-thaw zone.
- Add first 4-inch lift of compacted gravel base; compact with plate compactor (4–6 passes, then cross-passes).
- Add second lift if needed; compact again. Recheck slope and flatness (target: ±3/8 in per 10 ft).
- Set screed pipes to correct slope; screed 1-inch bedding sand layer.
- Lay pavers/bricks from corner outward; check slope continuously.
- Compact pavers into bedding with plate compactor and rubber pad.
- Install edge restraints with spikes every 12 inches.
- Sweep polymeric sand into joints; blow off excess; wet to activate. Keep dry for 24 hours.
Materials shopping list
- Crushed stone / crusher run / road base aggregate (calculate: area in sq ft x base depth in ft x 1.35 for compaction factor, divide by 27 for cubic yards)
- Coarse concrete sand or stone dust / granite screenings for bedding layer (area in sq ft x 0.083 ft / 27 = cubic yards at 1-inch depth)
- Geotextile landscape fabric (same square footage as patio area plus perimeter overhang)
- Pavers, bricks, or flagstone (area + 10% overage for cuts and breakage)
- Plastic or aluminum edge restraint (linear feet of patio perimeter)
- Edge restraint spikes (1 per 12 inches of perimeter)
- Polymeric joint sand (coverage per bag is listed on packaging; base on joint width and paver size)
- Screed pipes / 1-inch metal conduit (2 lengths equal to patio width)
- Stakes and mason's string for layout
- Plate compactor rental (half-day or full-day depending on patio size)
- Rubber mallet
- Hand tamper for edges
- Long straight 2x4 or screed board
- Line level or laser level
- Tape measure, marking spray paint
If your situation involves making the ground itself level before building up (not just sloped), or if you're working with a significantly uneven yard rather than a mostly flat one, the leveling and grading steps become more involved. Those scenarios are closely related to raising and leveling a patio area on uneven ground, so the same groundwork principles apply raise a patio area. Those scenarios connect closely to related challenges like building on uneven ground or raising a patio area to match an existing surface, which take some of these same principles further. If you're lifting a patio to correct height or improve drainage, use the same layer stack and slope planning so the surface stays level and drains properly how to lift a patio. Building on uneven ground often means you will need to raise and stabilize the base in deliberate layers before you install pavers or bricks. But for the large majority of flat-ish backyards where you're starting from dirt and want a solid patio, the process above covers everything you need to get it done right the first time.
FAQ
How do I figure out how high to build up the patio if the yard and door threshold are different heights?
Pick a single reference height, usually the finished patio surface matching the nearby lawn grade or slightly above the door threshold. Then work backward using the full total height of your layers (paver thickness plus 1 inch bedding plus 4 to 6 inches compacted gravel). If the patio needs more rise than the typical excavation depth, plan a deeper structural fill at the low side, then switch to the proper compacted gravel base for the top 4 to 6 inches.
What if my yard slopes toward the house, but I still want the patio surface to look level?
Your patio should be level across its own width, but it should still fall away from the house. That means you keep a consistent “fall” direction (1/4 inch per foot away from the house) while maintaining flatness perpendicular to that fall. Set strings or a laser so the grade line is controlled in both directions, not just by eyeballing the surface.
Can I use more bedding sand to correct a lumpy gravel base?
No. Bedding sand (stone dust) is for fine-tuning, not major correction. If the base is wavy, scrape and fix the gravel, then re-screed to about 1 inch. If you try to make up low spots with thicker sand, pavers can shift and settle as the added fines migrate or compress.
How do I know if my subgrade is weak enough that I need to remove it and add gravel instead of just compacting it?
Look for spongy areas, visible soft seams after rain, or any spot where a screwdriver sinks easily. If the soil yields more than a few inches under light probing, plan to excavate down to firm material and replace with compactable aggregate in lifts. Compacting weak soil under the base usually leads to differential settlement and uneven pavers later.
Do I always need geotextile fabric, or is it only for clay?
Geotextile is most helpful when your native soil can migrate fines into the gravel base, such as clay-heavy soils or areas that stay wet part of the year. It can also be useful in freeze-thaw climates where movement and pumping are more likely. If your soil is uniformly well-draining and never soft, fabric may be optional, but it is cheap insurance when you are unsure.
What’s the biggest reason patios end up rocking or uneven even when the slope looks right?
Uneven subgrade or under-compacted base is usually the culprit, not the visible slope. Common triggers are compacting too thick a gravel lift, skipping edge compaction, or failing to recheck flatness before screeding. Recheck tolerance on the gravel stage, because the bedding layer cannot “average out” a bad base.
How should I compact gravel near edges and around curves if the plate compactor won’t reach well?
Use the plate compactor for broad field coverage, then finish edges and corners with a hand tamper so the perimeter is densified. Make a separate pass along restraints, stairs, or any tight geometry after the main compaction round. Under-compacted edges are where gaps start and where pavers start to creep first.
Can I compact the entire excavation in one pass to save time?
No. Keep gravel in lifts no thicker than about 4 inches, then compact each lift fully before adding the next. Thicker lifts often look “solid” on top but stay loose below, which later causes settling and a wavy patio surface.
Should I install edge restraints before or after laying pavers, and how far should the base extend?
Plan restraints from the start, but install them after the pavers are set (so they align properly). The critical part is base extension, your compacted gravel base should project about 6 to 8 inches beyond the outer patio edge so restraint spikes bite into firm material. If the base ends flush with the restraint, it can loosen and shift over time.
How do I prevent polymeric sand haze on the paver tops?
Wait until the surface and joints are completely ready, then wet gently. Apply polymeric sand when the patio is dry, sweep it in thoroughly, and use a leaf blower to remove excess. When you mist to activate, keep the spray light so binder residue does not smear across paver faces.
When is it safe to use the patio after installation, and what about early rain?
Keep foot traffic off for at least 24 hours after joint sand activation. If rain threatens soon after you wet the joints, delay activation until you can control timing, because washing out or prematurely hydrating joint material can reduce effectiveness and cause joint erosion.
Do I need drainage features like a French drain, or will the patio slope handle it?
Your patio slope helps move water away from the house, but it does not fix a high-water problem at the site. If you have a natural low area, downspout discharge, or frequent saturated ground, add a drainage channel or French drain along the low edge before you lock in pavers. This prevents runoff from concentrating under or behind the patio base.
Can I build up ground for a patio without removing all grass and topsoil?
You should remove grass, roots, and organic debris. Even small amounts of organic material compress and rot, leading to uneven settlement. If you have to leave any material, treat it as an edge case, but for a standard paver/brick patio, clean excavation down to prepared subgrade is the safer approach.
Next Article
How to Make a Level Patio: Step-by-Step DIY Guide
Step-by-step DIY to make a level patio: choose layout, grade, compact base, set edges, and install pavers or concrete.